
Embossed Hand Lettered Journal
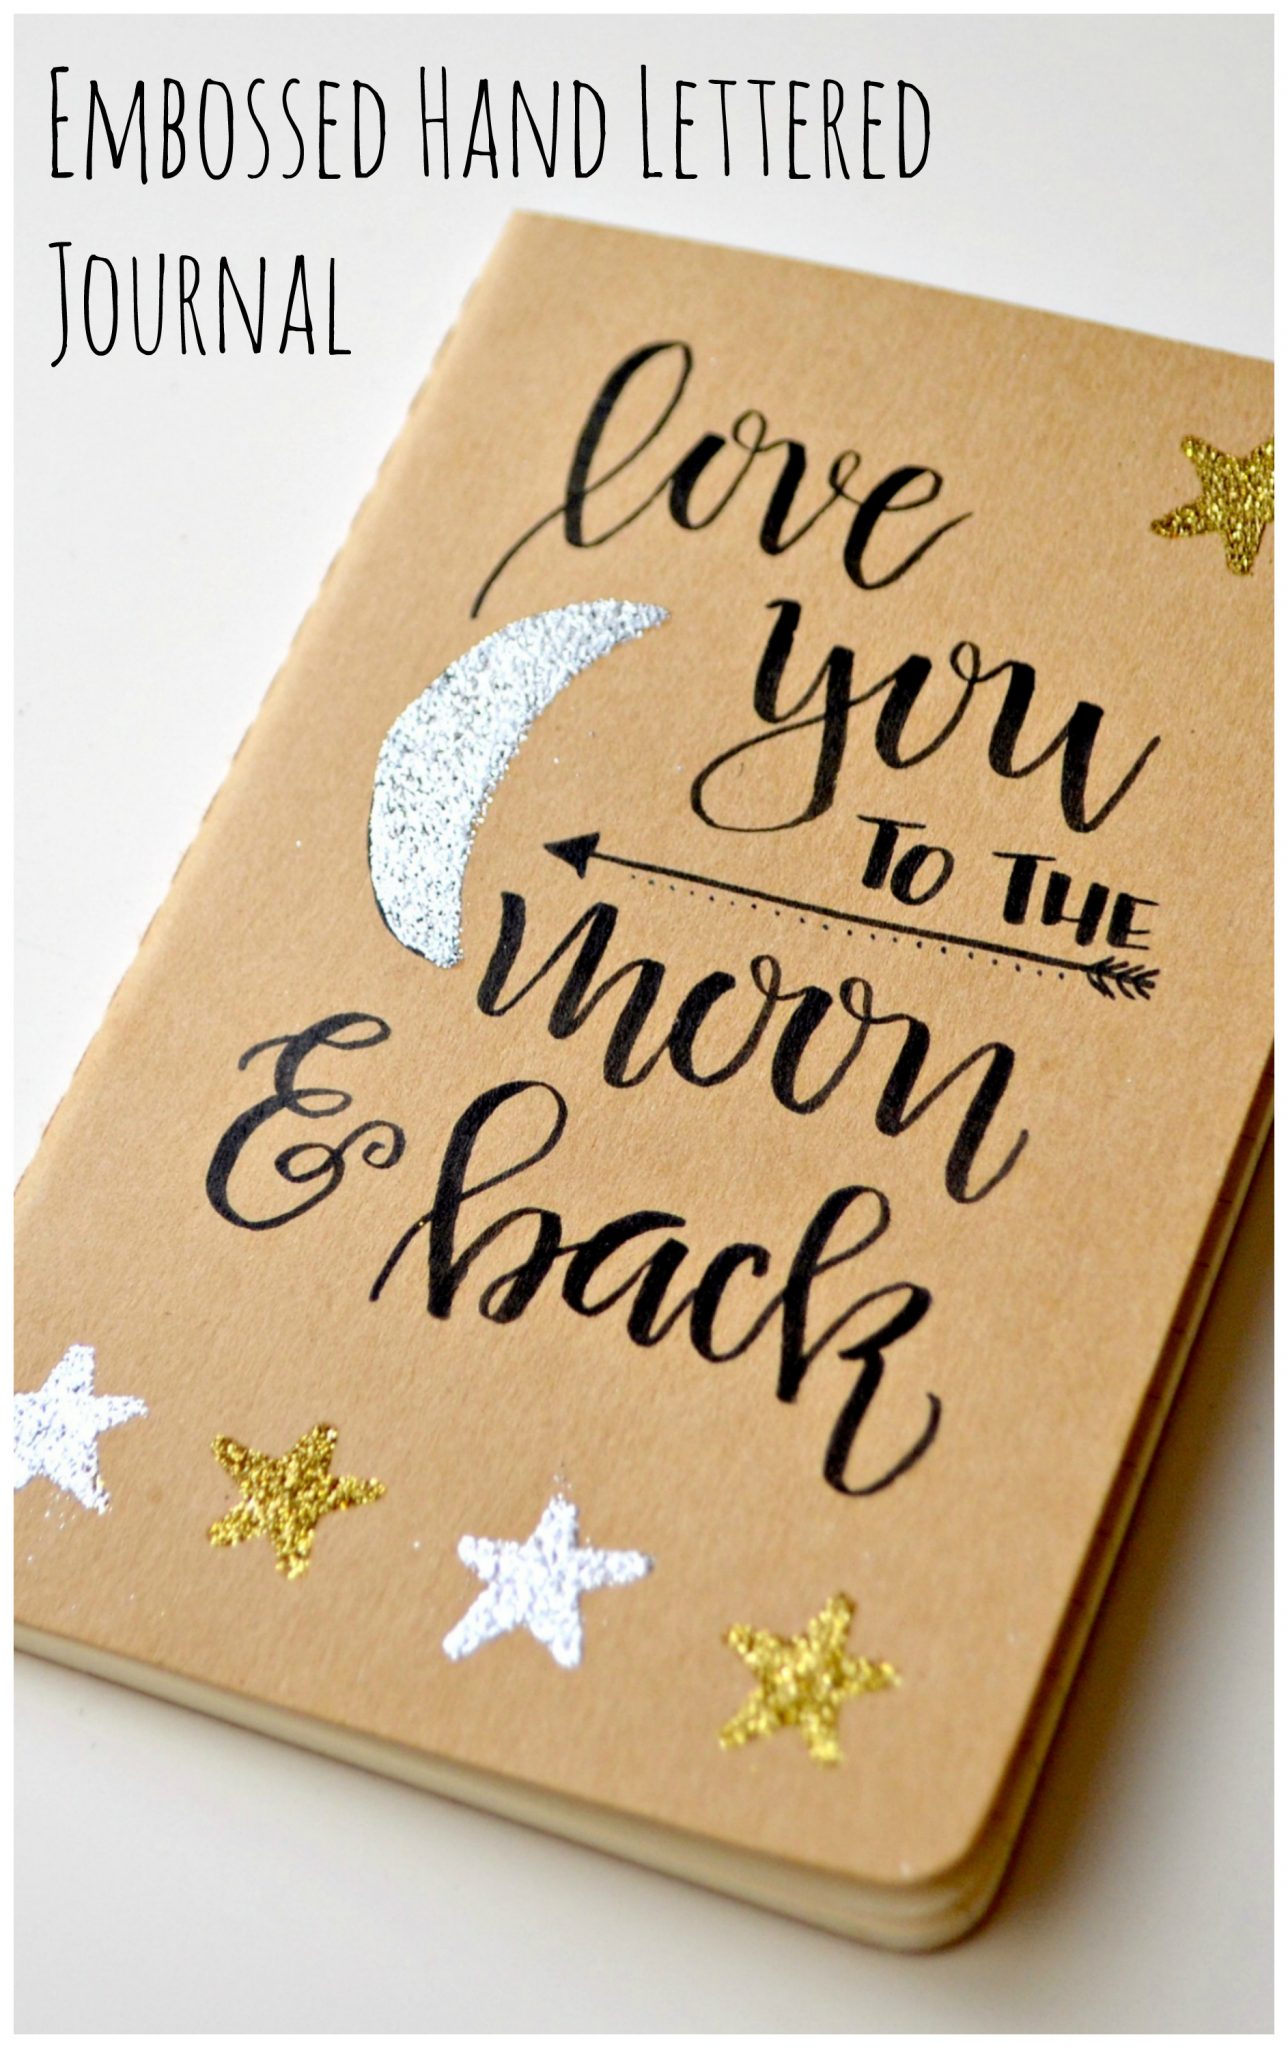
I am officially obsessed with embossing. It’s so easy to do and it adds such a pretty, sparkly touch to all kinds of projects, like this little Hand Lettered Journal! You might remember from previous posts that from time to time, I hand letter on Moleskine Cahier Journals to personalize them as gifts for family and friends. This morning, Little Crafter asked if I would make him his own special journal that was decorated with our favorite thing to say to one another: “Love you to the moon and back.” He also specified that he would like me to draw a moon and stars on the cover. As I thought about how to lay out the design, I knew it was just begging to be embossed. Here’s a quick look at how to make your own.
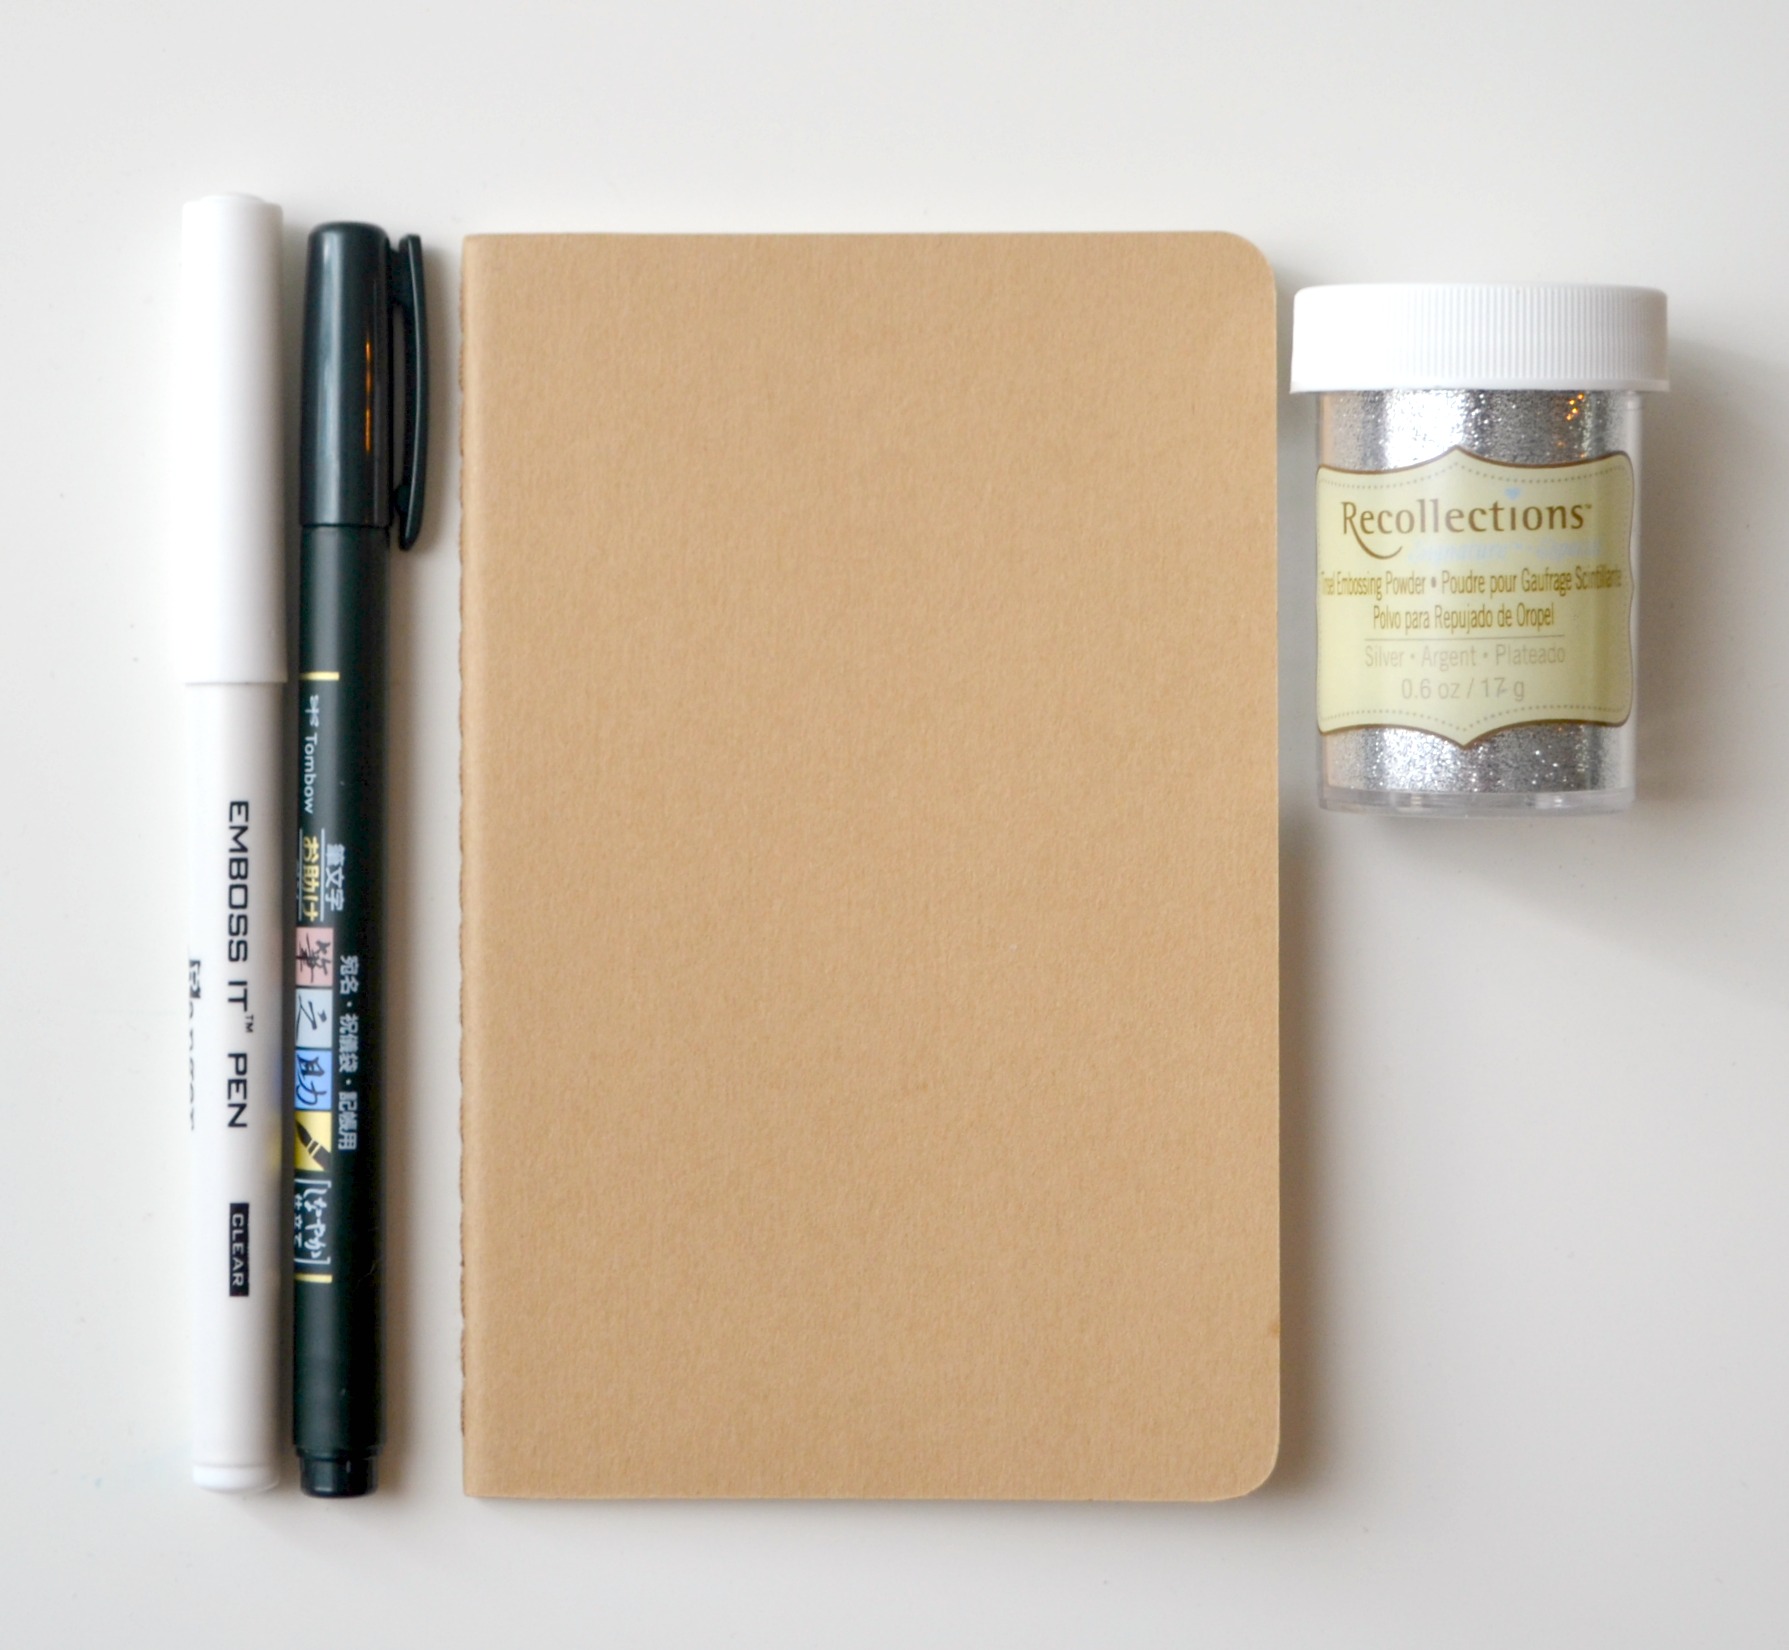
You’ll need:
{The links below are affiliate links, so if you make a purchase after clicking, you’re helping support One Artsy Mama!}
Moleskine Journal with a blank cover, any size {this one is 3.5 x 5.5″}
Tombow Fudenosuke Soft Tip Brush Pen
Ranger Emboss It Clear Pen
Embossing Powder, Silver and Gold
Embossing Heat Tool
Pencil and Eraser {optional}
Creating Your Journal
Step 1: Letter the phrase, “love you to the moon & back” using the Tombow Fudenosuke pen.
I used brush script for everything except “to the,” which I printed. You can sketch this out in pencil first if you like to make sure you space things correctly. If you’re new to hand lettering, I promise, it’s really not as challenging as it looks. Check out my faux calligraphy tutorial for step-by-step instructions on getting this look without a brush pen, or try out my basic brush lettering tutorial to master the actual technique!
Step 2: Embellish your phrase by adding an arrow pointing to where the moon will be.
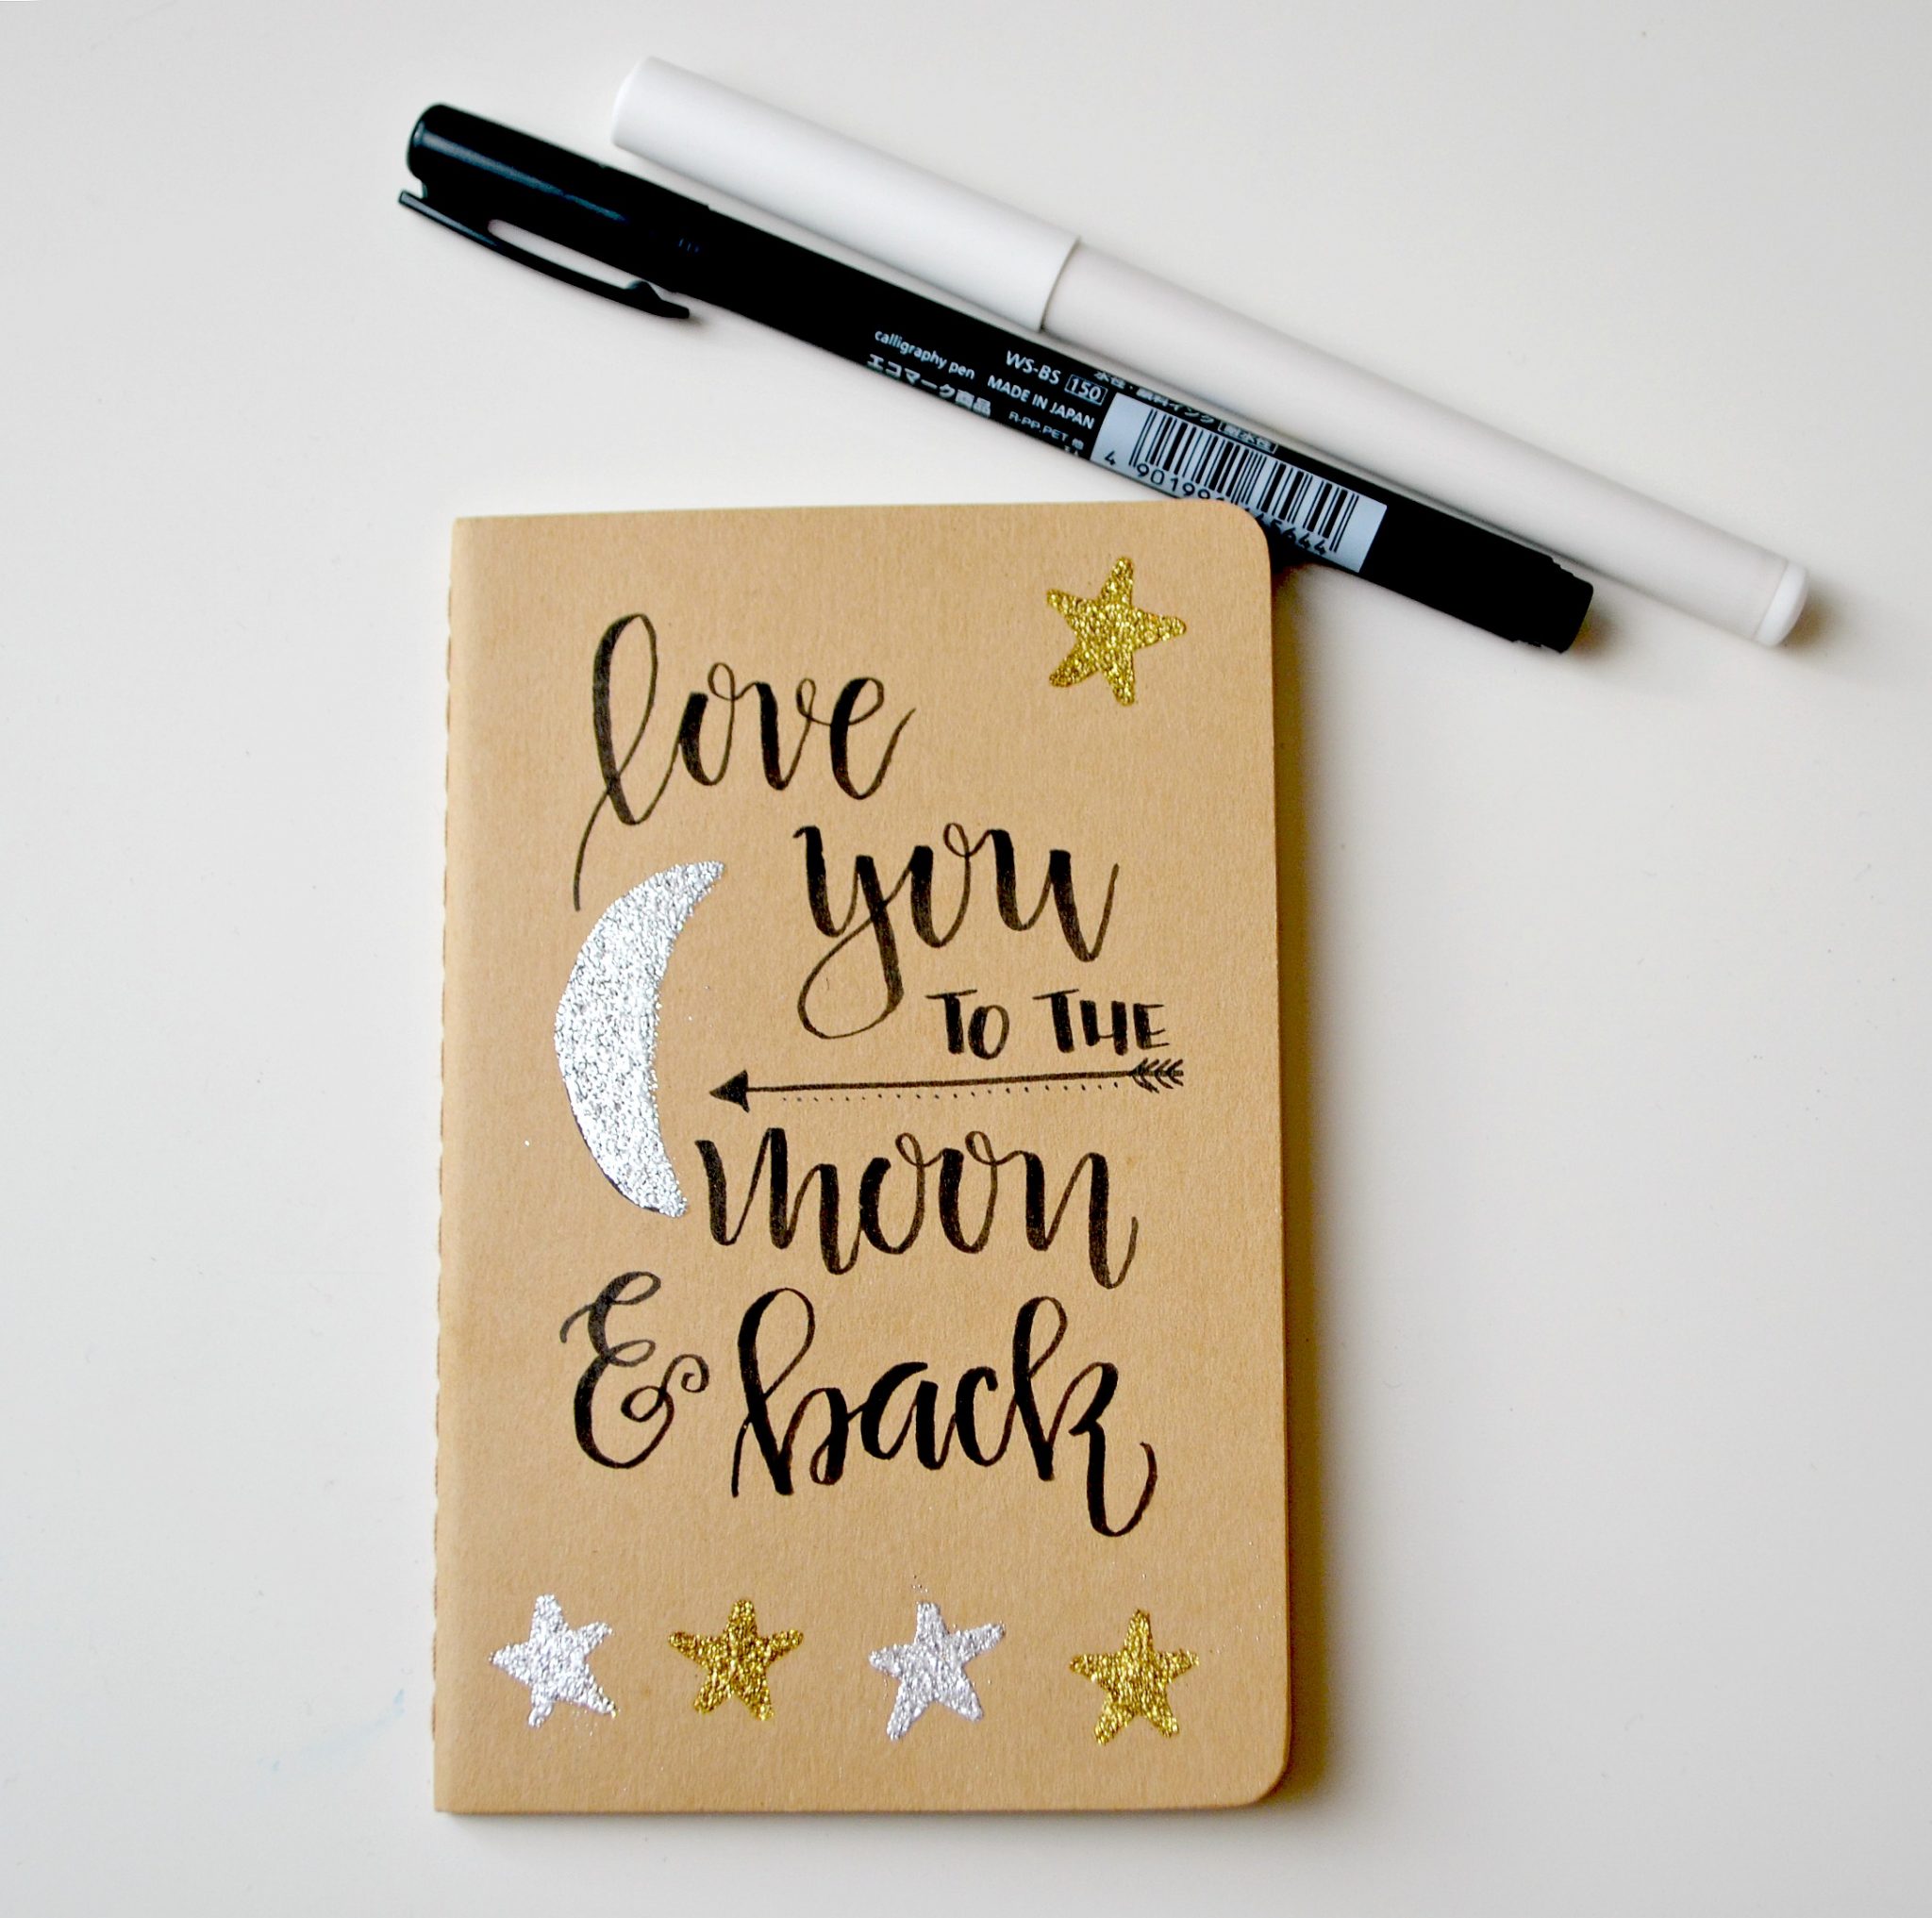
Step 3: Use the clear embossing pen to sketch a moon and stars.
The ink from this pen will sit on top of the journal’s surface and stay wet and tacky long enough for you to apply the powder.
Step 4: Sprinkle embossing powder onto the wet areas, covering them completely.
Shake/pour the excess off onto a scrap piece of paper and return it to the container for future use.
Step 5: Use the heat tool to melt the embossing powder.
You will be able to see a change in the appearance of the powder instantly when it reaches the melting point.
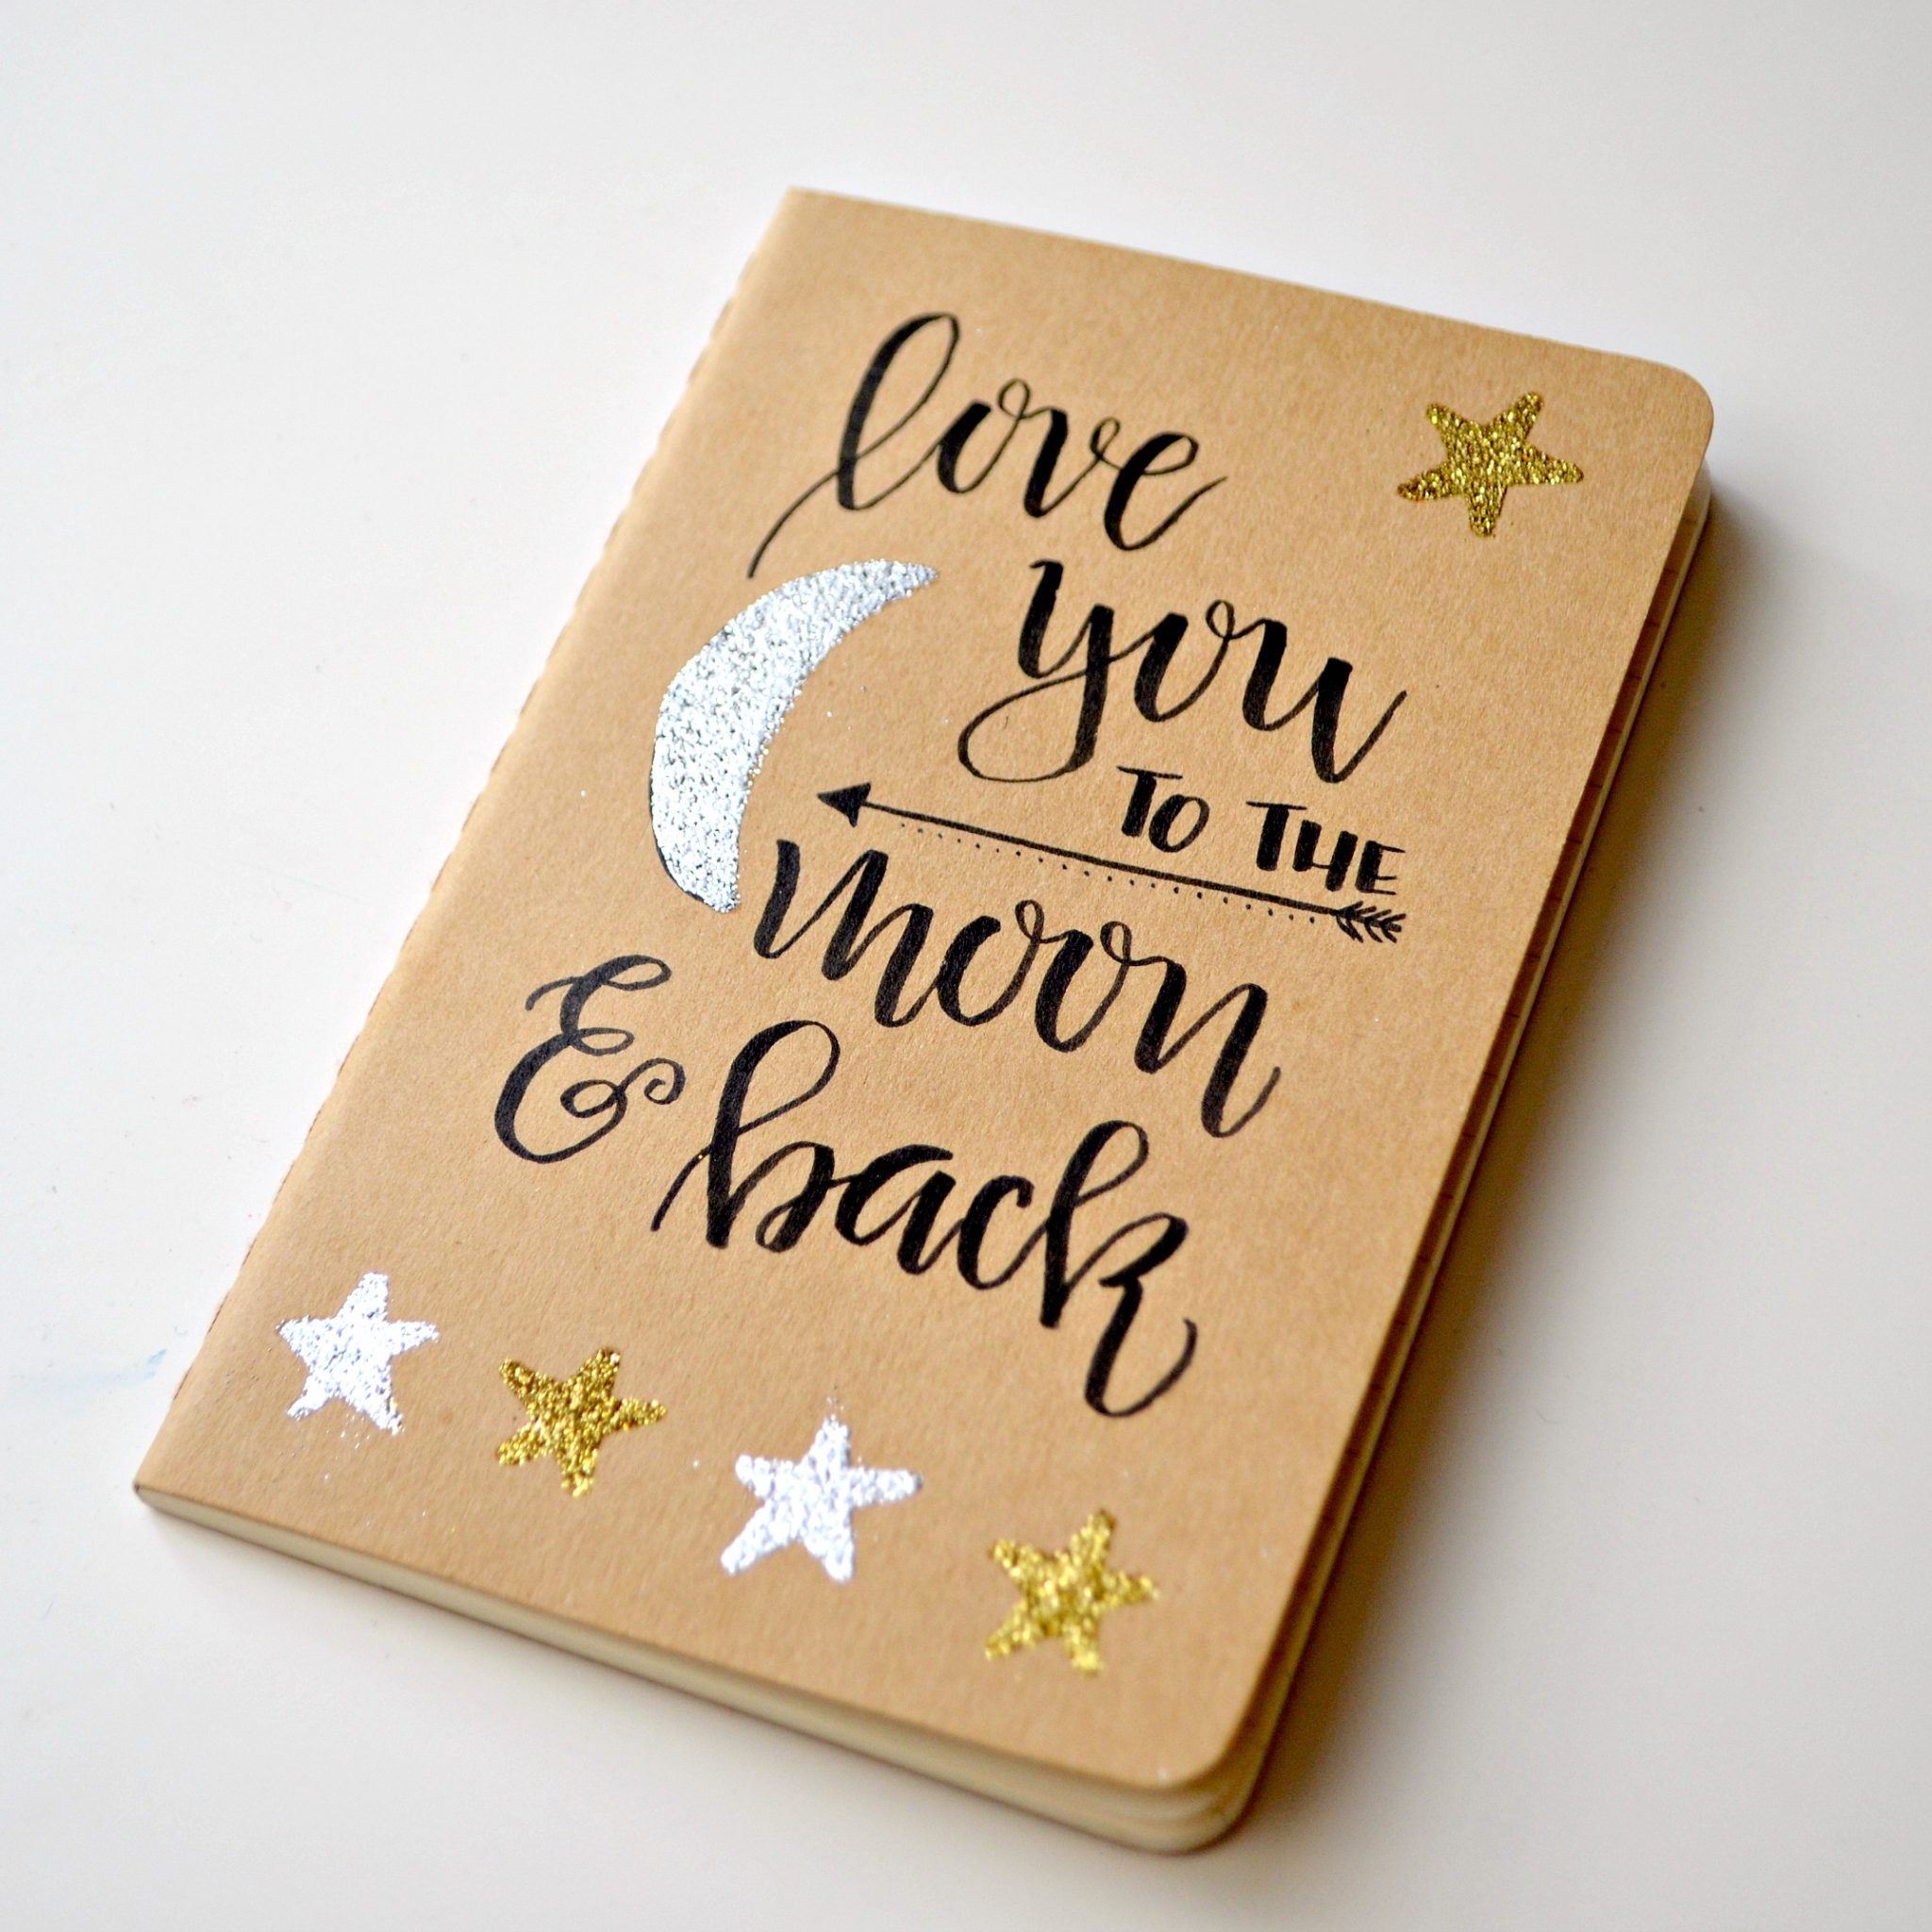
That’s all there is to it! Your journal is ready to use, or in my case, give away. Little Crafter was so excited to see how it sparkles and shines and is planning to write all kinds of stories inside. Is there someone in your life who would love a little gift like this?
If you liked this project, you might enjoy these too!
Try embossing to create a wooden sign!

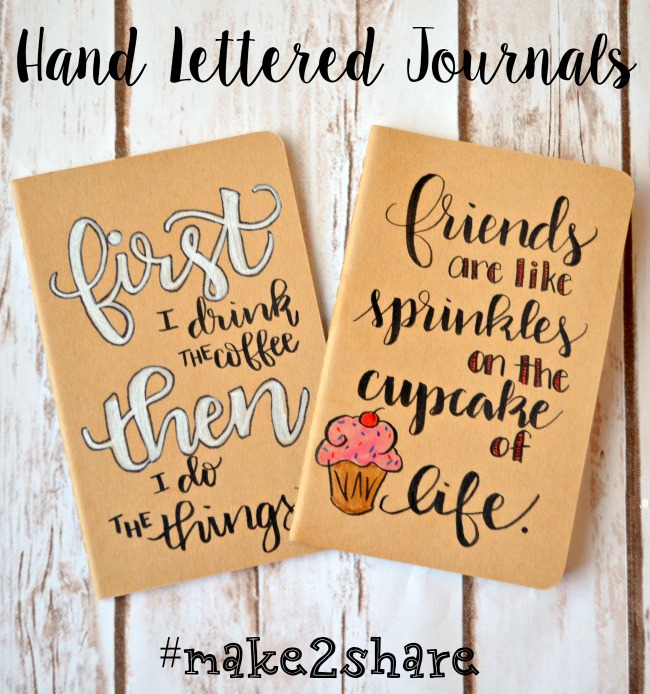
Here are some more design ideas for personalized journals.
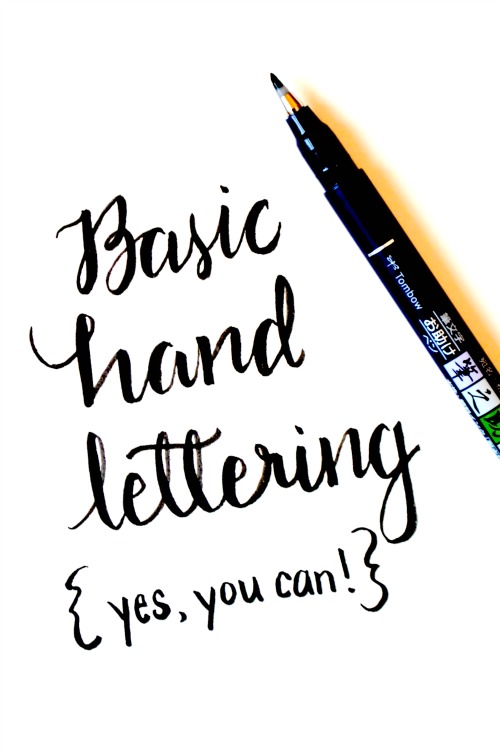
Learn the basics of Faux Calligraphy; it’s easier than you think!


Love this…and thanks for making mine too…
You do nice work…. 🙂
Love it!! I have not done much embossing in the last few years, but it is so pretty!! I will have to do it again soon.