
Nursery Art: Lauren’s Virtual Baby Shower!
Friends, today we have a big reason to celebrate! Lauren, my bloggy friend from The Thinking Closet, is having a baby!!! As her due date approaches, some of us decided that even though we all live far apart, it would be fun to get together and have a little “virtual shower” for Lauren by creating projects, recipes, decor, and more.
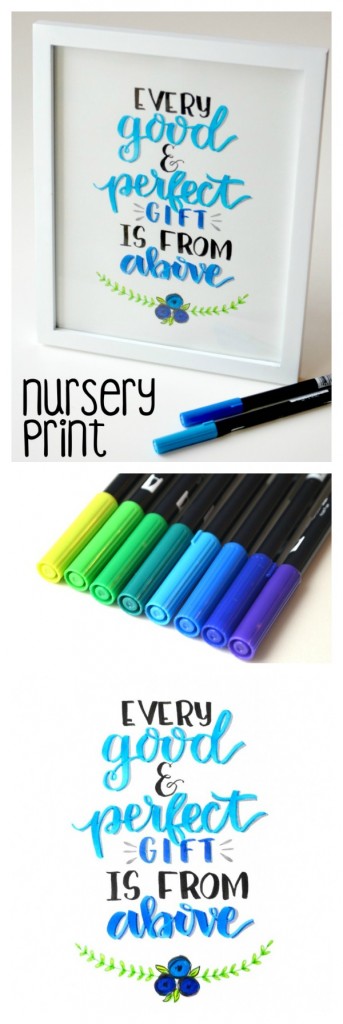
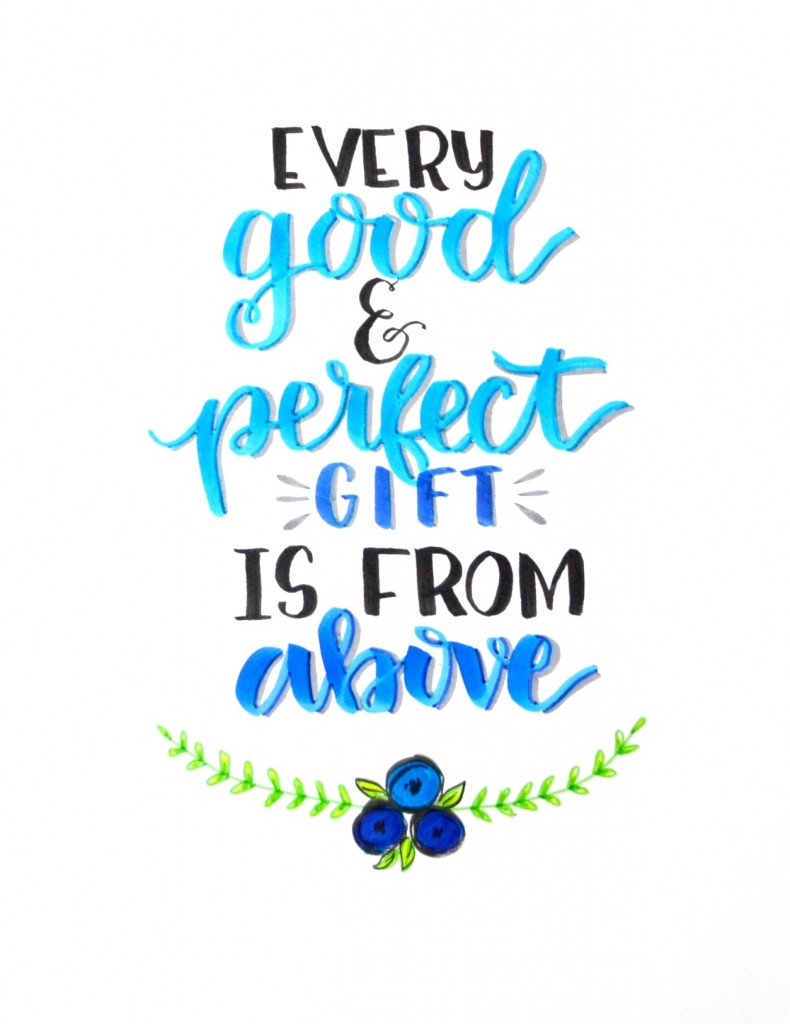
Since hand lettering is my favorite way to create these days, I thought I’d make a piece of art for the baby’s nursery using the verse Lauren and her husband used on their pregnancy announcement!
You’ll need:
sketch paper
pencil
ruler
markers {mine are Tombow Dual Brush Pens and the Tombow Fudenosuke Soft Tip}
Step 1: Use your ruler and pencil to draw evenly spaced horizontal lines on your paper.

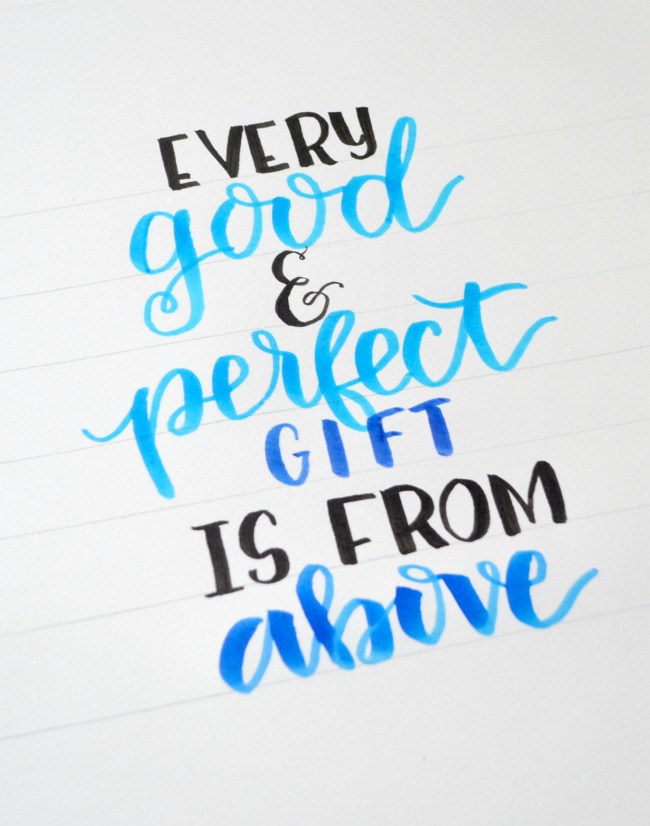
Step 2: Use your black marker/fudenosuke pen to write the print parts of the quote on the correct lines.

Step 3: Using your colored/dual brush markers, fill in the brush lettered words.
If you’ve never done hand lettering before, here is a very simple photo tutorial that will guide you and get you started…it’s easier than you think, honestly!
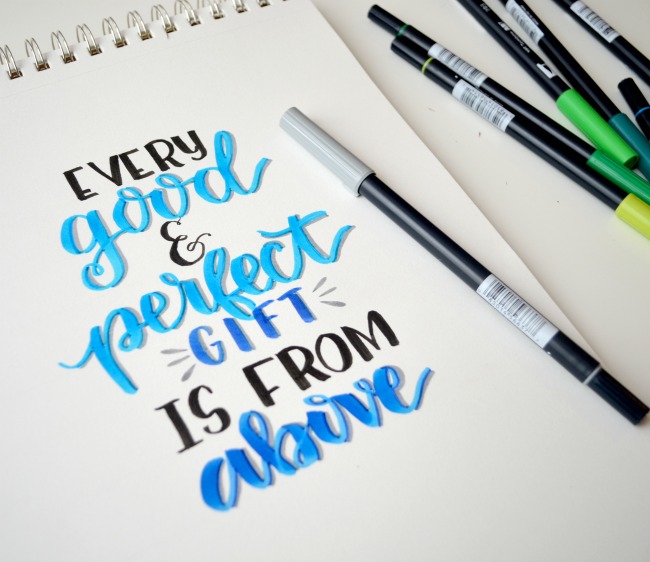
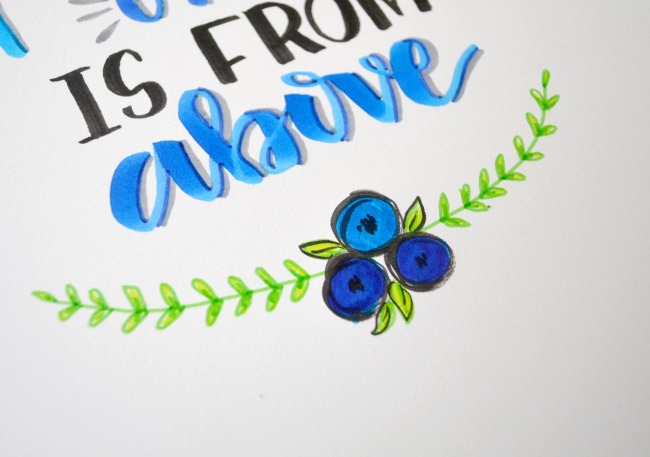
Step 4: Use a grey marker to add shadows to the colored words.
I chose to place mine as though the light source were coming from the left side, casting shadows on the right of each letter. I also made a few little embellishments on either side of the word “gift.” To create these, simply press the entire brush tip of the Tombow Dual Brush Pen horizontally to the paper and it’ll produce an inverted raindrop shape.
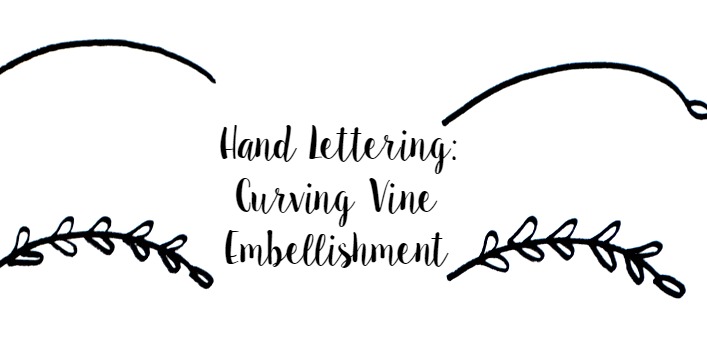
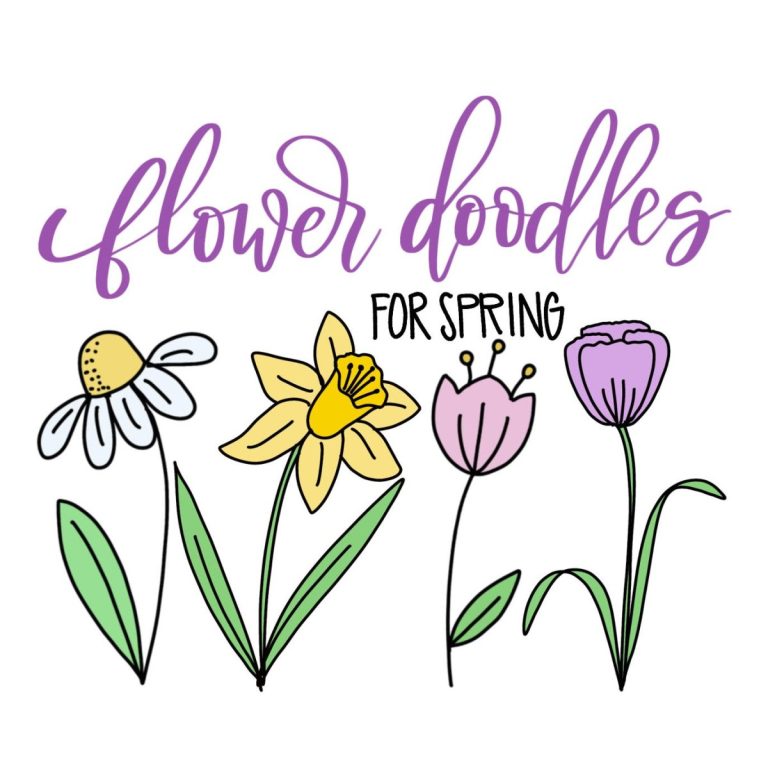
Step 5: Add embellishments.
I decided to use three flowers in the center of a curving vine. For a complete photo tutorial on each of these embellishments check out these posts:
Once my design was finished, all that was left to do was frame it! I made sure I started with 8 x 10″ paper so it would fit in the frame correctly. If your paper is 9 x 12″ or 8.5 x 11″ to start, you’ll want to trim it before you begin lettering so that you know what you’re working with.

That’s all there is to it! You could personalize this project in many different ways, including choosing other colors and writing another verse or phrase that means a lot to the mama-to-be.
I wanted to make this particular design available to you all as a free printable in honor of Lauren and her sweet baby! To grab it, simply right click on the image below and save it to your device, or head here to download from Google Drive.
I hope you’ll join me in wishing Lauren and her hubby the very best as they get ready for baby’s arrival. Make sure to stop by and see the rest of our virtual shower to enjoy the other fabulous projects my blog friends have created for this special occasion!
1.Chai Latte Cupcakes with Cupcake Toppers by Two Purple Couches
2.Guacamole Shrimp Bites from Katie’s Cucina
1.Customizable Baby Shower Invites by Tried & True
2.Baby Nursery Art by One Artsy Mama
3.“It’s a Girl!” Printable Bunting Banner by Just a Girl and Her Blog
4.Baby Shower Decoration Ideas by Southern Couture
1.Onesie Making Station by unOriginal Mom
2.Free Printable Baby Shower Game – Alphabet Cards by Cutesy Crafts
3.Printable Baby Word Search by Simply Kelly Designs
4.Name That Rockin’ Lullaby Baby Shower Game + Free Printable by Where the Smiles Have Been
1.Emergency Diaper Kit with Free Printable by From Wine to Whine
2.DIY No-Sew Baby Headband by Practically Functional
3.Personalized Onesie Tutorial by Ginger Snap Crafts
4.Personalized Onesie Dress by Create & Babble
5.Crochet Scalloped Earflap Hat and Flower by Repeat Crafter Me
6.Starfish Nursery “Love You” in Etched Glass Frame by Whatcha Workin’ On?
7.Knit Bow Baby Headband by It Happens in a Blink
8.Super Sweet Month by Month Baby Stickers by Tori Grant Designs
9.Fearfully and Wonderfully Made Onesie by Sew Woodsy


You are so talented–this is absolutely gorgeous!
Your hand-lettering is so swoon-worthy…so to be the recipient of a custom piece in honor of our girl is SUCH a gift. Thank you, Amy! I love how you walked through the hand-lettering tutorial (so we can all learn from your expertise) and yet still shared a freebie printable so we can share your artsy mama art with others. You rock! Thank you for making me feel so incredibly loved. XOXO
You are SO very welcome!! So much love to you and Baby Girl!
Love this! What a great idea to use a gray marker to add shadow. I seriously need to get some Tombow pens–I see them being used all the time on Instagram and they look so awesome. 🙂
Do it! Tombows are AMAZING! You’ll never go back!!
Oh my gosh Amy, I love it! I am always so impressed with your hand lettering stuff; there’s no way I could do that. Thanks for the fabulous printable!
This is lovely. Your hand lettering is amazingly consistent, and I love that you echoed the birth announcement…so meaningful.
Thank you so much! I am obsessed with lettering these days, in case you couldn’t tell… 😉
Amy, this is so lovely, as are all of your hand-lettering projects! And so sweet for you to incorporate the verse from their pregnancy announcement! Thanks for offering up the freebie, too!
This is just lovely. What a perfect piece of art to hang in a nursery! I love this scripture, too. Thanks so much for participating in our little baby shower!
So glad you organized it! Such fun!!
I just bought Tombows and did this. Absolutely love the markers and the grey teardrops and everything about it!
Question: The word above seems to be written in dark blue but has highlights of light blue. Do you have a tutorial to blend colors with these markers? Looks absolutely amazing! Thanks
Actually, that’s just the variation between the thick and thin strokes with that marker color. You can blend them, though by using a laminated sheet, a plastic bag, or even coloring directly onto the tip of one marker with another!