
Host an At-Home Hand Lettering Workshop
In the past few months since I’ve started sharing hand lettering tips and projects, I’ve not only gotten a great response from all of you online, I’ve also had lots of real life friends who have asked about getting together in person to learn and practice their skills. So, I decided to host an at-home lettering workshop! The idea was that we’d get together for a girls’ night {complete with desserts and wine} where everyone could develop some basic skills and leave with a pretty project to display at home. Today, I want to share with you how I ran the workshop so that you can host your own with your friends!
First, I created the event on Facebook so that people could RSVP right there and I could communicate with the whole group at once. I ended up having fifteen guests attend, so the morning of the party, Erin came over and helped me set up three tables in the family room, plus enough chairs for everyone.
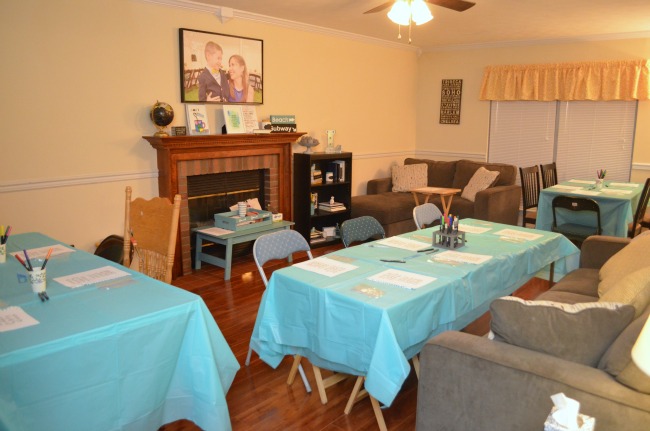
Then, I gathered the supplies.
Here’s what you need for a workshop like this one:
Some of these are affiliate links.
Guide Packet {one for each guest}
Medium weight sketch paper {4-5 sheets per person}
Hot press watercolor paper {one sheet per person}
Tombow Dual Brush Pens
Tombow Fudenosuke Pens
Pencils
Aqua pens
Plastic sandwich bags
Tombow was kind enough to send us three packs of Dual Brush Pens to share and a Fudenosuke Soft Tip Pen for each guest to take home for future practice and projects! I divided up the markers between the tables and gave each person sketch paper for practicing as well as a guide packet that contained images from some of my beginner lettering blog posts. You can print out the packet here to use for your own get-together.
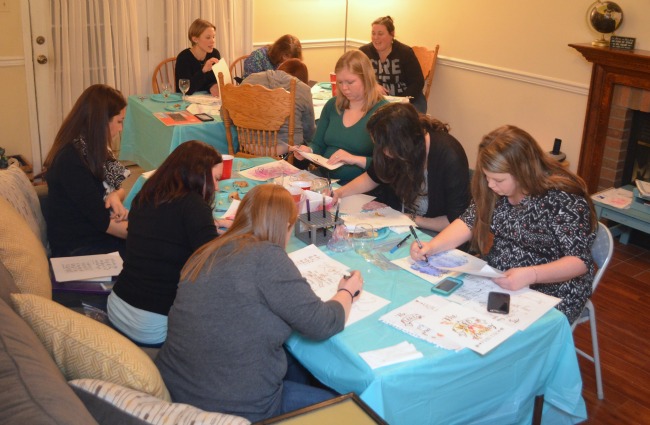
First, I walked the group through the basic embellishments one at a time using the step-by-step images in the packet as a guide. I explained how to make curving vines, arrows, banners, simple swirls, and flowers while they practiced the techniques on sketch paper. Then, it was time to tackle the lettering itself! We all wrote the word “joy” using my simple hand lettering steps and I gave them time to try writing their names and other words using the Brush Lettering Alphabet as a reference. Finally, I demonstrated my plastic bag watercolor technique using the Tombow Dual Brush Markers and encouraged the ladies to try it for themselves on their practice papers.
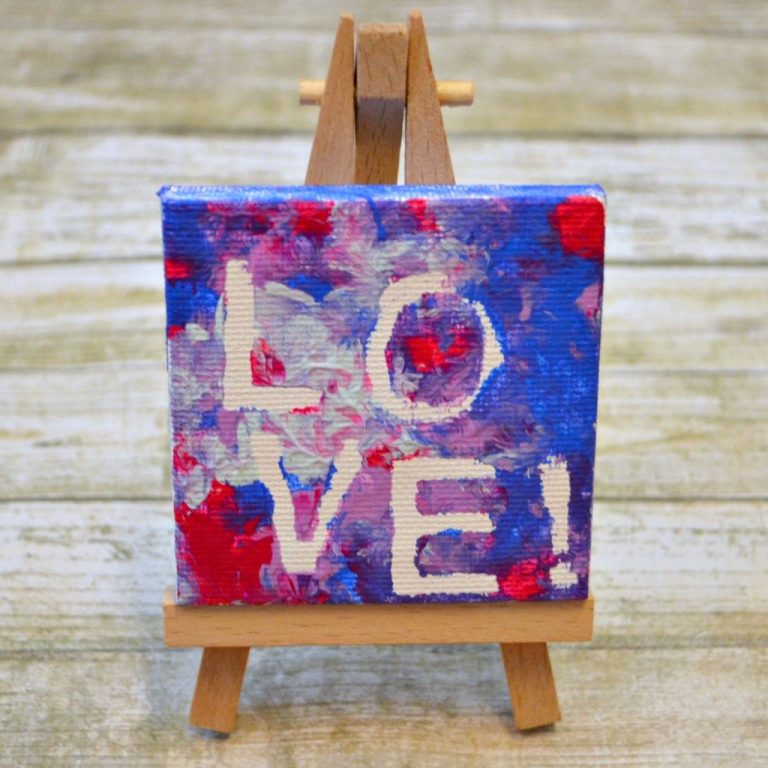
After our practice time, it was time for my guests to start working on their own individual projects. Each person was asked to bring either an 8 x 10 or 8 1/2 x 11″ frame as well as to come with an idea of a phrase they wanted to use. I gave some tips for designing, like mixing fonts, mixing sizes, and using embellishments, and provided lots of sample pieces for them to look at as they designed their own piece. Many of the girls had also pinned some inspiration pieces to their Pinterest boards, so they pulled those up on their phones. Before creating their projects, each person did a rough sketch on scrap paper to practice alignment, spacing, sizing, and more. When they were “ready to commit,” I gave them a piece of hot press watercolor paper for the final copy. I prefer hot press because it is far smoother than cold press paper, which makes it more ideal for lettering.
All of the ladies did an amazing job, and I loved seeing the variety in their projects! Here’s a look at what they created!
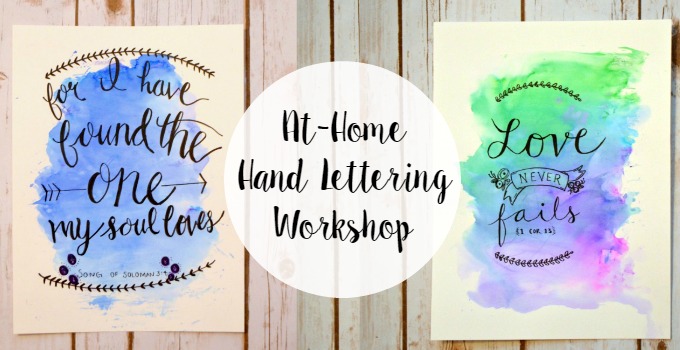
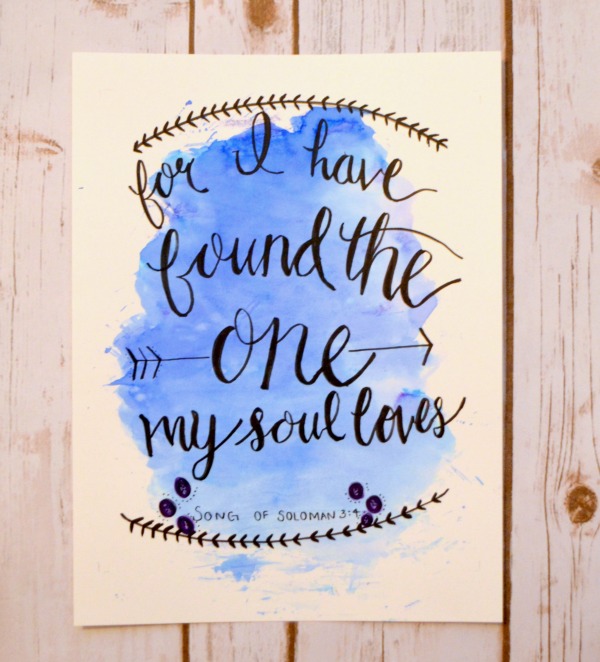
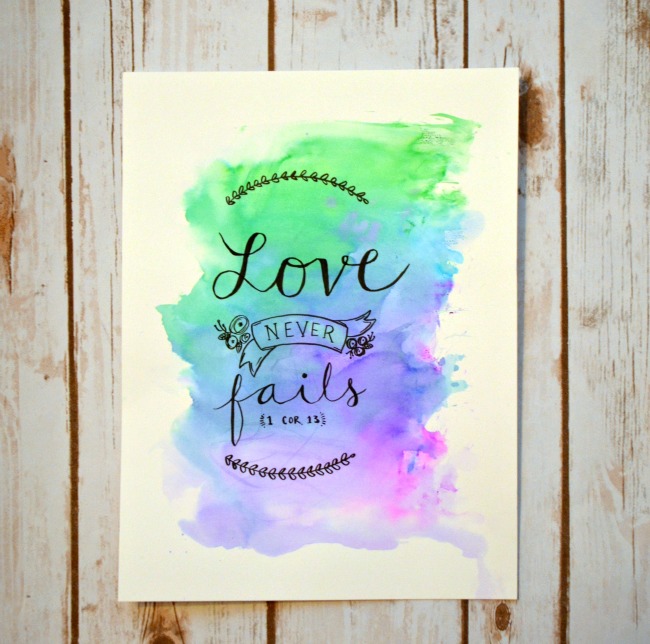
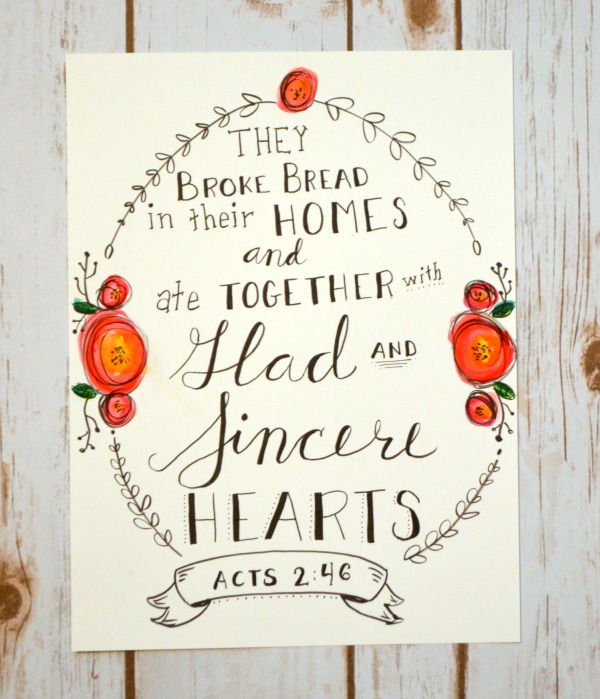
Bonnie and Jenni used the same phrase, but their art turned out looking completely different because of the colors, embellishments, and writing styles they chose to use.
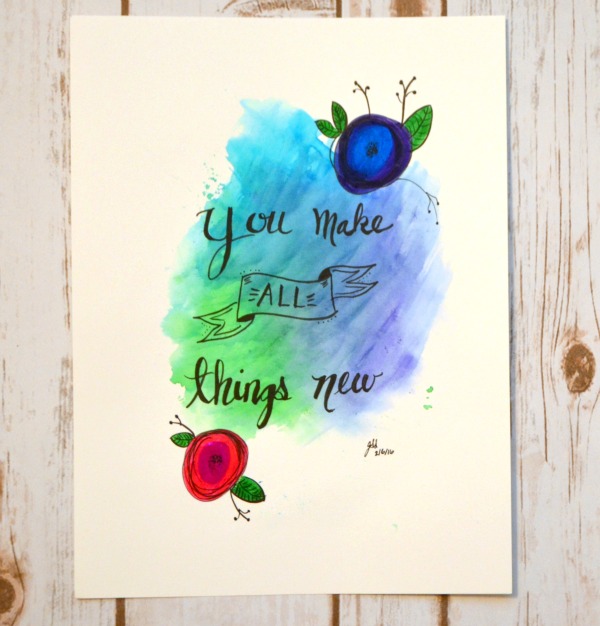
Kristen and Maggie also chose the same phrase, but got totally different effects. Even though they both used curving vines and flowers, Kristen’s watercolor background and Maggie’s large yellow flowers give completely different looks.

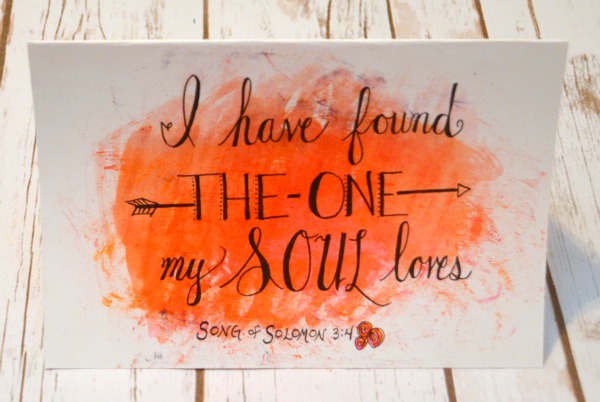
Jess used a watercolor background and two large flowers to accent her message.
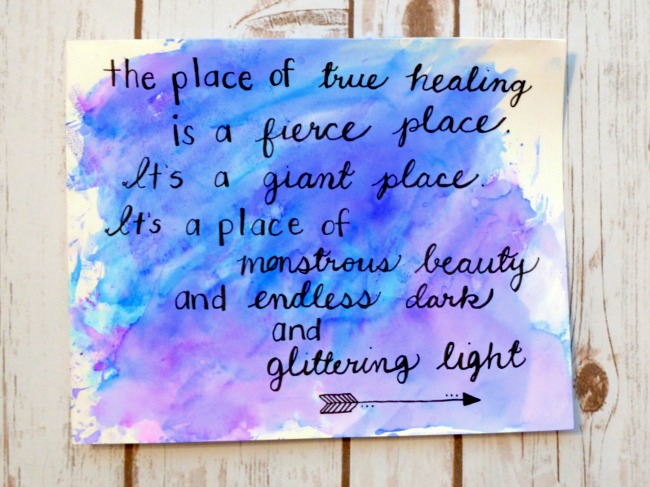
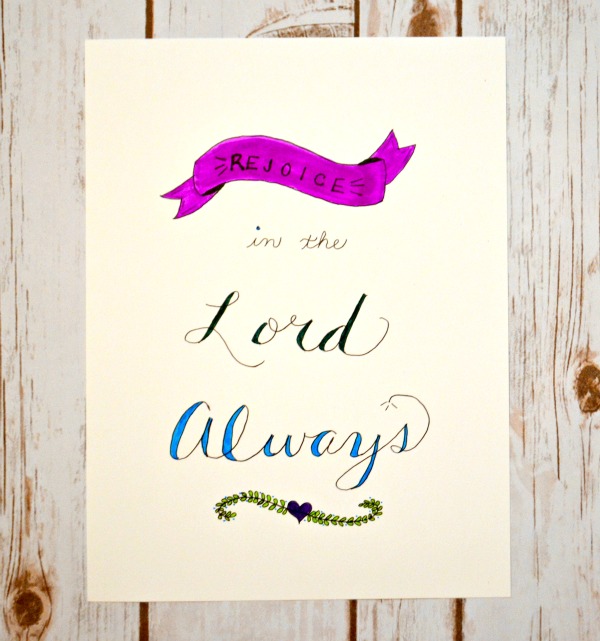
Stacie chose a longer phrase, so an arrow was her only embellishment other than the blue and purple background.
Jess and Rhonda both decided to forego the watercolors and add color to their work by filling in their embellishments with Dual Tip Markers instead.

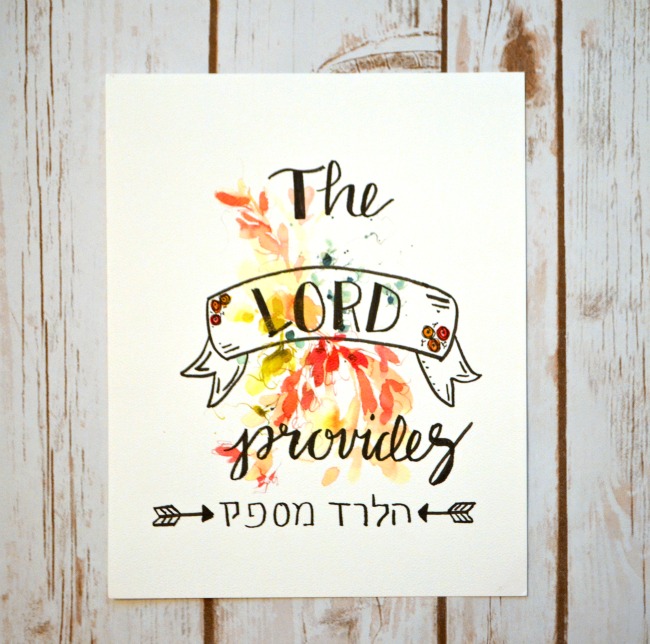
Nicole brought a pre-made background that she received from She Reads Truth and did her lettering over top of it. She gave herself an extra challenge by deciding to write the same phrase in Hebrew at the bottom! I was impressed!
Sherl and Laura also decided to skip the watercolor background and go straight to their lettering, using colorful embellishments to make their designs pop. Sherl also decided to thicken her down strokes with color instead of black to make the words vibrant.
All of the guests said they had a wonderful time and we’ve already planned a second workshop for next month where we’ll be using hand lettering and stencils to decorate wooden signs.

Is this something you and your friends would enjoy doing? It was a great way to spend a Girls’ Night and I loved watching as even those who felt the least artistic coming into the evening realized how doable it really is! Thanks to Tombow for the markers and to my friends for making it such a fun time!


Such a fun PARTY!!!!!! Love the projects you all made. THANK YOU for sharing them 🙂
How fun!! I love all the different varieties that they all did. I wish I lived closer to come 🙁 So much fun!!
Oh my word. How incredibly inspirational and gracious of you to provide all the information on how to host such a splendid event! I’m so excited – I want to do this with the women at my church now! Thank you for your generosity!
Of course! I hope you’re able to host one!
I’m trying this in July! So excited and so grateful for the ideas and instructions. Thank you
Hope it goes wonderfully!
I’ve been pondering how I would go about hosting a party like this. Thank you SO much for sharing! Did you contact Tombow directly regarding this event or did they approach you? I’ve been wrestling with the issue of supplies and the up front cost I would incur and have been looking to see if they sell class sets at a reduced rate or have something like that…? i feel lost but I know the general direction i’m going in; does that make sense?
I have a working relationship with the folks at Tombow, as I’m a part of their Brand Ambassador Team. One thing you could do, though, is just ask each guest to bring a few dollars. The fudenosuke pens are the main thing they’ll need, and those run about $2.50-$3.50 a piece. You could order them ahead of time and have your guests pay you back, or ask them to order one and bring it with them to the party.
How long was the party!? I would love to do something like this for my friends!
Mine are typically between an hour and a half and two hours.