
Children’s Table (For Small Spaces!)
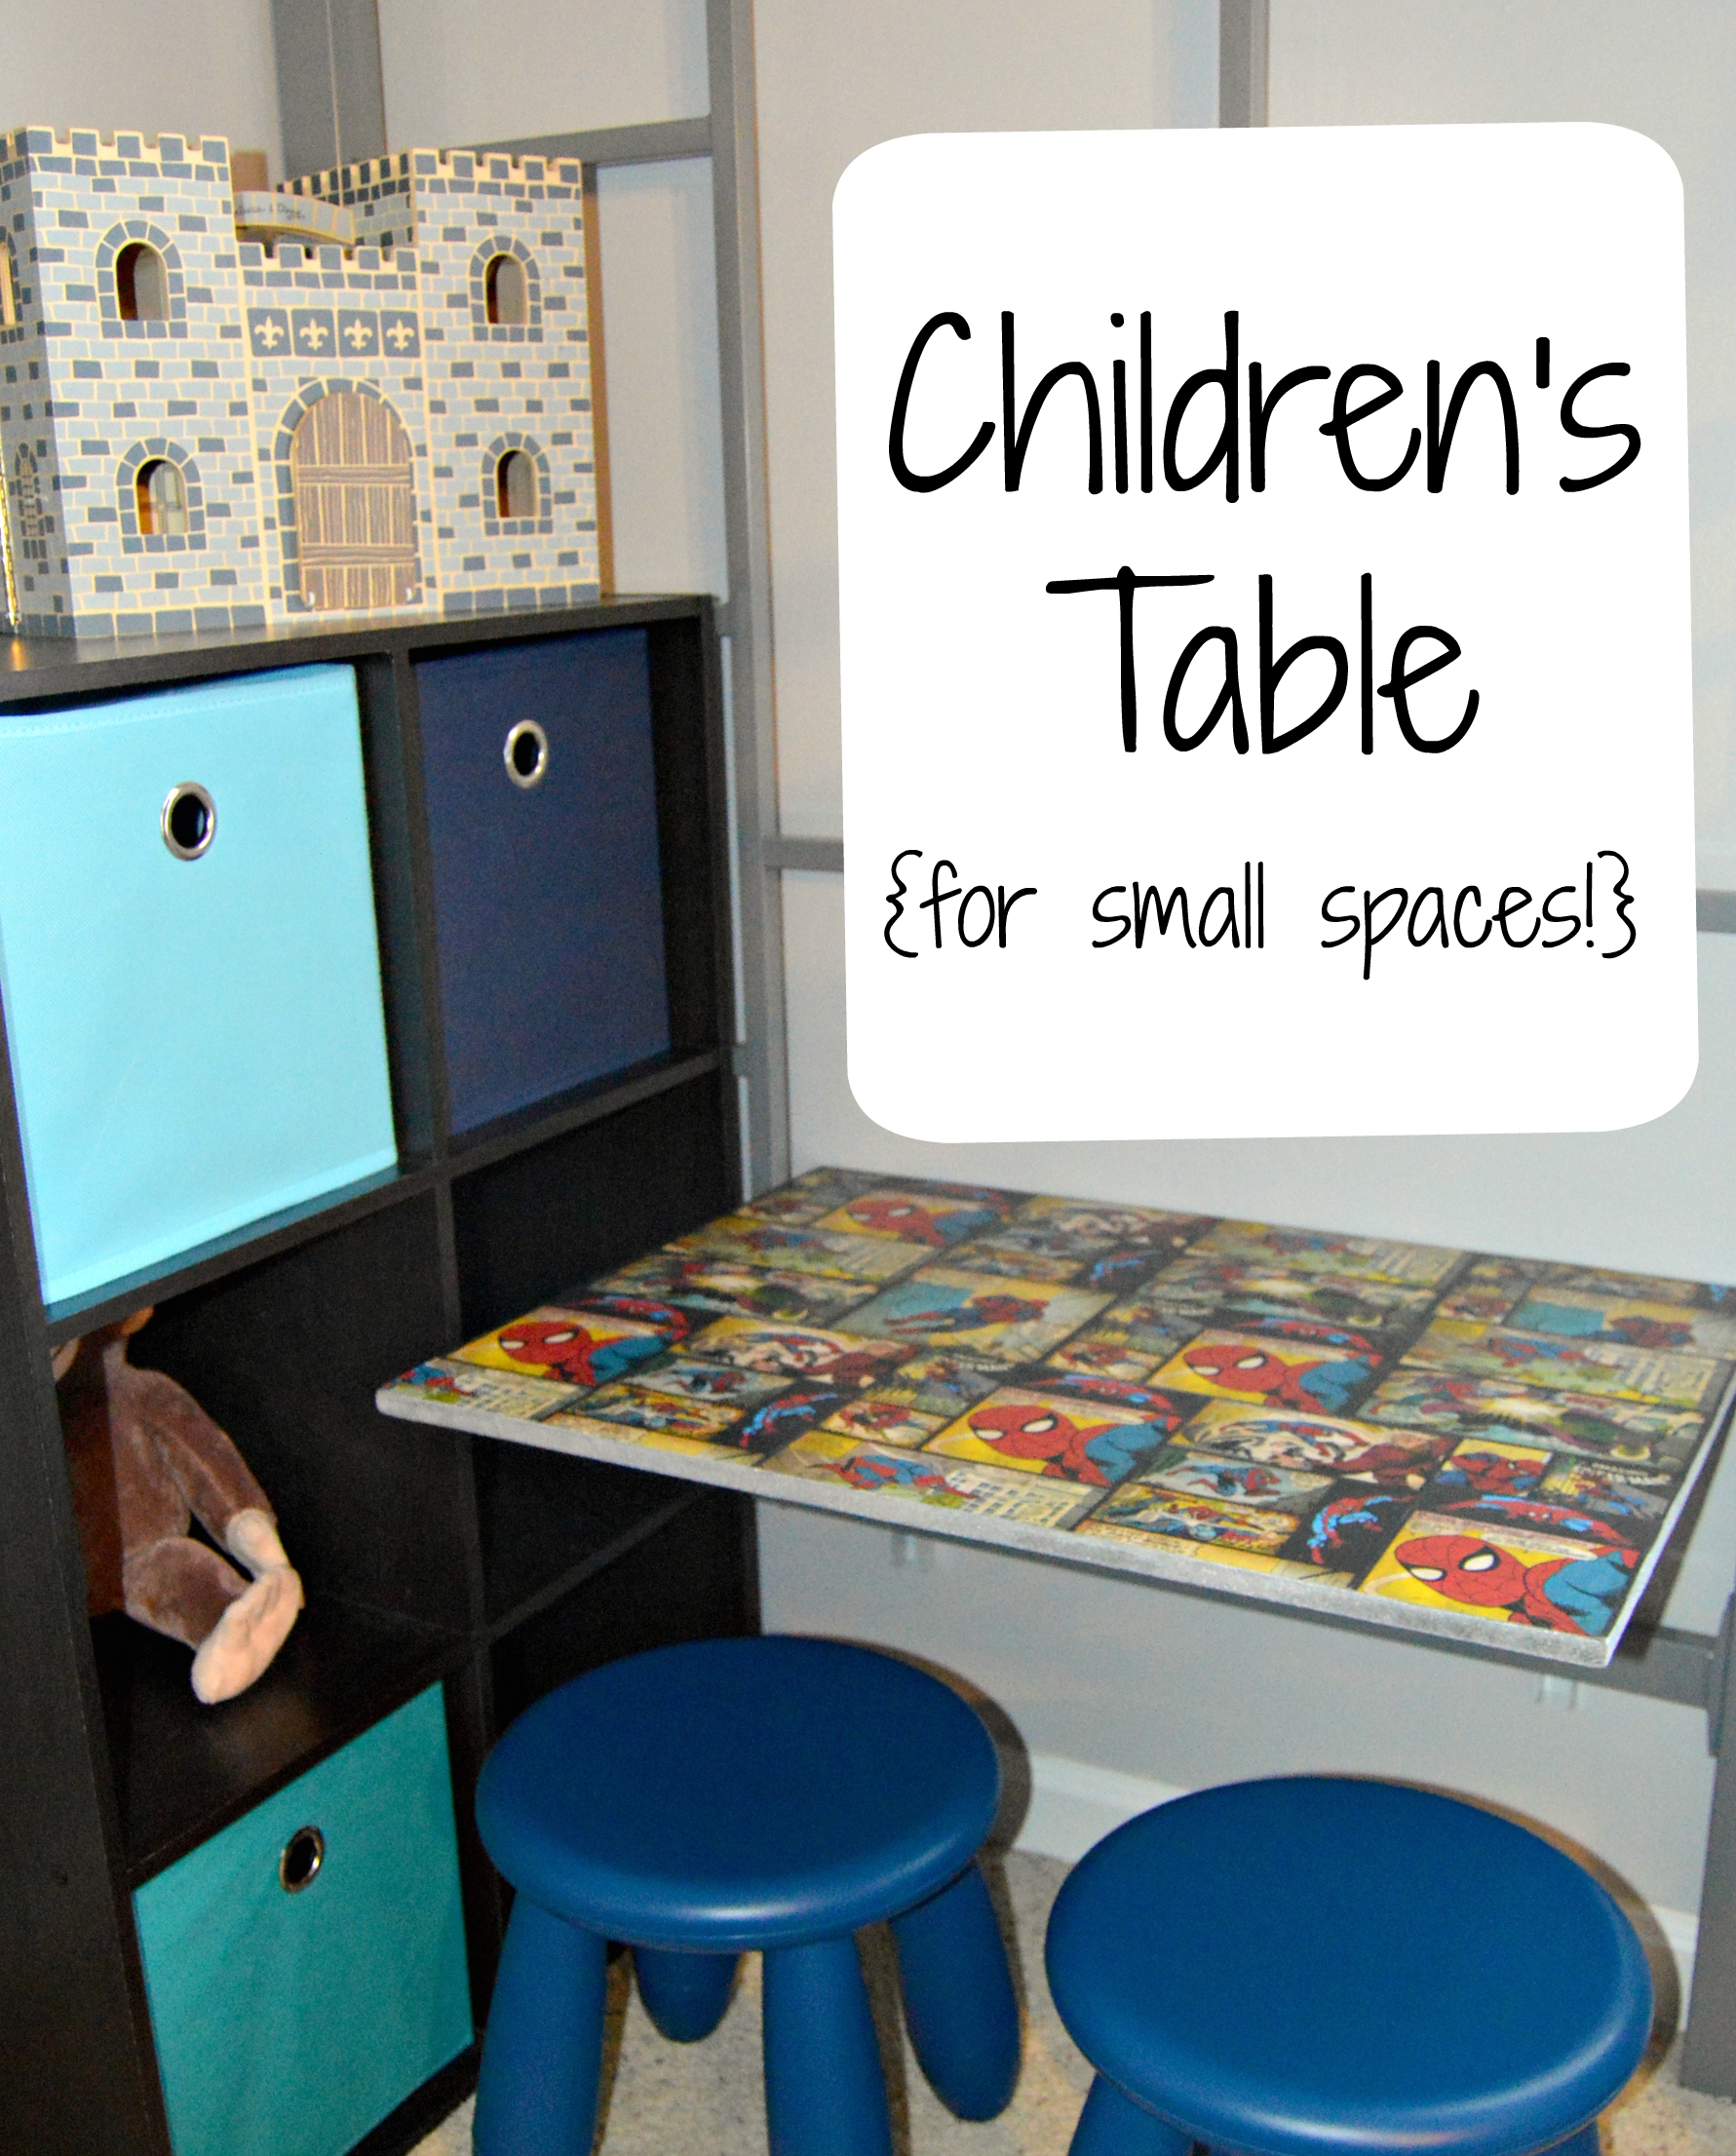
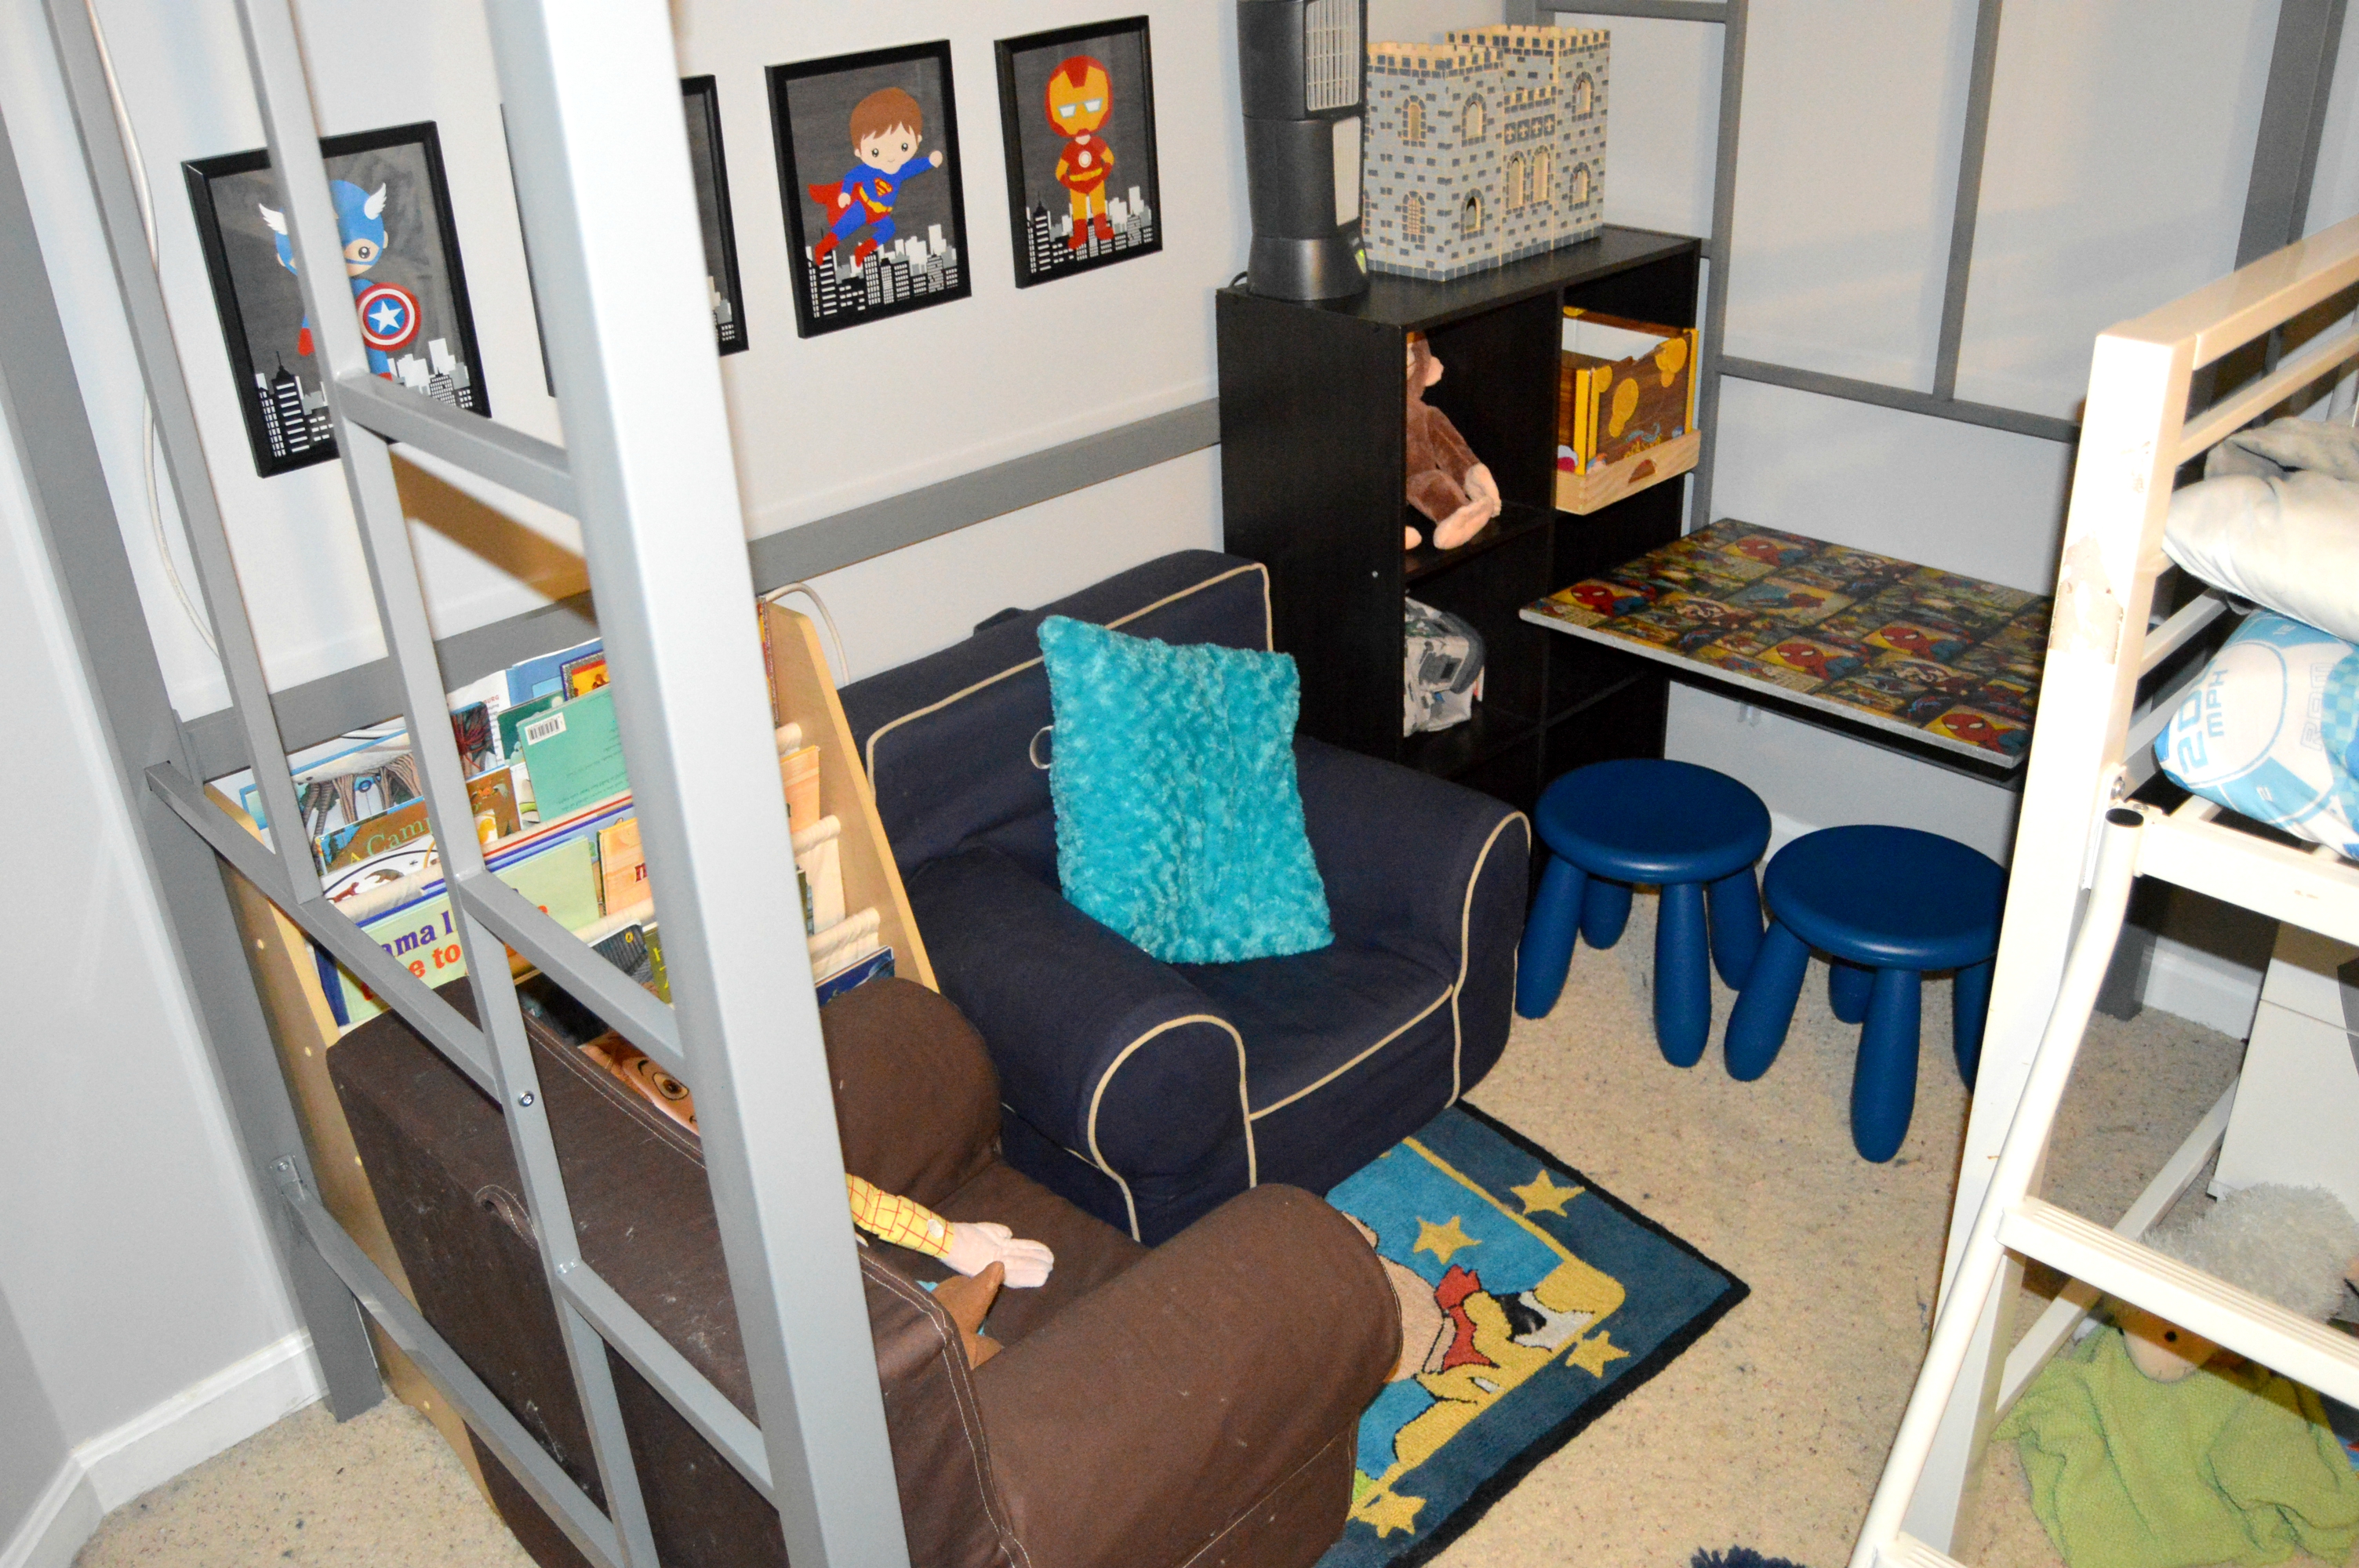
With the arrival of Princess C this September, I’ve (Erin) been busy with organizing, rearranging, and preparing for our 4th child. One of the biggest undertakings was combining the three boys into one “Brothers’ Superhero” room, and giving them their own space. After much measuring, planning, and finger crossing, I was able to give each boy their own bed (Prince C has a high loft, Bam Bam has a low loft, with Squishy in a toddler bed under the low loft) as well as space to play underneath. I also wanted to make an area where the boys could have quiet play, like reading, building, drawing, even homework (because, sniff, Prince C heads to kindergarten this year). Obviously space was limited, but I knew we could create the perfect little space that also added a pop of superhero color!

Materials:
-Particle Board (cut to desired size)
-Two Folding Shelf Brackets (Like THIS)
-Toggle Bolts (for brackets) and additional screws for desk
-Sand Paper
-Scrapbook Paper
-Coordinating Spray Paint
-Mod Podge
-Spray Adhesive (I used E6000 spray)
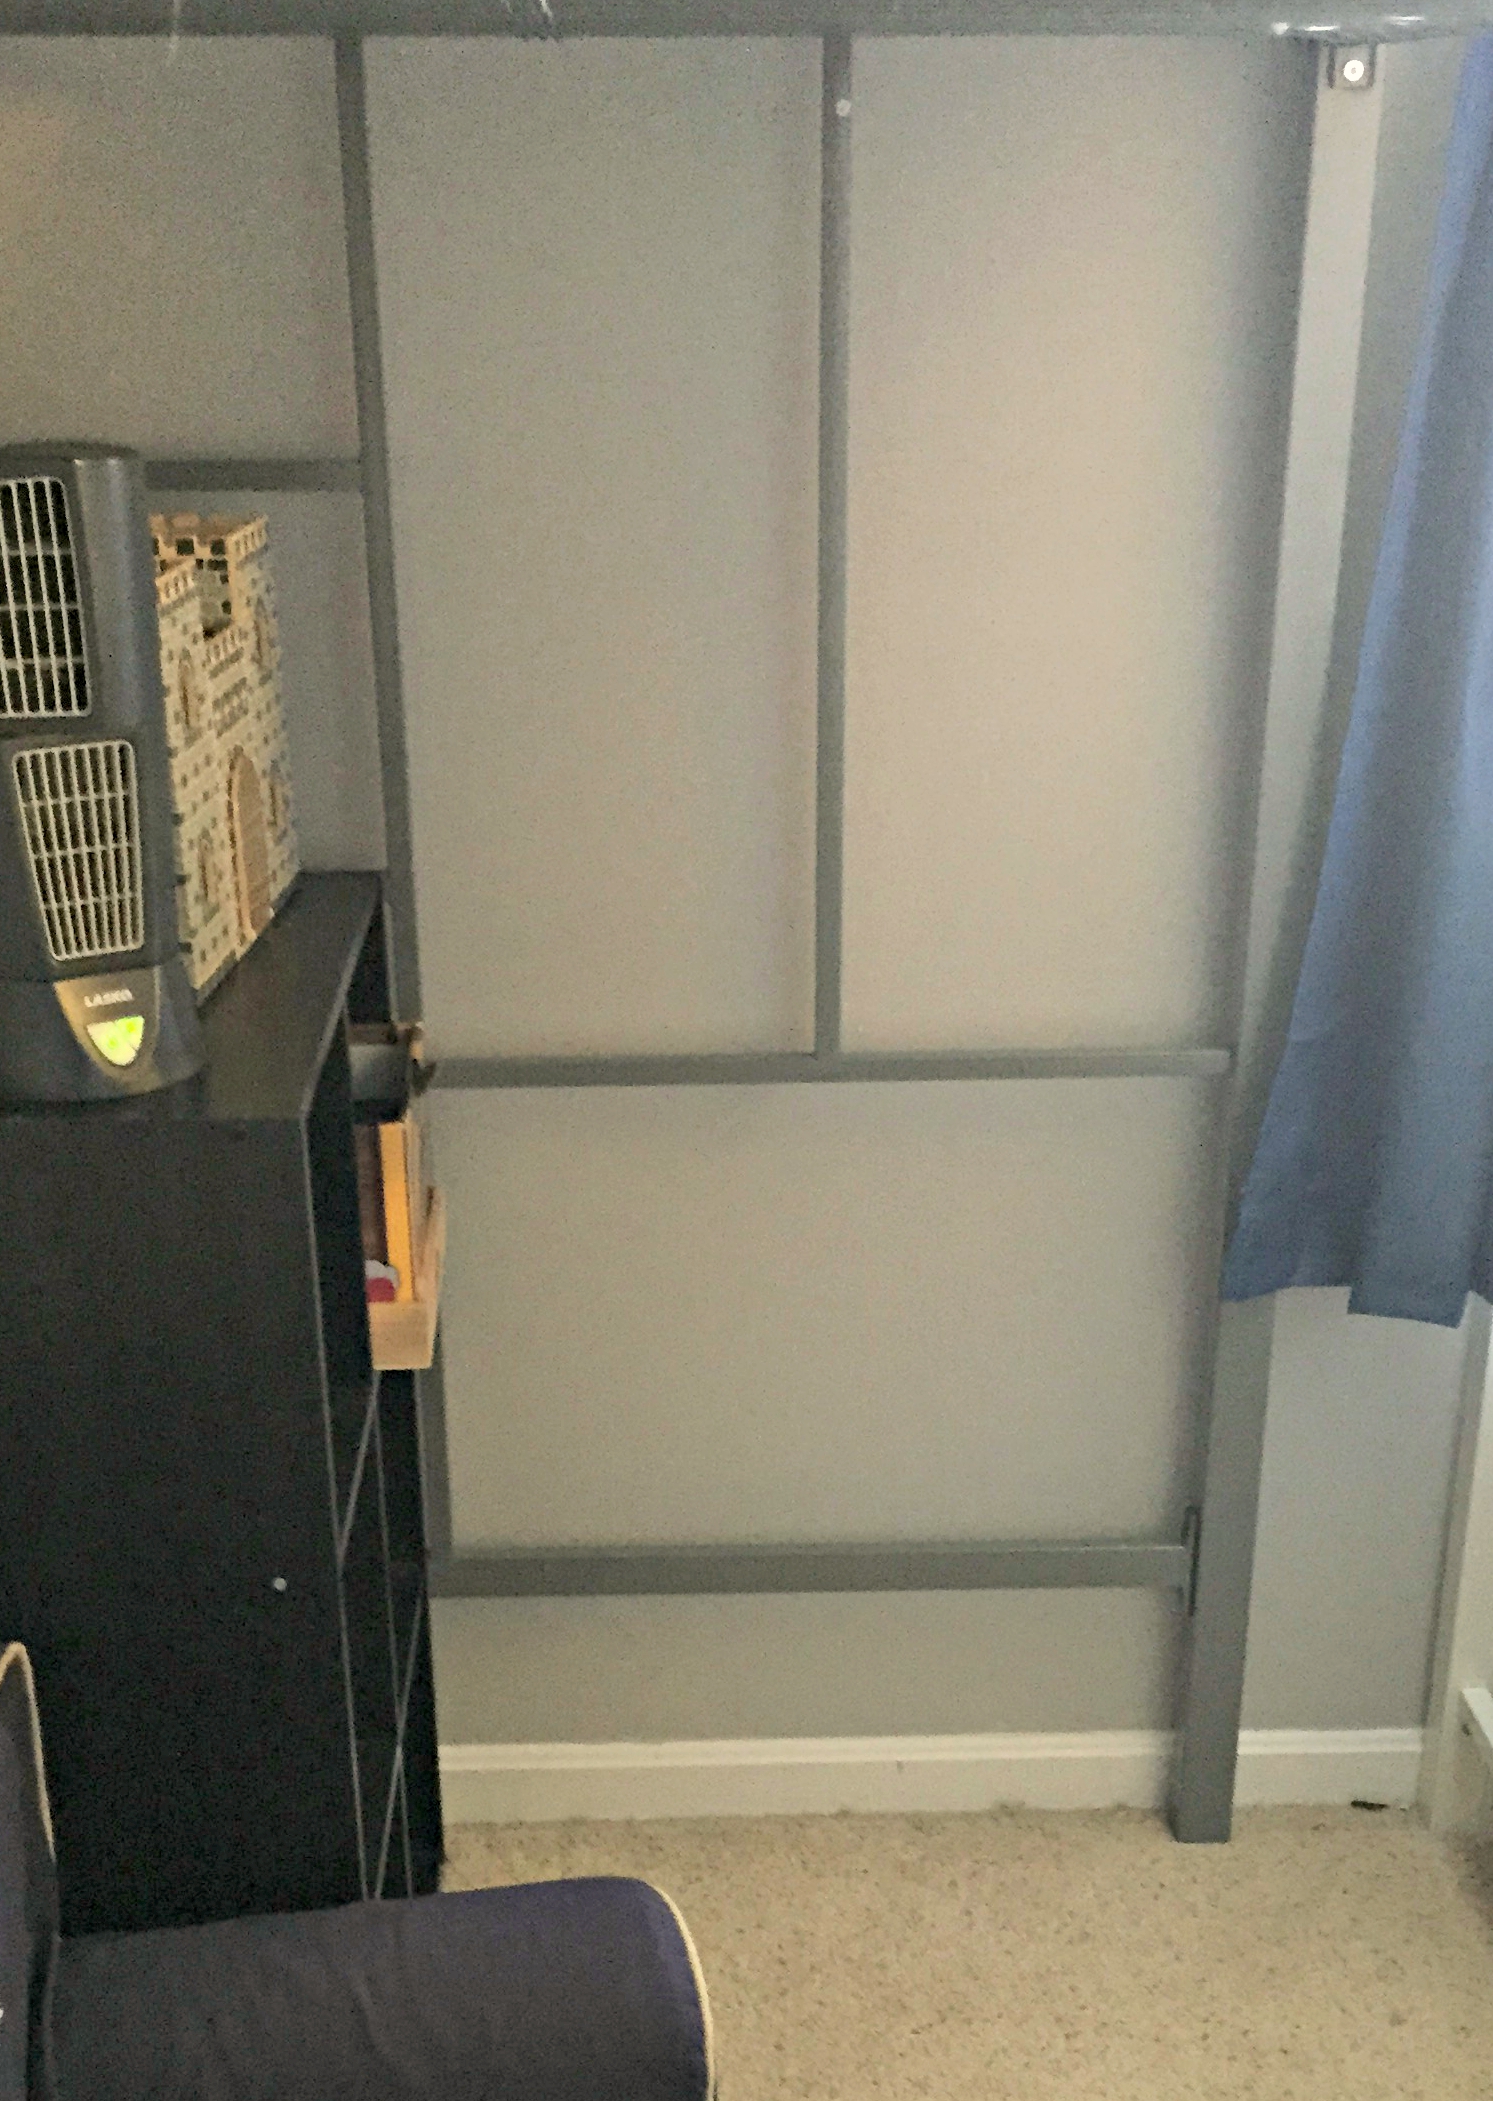
First, I’d like to apologize for some of the pictures, but man, not only is the table and the space in an awkward spot, but there’s not much natural light either. So, I’m sorry. Phew, ok. Anyways, I showed my husband this space and explained what I wanted to do, and he added in the extra awesome idea of brackets that folded, so we could fold the table against the wall when it wasn’t in use. Brilliant!
Part 1: Preparing the Table Top! After the space was measured, the particle board was cut to size, and then I sanded around the edges and corners. Why? Because little boys, sharp desk corners, and multiple wrestling body parts don’t go well with each other. I proceeded to spray paint the bottom and sides of the board with a mixture of gray and silver (in other words, what I had around the house that looked “superheroish”). Now granted, you won’t see the underside of the desk much, but I thought it gave it a more finished look.
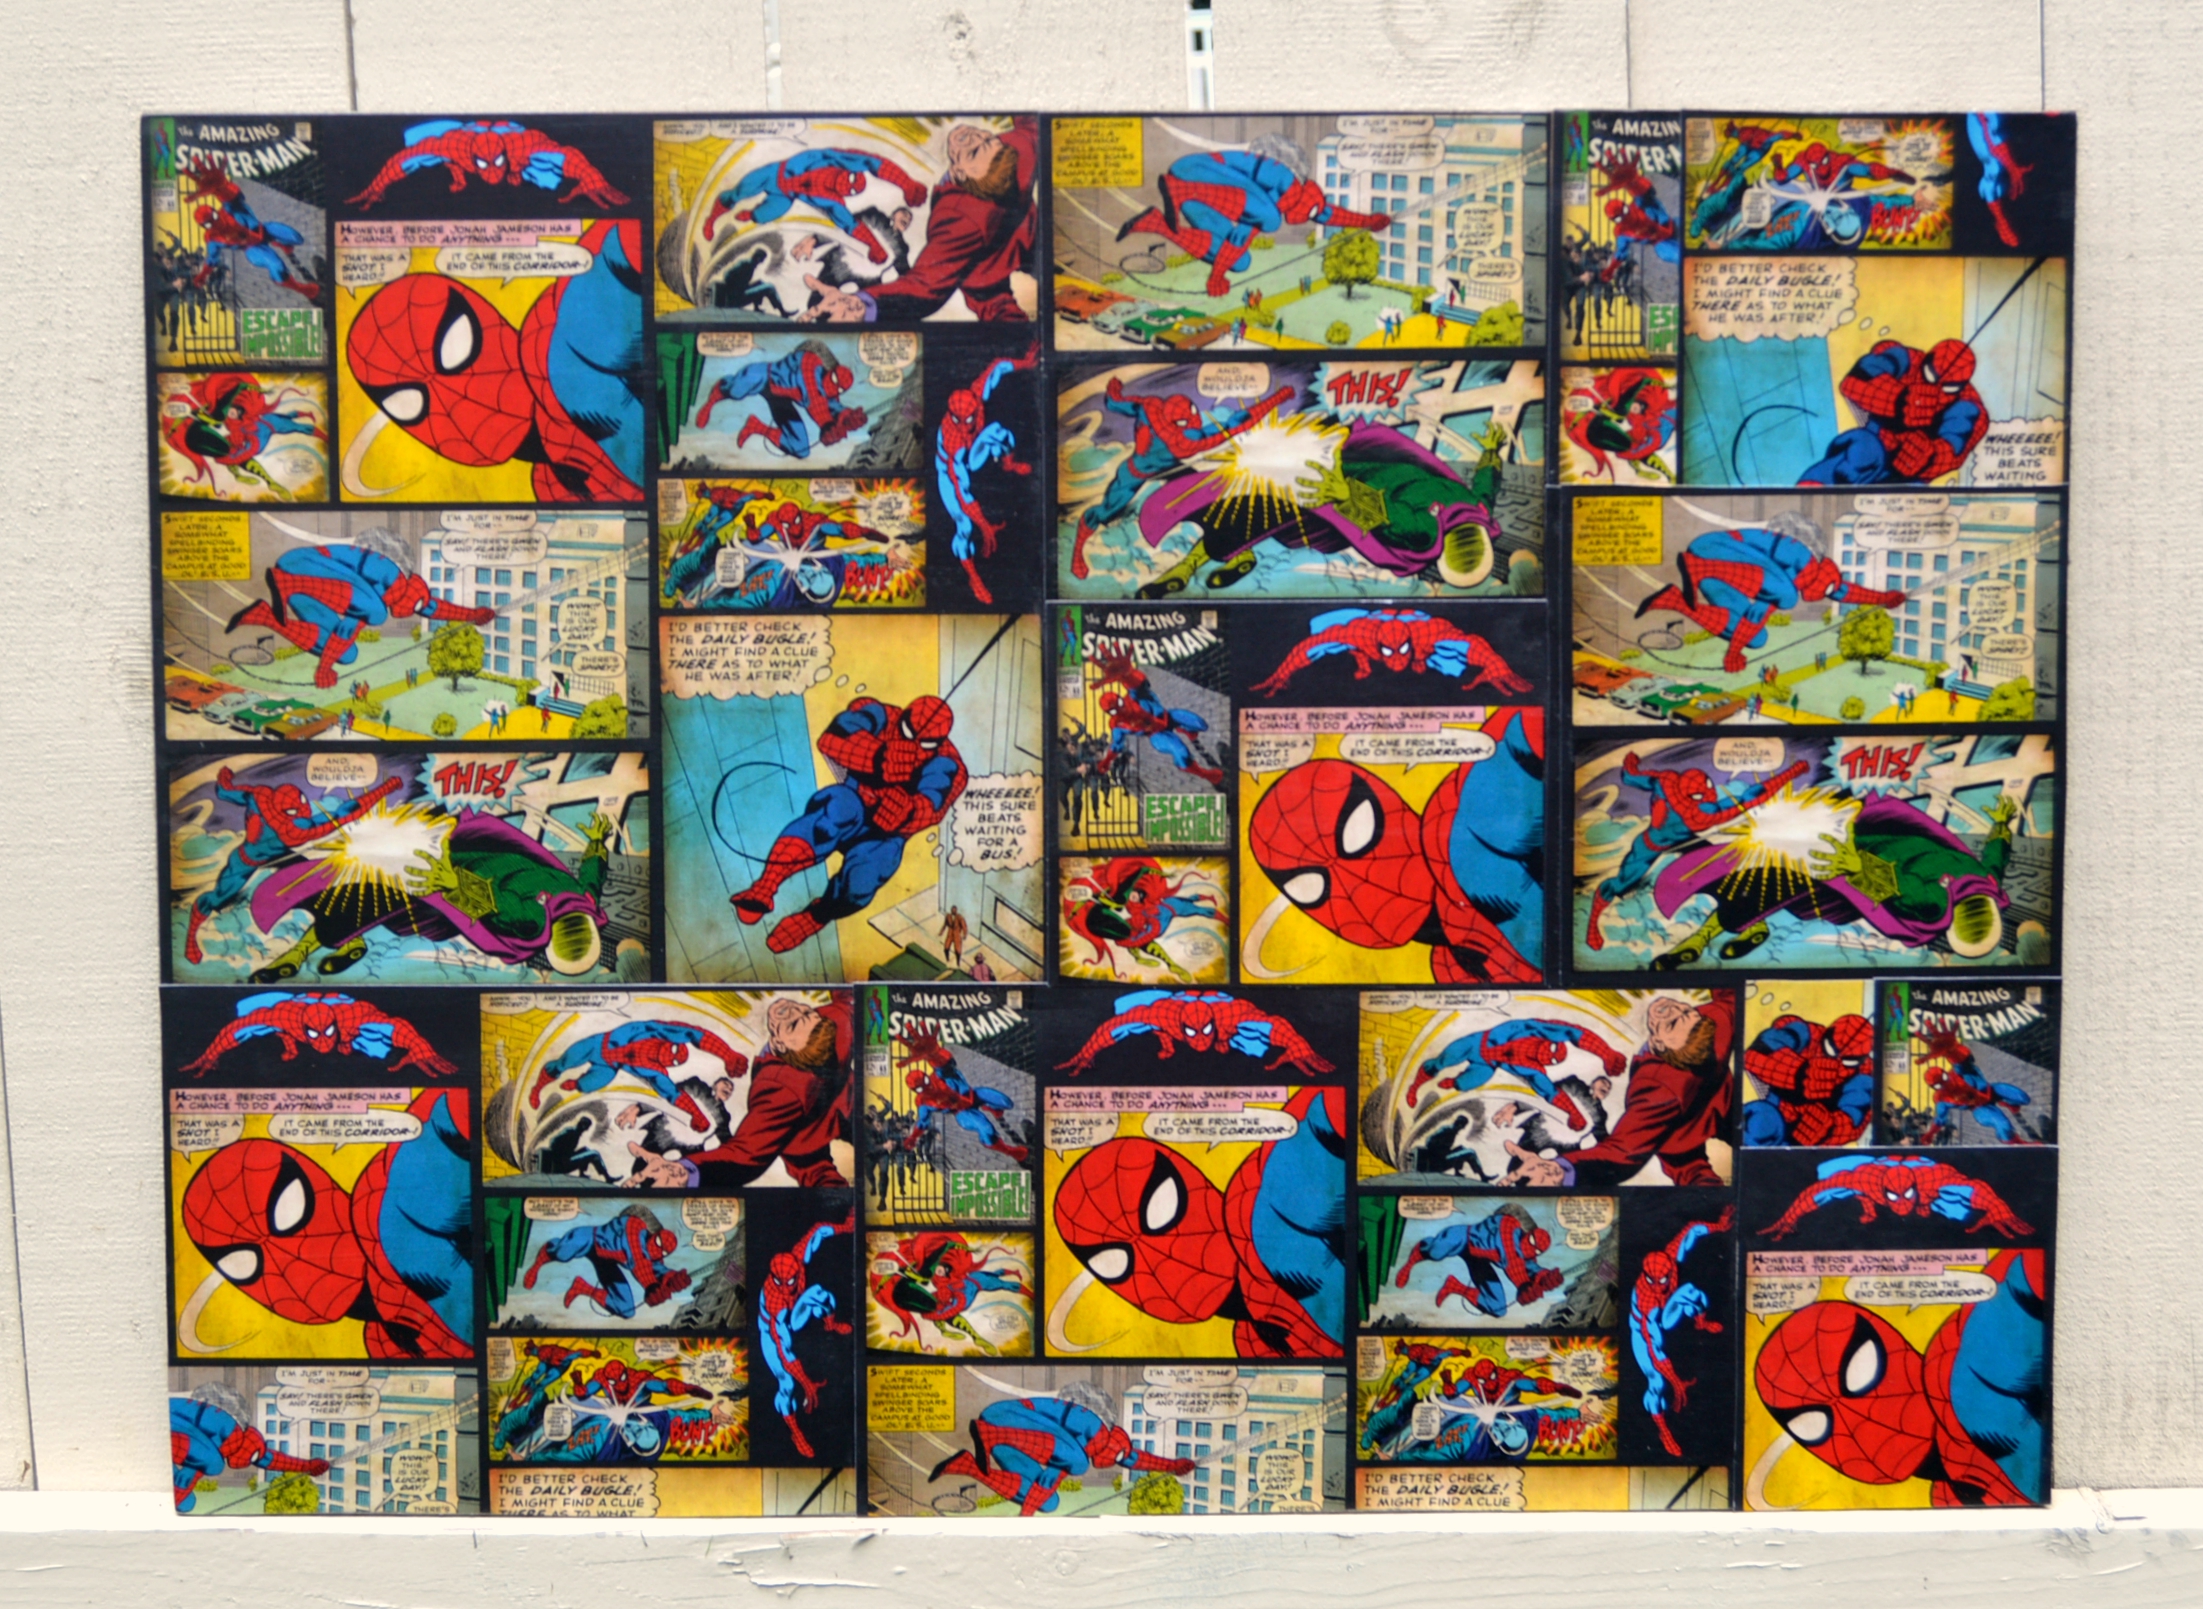
I found some regular 12×12 scrapbook paper that featured Prince C’s absolute favorite superhero, Spiderman.I really loved that it didn’t scream “cartoon” but more “vintage comic” and the colors matched the boys’ room perfectly. After arranging the paper to my liking, I used spray adhesive to glue the paper down. I used spray adhesive because I really didn’t want to deal with air bubbles and such, and this gave a really smooth appearance! I sealed the board with Mod Podge to protect the table from normal wear and tear. The boys won’t be eating on it or doing large arts and crafts projects here, so the Mod Podge suited our needs just fine!

I LOVE how it turned out. It is also coveted by my boys, my husband, my father-in-law, my brother-in-law, and pretty much any guy who grew up loving comics and superheroes. What’s really cool about this table top is that you can easily choose ANY scrapbook paper to match your room or theme, so you can create a completely personalized table.
Part 2: Assembling the Table! At this point in the game, it was time call in my handyman, otherwise known as my husband. I’m the idea gal, and he’s more of the “let’s take the idea, apply lots of numbers and math and engineering stuff, and make it happen” kinda guy. We’re kinda perfect for each other. Anyhoo, the table top was brought up, and was ready to be installed!

Steve did all the measuring, leveling, and drilling on this project. I love doing this stuff too, but when you’re almost 8 months pregnant, power tools and lack of balance don’t tend to go together well. Instead, I called in reinforcements. (Can you believe how big Squish is now? 20 months!)
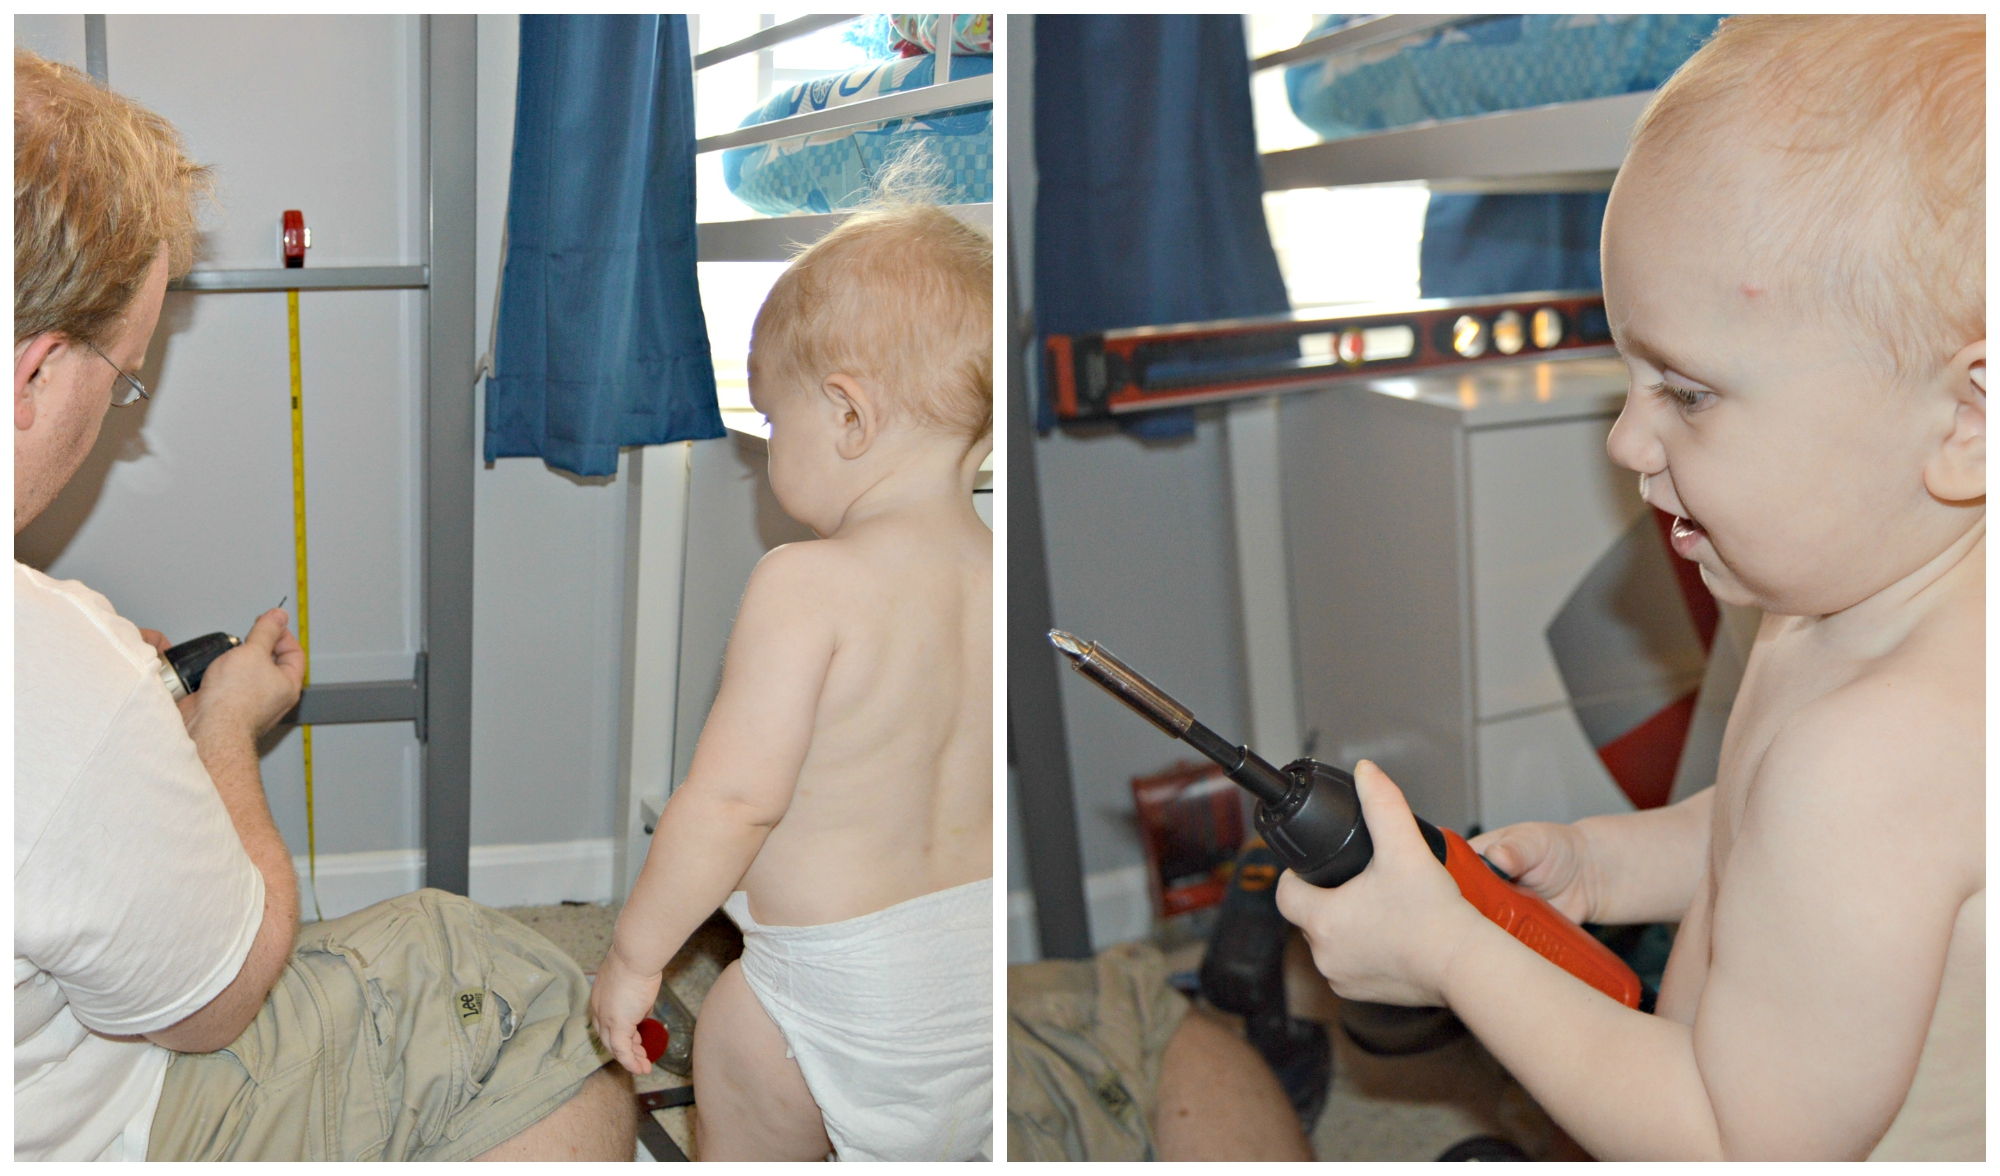
We used these great brackets that fold and hold a ton of weight, and eliminate the need for table legs (more space!). The toggle bolts are used when there aren’t any studs to be found. Does anyone else still giggle uncontrollably when someone is “looking for good studs” or “has to use a stud finder”? Just me? Ok then, moving on.
Once the brackets were installed, Steve used screws to attach the table to the top of the brackets. Make sure your screws are shorter then your table top, or they’ll poke through! I really wanted to include a picture of my husband laying on his back, halfway under the desk, and trying to get everything secure. I also want to keep my marriage in good standing, and have him finish some other projects around the house. So there aren’t any pictures of that step. 😉
 After the desk was installed, we did a quick “fold test” to make sure the hinges worked. Going into this, we knew it wouldn’t be flush against the wall due to the bar across the bottom of the bed, but for our purposes, this still gave the boys some space to place, and makes it easier for me to vacuum if I need to.
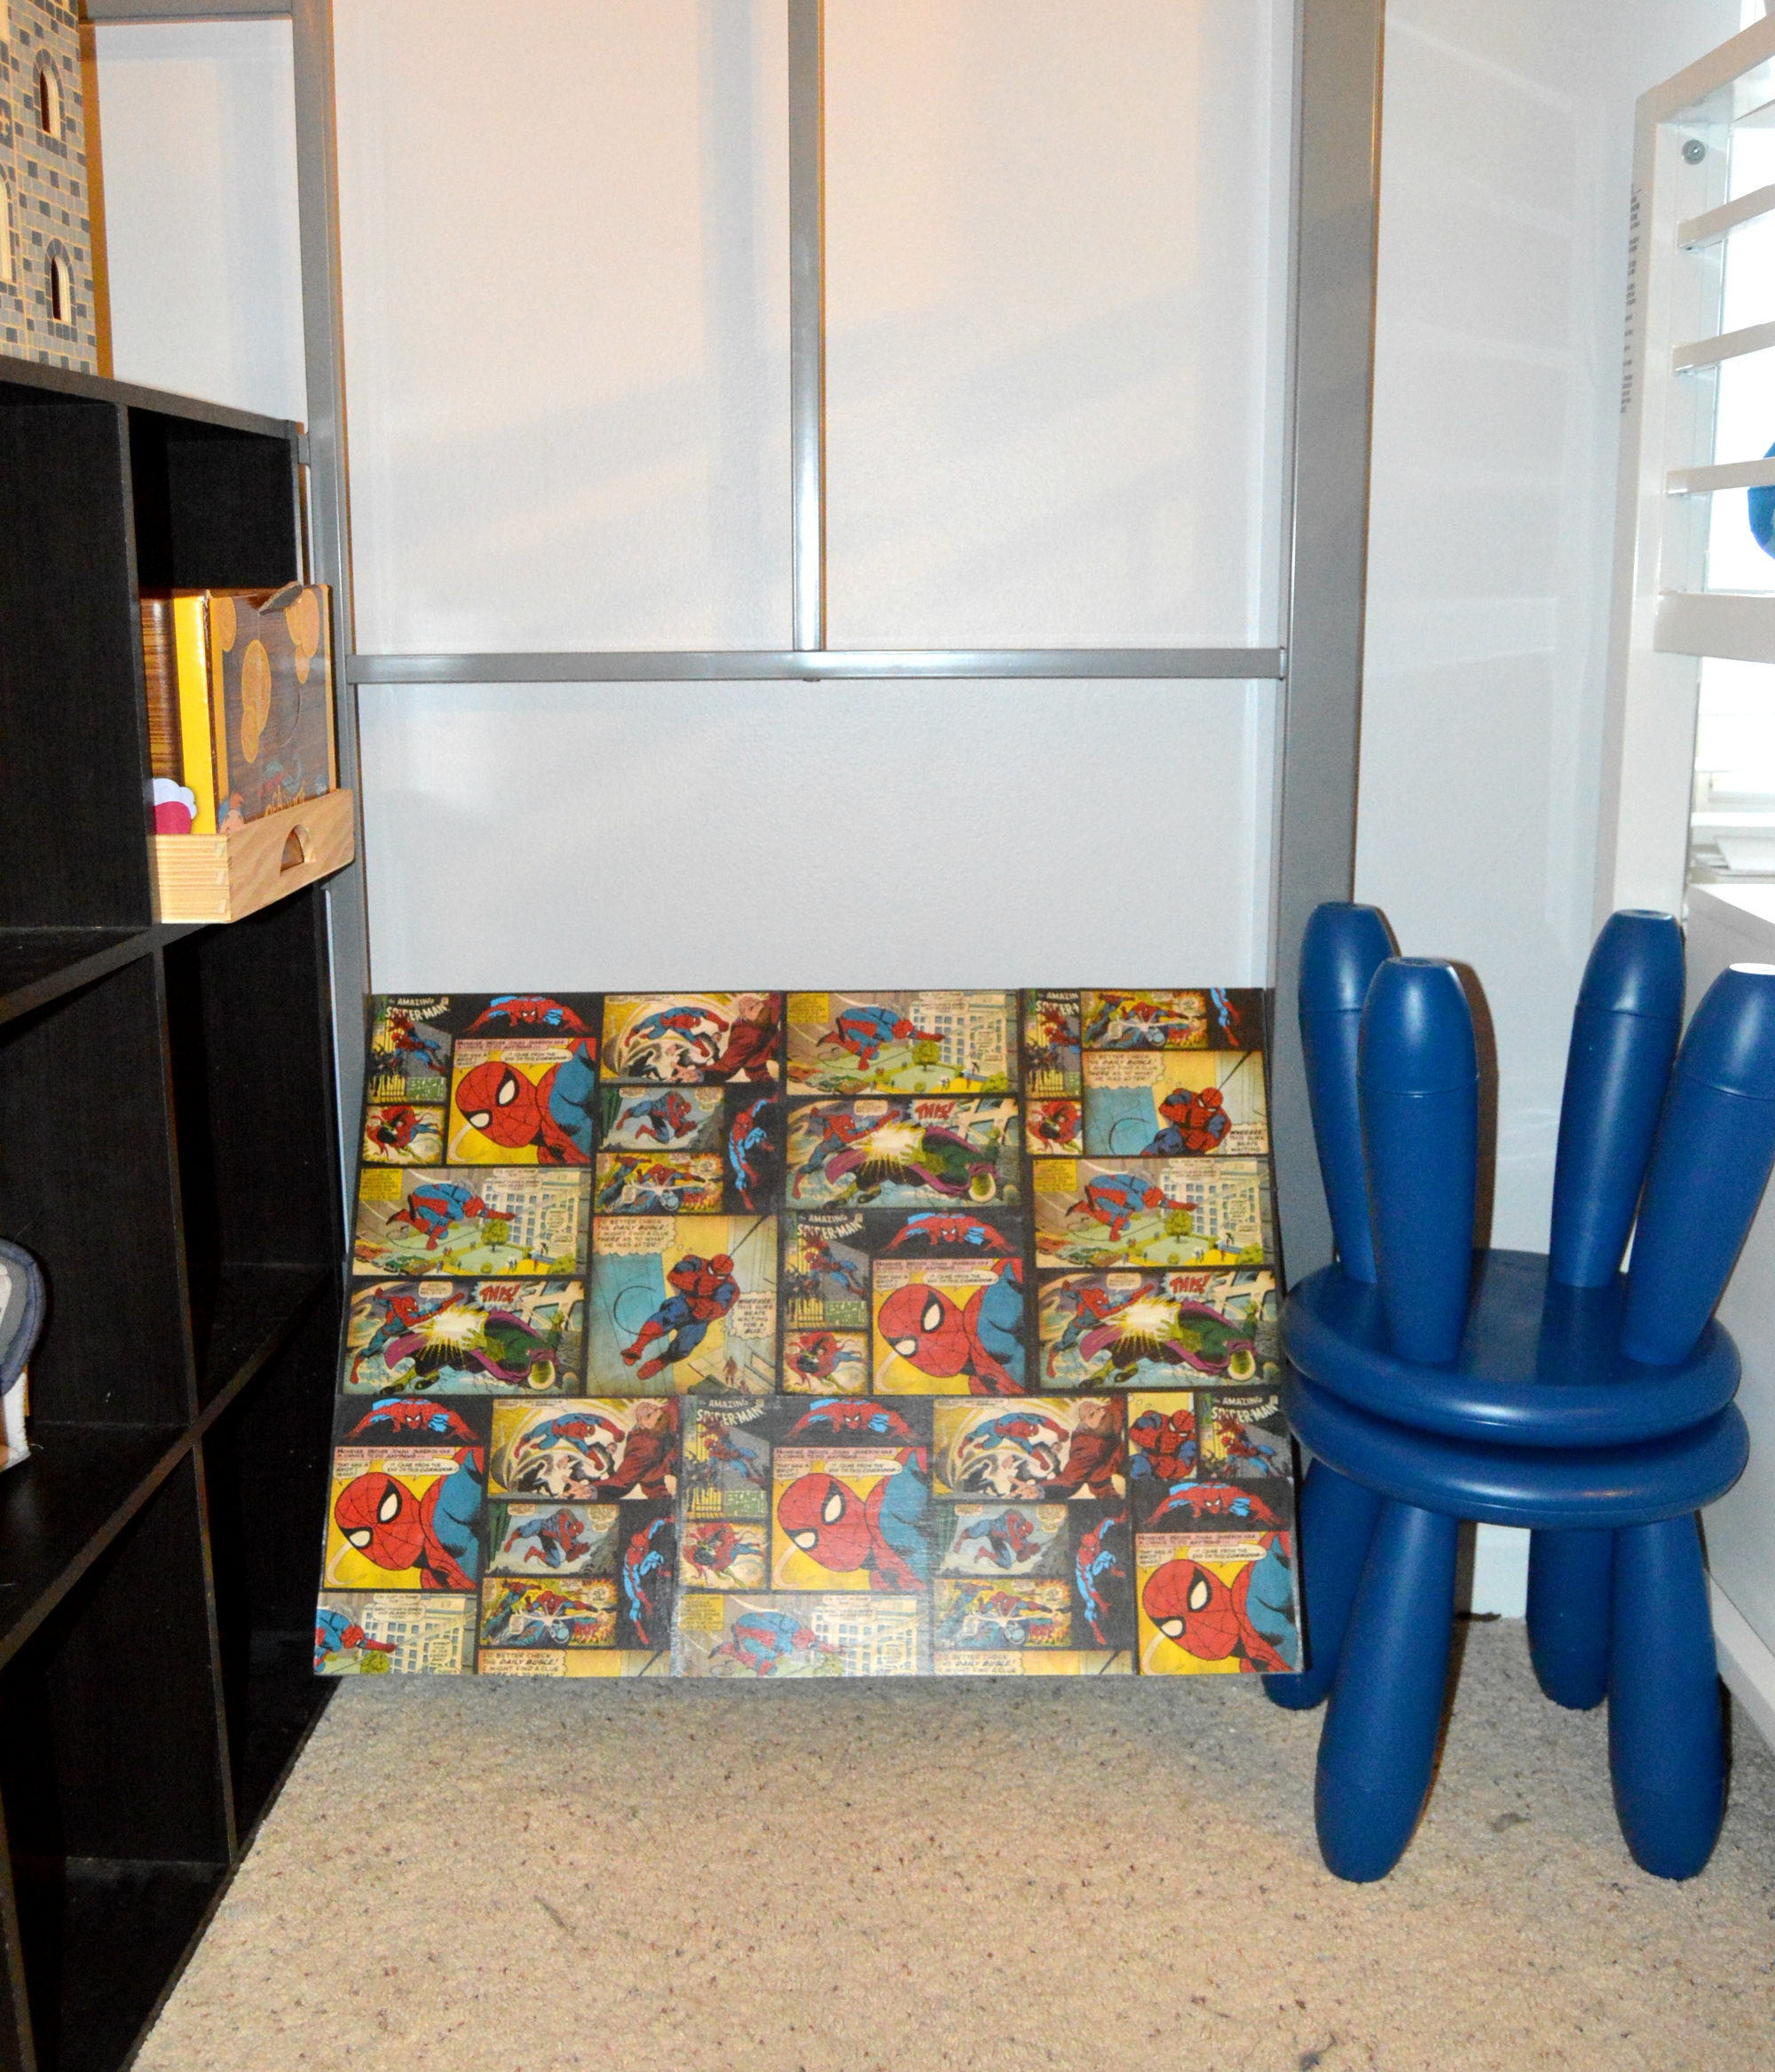
The boys had to try the table out immediately, and it was perfect for them! The stools (from Ikea) were the perfect height for this project, and can easily be stored underneath so that they don’t stick out when not in use.
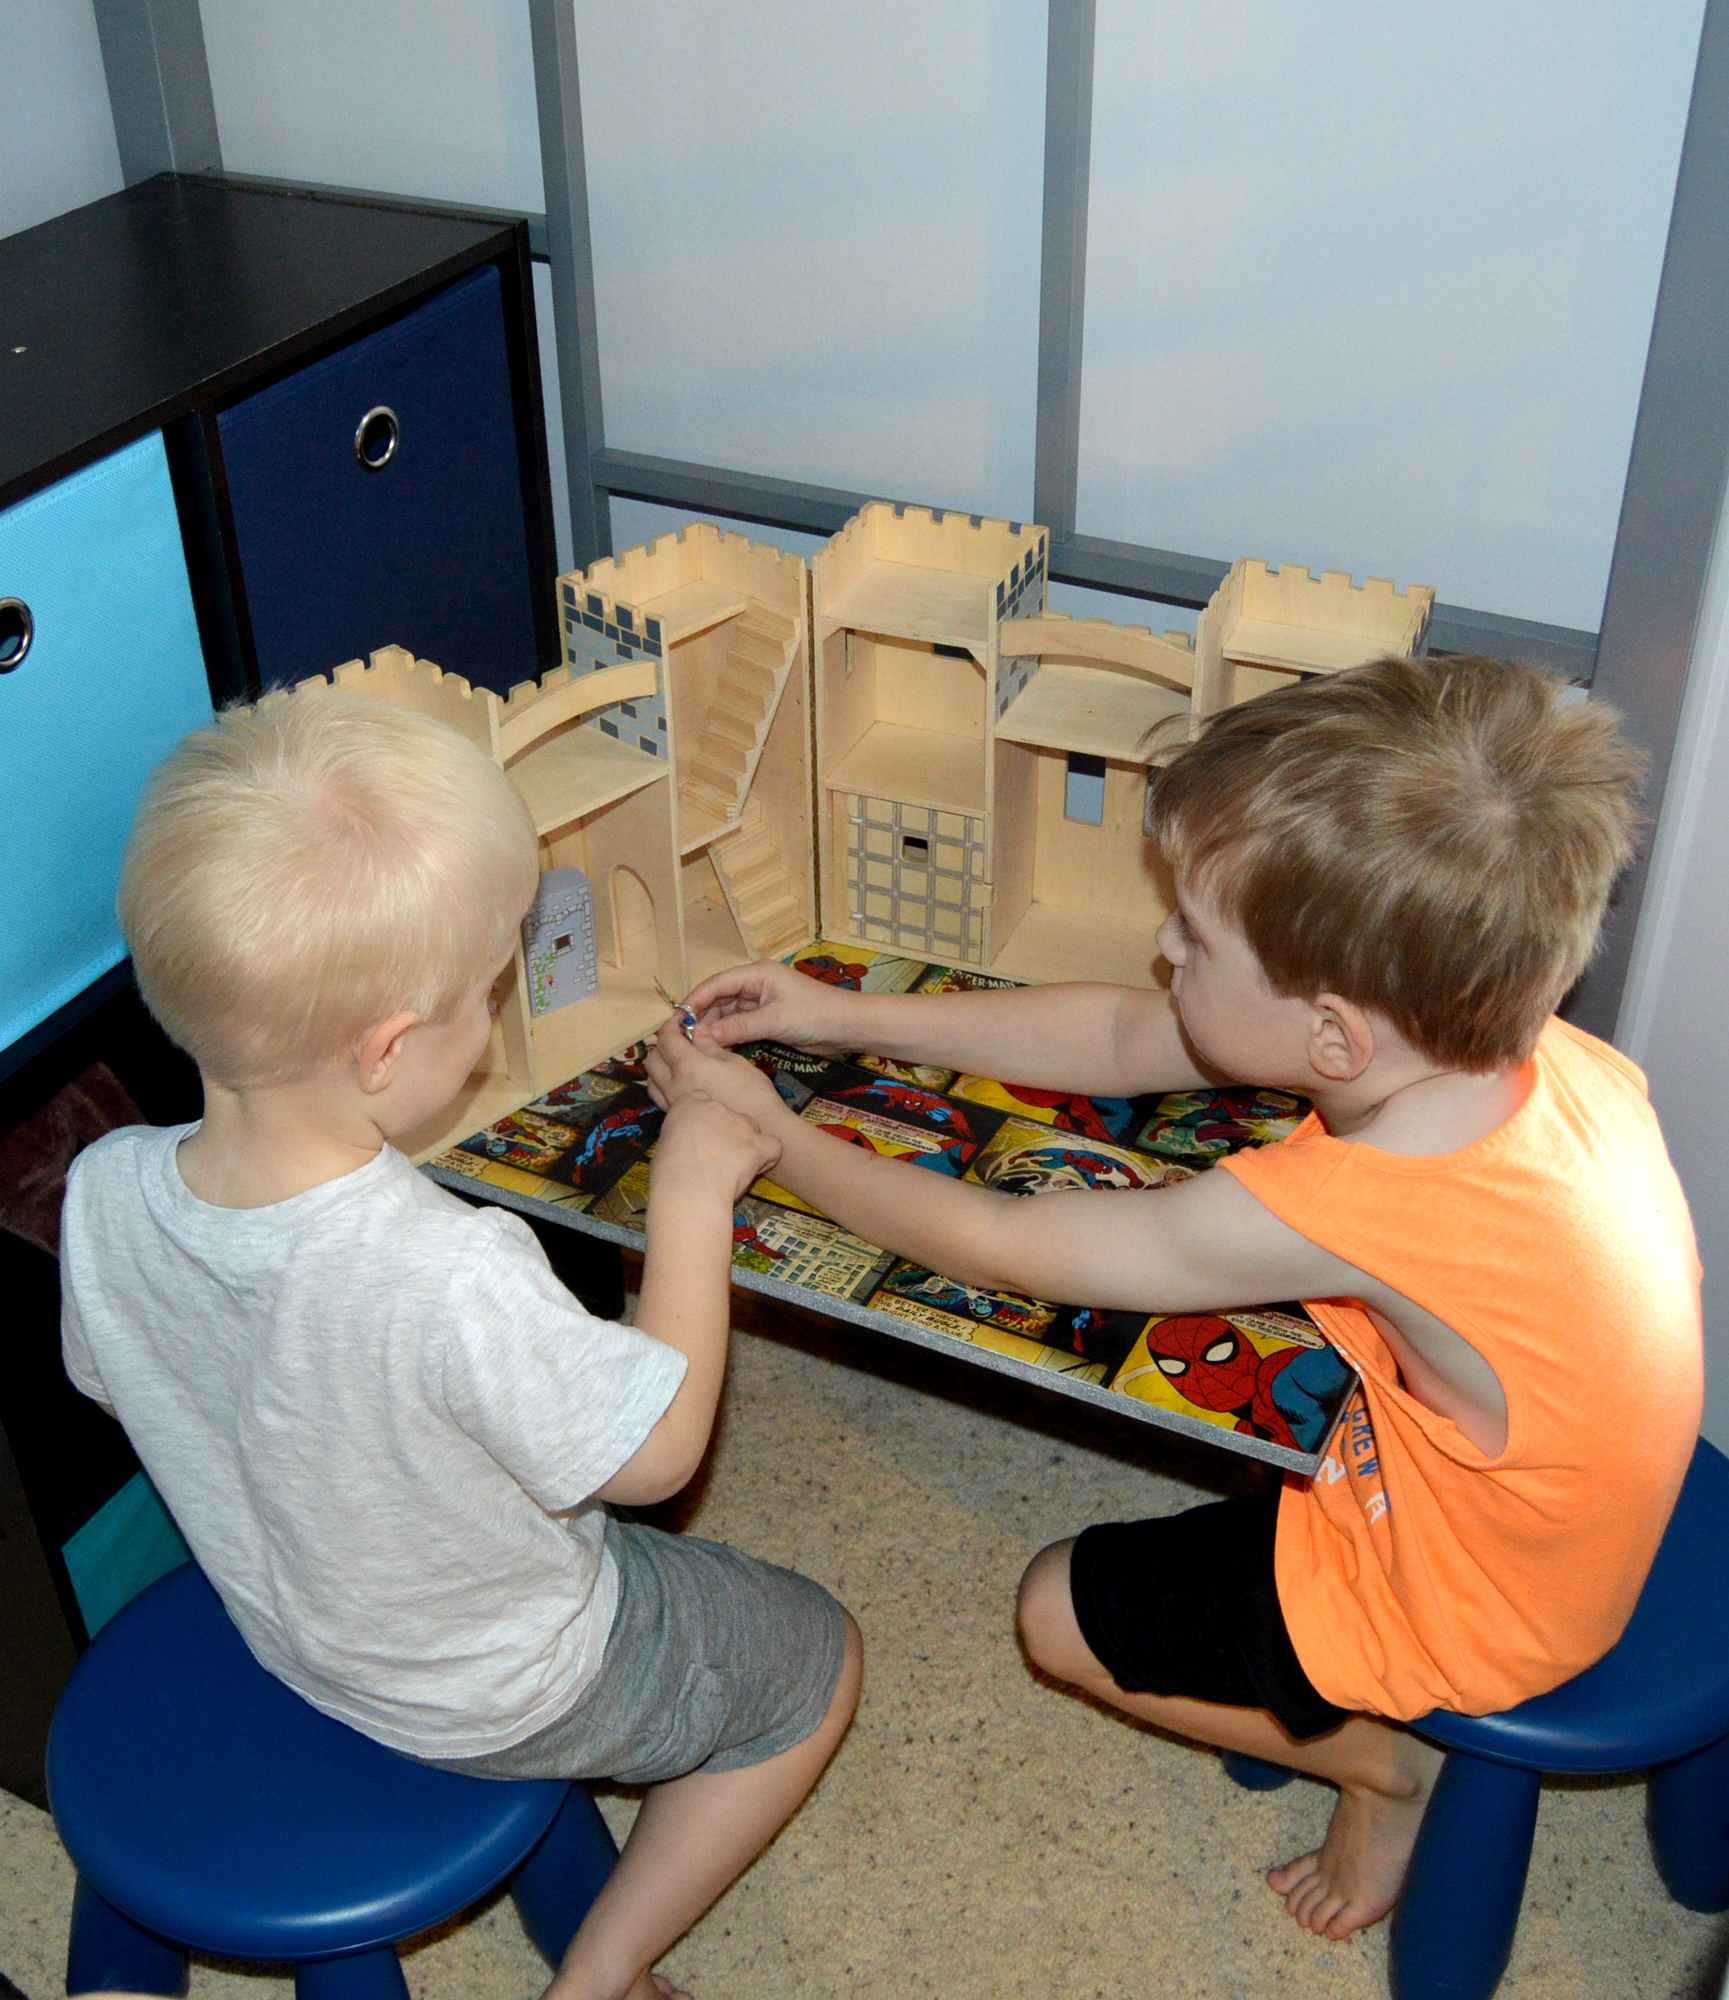
This is what the whole space looks like underneath Prince C’s high loft. All three boys love this special area and I catch them on multiple occasions reading or playing with their castle. I’m also amazed by how much floor space I was able to achieve in this room (there’s another side to this room) even though there’s three boys in it! (One of my secrets? Dresser in the closet. You’re welcome.) Now that the boys’ room is complete, it’s on to Princess C’s nursery! Do you have any tips for creating more floor space? We’d love to hear them!


LOVE this! My two girls share a room so I am always looking for great space saving ideas!!
Thanks so much Cari! It’s been the perfect size for the space =)