Geometric Painted Bangles
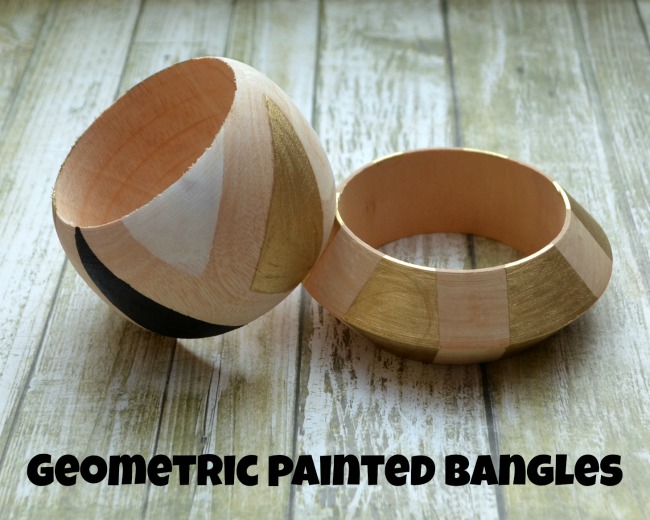 There’s no such thing as having too many fabulous accessories…especially when they’re timelessly stylish like these Geometric Painted Bangles. They’re so easy to make; you only need three simple materials, and you don’t even have to use a paint brush or do any messy cleanup. Make one as a stand-alone statement piece, or make a bunch and stack them together. Either way, you can’t go wrong!
Materials:
– wooden bangle bracelets, any size/shape/style
– painter’s or washi tape
– Krylon Gold Leafing Pen and/or Elmer’s Painters
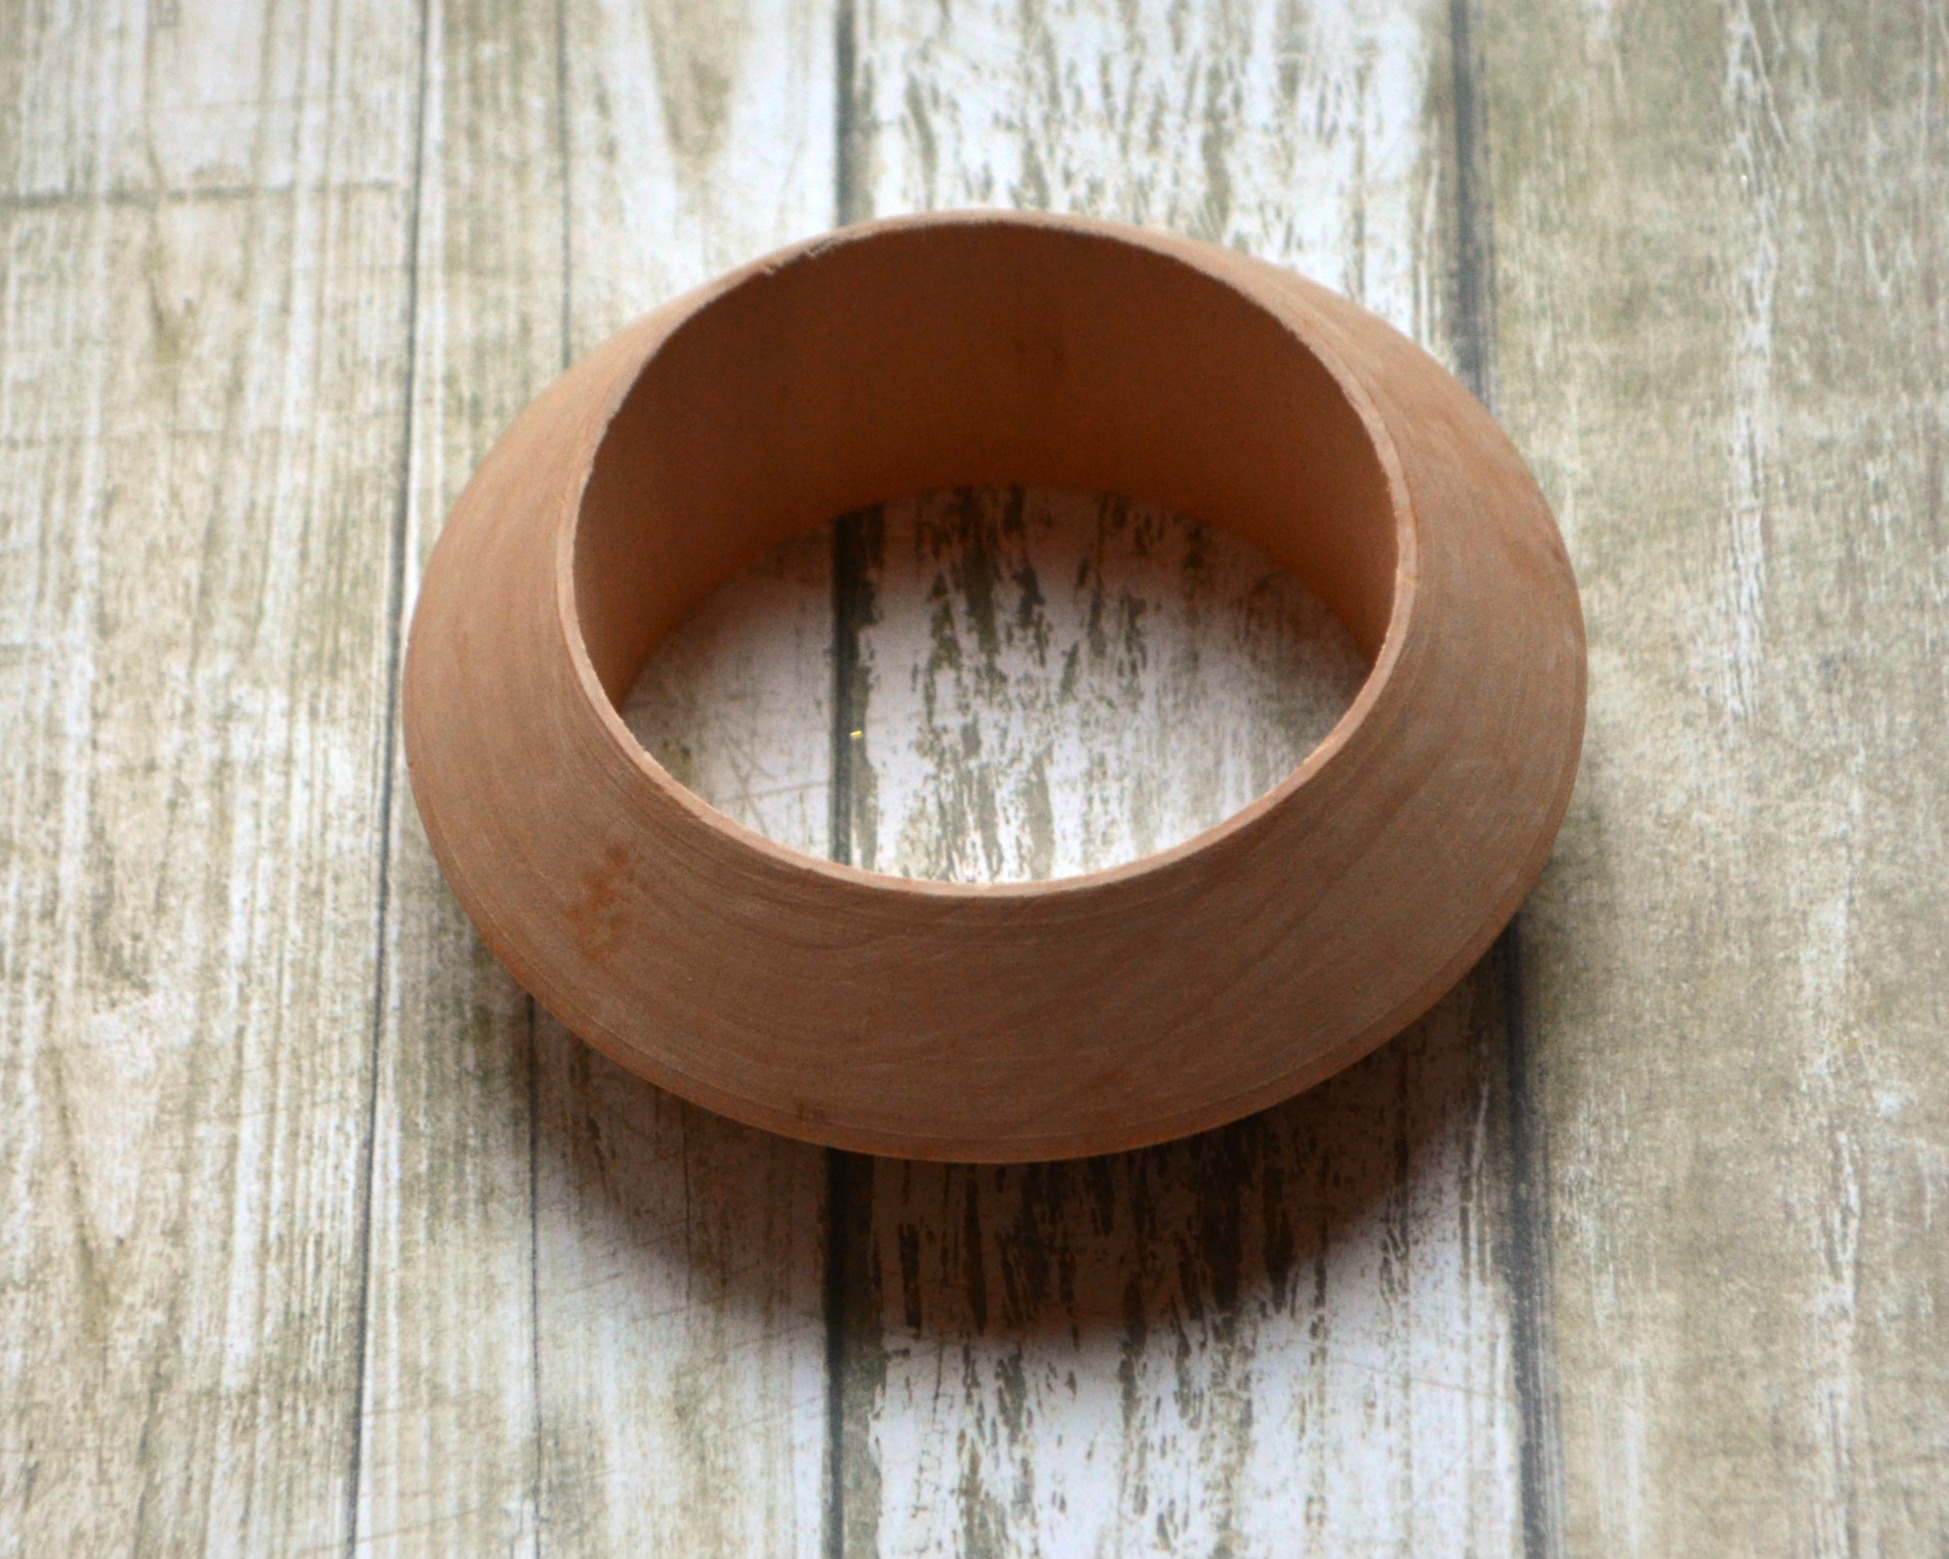
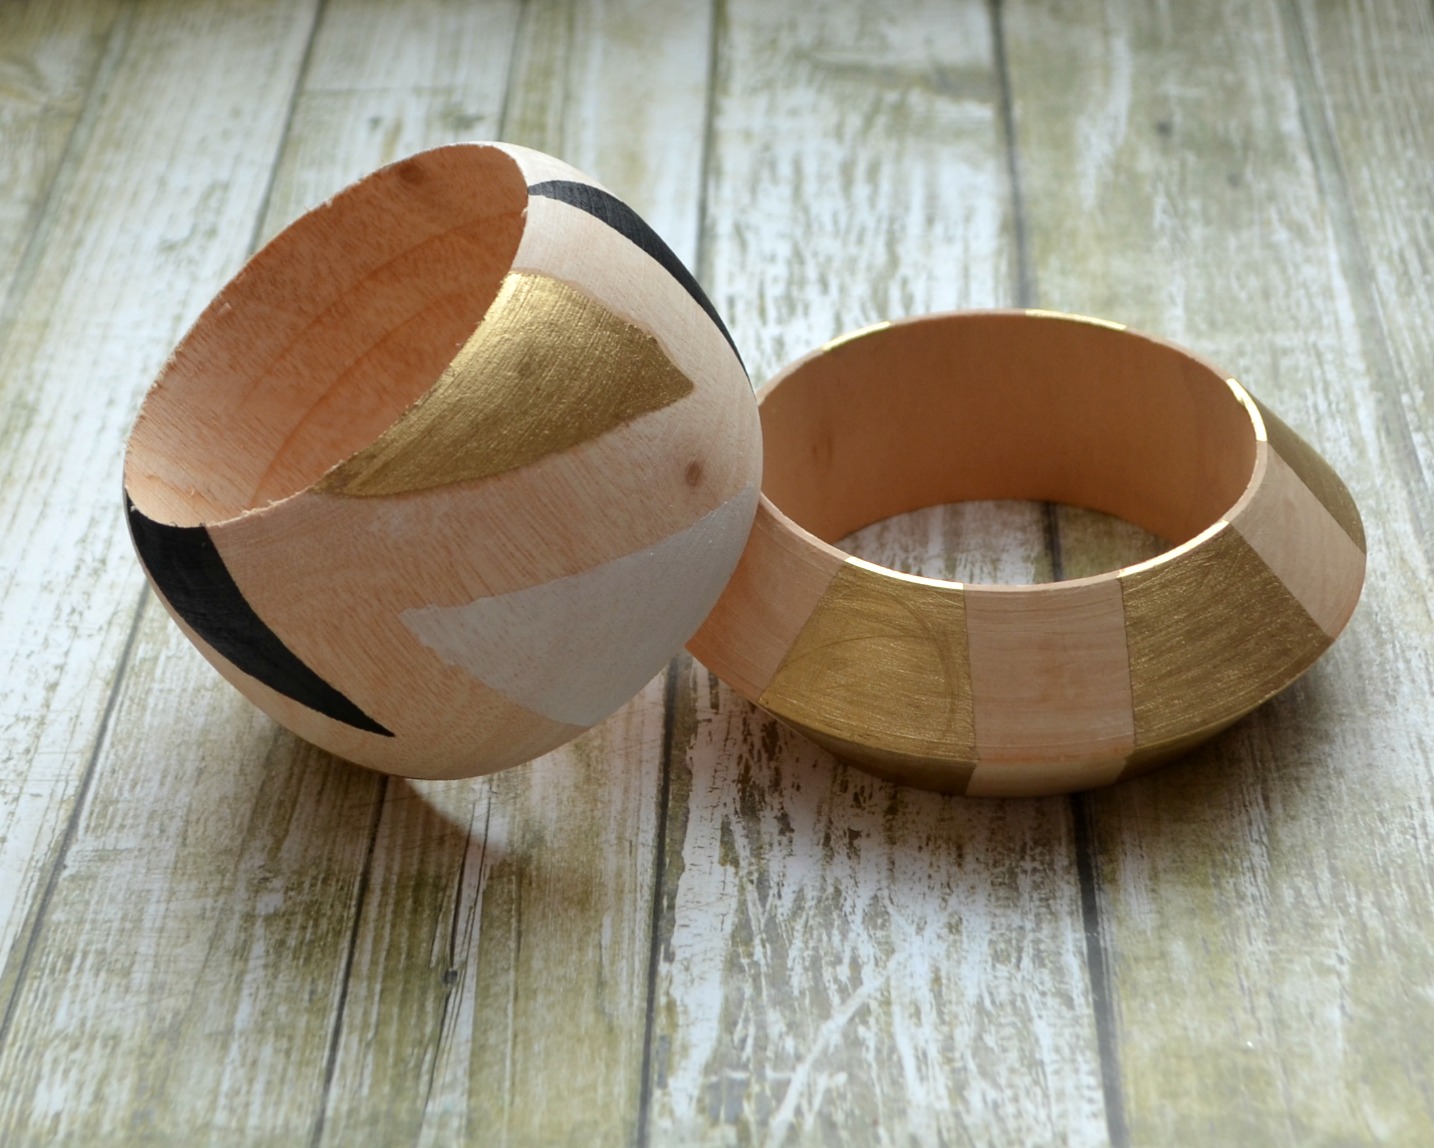
Step 1: Place strips of tape around your bangle anywhere you don’t want paint to show up. For this first simple design, I just placed six vertical stripes evenly spaced around the bracelet.

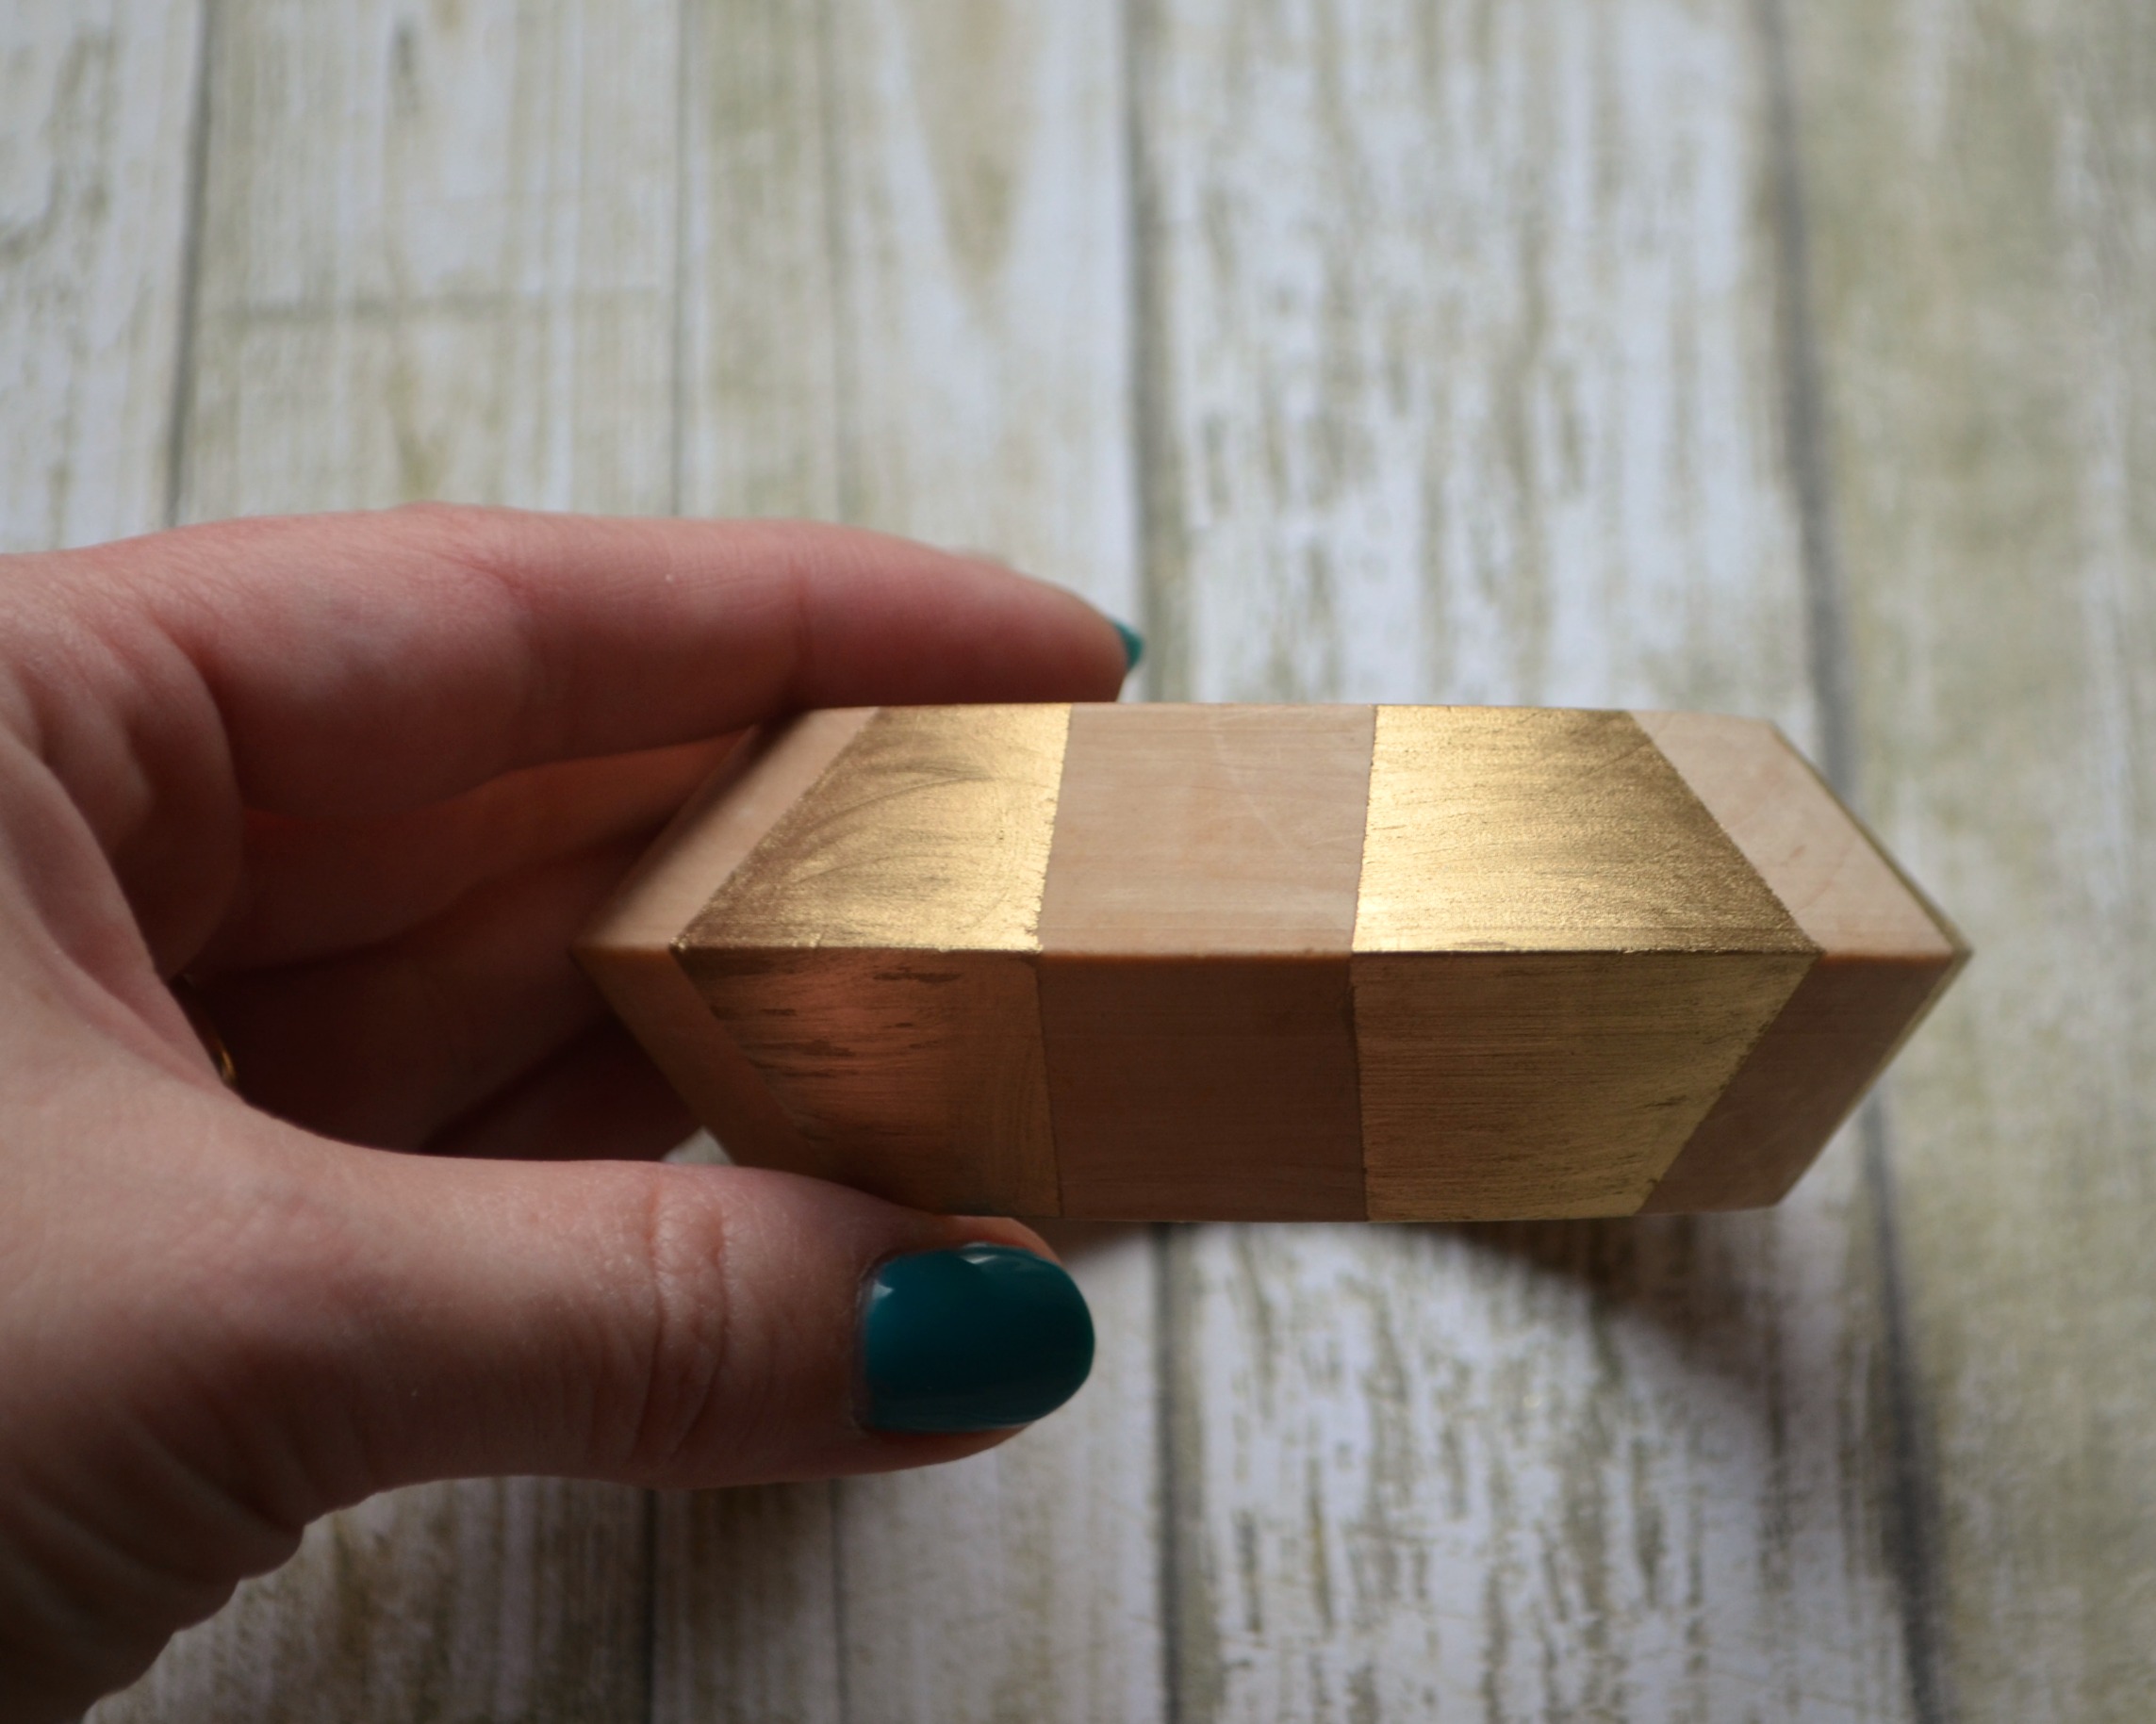
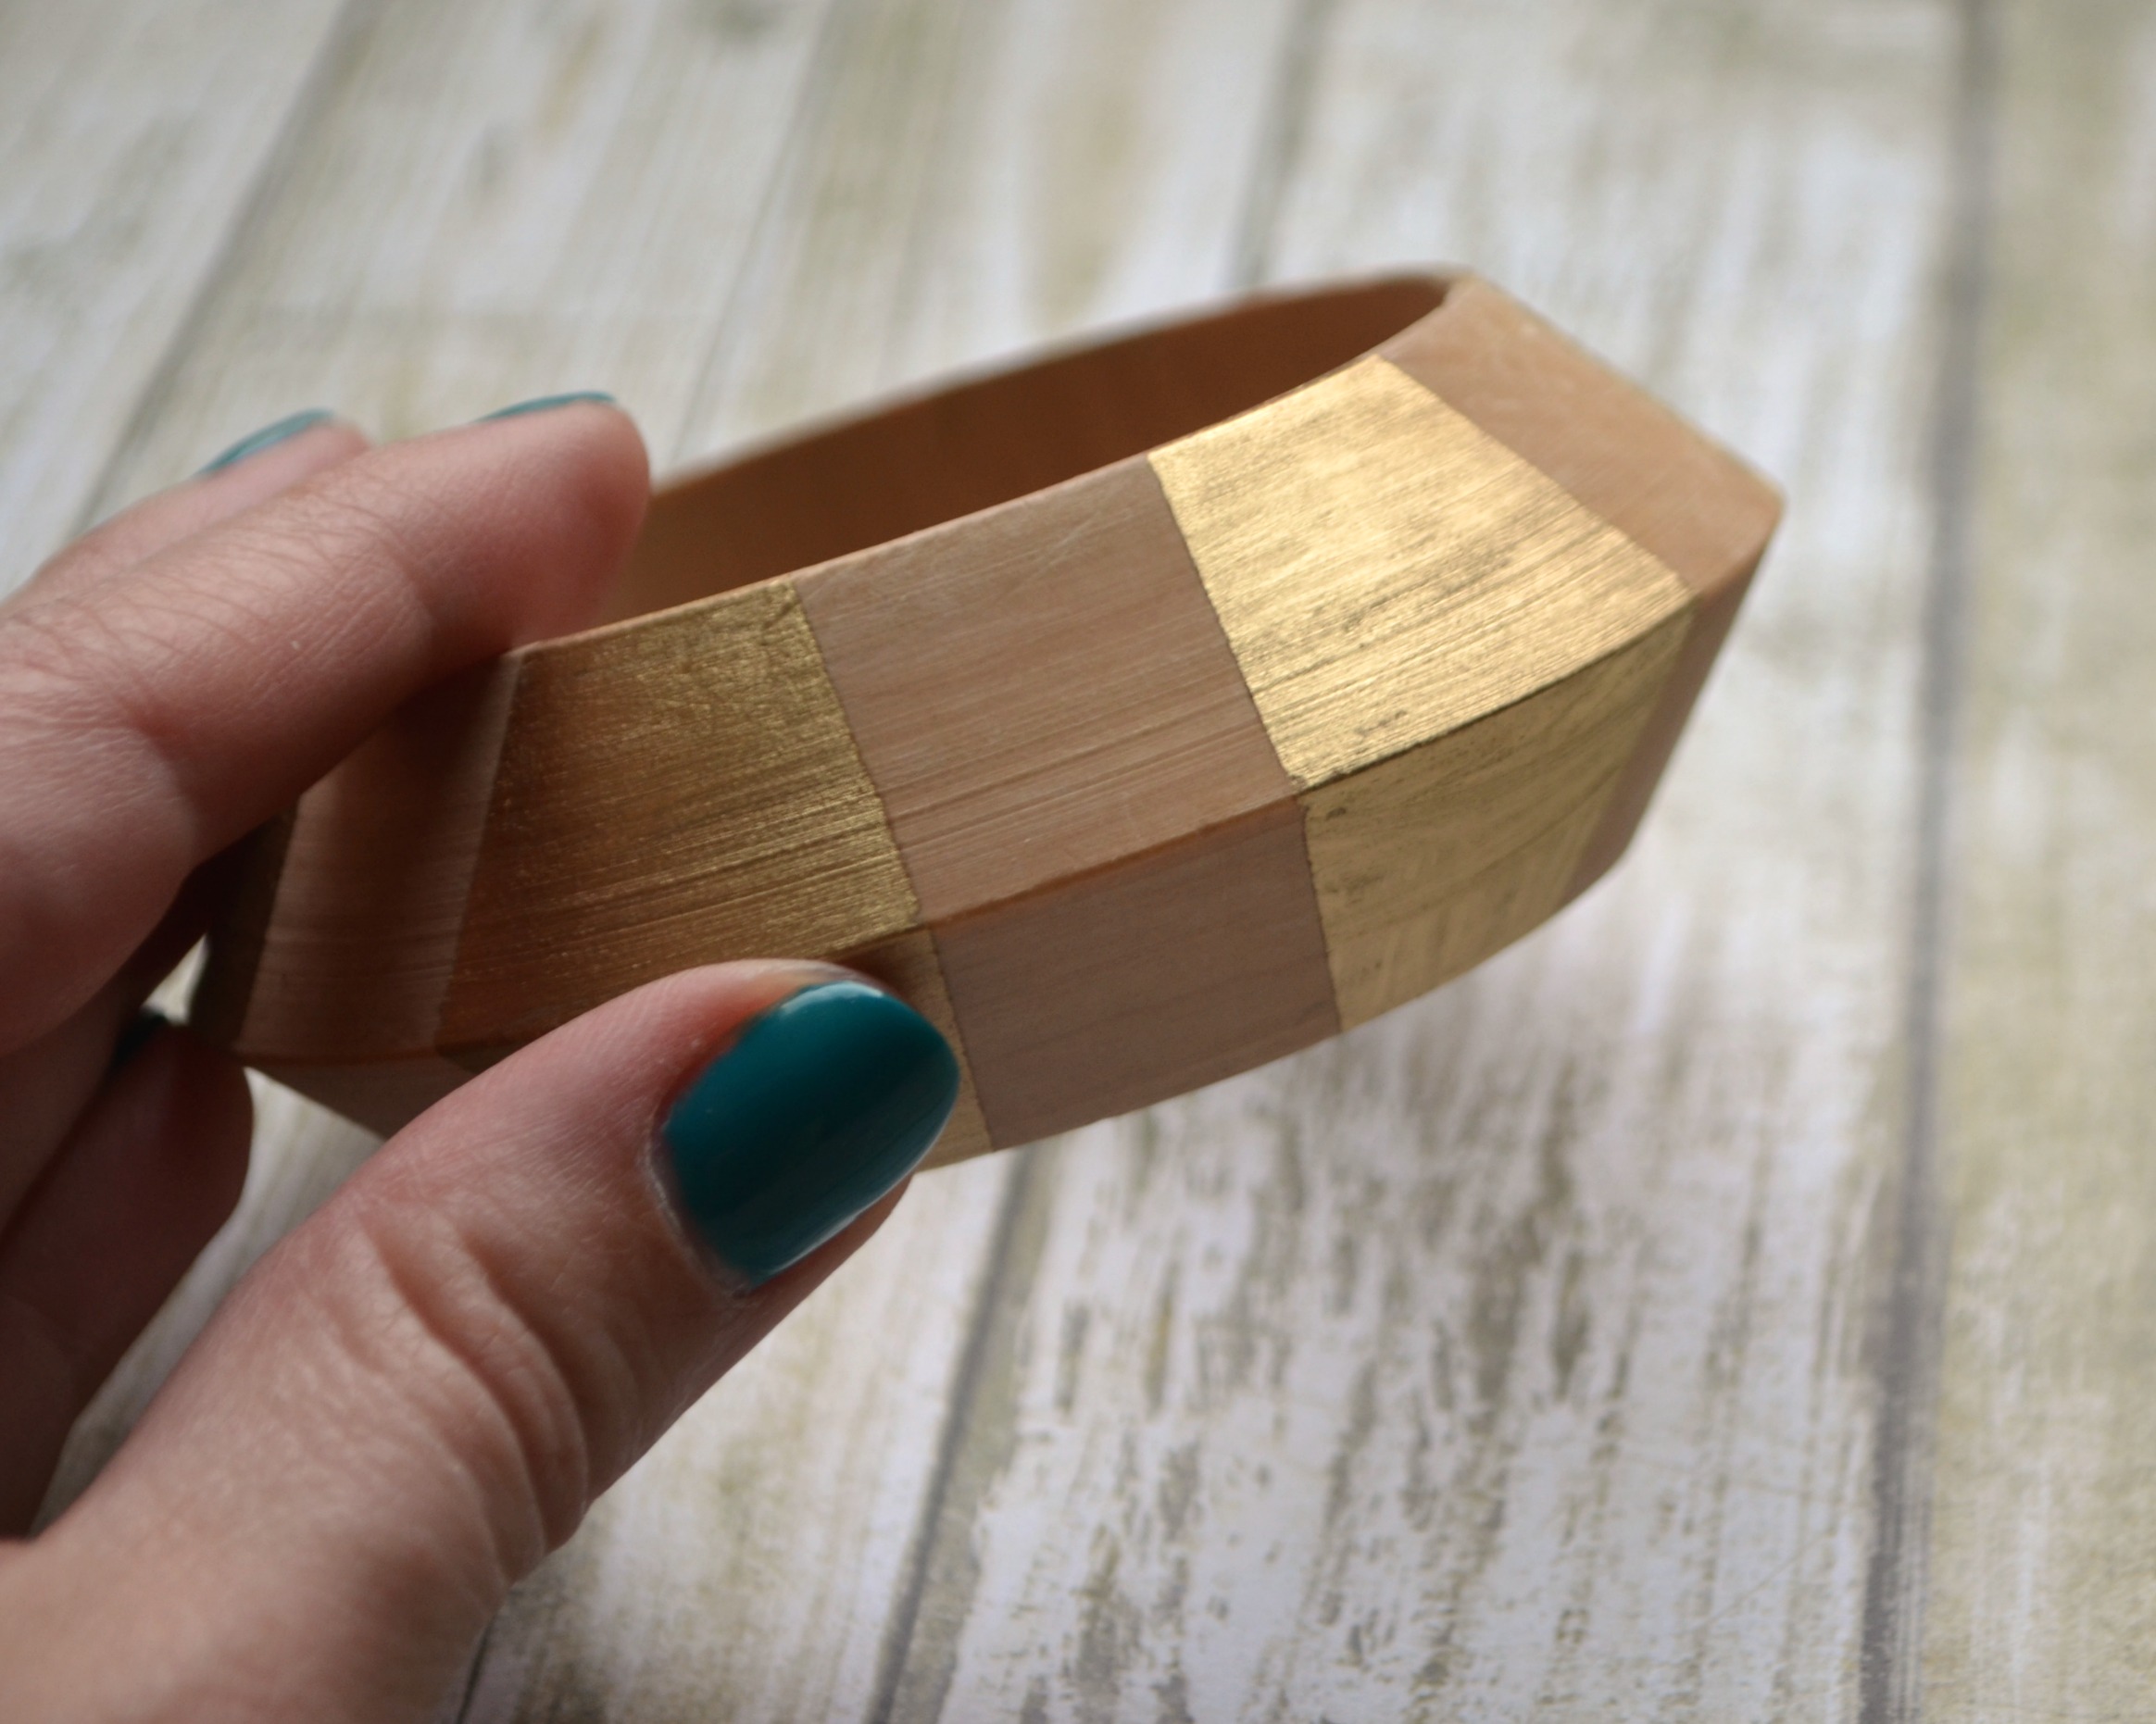
Step 2: Carefully use your paint pen to color in between the tape lines. I chose to stick with the Gold Leafing pen for this design, but you can alternate and use any colors you like for a totally different effect.
Step 3: Once the paint is dry, remove the tape and take a look at your fabulous design!
Step 4: If you want to seal and protect your bracelet, give it a coat of Mod Podge to finish things off.
Next Steps: You can get incredibly intricate and detailed with your designs if you like, even using electronic cutting machines to create vinyl stencils you can use to create just about anything you want. It’s fun to play with various color combinations, shapes, etc. to see just how different your finished products end up looking. It’s also interesting trying a variety of thin, wide, round, and square bangles to see how the effect changes. For more variations, try yarn wrapping a bangle, using fabric and decoupage, or even engraving the wood.