
Wooden Growth Chart

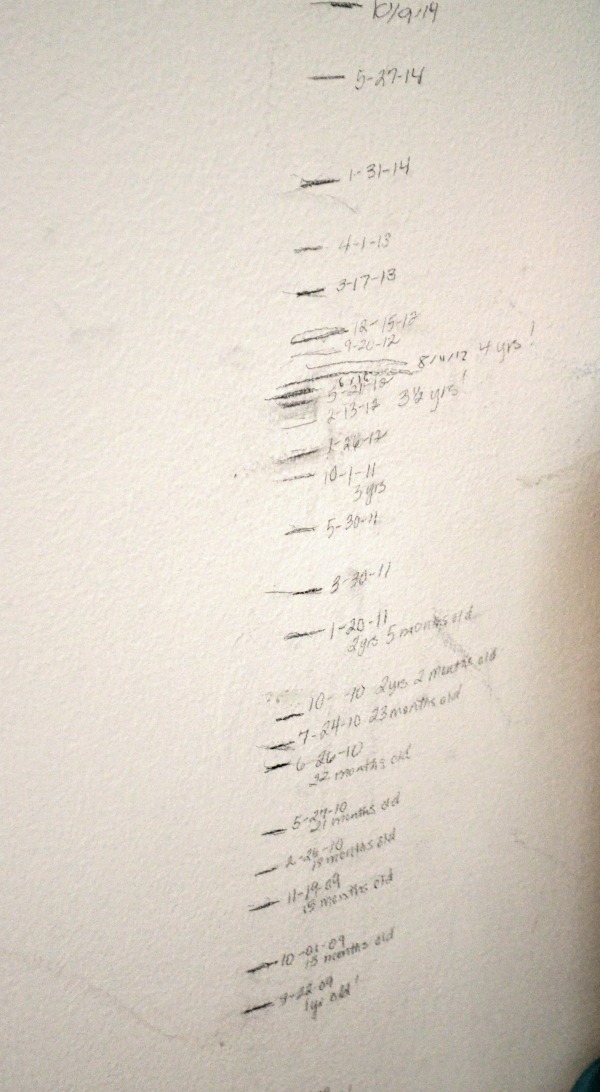
Recently as we started to pack {and pack and pack} and prepare to move to a new home, I realized that I had a problem. Over the past six years, I’ve been marking Little Crafter’s growth directly on the wall inside his closet. Yep. Artsy Mama fail, I know. It just didn’t occur to me when he was small to get or make a growth chart, and marking on the wall was easy. Trouble is, it’s not portable. I’m pretty certain the buyer of our house wouldn’t be too thrilled if I told her I was taking a wall with me.
So, I needed to create a new growth chart that can move with us! There are lots of ideas for projects like this on Pinterest; here’s my take on it, along with how it was almost a giant fail and how I turned it into something that looks great after all! I’ll tell you up front that this wasn’t a quick and super simple project, but I did complete it in one day and I’m thrilled with the end result.
Here’s what I used:
– wooden board, 6″ wide x 6′ long
– Krylon Chalky Finish: Misty Gray
– Krylon Wax Coating: Natural
– adhesive vinyl: black, white, red, blue, purple, teal
– Silhouette Cameo and software
– ruler, measuring tape, pencil
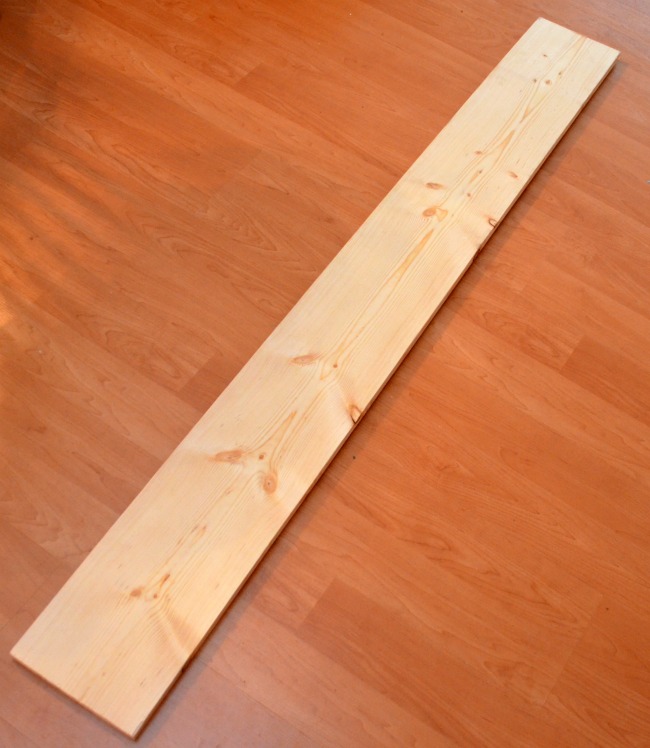
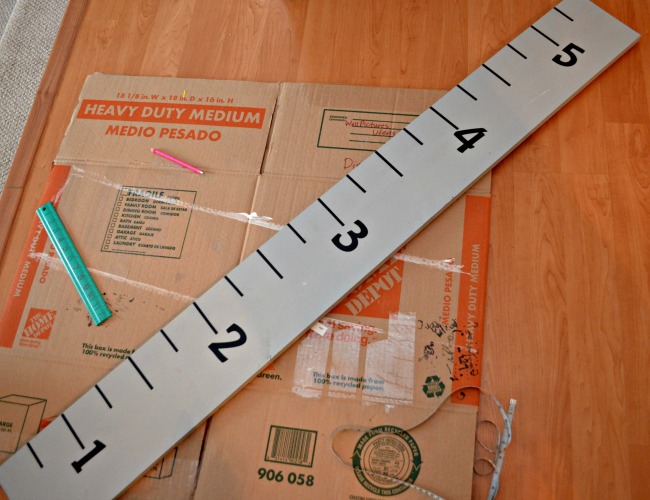
Step 1: Cut the wooden board to the length you want. Sand if necessary.
Here’s the board I started with. You should’ve seen me wandering around the lumber section in Lowe’s trying to figure out what I needed. It was originally 8′ long {I think} but I had hubby cut it for me. This was when I made my first mistake. I wanted it to measure LC up to and maybe even a few inches past 6 feet but didn’t think that all the way through. I originally thought I’d hang it a foot off the ground, so I had him cut the board to 5′. If I were doing it again, I would have him make it 6′ instead.
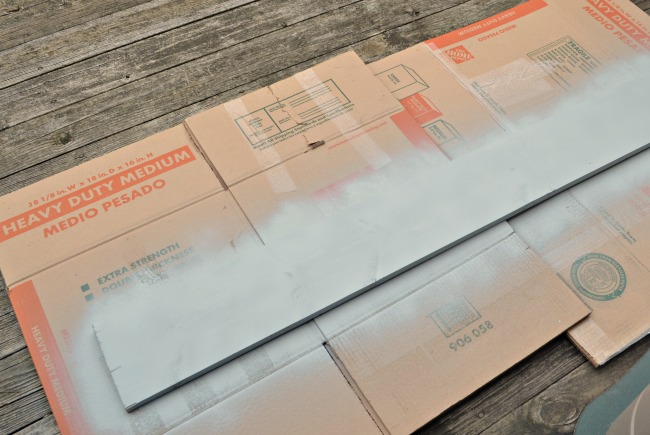
Step 2: Paint the board.
So, here’s another fail-moment. My original thought was that rather than painting the wood, I would stain it and make it look more like a classic ruler. I saw lots of those on Pinterest and they were really cute. The only wood stains I had, though, were a really dark one and a white. Since I was too cheap/lazy to buy another color, I tried the white. Nope. It made the board look…exactly the same. Tried another coat. Nope. Now it just looked like I tried to paint it white and it didn’t work. So, I did what any crafter would do in my position…grabbed a can of spray paint instead. I had actually bought some of Krylon’s new chalky finish spray paint at Michael’s about a month ago with no particular project in mind {you know…It was new…I had to have it…} so I decided this was a good time to give it a try. Two coats and voila, a beautiful chalky gray board.
Step 3: Wax the board {only necessary if you’re using chalk paint}.
If you choose to stain your board instead or use another type of paint, you can just jump on ahead to step 4. If you use chalk paint like I did, you’ll want to wax it first. I used the Krylon spray Wax Coating…which I also bought because it was new and I “needed” it. It worked quite well. I sprayed on a coat then waited about five minutes and buffed it with a cloth.
Step 4: Mark off your measurement lines with a pencil.
Not gonna lie, this part is a pain in the patootie. After checking out various growth charts online, I decided to start mine at the 6″ point so that when it hangs on the wall, there won’t be any problem with it hitting molding, etc. I placed a measuring tape on top of the board with the 6″ mark lined up at the bottom and used a pencil to lightly mark off 3″ increments.
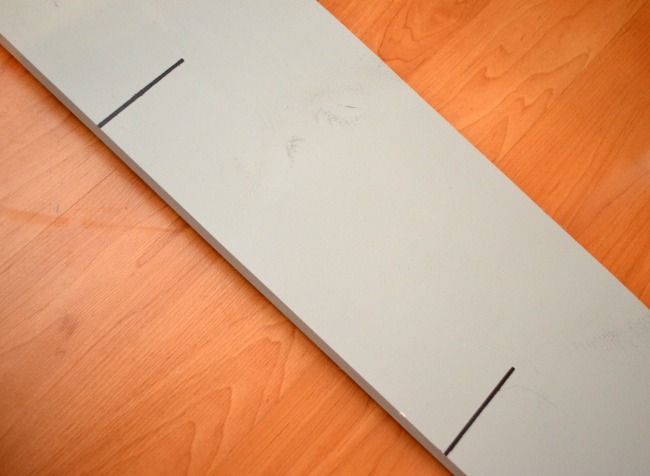
Step 4: Apply vinyl measurement lines and numbers {or paint them!}
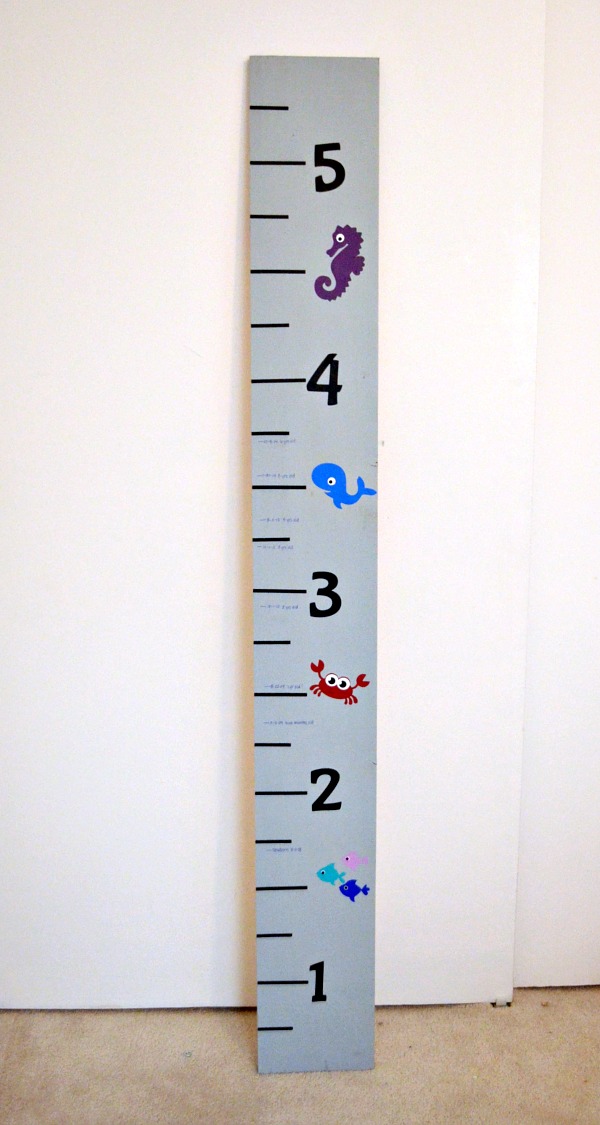
I so wish I had just done things this way in the first place. Instead, I tried to use a paint pen and then a permanent marker to do the measurement lines first. It was awful trying to get them to look uniform, and the marker decided to stop cooperating after about the second line. I also did this before the waxing step, so when I applied the wax, my lines looked like a blurry dark grey instead of black. So, I turned to my trusty Silhouette Cameo, “Cammie,” and put her to work. I went into the software and designed long thin rectangles, which I cut out of black adhesive vinyl. The lines marking off each foot are 3″ long, as are the ones that mark half a foot. The ones in between are 2″. I stuck them on top of the lines I drew and they look so much better! Then, I cut out the numbers 1-5 {the font I used is called Bubblegum Sans} and applied those as well.
At this point, I had planned on being finished. But, somehow, somewhere during the process, I ended up with two spots to the right of the numbers where the paint had come off. If you look at the photo above, you can see them; one at the 2 1/2′ mark and another longer line up by 4 1/2′. My choices were either to try and fix the paint or somehow cover the spots. I went with what was easier…cover them up! Which brings us to Step 5…
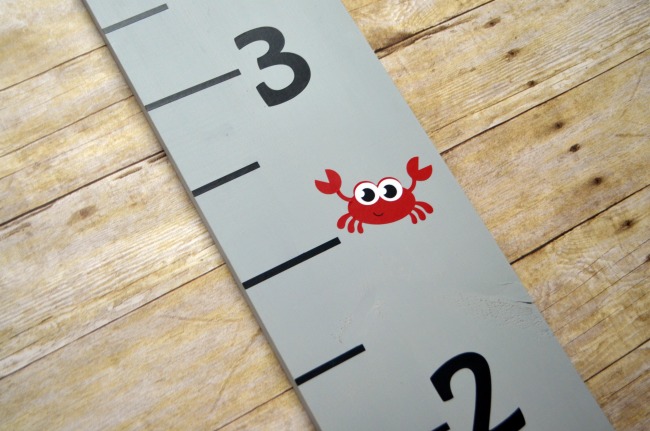
Step 5: Apply any additional decorations!
As I browsed through the library of Silhouette designs, I tried to think of something that LC would love that wouldn’t be just a phase he’ll grow out of in a few months. One thing he consistently loves is the beach, so I found a crab and a seahorse to cover those trouble spots. I cut them out using my Silhouette and applied them to the board.
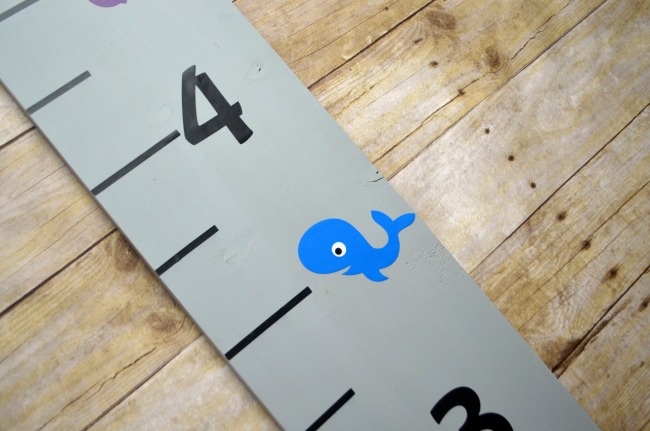
He decided he wanted more sea creatures, so he asked me to find him a whale and a group of fish, which I did. Once they were on, the chart was complete…except for recording his growth!
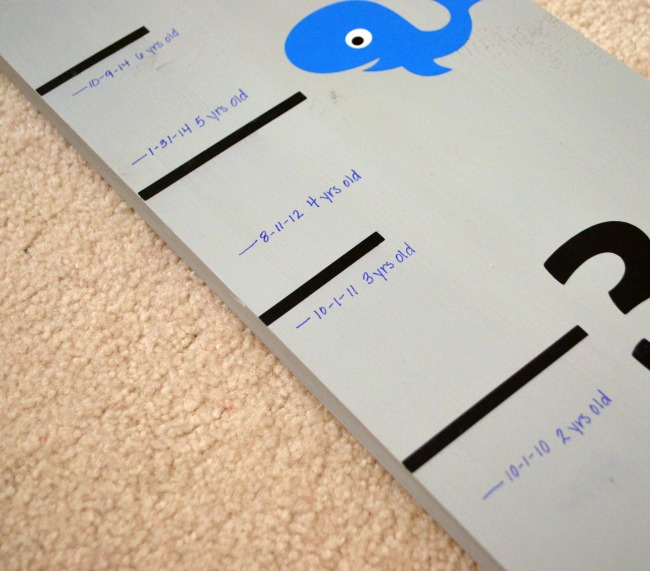
I needed to transfer those lovely in-the-closet measurements to the new chart. I measured how high each line was from the floor, then transferred it to the board, accounting for the extra six inches at the bottom. I used a super-fine point blue permanent marker to write the date and age for each measurement. Now those special records can come with us to the new house and wherever life takes us.
So there you have it, a not-so-easy, multiple-fail-turned-success DIY wooden growth chart. I made all the goofs so you don’t have to, right? What do you think?
I’m so glad I did it, and LC absolutely loves it. I can’t wait to show you how it looks in his new room!


Turned out great! So glad you shared your pitfalls, because that is the reality of DIY. 🙂 And you want to know a true mom fail? I’ve never done my kids’ measurements anywhere.
Oh my goodness, how cute is he with his two different socks?! I love it.
I love how you decorated the chart. I was just thinking the other day that I need to start a chart, and feel guilty that I haven’t been doing one! You’ve inspired me to get going on it…
very smart! My parents did my growth chart in our kitchen and then painted over it without a second thought a few years ago 🙁 I was heart broken, of course! We should have done this!