Entryway Sign
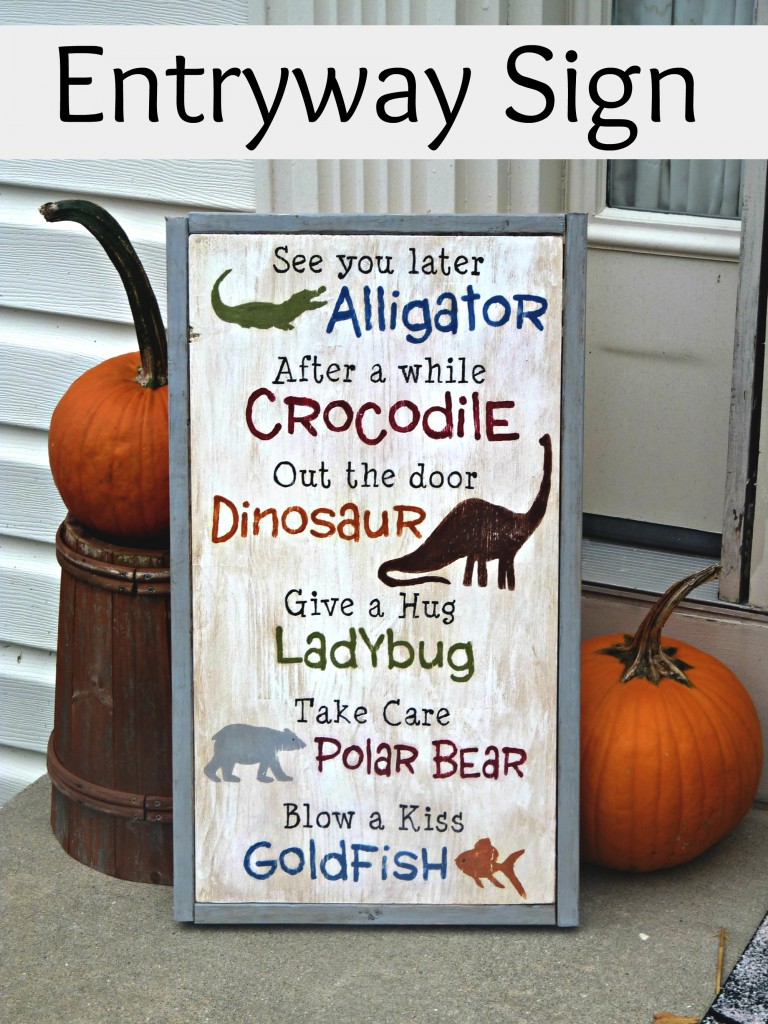
Entryway Sign
Materials:
-1’x2′ piece of wood
-Paint Brushes (both foam and thin tipped)
-Sandpaper/Mouse Sander
-Pencil
-Stencil (I cut mine using my Silhouette on vinyl)
These materials were supplied by DecoArt, all opinions are my own:
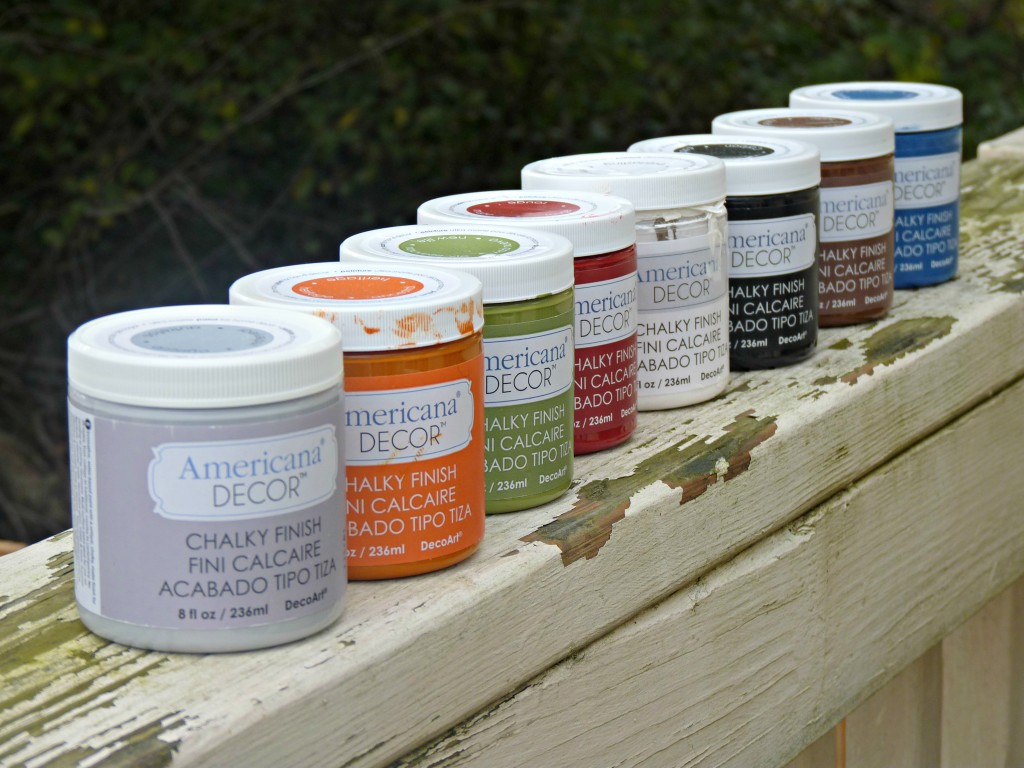
-DecoArt Americana Decor Chalky Finish Paint in Everlasting
-DecoArt Americana Decor Chalky Finish Paint in Rouge
-DecoArt Americana Decor Chalky Finish Paint in Legacy
-DecoArt Americana Decor Chalky Finish Paint in Carbon
-DecoArt Americana Decor Chalky Finish Paint in New Life
-DecoArt Americana Decor Chalky Finish Paint in Rustic
-DecoArt Americana Decor Chalky Finish Paint in Yesteryear
-DecoArt Americana Decor Chalky Finish Paint in Heritage
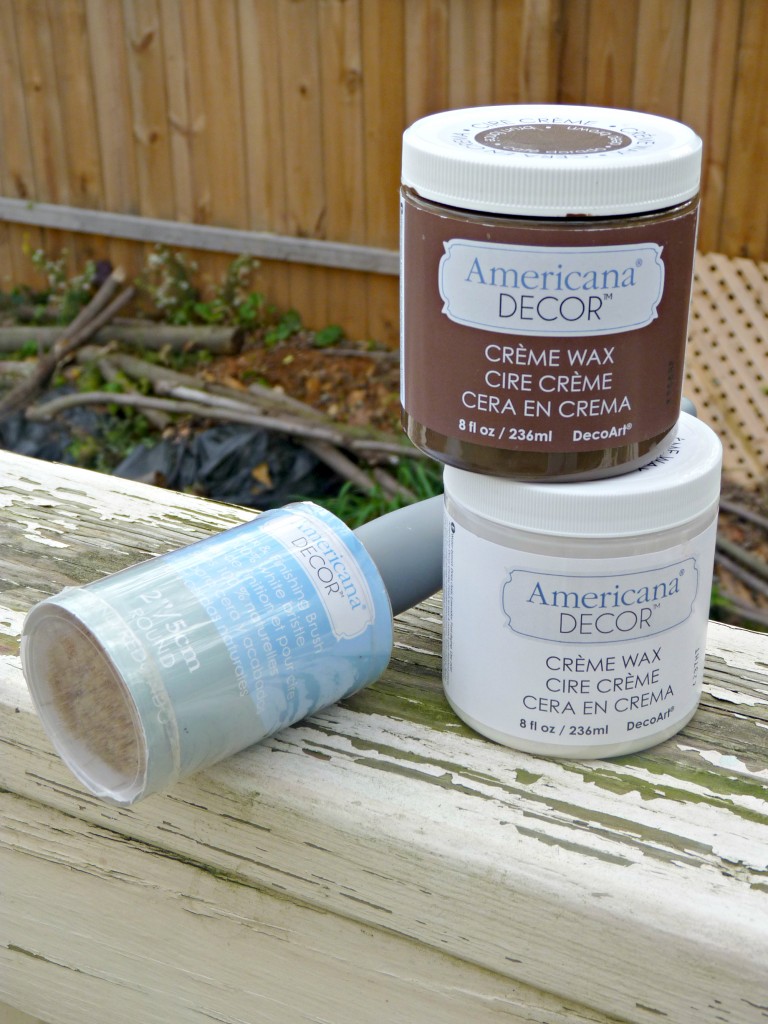
–DecoArt Americana Decor Creme Wax (Clear)
–DecoArt Americana Decor Creme Wax (Deep Brown)
–DecoArt Americana Decor Waxing Brush
These Materials are OPTIONAL if you’d like to build the frame:
-Two 1″x2″x8′ Furring Strips
-Circular Saw/Hand Saw
-Measuring Tape/Ruler
-Wood Glue (I used Elmers)
Phew, I know it’s a lot. But really, you don’t nearly need to use as many paint colors as I did (unless you want to!), and if you are a little nervous using power tools or whatnot, remember that the frame is completely optional! Alright, still with me? Here we go!
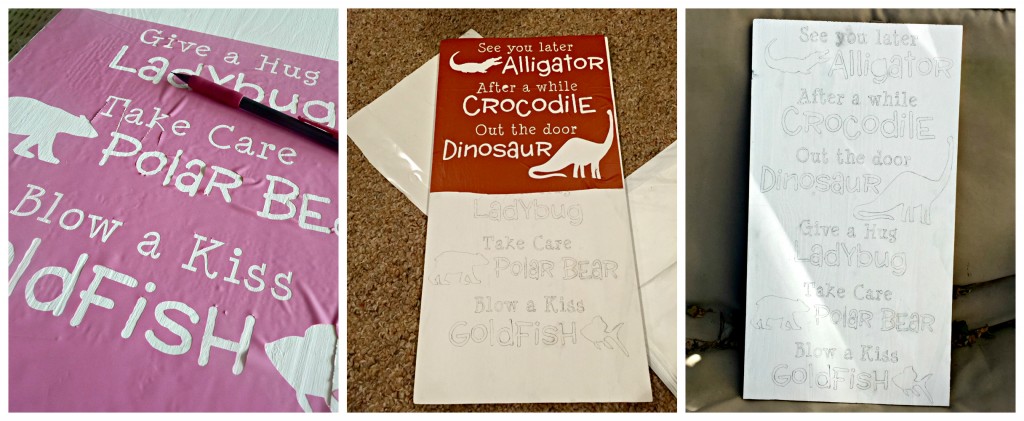
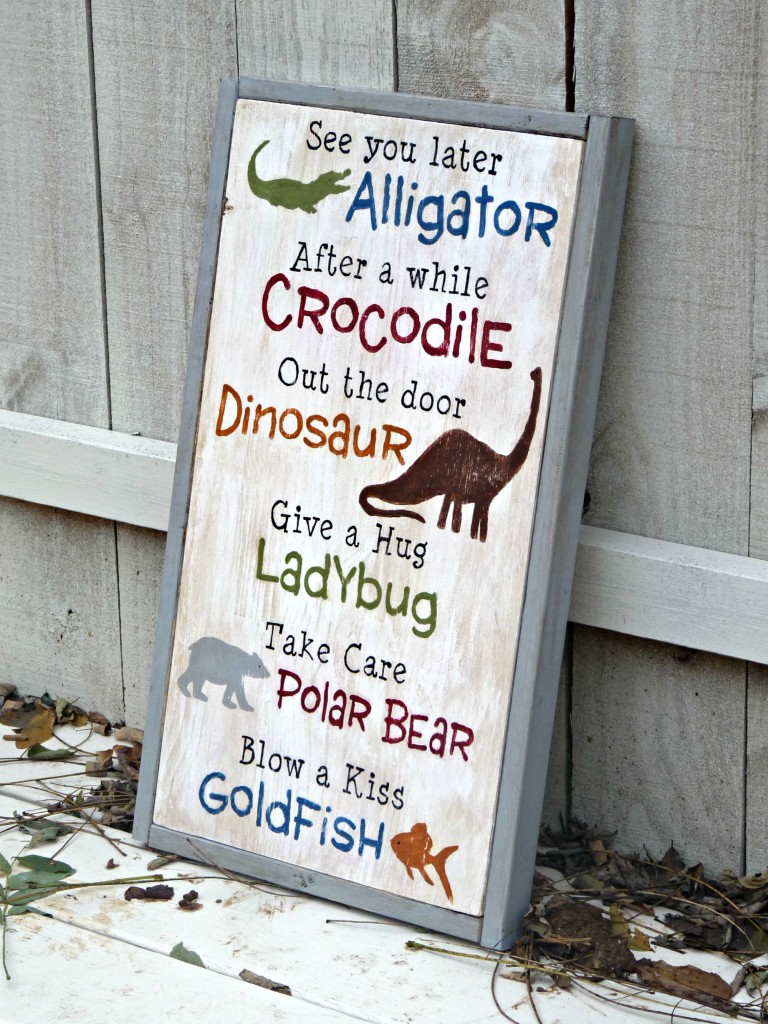
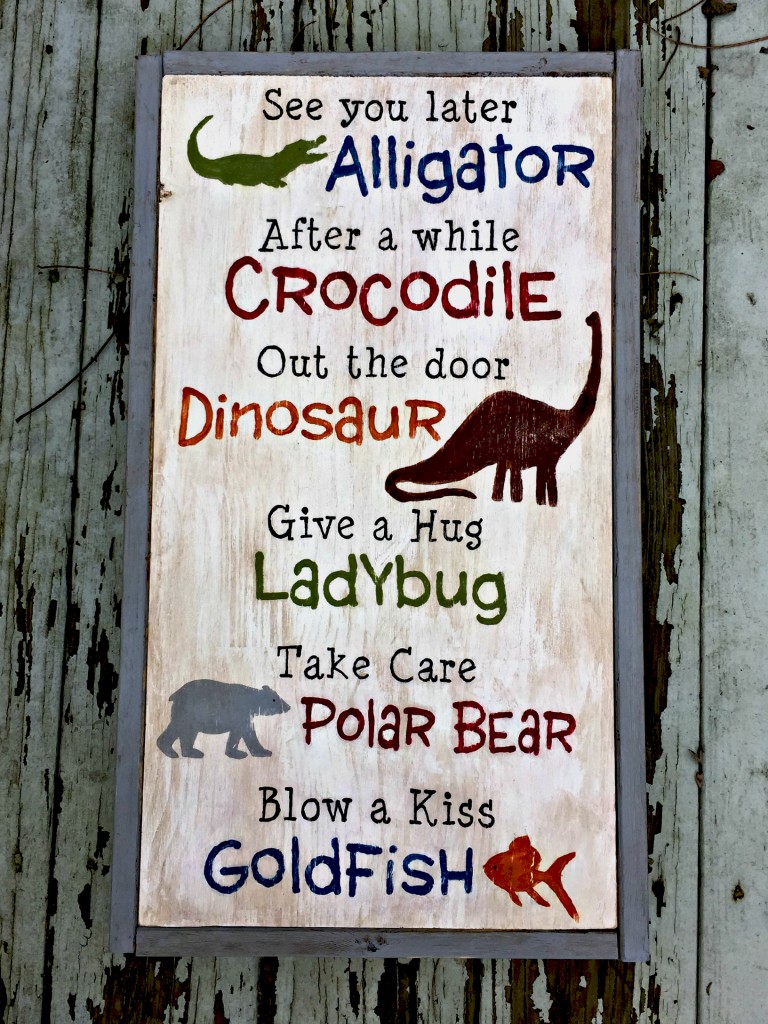
Step 1: Design and cut your vinyl stencil. I chose “goodbye phrases” that are fun to say with my boys as they put their coats on!
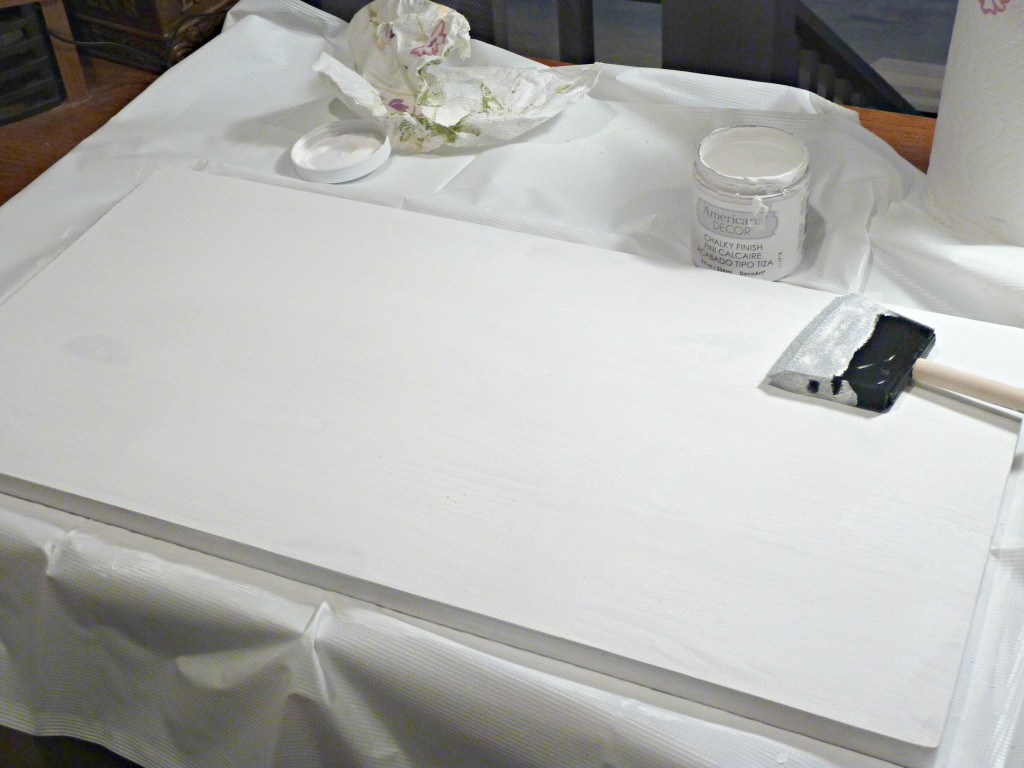
Step 2: Paint your board white.
Step 3: Stick your stencil on the board and trace the letters with the pencil. Ok. There are TONS of ways to do sign lettering. Seriously, just look at Pinterest and your head might explode. I chose THIS particular way for a reason though. I have three kids. Three kids that need various things throughout the day, that need to be fed and changed (they’re so needy), etc, so I went with the pencil tracing because I could quickly trace, rip the stencil off, and come back to it whenever, with no stuck on vinyl or seeping paint. In other words, CRAFTY CHAOS, and the importance of the stop/start ability. Choose your favorite way to stencil though (or feel brave and paint right over the vinyl, and peel off if you have some uninterrupted time!)
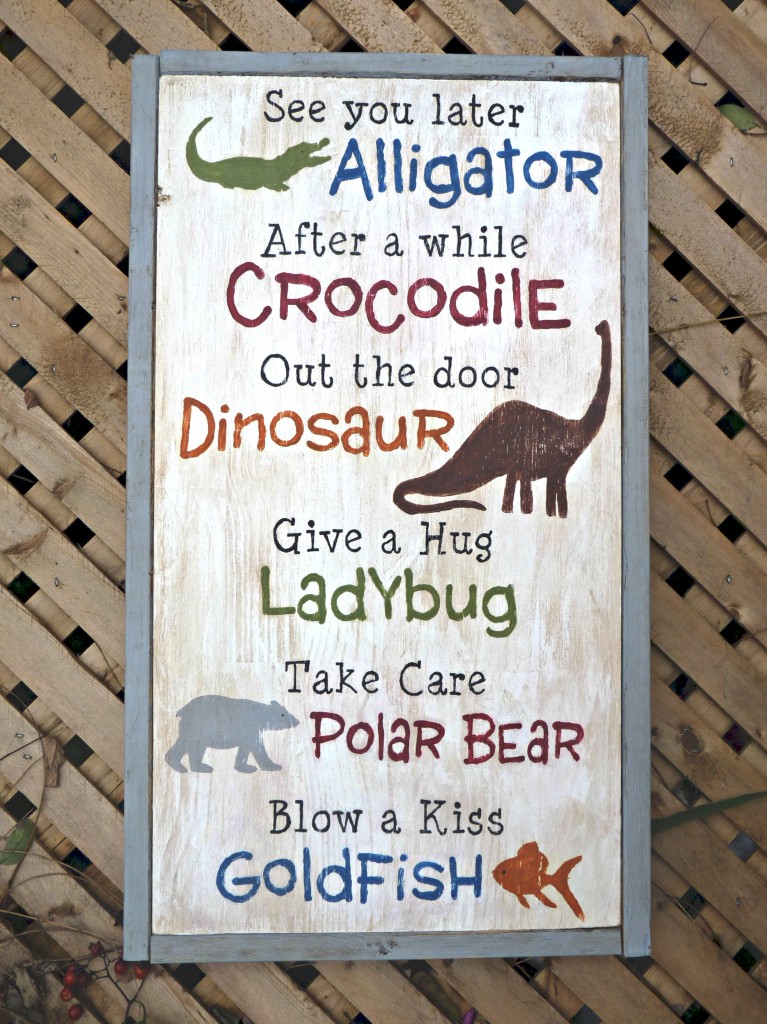
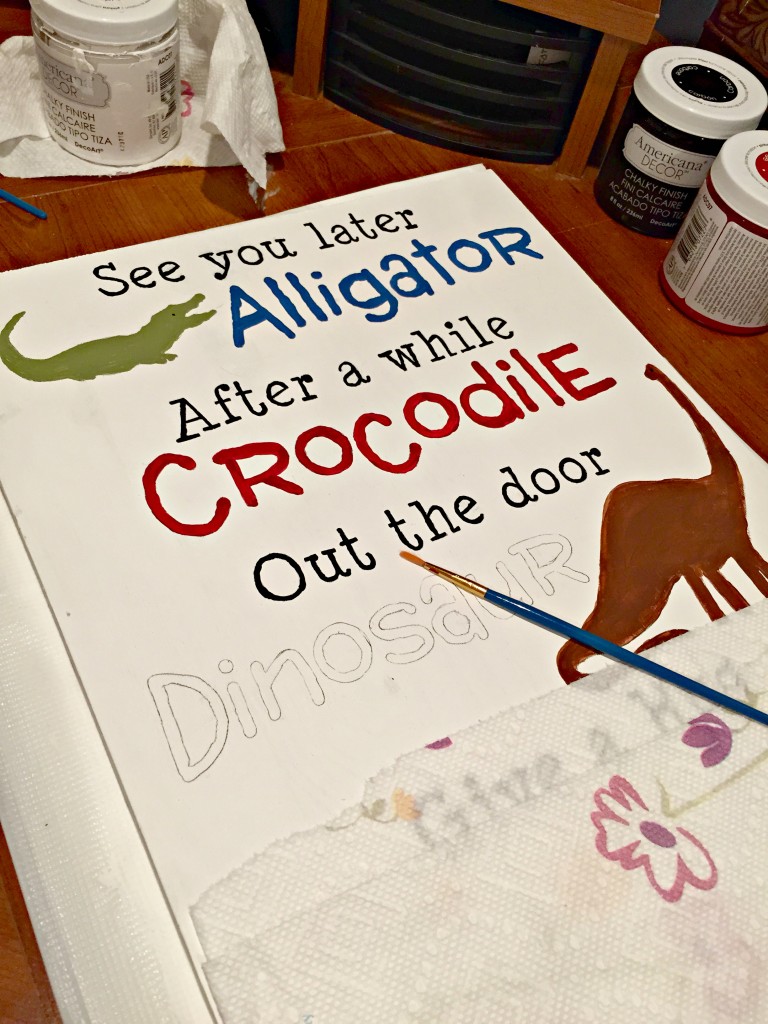
Step 4: Fill in with paint! Again, I did it this way because I had to stop and start multiple times a day. The chalky finish paint provided wonderful coverage, and I loved the vintage feel of it when it dried.
*Helpful Tip* See that paper towel? I use it under the hand I’m painting with, so i don’t actually smear or drop any paint on the board. I also tend to get lots of paint ON my hands, so this protects the board from that too!
Oh, and PS. If you have long hair? Pull it back first. Don’t ask me why I know this, but let’s just say I kinda was rocking the “hit by Elsa’s ice blast” look.
Step 5: Grab your sandpaper (or small mouse sander) and distress. Word to the wise-do a little at a time, in small sections. Don’t panic when you start to see chalk dust everywhere, because you can wipe away a lot of it with a wet paper towel. I was SO impressed with the DecoArt Americana chalky finish paint at this point because I scrubbed the heck out of the board to remove some of this sanded chalk dust, and the paint itself did not smear or wipe away. At. All. 12 points to Gryffindor.
Step 6: After everything is sanded, seal with the DecoArt creme wax in clear using the DecoArt waxing brush. (I did a whole coat in the clear wax, so that the brown wax wouldn’t seep in as much). Let dry. Then go over with the creme wax in deep brown and wipe away excess. Here’s the really cool thing about these creme waxes. When you go over the board with the dark brown wax, and it looks a little TOO dark, you can dip a paper towel (or whatever) into the clear wax and rub it over the brown. It instantly removes some of it, and you can play around to get the exact look you want. Another 20 points to Gryffindor.

I followed the basic directions found HERE to build my frame. This is how I did it!
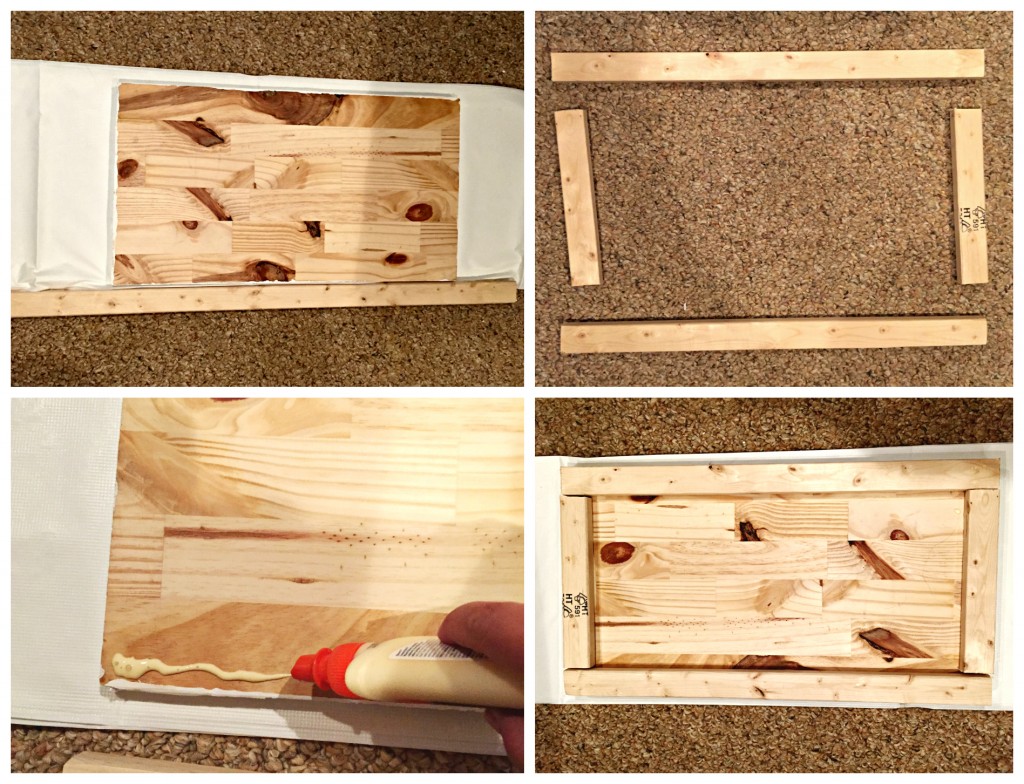
Step 1: Measure your furring strips and cut the back-of-the sign pieces. Use wood glue to attach, and allow to dry.
Step 2: Measure your furring strips and cut the front-of-the-sign pieces.
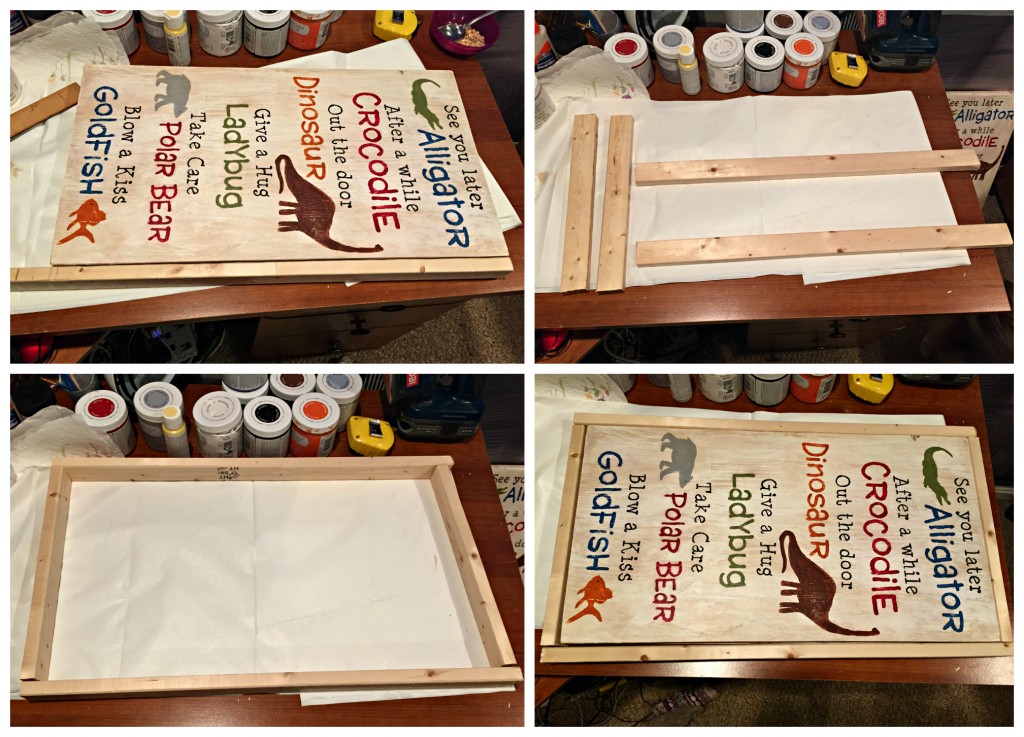
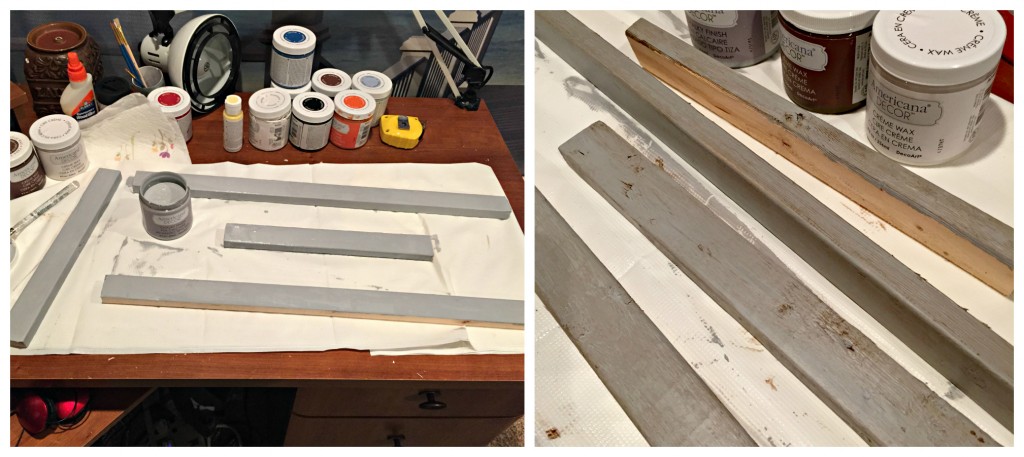
Step 3: Paint and distress your frame pieces using the same techniques as you did with the sign. Once they are dry, fit the pieces around the sign, and use the wood glue to attach them.
Allow some good drying time for the frame around the sign, but once it’s done, be super proud of yourself and hang it up! I used the Command Strips to hang mine, but feel free to do it the old fashioned way too.
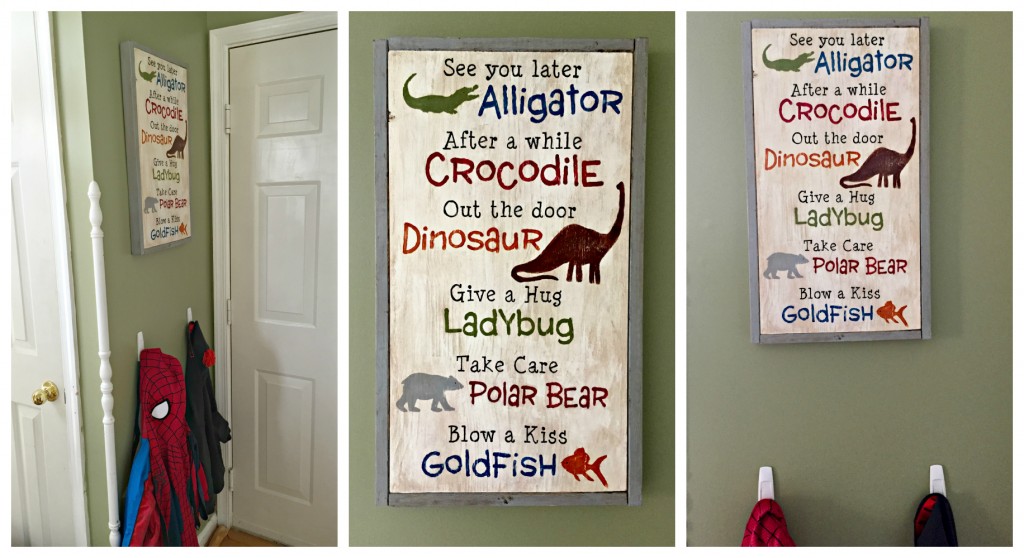
Ok, so some of you (like my sister) are going, “well that’s just wonderful Erin, but there’s no way in heck that I have time to pull something like that off”. And I say to you dear One Artsy Mama readers, “Dude, I got ya covered.” You can easily just download the free printable I created, print it, and hang it. Bing, bang, Boom. Just grab it HERE!
Here’s to making all of our entryways a little more colorful, and our goodbyes a little more fun!



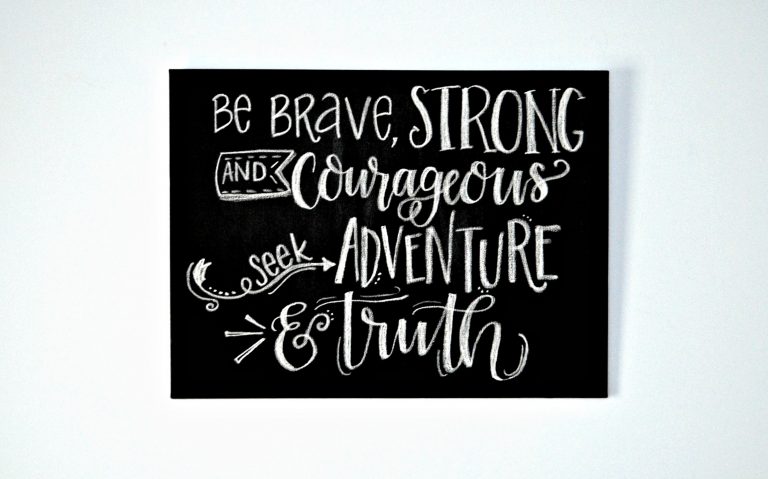

I’ve been painting my living room and daughter’s bathroom while searching for a new entertainment center so I’m a little behind on my reading blogs. This sign is so super cute!! I love the saying. Perfect for putting by the front door. Love, love, love it!!!
This is adorable. And nicely done. I scrolled down and noticed you specialize in lettering. That explains things!
Thank you! It’s actually a stencil I designed on my computer..I am lacking in the world of lettering. Amy, the owner of this blog, is the hand lettering wonder woman! I work for Amy 😉