
Easy DIY Cat Toy
Hey, friends! If you follow along on Facebook or Instagram, you already know the Artsy Family’s big news…we got a cat!! Her name is Fuzzy and we had absolutely no intention of getting any cat as of last week this time. We were visiting some friends on Saturday night for our fantasy football draft when they started talking about one of their cats; they received her from her elderly owner who had passed away, and their son was being too rough with her and making her unhappy. She also happened to be hypoallergenic! They said they needed to re-home her and asked if we were interested…were we ever! She’s a real sweetheart and a fun addition to our family. Here’s a fun little toy LC helped me make for her to welcome her to our home!

Materials:
– Oly*Fun {you can substitute felt or fabric}
– Scissors
– Polyester fiber fill
– Catnip
– Ribbon or yarn
– Google eyes
– Thread and sewing machine {you can also do a no-sew version}
– Hot Glue Gun and Glue
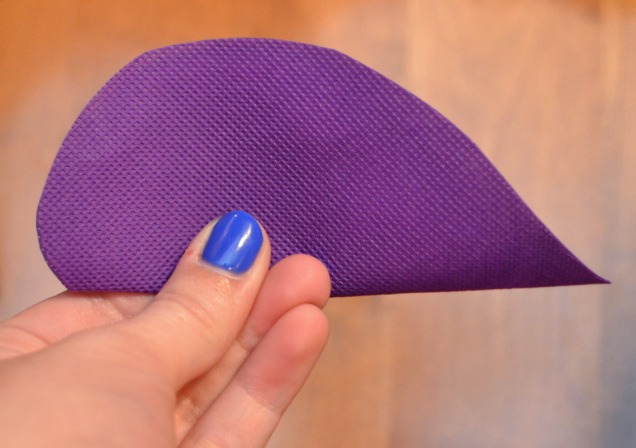
Step 1: Fold your Oly*Fun, Felt, or Fabric in half and cut out a shape similar to this one. It’s actually a lot like cutting out a heart…start with a point, then curve up and back down. Just a note, I used Oly*Fun instead of the alternatives because not only is it really durable, it’s also waterproof. So, if Fuzzy decides to chew on it or lick it {which she did}, no harm done.
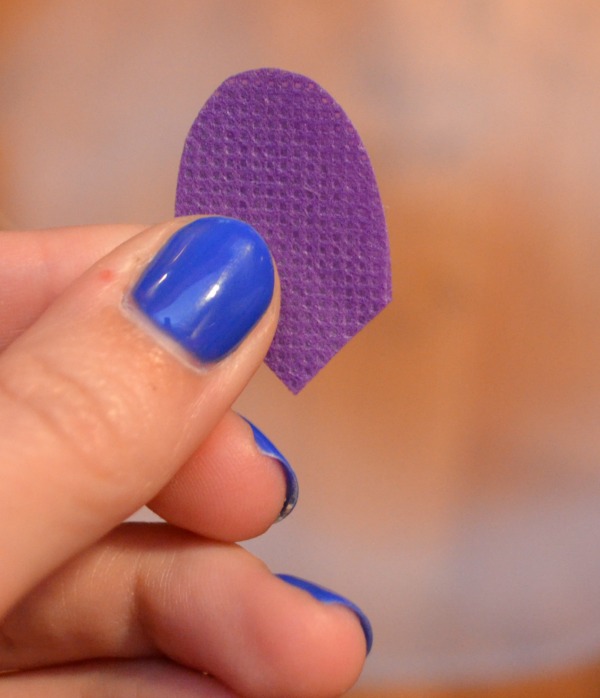
Step 2: Cut out two ear shapes. These don’t have to be perfect, just freehand something that kind of resembles an ear. Your cat will never know.
Step 3: Cut a piece of ribbon for a tail. We used Martha Stewart Glitter Ribbon by Lion Brand because, well, glitter makes everything better!
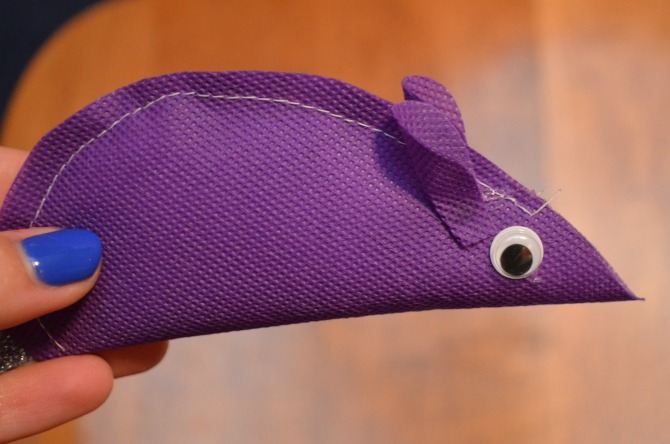
Step 4: Place about 1/2″ of the ribbon inside the body shape and fold the body in half.
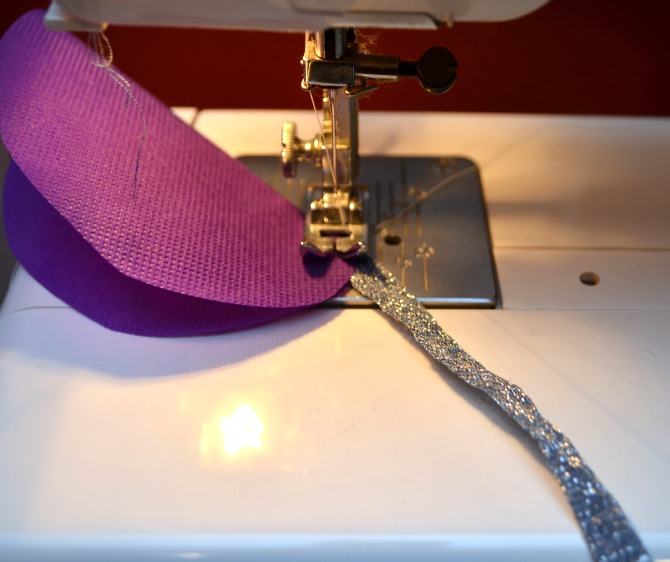
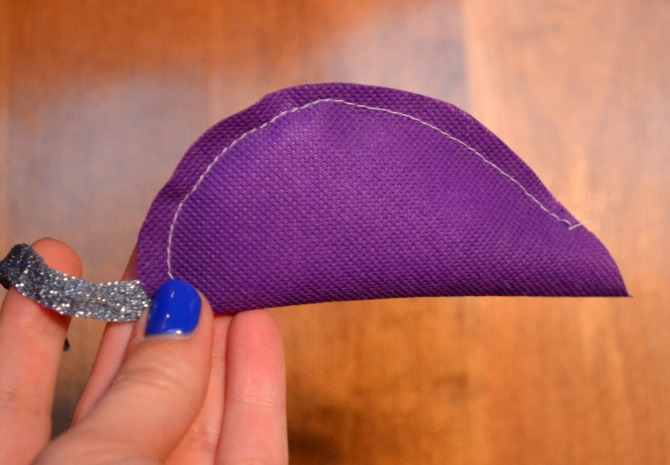
Step 5: Sew around the outside edge, leaving a small opening for stuffing. If you prefer to do the no-sew version, just use hot glue to attach the sides together instead of sewing them. Your cat won’t think any less of you than it already does. 🙂
Step 6: Glue the ears and eyes in place. To give the ears a cute little 3D effect, I folded the bottoms in half and glued them that way.
Step 7: Fill the toy with a mixture of polyfil and catnip. I’m still a newbie at this whole “owning a cat” thing, but from what I’ve seen a little bit of catnip goes a long way.

Step 8: Sew {or glue} the remaining spot closed.
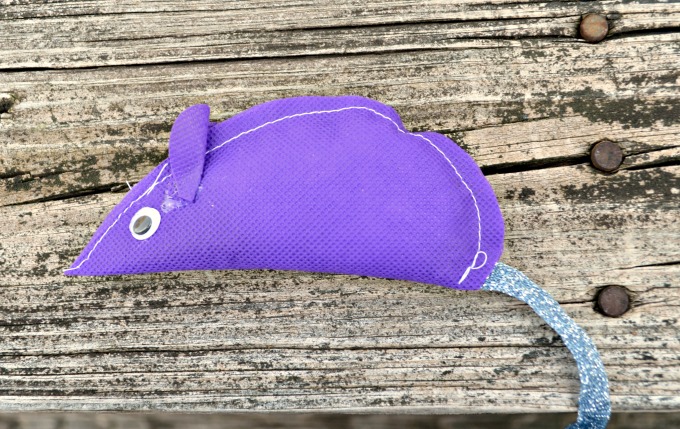
All done! Now the mouse is ready to be enjoyed by your furry friend.

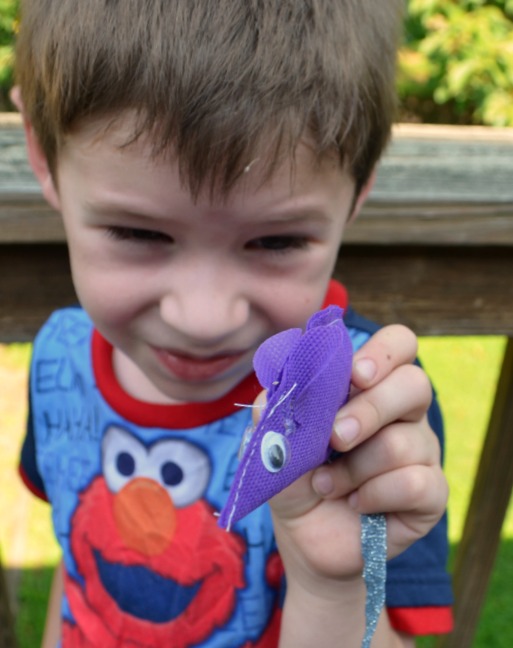
And perhaps by your children as well…I have a feeling I may be making a non-catnip version for a certain someone pretty soon.
If Fuzzy’s reaction is any indication, your cat{s} will love this simple toy!


Fuzzy is sooo cute! I love cats. My cat, Shiloh, will surely appreciate this post once I make him one! Thanks for sharing!
Great toy but you might want to eliminate the eyes. They could come off and the cat could choke on them.