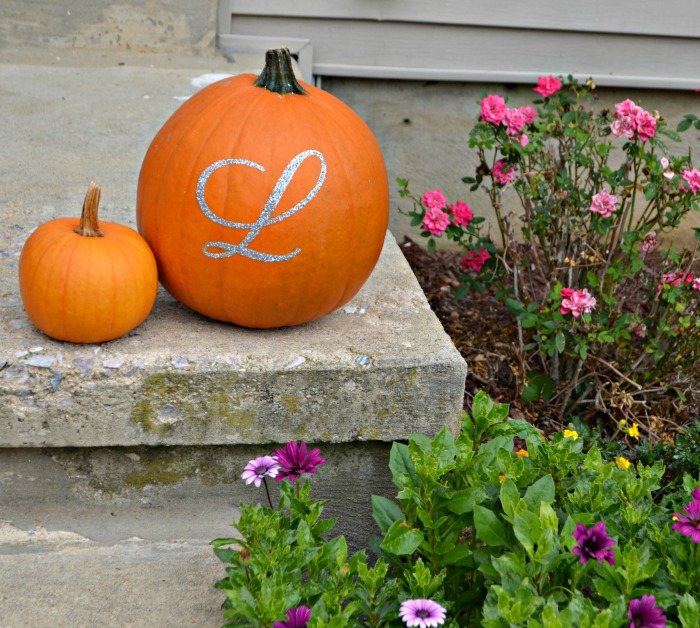
Glittered Monogram Pumpkin
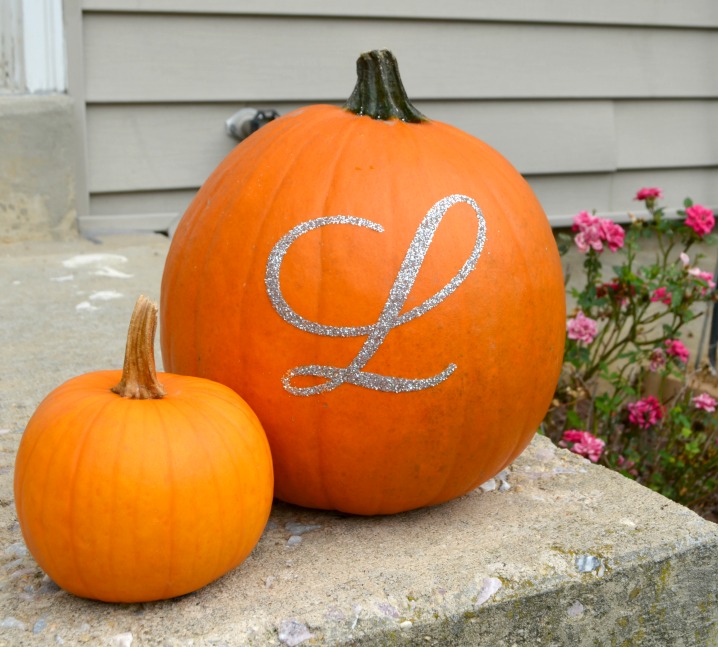
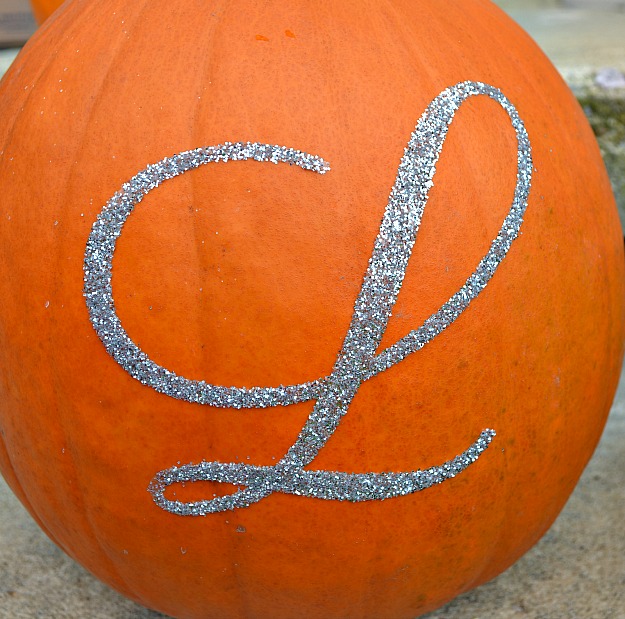
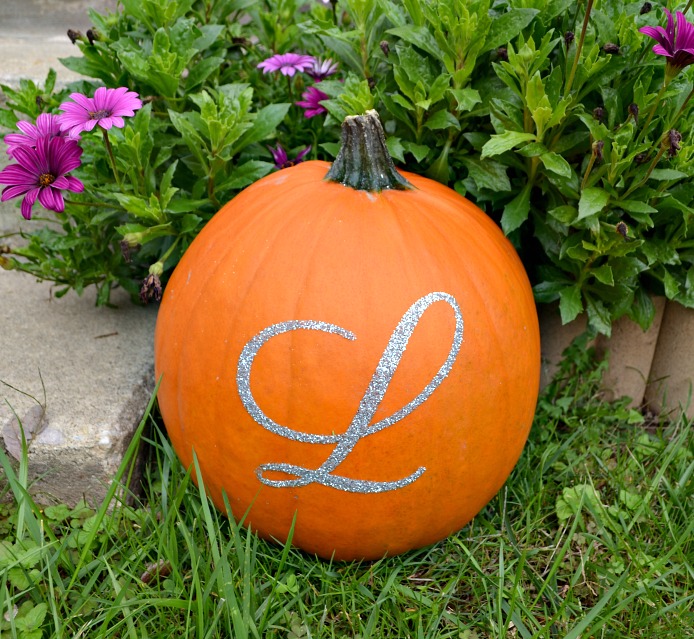
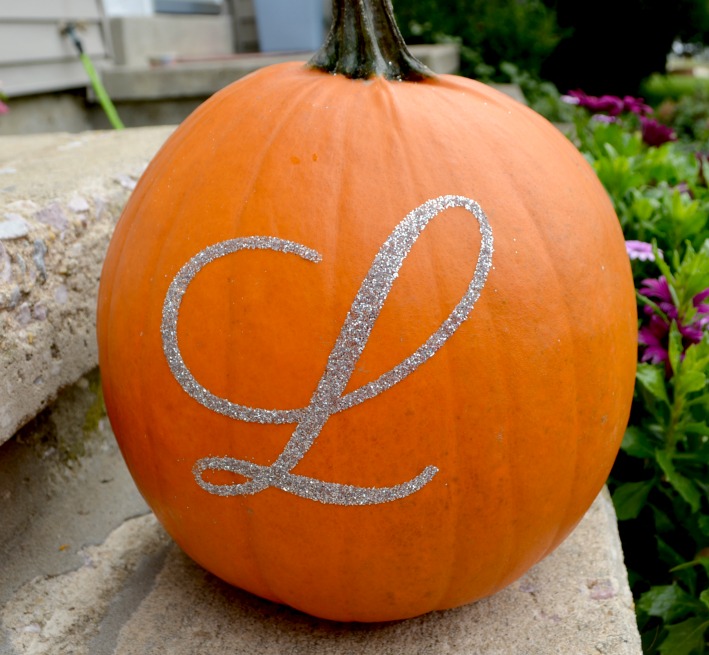
Today I have a real treat for you, friends! A project that combines three of my very favorite things…pumpkins, Cammie {my beloved Silhouette Cameo}, and… GLITTER! This week, I promised to share with you a variety of ways to use the various specialty media that’s on sale right now at Silhouette. But unlike the other projects I’ve showed, this project was not my idea! Instead, this piece of festive fabulousness is the creative brainstorm of Meredith over at Unoriginal Mom.
If there’s one thing I hate about blogging {we’re all allowed to dislike one thing about our job, right?} it’s how easy it is for someone, whether well-intentioned or not, to steal another person’s original content. Just this week, someone pointed out to me a site that had stolen my DIY Layered Button Necklace tutorial, including the step by step instructions and every one of my photos and posted it on their own page. Not cool. So, I want to be very clear that I am never ever doing that to another blogger. I have a tremendous amount of respect for my fellow bloggers and I know how much time and effort we put into creating, photographing, posting, and sharing our projects. So, I want you to know that this is Meredith’s project, and I’m going to send you over to her blog for all the details. I just wanted to show you how mine turned out and let you know how much her idea inspired me!
This project uses the Silhouette Double-Sided Adhesive Starter Kit I got in my goody box, which is oh-so-fun! It contains the double sided adhesive itself, along with a brush, a spatula, three containers of glitter, three containers of flocking material, an idea book, and a download card for a few special designs. It’s a great way to add embellishments to handmade cards or scrapbooks, and who knew…it works on pumpkins too!
For a step by step tutorial on how to make your own blingy monogram pumpkin, hop over to Uninspired Mom, where she’ll walk you through each step with written instructions as well as photos.
Meredith used a faux pumpkin for her project, which means she can reuse it again each time fall rolls around. I would have liked to do that too, except that I didn’t have one and Walmart was closer than the craft store. And Walmart had their pumpkins on sale. Yep. I’m a sucker.
I’m not totally sure how this will hold up in rain, so I’m going to keep an eye on the sky and pull it inside if things start looking ominous. Last year, we had some glittered pumpkins outside that actually did pretty well in all kinds of weather, so maybe it would be okay, but I like it too much to take a chance!
Don’t forget to stop by Uninspired Mom {personally, she seems pretty inspired to me!} for the directions, and then go get you some Double-Sided Adhesive at Silhouette while it’s 30% off! Don’t have a cutter? Grab one of the bundles on sale now and get the machine plus the specialty media! It’s a super deal! {Yes, I’m an affiliate, but yes, I really think it’s a great sale}!
Hugs & Glitter,





Hi, I subscribed to your blog last week and I can read all of the great articles, but for some reason, I cannot see any pictures of your projects, am I doing something wrong?? I was trying to look at your glitter pumpkin.
Also- I have a pazzles but have never used it- not a big computer person, do you know how that compares to the silhouette?? Thanks!! Carla
For some reason, Internet Explorer doesn’t like to play nice with my blog. I’m not sure why that is, but if you try viewing in Chrome or Firefox, the photos should be right there! I have never heard of Pazzles…sorry I can’t help there!
So elegant!
Love it!!
super cute!!!
It looks awesome! Love the look of the silver glitter on a real pumpkin. It’s such a quick, easy, and inexpensive project that you can do it on a real pumpkin and not feel bad about tossing it at the end of the season! And thank you SO SO much for the sweet shout-outs and links back 😀 I am grinning from ear to ear! Thanks for spreading the blogger love 🙂
You are so so welcome! Thank YOU for the fabulous inspiration! Loved your idea and the great, easy to follow tutorial!
Great idea! I pinned this. Here is the url. http://www.pinterest.com/pin/132152570289371094/ Saw you over at the Daily Blog Boost. Feel free to share this or any other post at my Make it Pretty Monday party which goes live on Monday. Here is this week’s link if you want to check it out. http://thededicatedhouse.blogspot.com/2013/10/make-it-pretty-monday-week-71.html Hope to see you at the bash! Toodles, Kathryn @TheDedicatedHouse
I always wonder what the right etiquette is for using other people’s ideas to create your own. I always link back but if you create your own inspired by someone else’s idea, can you post your own step by step pictures? It’s one of those things that is a little sticky sometimes but you’re right, I definitely think it’s better to err on the side of just sending people to someone else’s site.
Nice work. I’m an “L” also. 🙂
Yay for the L’s!
I personally speculate exactly why you labeled this blog, “Glittered Pumpkin with Monogram: One Artsy Mama”.
In any case I actually loved the post!I appreciate it-Klaudia