
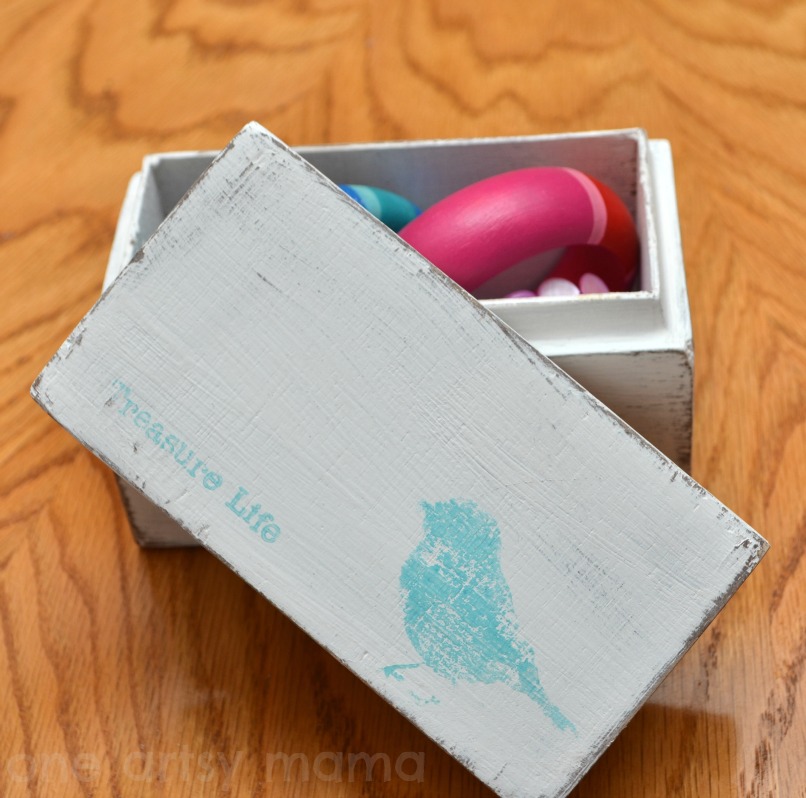
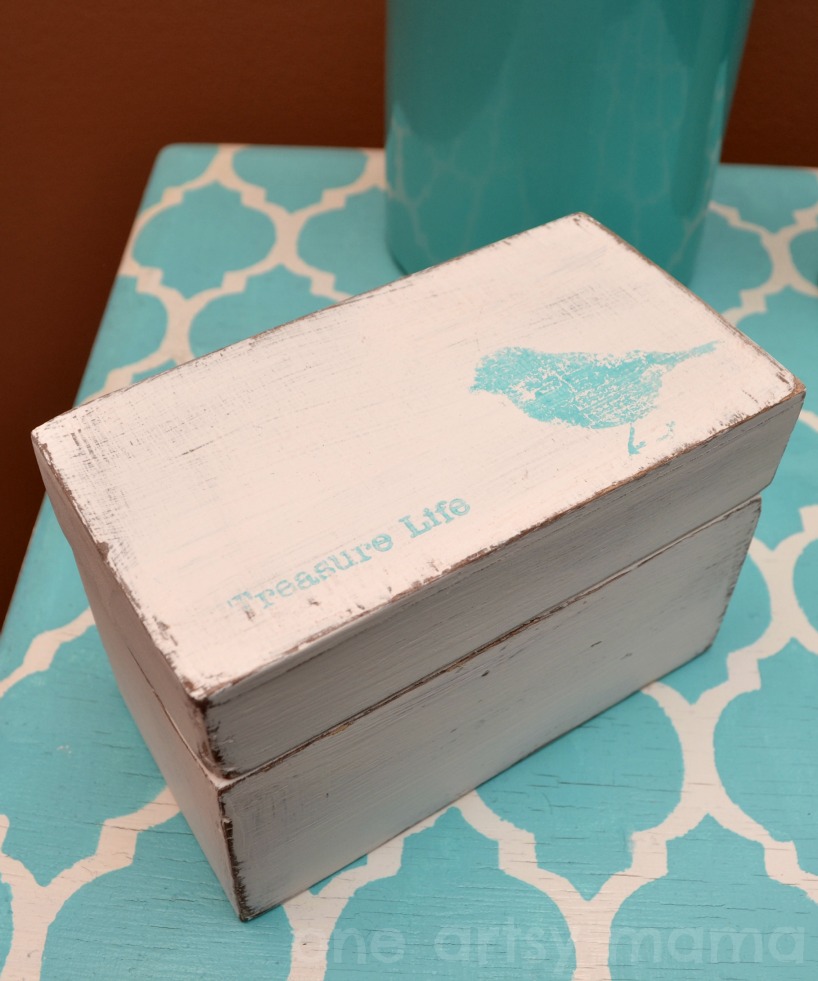
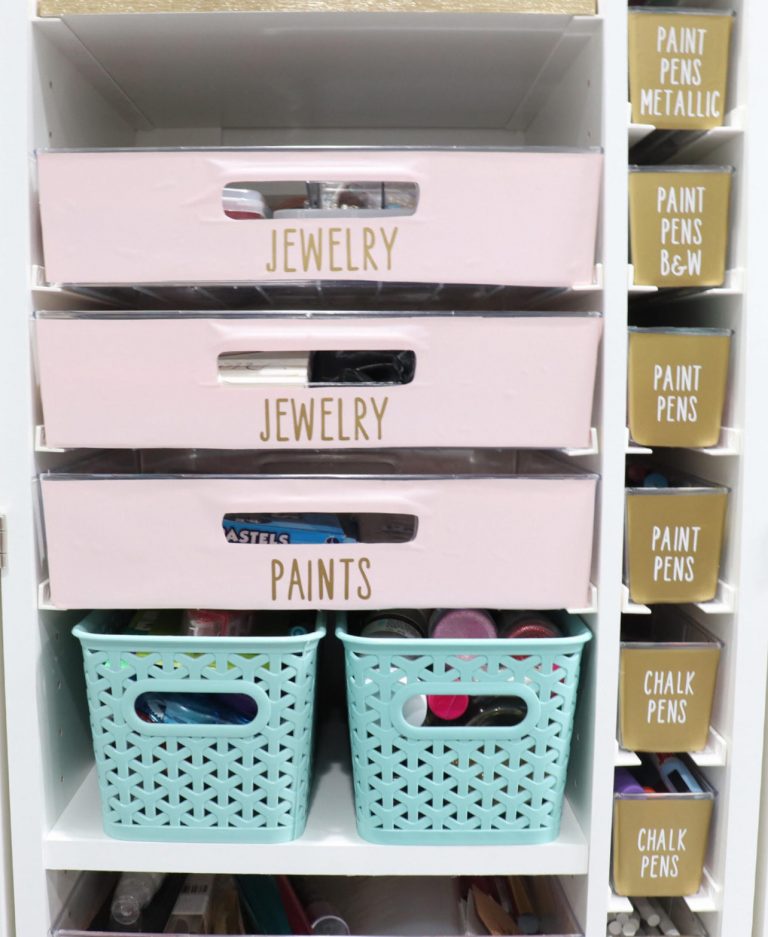
Shabby Chic Jewelry Box

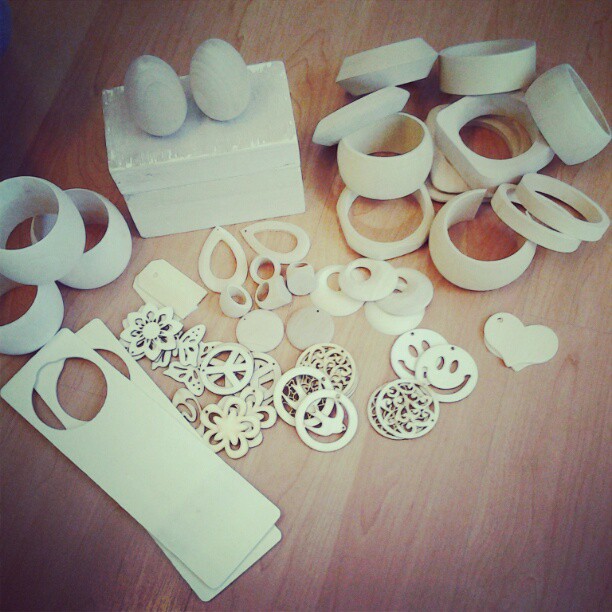
My inspiration actually came from the wooden box itself. See, I recently partnered up with Tiff from Banglewood Crafts to do a review and giveaway for a few of her bracelets {stay tuned for that giveaway, coming next Tuesday the 29th!}. She sent me three bracelets to paint, one of which I already shared here on the blog. Then, she surprised me by sending another box of goodies…and let me just say it blew my socks right off! Holy happy mail! Look at all this fun stuff!
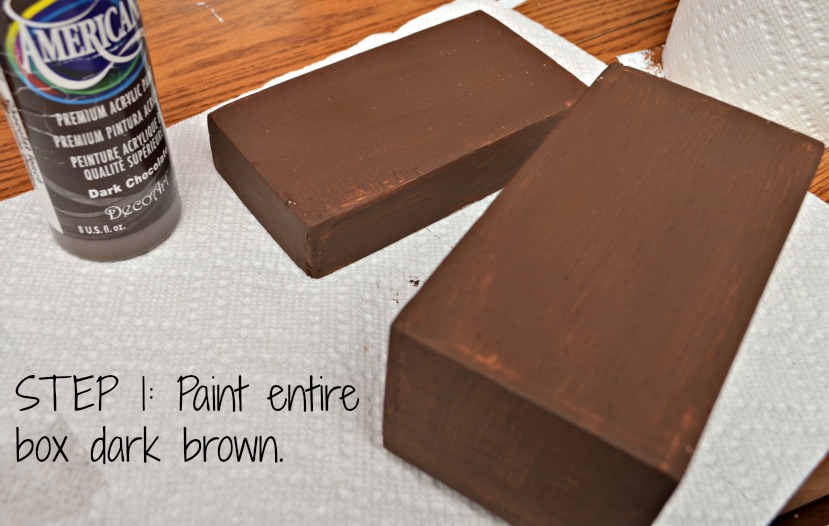
I know. It seems counter-intuitive to paint the whole thing brown when you actually want it to be white, but you do this first so that when you’re giving it that fabulous distressed look, the white paint sands off and you’re left with this great chocolate brown underneath instead of the unfinished wood. Since it’s all getting covered up, you don’t have to worry about getting it perfect. But do make sure it’s totally dry before moving on to step 2. Ask me how I know…
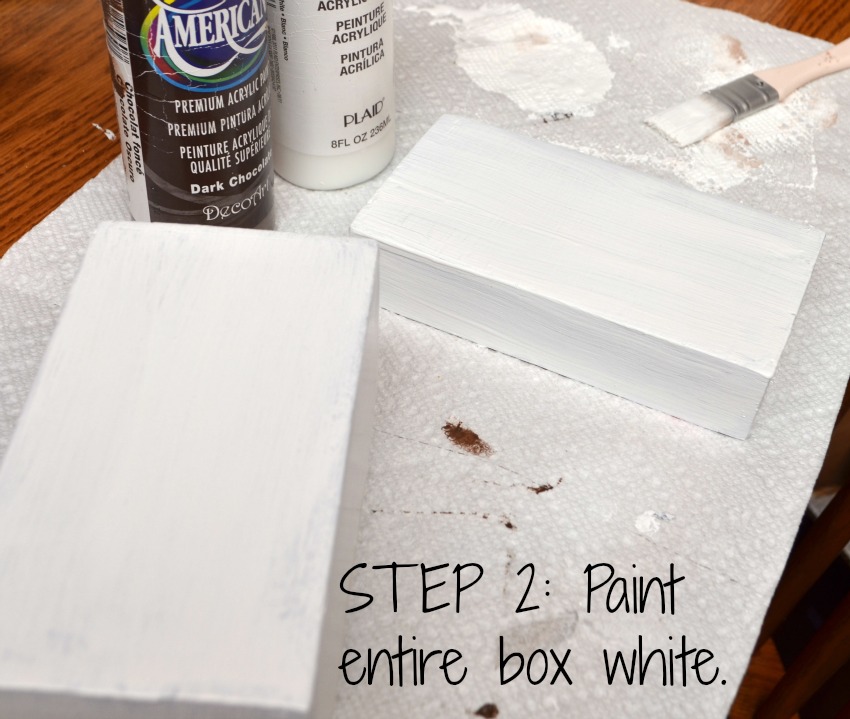
Again, because I wanted the rustic shabby look, I wasn’t worried about it looking perfectly white and uniform. I was okay with less coverage in some places. Let this part dry completely before moving on. Ugh, I know. I hate waiting too. But trust me, if you rush, you’ll pay the price…again, ask me how I know.


To do this step, I just lightly sanded around each edge and corner. Then, I rubbed even more lightly on the flat surfaces. If you sand too hard, the brown paint will come off too, which you don’t want. You just want to sand hard enough to get the top layer of paint off so the brown part shows through. This is a great stress-reliever while you’re watching your team play in the AFC Championship game and the other team is in the process of scoring {Thank goodness we turned it around in the second half!}.
Thanks so much, Tiff, for the box and for all the other fun supplies I can’t wait to get my hands on!


I love everything about this… Great job Amy!
Great tutorial, and I love the box. Pinning this, thanks!
Cute.
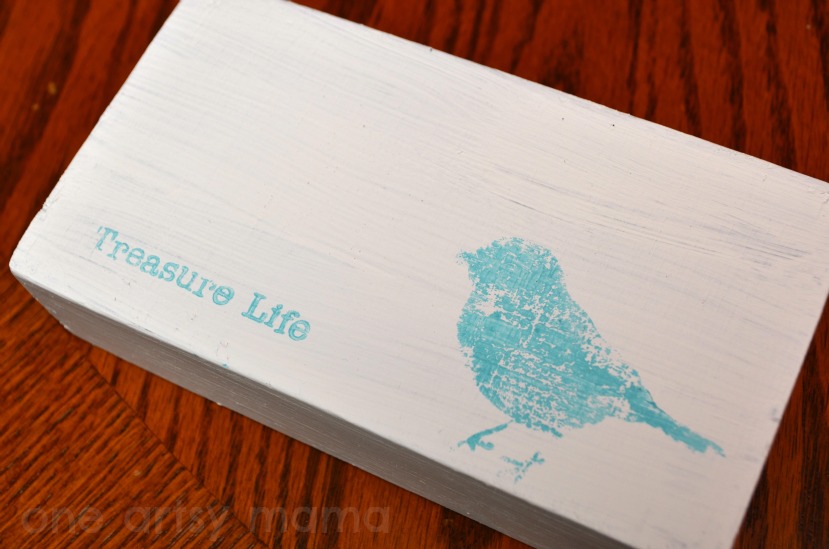
Very pretty! Love the little bird 🙂
Really lovely, thanks for sharing your method, would not have thought of the dark brown under the white … and the bird is to sweet for words.
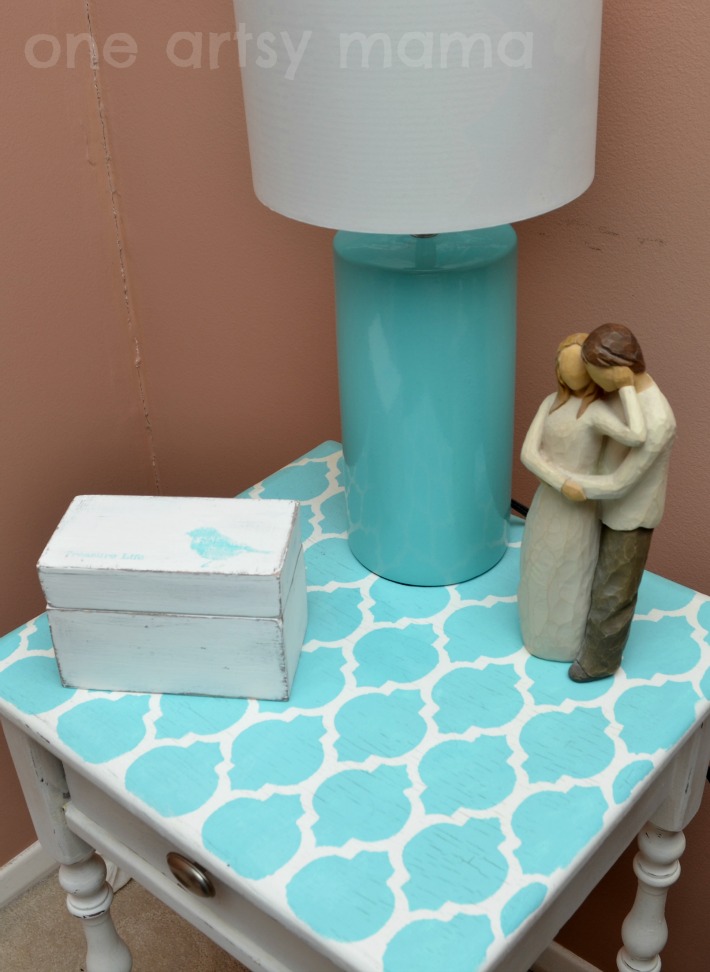
This is so cute! I love the way it looks on the table too.
❤
❤
I LOVE it!!
LOVE! That turned out sooooo pretty! I just love the little bird on it. =)
Super cute Amy!! I love the colors and the bird, FANTASTIC!
So pretty! I love that little bird on top :o)
LOVE how this turned out!!
Um, shabby AND turquoise?? You KNOW I’m all over this one!! LOVE IT! XO
So cute! Did the box come from your friend as well? I’d love to know where to get one!
Yes, Mandy, it did! If you click on the materials list where it says “unfinished wood box” it should take you right to the listing for it unless she’s out of stock.