I’m excited! Tomorrow, we will be hosting our first family Seder. “Wait,” you’re thinking, “Seder…that’s part of Passover. Isn’t that a Jewish holiday? Aren’t you a Christian?” Yes, yes, and yes. But several years ago, we became part of a Bible Study group that investigates the Jewish roots of our own faith and it has transformed our lives. It’s amazing how much more deeply you can understand Jesus and His teachings when you learn more about the Jewish culture and religion, particularly as it was in the first century when He walked the earth as an itinerant rabbi. {If that’s at all interesting to you, check out this link}
Anyway, for several years now, we’ve been attending a Seder Celebration at the home of some dear friends, during which we participate in the traditional readings and symbolisms while looking at how those symbols point to Jesus, our Messiah. This year, we decided to invite our families over and give it a go ourselves too. Fortunately, my mother-in-law {who has some background in all this since her dad is actually Jewish} is preparing almost all of the food…all I’m responsible for is picking up the scrumptious looking flourless chocolate cake I ordered from a local bakery. So, that gave Little Crafter and I plenty of time to focus our energy on crafting instead! Yay! Here are two things we made in preparation for our Seder meal.
SEDER SYMBOLS CENTERPIECE
Background: Passover is a remembrance of when God, through Moses, led the Israelites out of Egypt, where they’d been enslaved for 400 years. On the table during the meal is a special Seder plate holding symbolic elements significant to remembering the slavery and deliverance of the people. Little Crafter and I decided to make a centerpiece featuring these symbols.
Materials:
– printed clip art of Seder symbols or your own drawings of them {I got mine at shutterstock.com}
– colored cardstock
– 1 3/4″ circle punch {mine’s Stampin’ Up!}
– small hole punch
– silver cord {ribbon or yarn works too}
– marker
– springy tree branch: can be real or artificial
– glass vase
– decorative stones
– wide ribbon
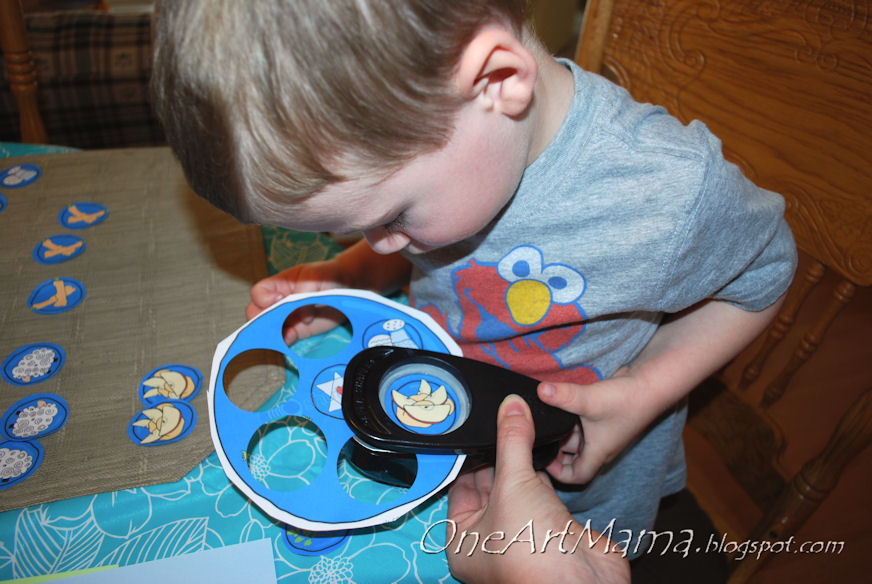
STEP 1: Use circle punch to punch out the individual symbols. I printed the plate three times, but our tree only needed two of each symbol to look full.
STEP 2: Punch one circle out of colored cardstock for each symbol; I needed 12. I used a mixture of yellow, green, and blue.
STEP 3: Glue a symbol to each cardstock circle.
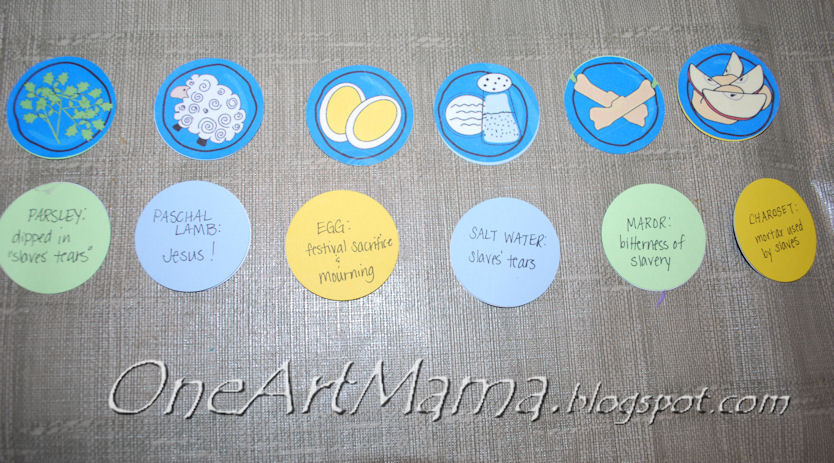
STEP 4: Flip circles over so that colored cardstock is showing. On each one, write the name of the symbol and its meaning.
LAMB: Paschal lamb {and for us, Jesus, the Lamb of God!}
CHAROSET {apple/nut/wine/cinnamon mixture}: mortar used by the slaves
SALT WATER: tears of the slaves
PARSLEY: dipped in “slaves’ tears”
MAROR {bitter herb}: bitterness of slavery
EGG: festival sacrifice, mourning
These were the ones in our pictures. You may also find other symbols, like matzah or the cups of wine.
Here’s a pic of the finished symbols from the front and back.
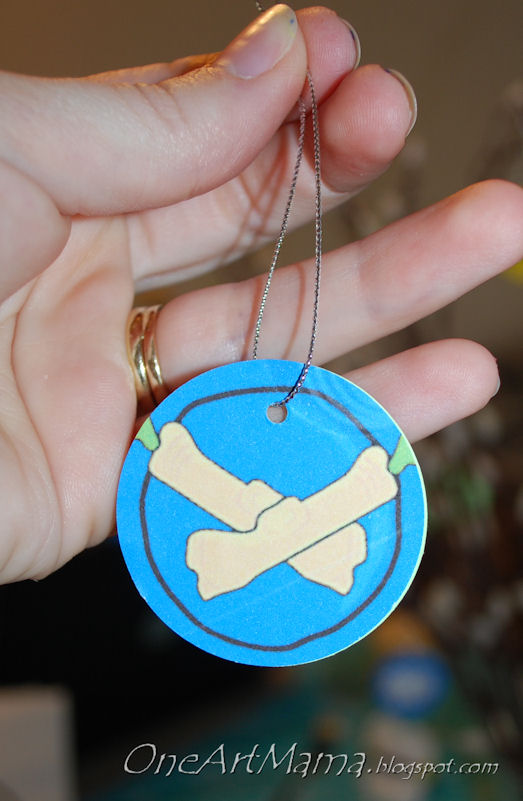
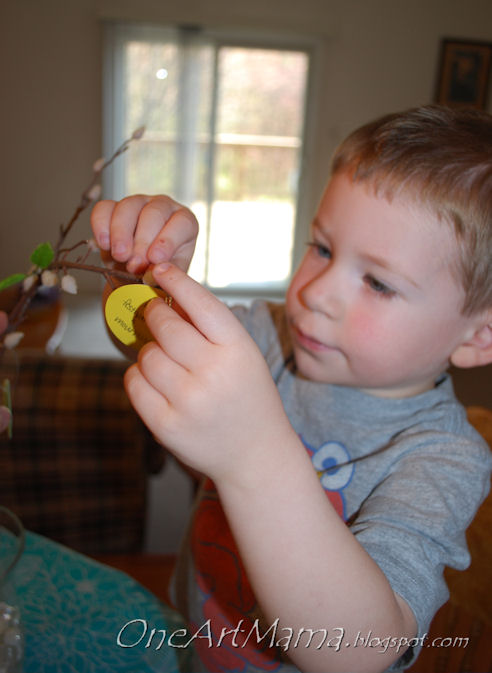
STEP 5: Punch a small hole in each symbol and tie silver cord, yarn, or ribbon on to make a hanger.
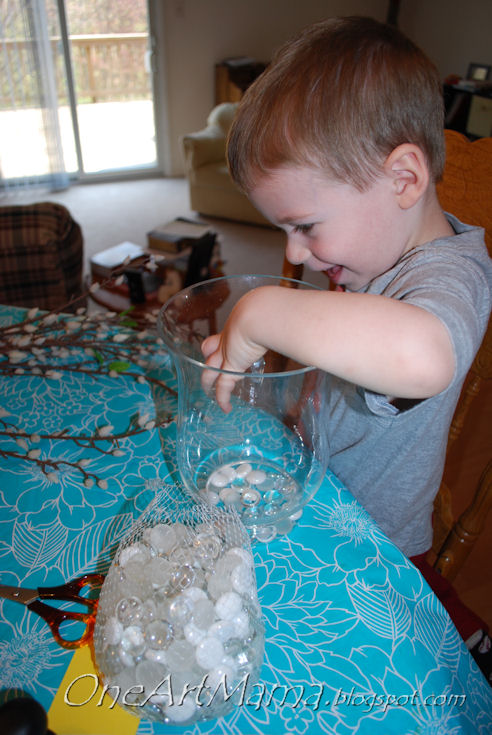
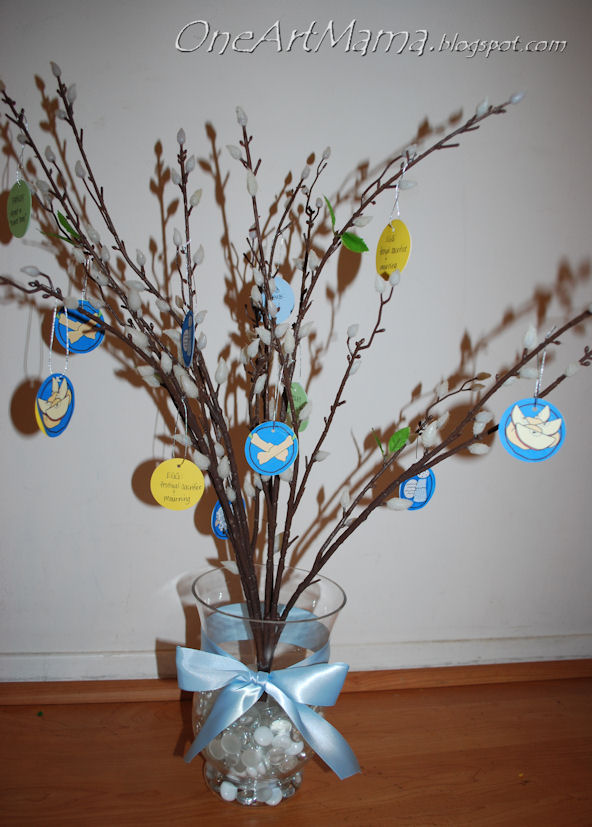
STEP 6: Fill vase with decorative stones. LC loved this part. Then, place branch in vase. My branch is a faux pussywillow that I got 40% off at Michael’s. Our tree out back has branches that were too big; our tree out front is so small that cutting off a branch the size I needed would have been too noticeable. Hubby said it would be wrong to cut up a tree on “common property,” so I did the best I could. 🙂 At least this is less messy and totally re-useable.
STEP 7: Hang symbols on branches.
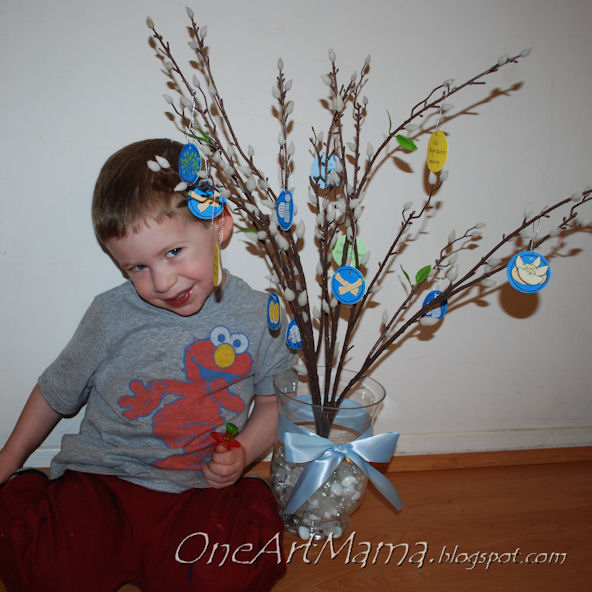
STEP 8: Tie ribbon bow around vase. Ta da! A pretty, yet meaningful centerpiece for the Seder table.
EASTER VARIATION: If you’re not participating in Passover, this idea can also be adapted for Easter, using symbols appropriate to the holiday like those used in the popular
Resurrection Eggs idea:
bread, coin, purple cloth, thorn, scourge, cross, nail, sign, sponge, spear, rock.
Hmmm…now I know what to do with LC next week! I’ll get my money’s worth out of this branch! 😉
Here’s our second craft, which we actually started first so the paint could dry…
STAR OF DAVID PINS
which can double as PASSOVER PLACECARDS
Materials:
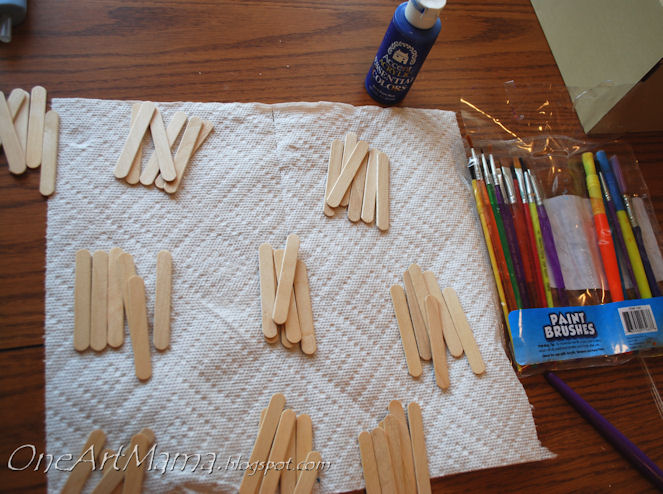
– mini popsicle sticks: 6 per pin
– acrylic paint: yellow, blue, or both
– paintbrush
– low temp glue gun and gluesticks
– pin backs
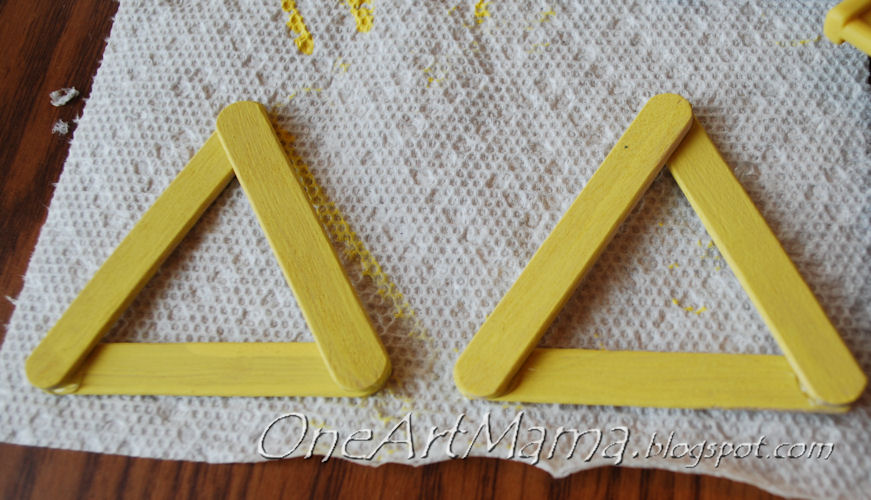
STEP 1: Paint popsicle sticks. Let dry.
STEP 2: Glue sticks into triangle shapes, keeping one stick flat on the bottom.
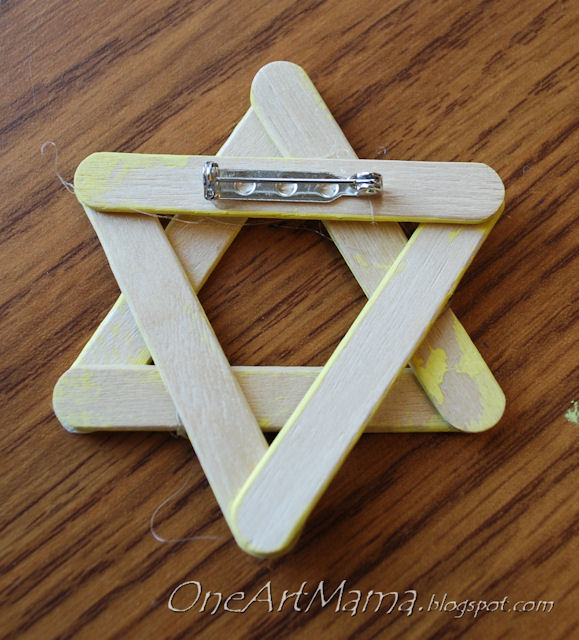
STEP 3: Glue two triangles together to form star shape.
STEP 4: Glue pin on back.
Optional for placecards:
– colored cardstock
– printed clip art of Hebrew letters for “Pesach” {Passover}
– 1 1/4: circle punch
– tag punch
– small hole punch
– silver cord
Directions: Use tag punch on colored cardstock and punch one tag per pin. Use circle punch to punch out one letter clip art per pin. Glue circle to tag. Punch hole, attach cord, and attatch to pin.
You can write each guest’s name on the other side of the tag. I haven’t done this part yet, because I can’t decide where everyone should sit and I want to alternate star colors going around the table.
Well, a certain little crafter has decided it’s playground time, so off we go. I’ll let you know how the Seder goes tomorrow; I’ll be eating LOTS of charoset and potato puffs and matza balls…not so much the gefilte fish. Too bad I don’t have a dog to slip that to under the table…


wow. nice idea! 🙂
I love the tags hanging from the tree it’s such a great idea!
What nice decorations…They look very nice.
We are looking forward to it.
Oh, very cute! Great way to get your little guy involved! 🙂
This is great! I love both ideas! I am your newest follower and thanks so much for linking up to Made by Little Hands Monday! Also something that might be fun for your little guy are matzo pizzas, a piece of matzo, sauce and cheese and there you go!
Have a great day!
Michelle
http://www.delicateconstruction.blogspot.com
Amy thanks so much for sharing these and linking to the Sunday Showcase party. I have featured the Star of David placecards today. Hope you have a wonderful holiday. ~ Stephanie Lynn