
Spray Painting Tips and Tricks
I have a confession to make. Honestly, I used to be the worst spray painter in the world. It wasn’t for lack of trying. I would see these great projects on blogs and on Pinterest and get all inspired to try them myself…except that when I did, they turned into giant epic fails. Every. single. time. It was so bad that eventually I just resigned myself to being an awful spray painter and stopped attempting those types of projects. Instead, I just cast wistful glances every time I passed the spray paint aisle in Michaels and sighed when I saw a beautiful project in my Pinterest feed. Then, CHA happened. A few weeks before I flew out for the show, I got an email from the folks at Krylon asking if they could set up a meeting with me while I was there. I told them I’d be happy to meet with them, but only if they promised to help me and give me their best spray painting tips and tricks so that I could actually use the stuff! Of course, they did, and I’ve been addicted to Krylon ever since. I figure it’s only right to pass those tips along to you, just in case any of you happen to be in the same boat I was…so here you go!

Tip #1: Choose the right tool for the job.
I had NO IDEA how many different types of spray paint are actually available. There’s Color Master, Glitter Blast, Shimmer Metallic, Indoor/Outdoor, Natural Stone, Looking Glass Reflective Spray, Glow in the Dark, and that’s just the tip of the iceberg. Before you start spraying, make sure you’ve chosen the paint that’s best suited to your project. How do you want it to look? Matte? Glossy? Sparkly? Super-DUPER-sparkly? And what kind of material are you spraying? Wood? Glass? Metal? Foam? The label of the spray should tell you what surfaces it’s compatible with. Once you’ve chosen your spray, make sure you also choose the sealer that’s designed to go with it. Just like with anything else you attempt, you’ll go farther if you’re using the right tools for the job.

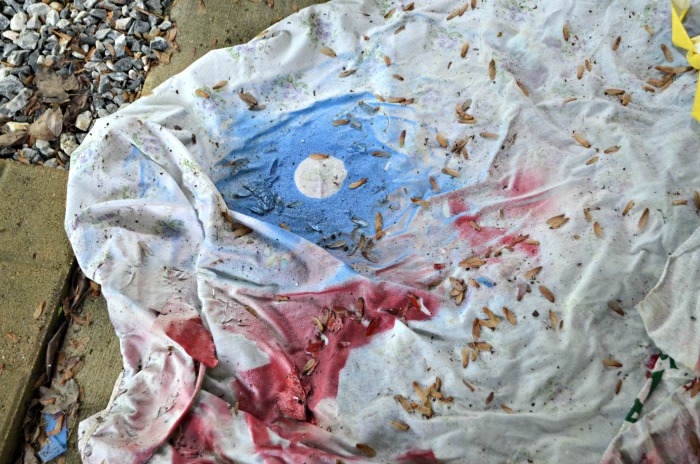
Tip #2: Prepare an outdoor work area and cover it with a drop cloth.
First of all, please notice that I said OUTDOOR. Do not use this stuff inside. As fabulous as spray paint is, you don’t want to be inhaling a ton of these fumes. The instructions say to find a well-ventilated area, and I say what’s got more ventilation than the great outdoors? If it’s raining, just wait for a better day…I know it’s hard, and trust me, I’m a less than patient crafter myself, but it’s worth waiting and doing it right. I have a spot under our back deck that works really well. I just lay down an old sheet and place my project on top. You can see this one’s been well loved. Be sure your drop cloth covers up everything that absolutely can’t get sprayed. Keep in mind, though, that spray particles are airborne, so they can end up just about anywhere in the vicinity of where you’re working, and that if you spray too much at once, it can go through your drop cloth and onto the ground. Trust me.
Tip #3: Shake, Baby, Shake.
The instructions on the can will tell you how long you should shake the spray before using it. Most of the formulas tell you to shake for about two minutes. Do it. If you don’t, it won’t spray properly. You may get a giant burst all at once, you may get nothing out at first, or you may have other problems. Just do a little dance and shake that puppy up. Bonus: You can count that shaking and dancing as exercise, which allows you to eat more ice cream or drink more iced coffee. Just sayin’.

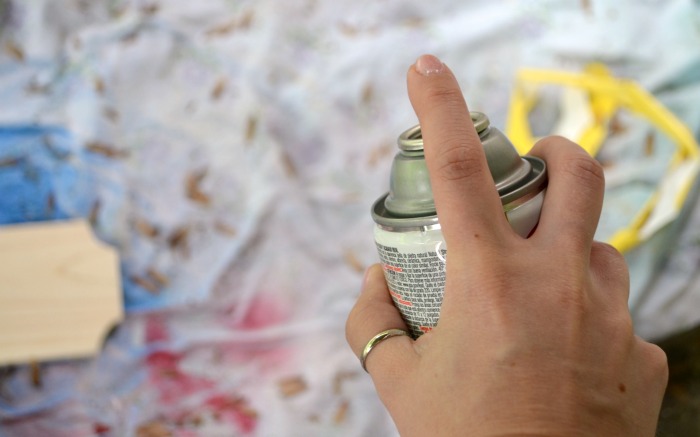
Tip #4: Do a quick little test spray AWAY from your project.
Before you go to town, just do your initial spray off to the side on your drop cloth somewhere to ensure that you did enough shaking and everything is working properly. The other day, when I tested my Cherry Red Gloss, I found that there was something clogging the nozzle, so instead of shooting a spray straight ahead, I got two streams of spray shooting off in opposite directions! Yikes! That allowed me to fix the problem before I made a mess of my project.
P.S. Tip #4b: Always make sure the spray part of the nozzle is facing AWAY from you. I wasn’t going to include that one because I figured it was common sense, and then as I was photographing this post, I, um, sprayed my own leg. True story. So. Check your nozzle. Every time.
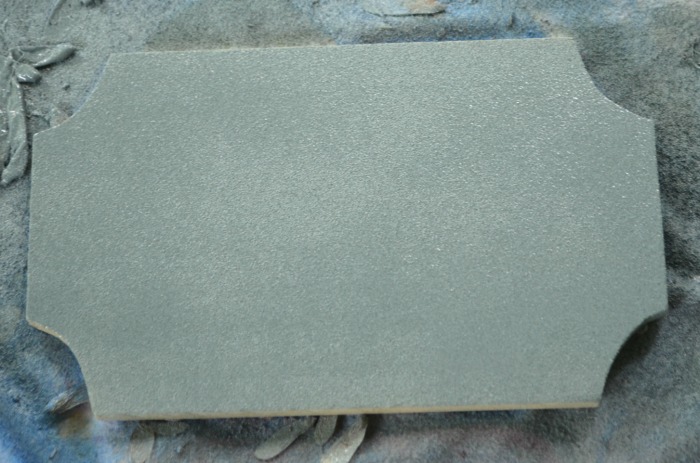
Tip #5: Spray light, thin coats and allow them to dry before you continue.
This is the absolute hardest tip for me to follow myself because I am such an impatient crafter. I want it done, and I want it done now. So, my temptation is to try and cover up my project all at once. But, you see, that was my problem all along. I was over-saturating things which caused the paint to run, to be uneven and gloppy, and to just plain look terrible. Instead, start with a very light coat. See how you can still see the natural wood after this first go-round? That’s okay. Leave it that way. Let it dry for a few minutes. Then, and only then, go at it again.

Continue spraying light, even coats until you have the complete coverage you want.
Tip #6: Start small.
The first project I ever attempted {and failed miserably} was an end table I was redoing. I ended up sanding the paint off and then repainting it by hand instead. I’m confident that if I were to attempt it now, I would get drastically different results…but I do think it’s probably a good idea to start off with smaller projects to get your technique down before attacking a giant piece of furniture. If you’re looking for some quick ideas to get started with, check these out:
DIY Loubotin-Inspired Heels
Glitter Frame {and free printable}
Jewelry Box
Chevron Apron
 The jewelry box was actually the first thing I attempted once I got home from CHA and was armed with my new tricks. It was small and simple to paint and it made me feel like I’d conquered something! I’ve gradually worked my way up to bigger and more complicated projects now that I’ve gotten the technique down and most importantly learned to be patient.
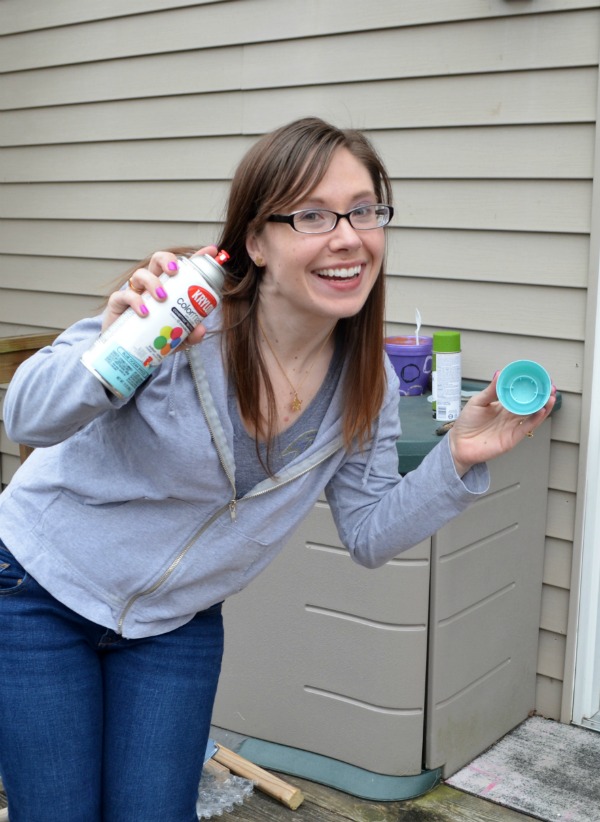
Tip #6: Don’t wear clothes you care about while spray painting.
I tend {as you know} to be a hurry-up-and-do-it type of crafter…I get inspired and want to make whatever I dreamed up right that second. Which means I’ve been known to spray paint in everything from my pajamas to a pretty white lace skirt. Take it from me, folks, you want to make sure you’re wearing old clothes you don’t mind getting painted. Because stuff happens. Like yesterday when I accidentally sprayed my leg. Fortunately, I happened to not be wearing long pants, but if I had been spraying in my best jeans, they’d have been ruined. Take the time to put on your paintin’ clothes, friends.
 There you have them, friends, my top 6 tips and tricks for successful spray painting. Are any of those helpful for you? What’s YOUR best tip?


Thanks for all these tips, Amy! So helpful!
I need to up my spray painting skills. Great ideas for how to make your project look great. Thanks for sharing your tips.
Great tips, Amy! I wish that there weren’t so many fumes associated with spray painting – I’d love for it to be an all-year activity! 🙂
So many helpful tips!! Thanks for sharing. I love the one about shaking = a workout:) Crafty exercise.
You cracked me up! I love that shaking the can counts as exercise. After painting, you need a bowl of ice cream or iced coffee to cool you down from the workout. I haven’t painted myself…yet, but I’ve come close…lol. Thanks for the great tips!!
Tip #5: Spray light, thin coats and allow them to dry before you continue.
I’m pretty sure that’s why I’m no good at spray painting. Well, hopefully I will remember that tip the next time I try it.
Spray painting is so fun! It can totally transform an object!
Great tips! I, like you, was once a hater of spray painting because I wasn’t doing it well. (I’m impatient as well.) I think doing several thin coats has been the best tip to get me back into it.
Thanks for sharing!
Thanks so much for your valuable information:-) As an impatient crafter myself, I would have made the same mistakes. You have saved me all that grief!
http://images.orgill.com/200×200/0836577.jpg
Using a spray paint handle is also SUPER helpful to keep your hand from cramping up! Inexpensive tool found at most hardware store.
Great suggestion! Thanks!!
I wish I would have looked these tips up before I started spray painting my daughter’s new loft bed. Round 2 today should go much smoother now that I read your article. Thanks a million!
Hope round 2 was a huge success!