
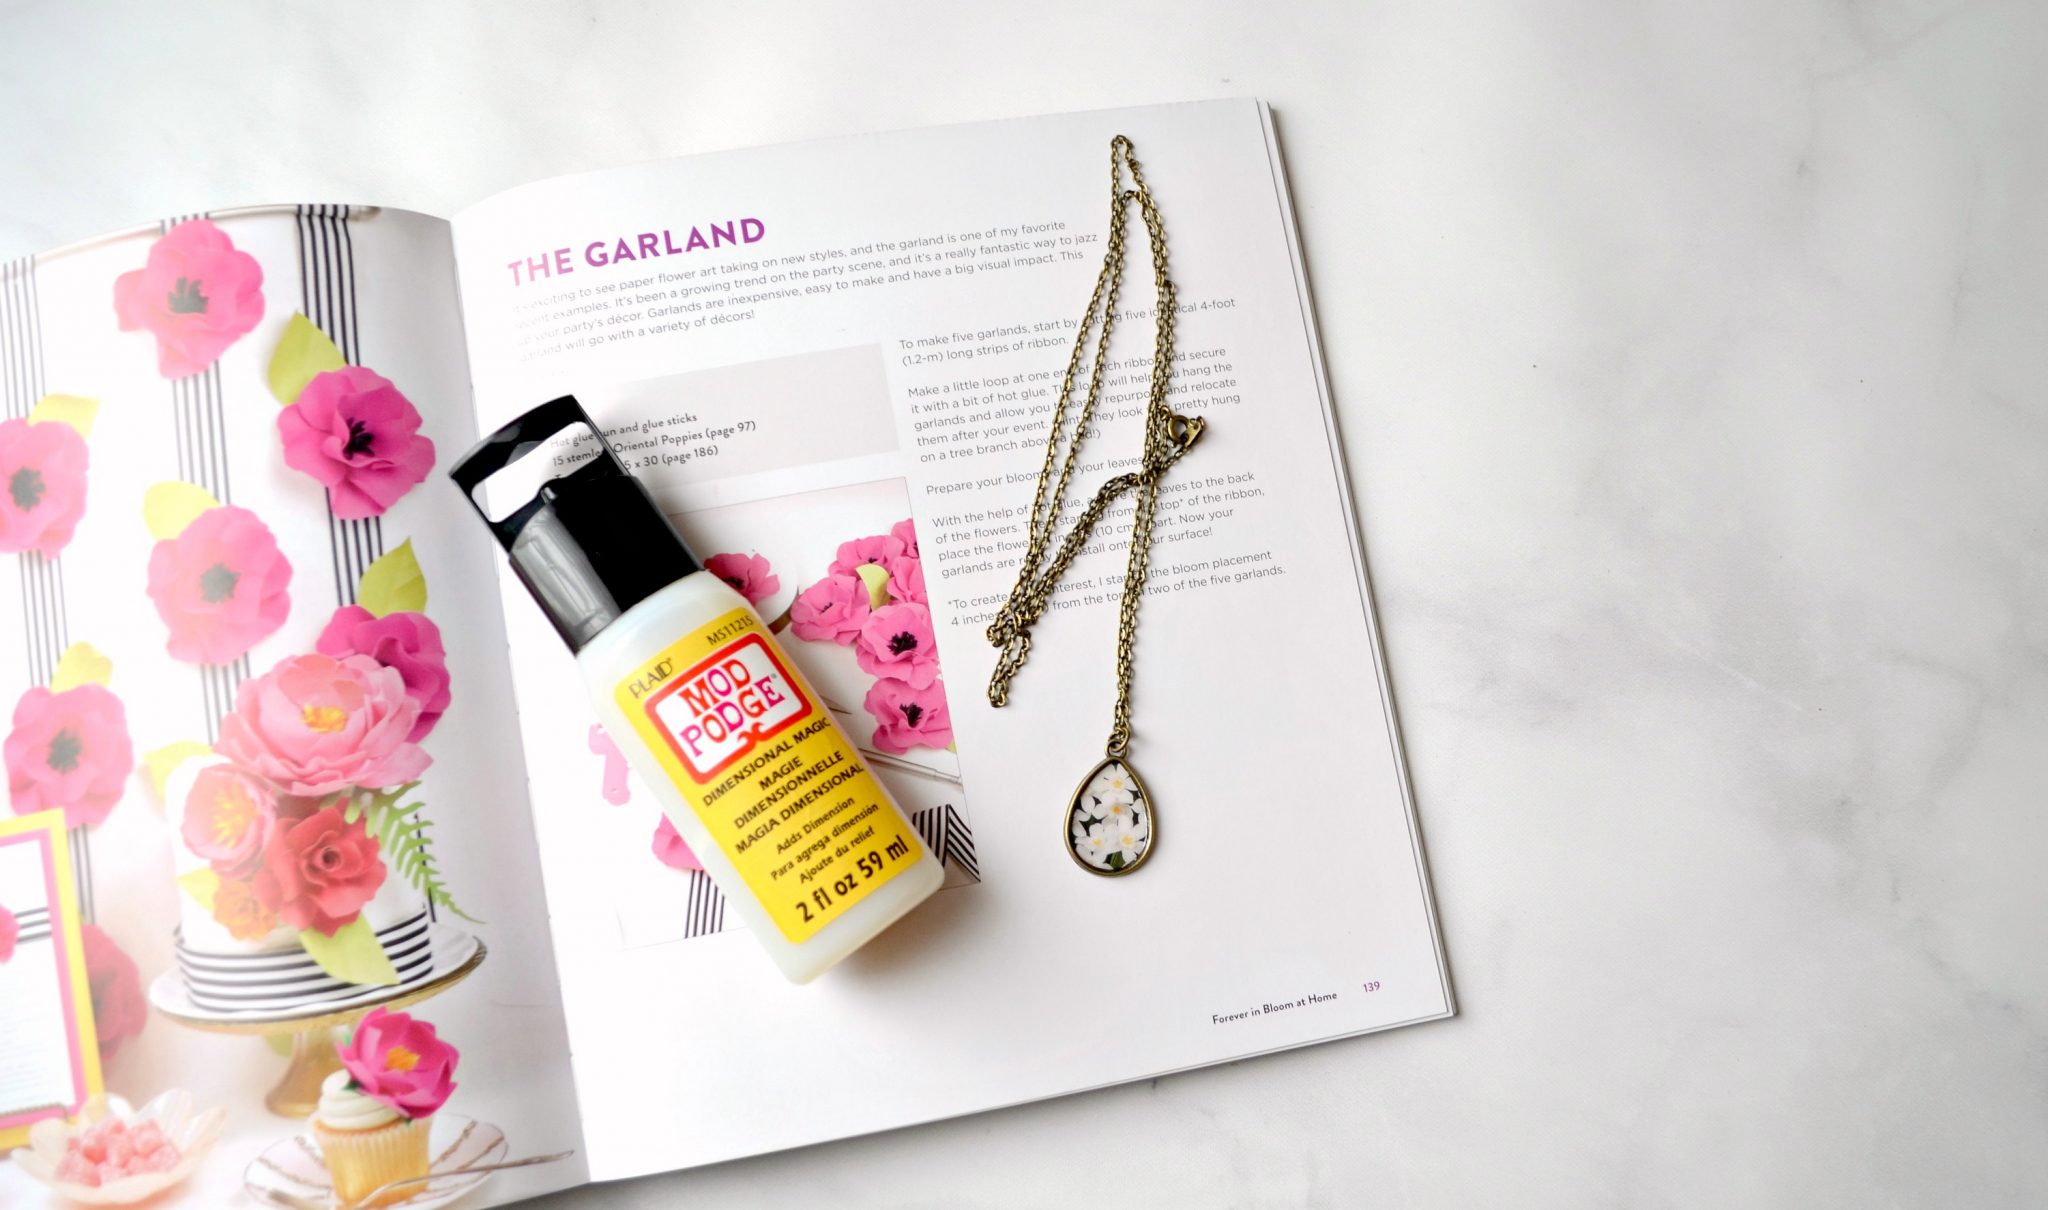
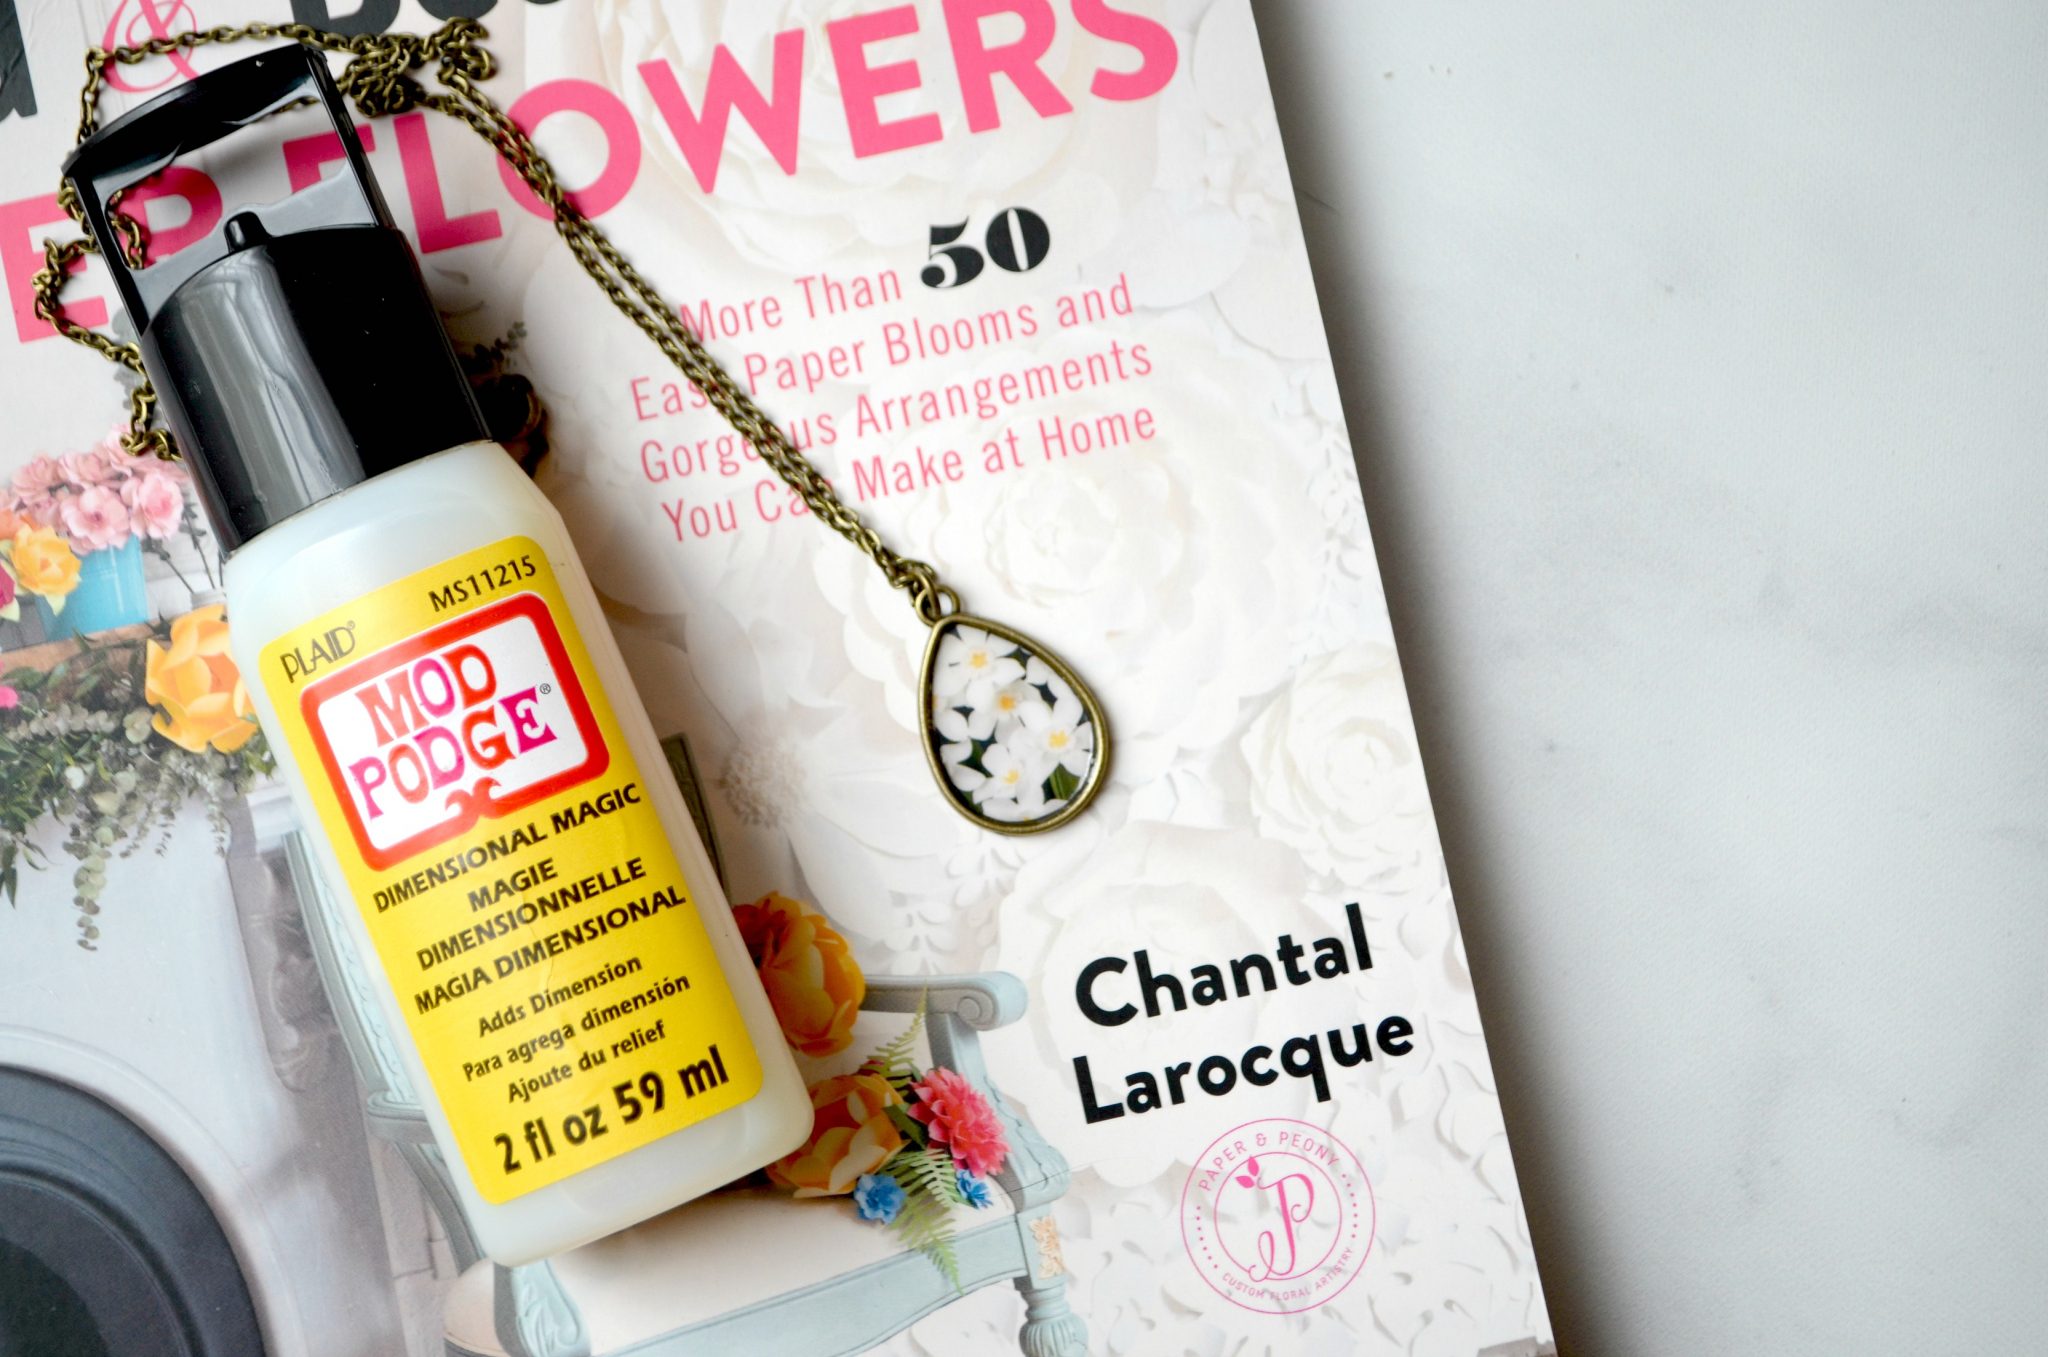
Personalized Pendants with Mod Podge Dimensional Magic
Thanks to Plaid Crafts for sponsoring today’s post; all opinions are honestly my own.
Did you know there are two very special days coming up this month? You probably already have Mother’s Day marked on your calendar, but did you know that the following Friday, May 18, is National Mod Podge Day? It’s true! If you’re not familiar with Mod Podge, it’s America’s Favorite Decoupage Medium™. Over the past 50 years, Mod Podge has expanded from the original Matte and Gloss formulas and is now available in 21 unique finishes in a wide range of sizes, from 2 oz. to classroom size gallons.
In honor of one of my favorite craft products, here is a simple tutorial for a DIY Pendant made with Mod Podge Dimensional Magic. You can create your own for yourself or as a gift for a special lady in your life and celebrate two holidays at the same time! Ready to get started?
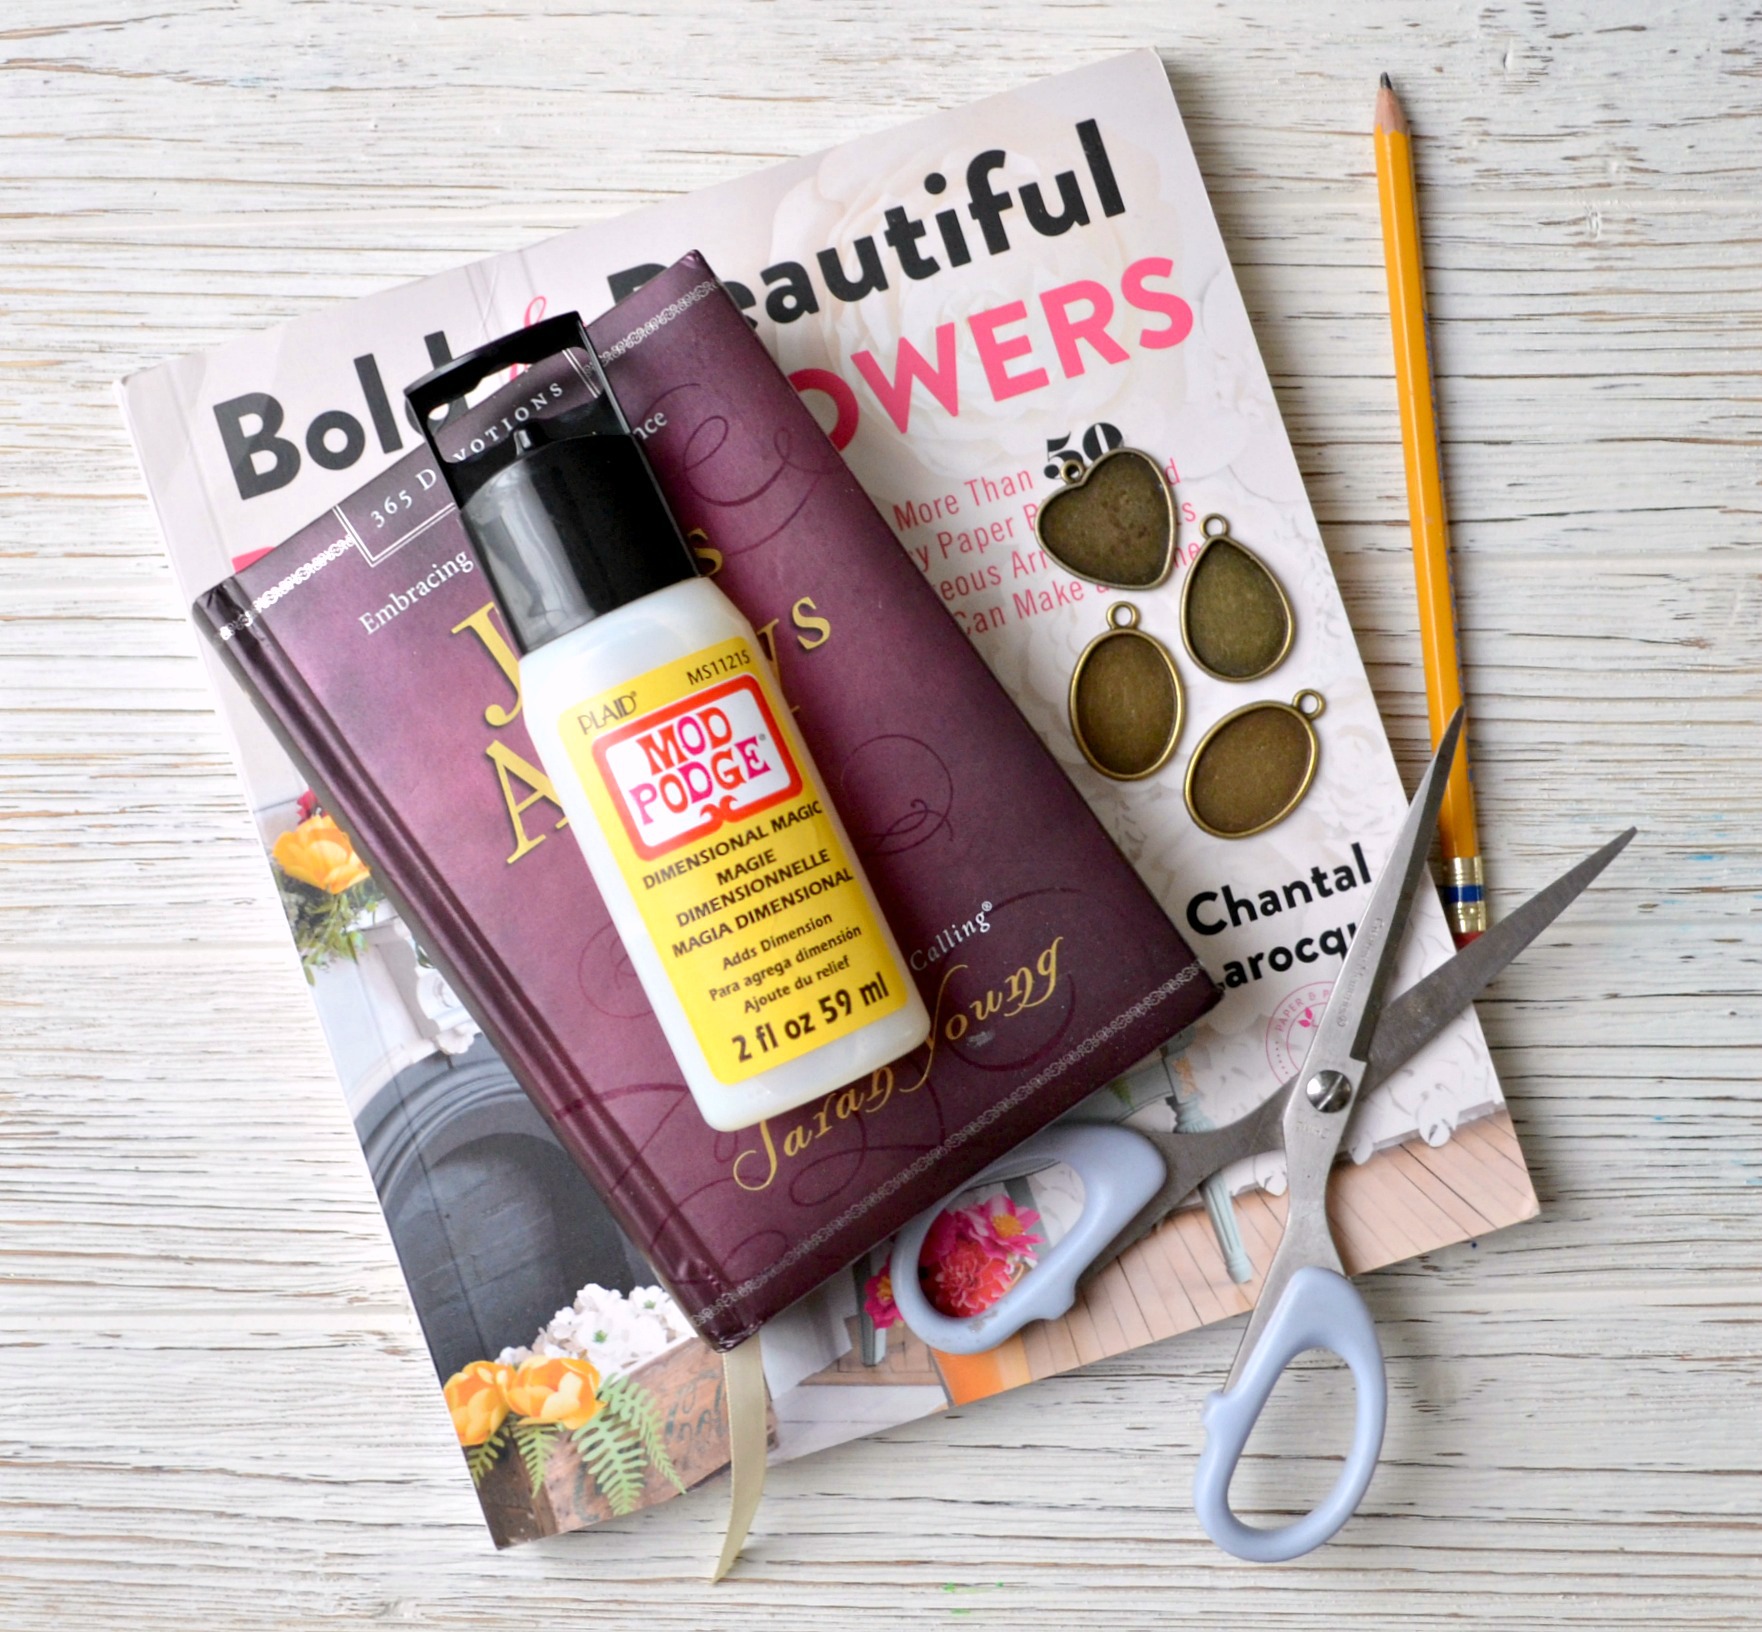
You’ll need:
A book or magazine {you can also use sheet music, artwork, greeting cards, etc.}
Pencil
Scissors
Mod Podge Dimensional Magic
Pendant Blanks
Necklace Chain
Jewelry Pliers
Jump Rings
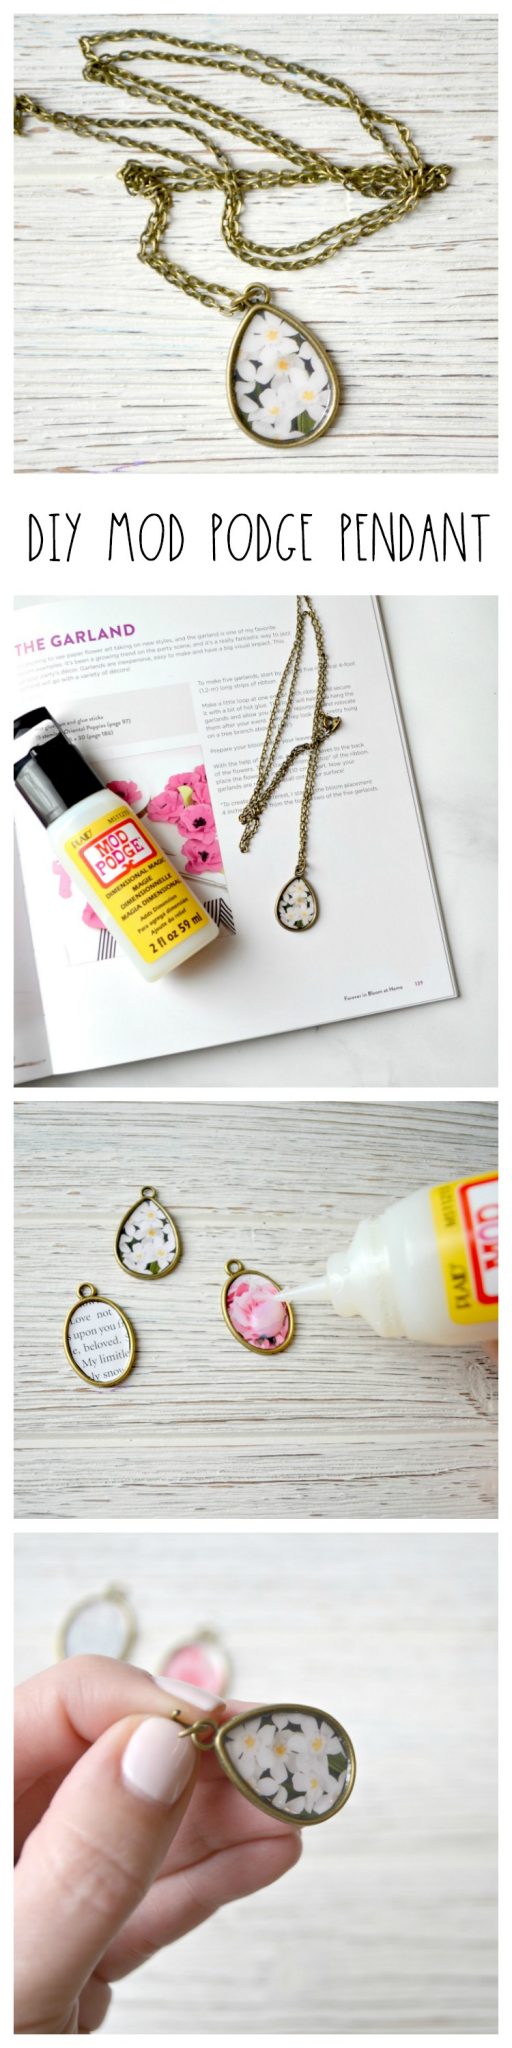
Step 1: Choose an image or section of text you want to use for your pendant.
Since this project is totally personal, you can use any book you like, or even other materials such as a greeting card, a handwritten note, a child’s artwork, and more. Sheet music, dictionary definitions, and botanical illustrations look fantastic as pendants too. The floral images in my examples are from Chantal Larocque’s book Bold & Beautiful Paper Flowers. The only “rule” is that you want to avoid any kind of artwork created with water-based markers or paints because the Mod Podge is water-based too and could cause the colors to run.
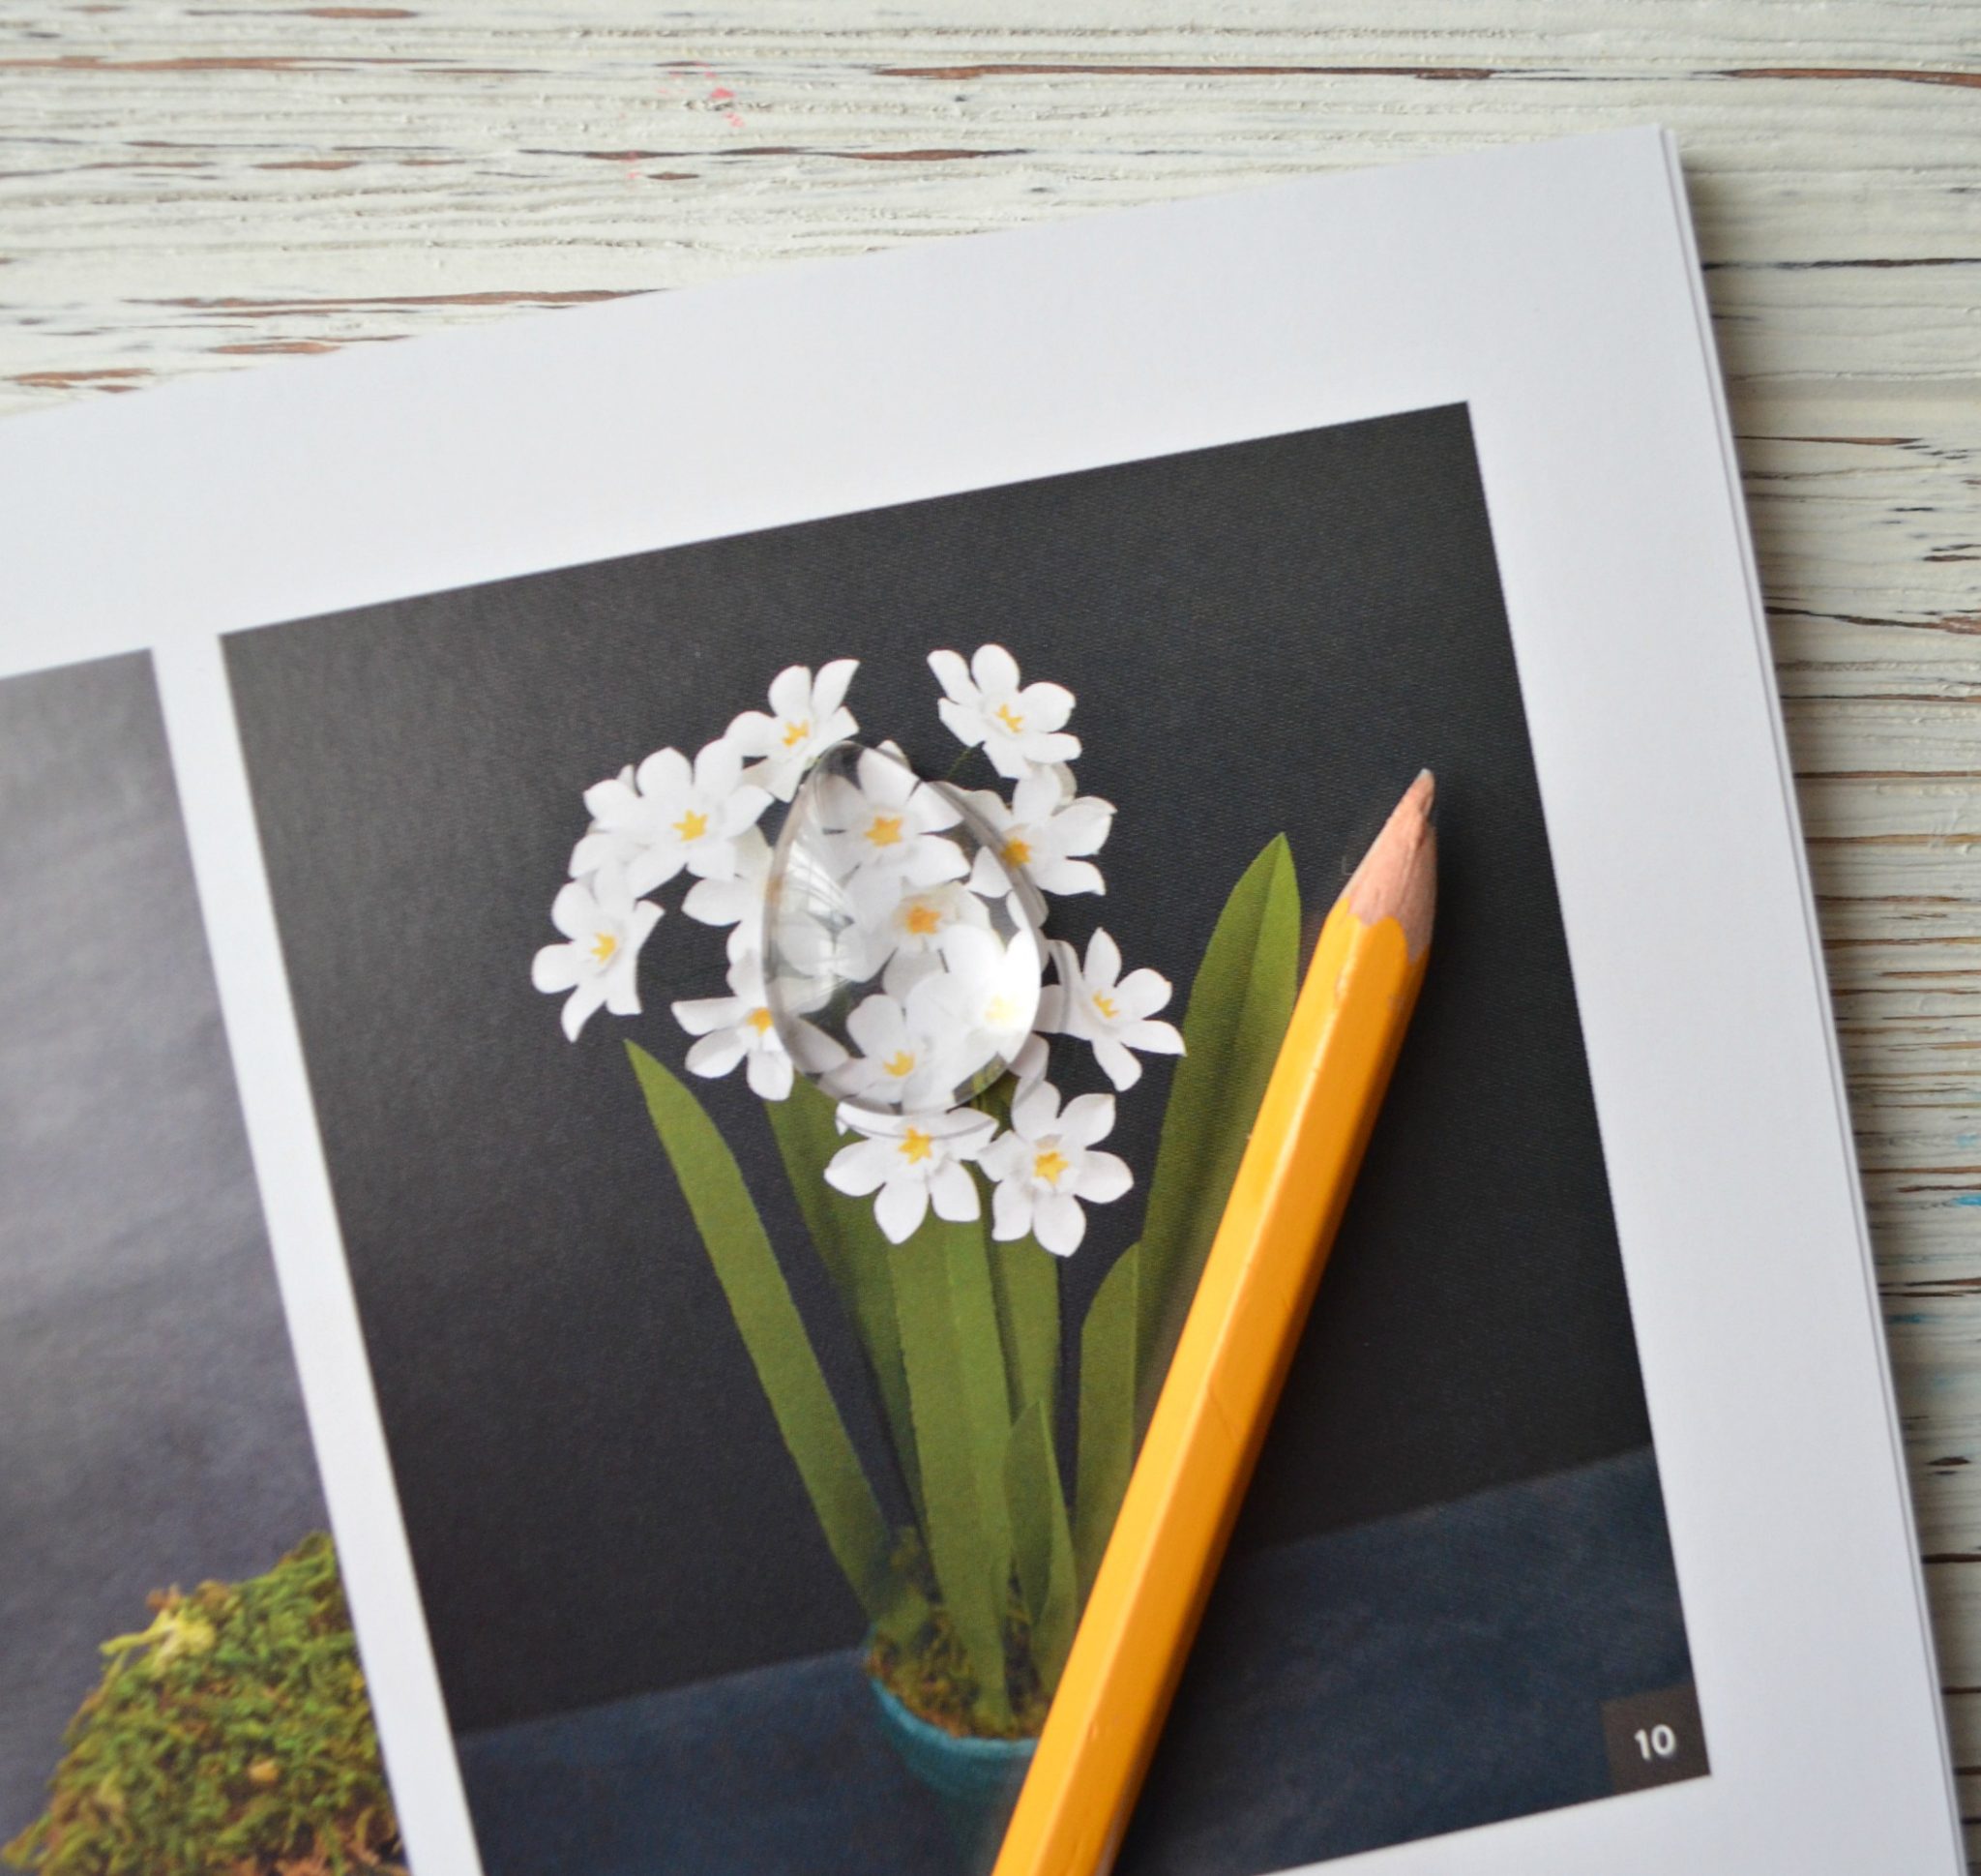
Step 2: Trace the shape of your pendant with a pencil.
If your pendants came with cabochons, you can simply place one over your image and trace. This is helpful, because then you can see exactly what part of the image or text will be in the pendant. If not, you can trace the pendant itself and cut inside your pencil lines until it fits.
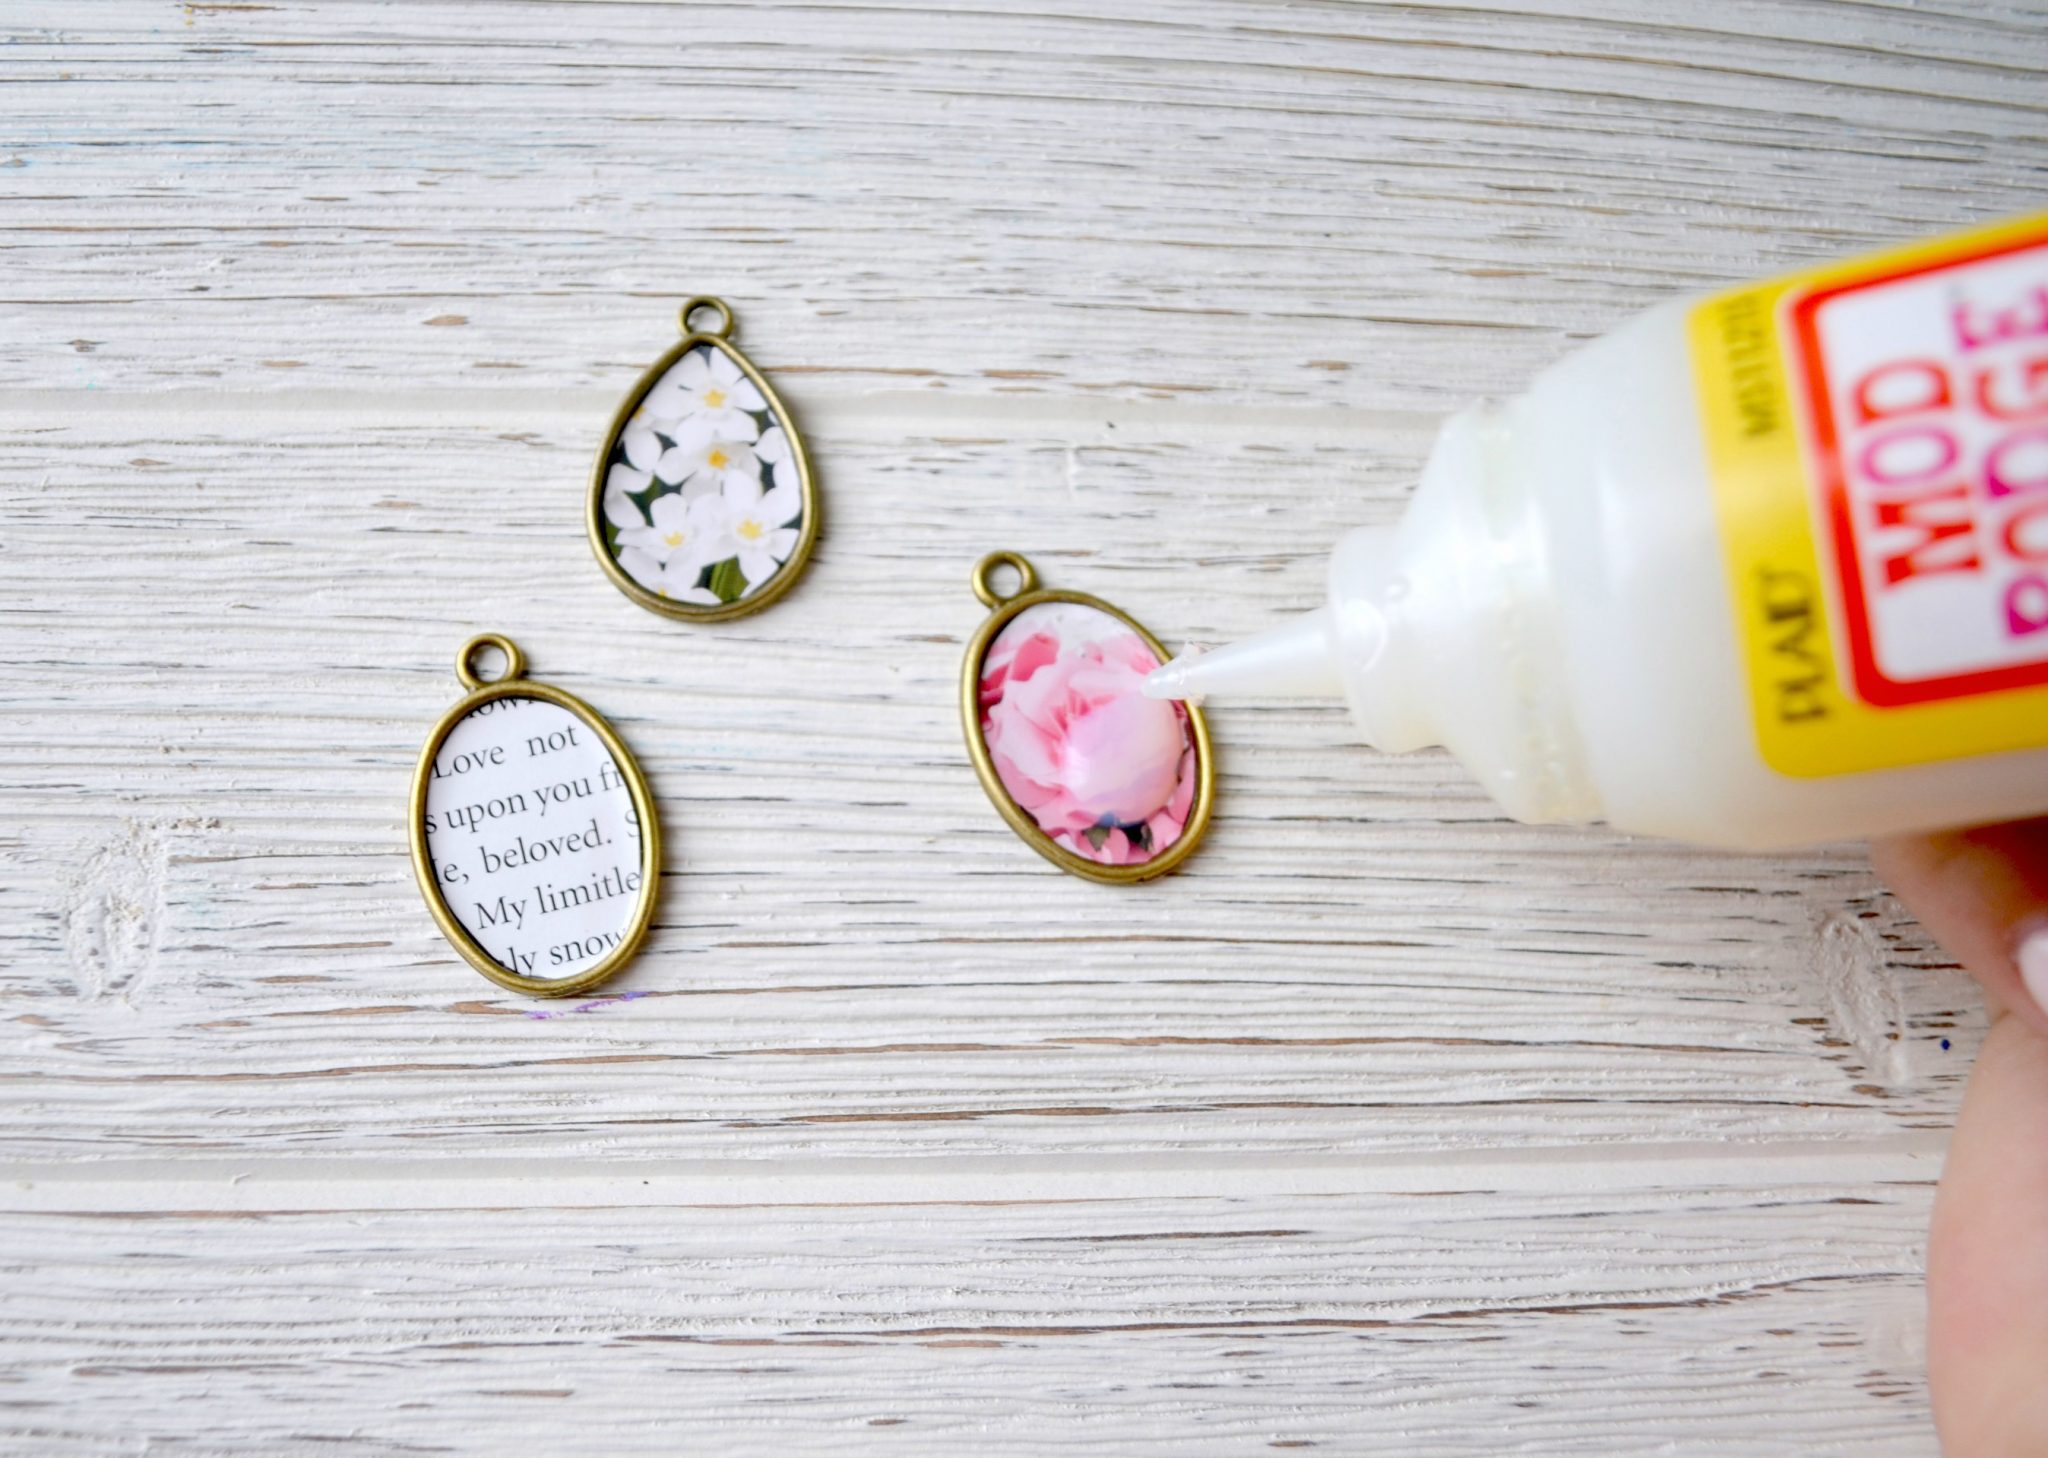
Step 3: Apply a small amount of Mod Podge to the pendant tray, then place your image on top.
You can use any of the Mod Podge formulas for this step, but since I was already using Dimensional Magic for the rest of the project, it was easiest just to use that for this part too. I placed one small dot in the center and spread it out with my finger to get a very thin coating. If you have too much Mod Podge on the tray, it can cause your image not to lay flat, so remember that a little goes a long way.
Step 4: Apply a thin, even coat of Mod Podge Dimensional Magic on top of the image.
Mod Podge Dimensional Magic is a stay-put formula that adds epoxy-like accents and texture, creating mosaic, quilt and other effects on all kinds of projects, especially jewelry! Use the tip of the bottle to spread it out evenly until it just covers the entire image. Once again, a little will go a long way; you don’t want to over-saturate it. If you get tiny air bubbles, you’ll want to pop them with your finger or the end of a straight pin. Then, let the pendants lay flat to dry for several hours.
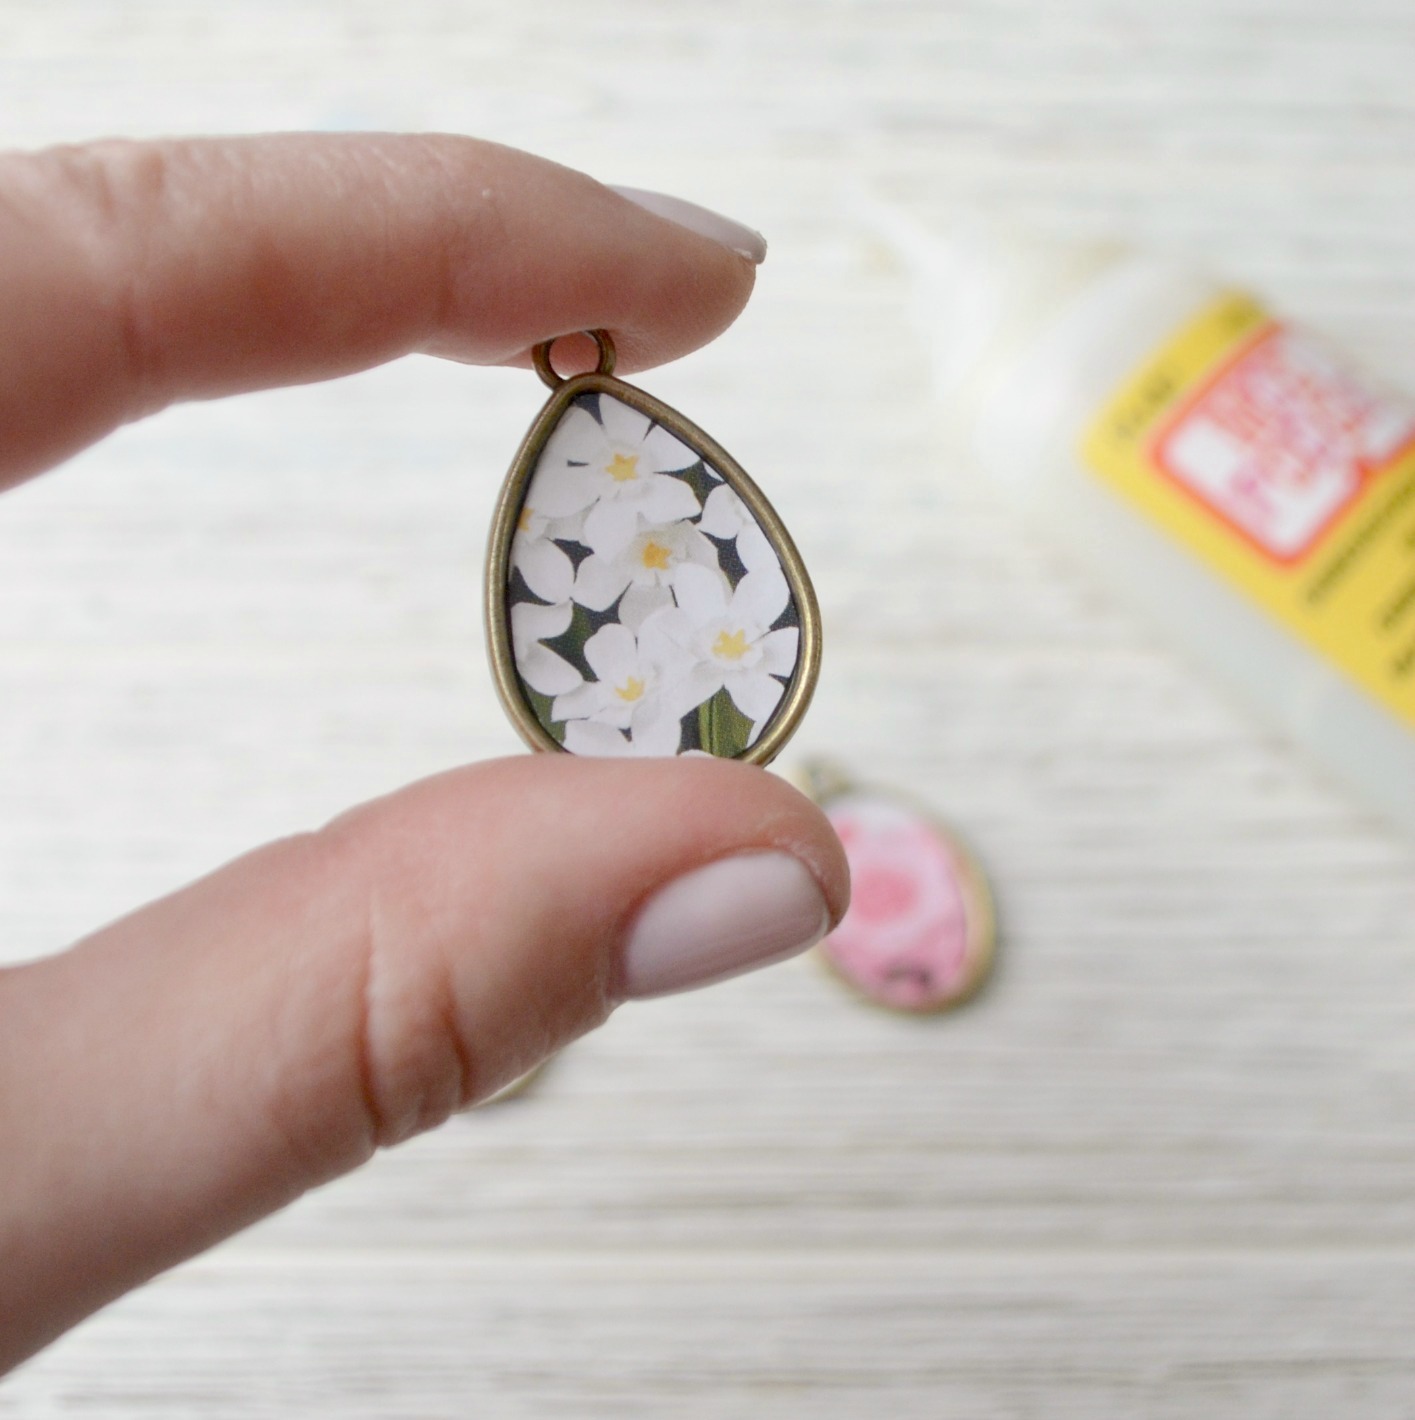
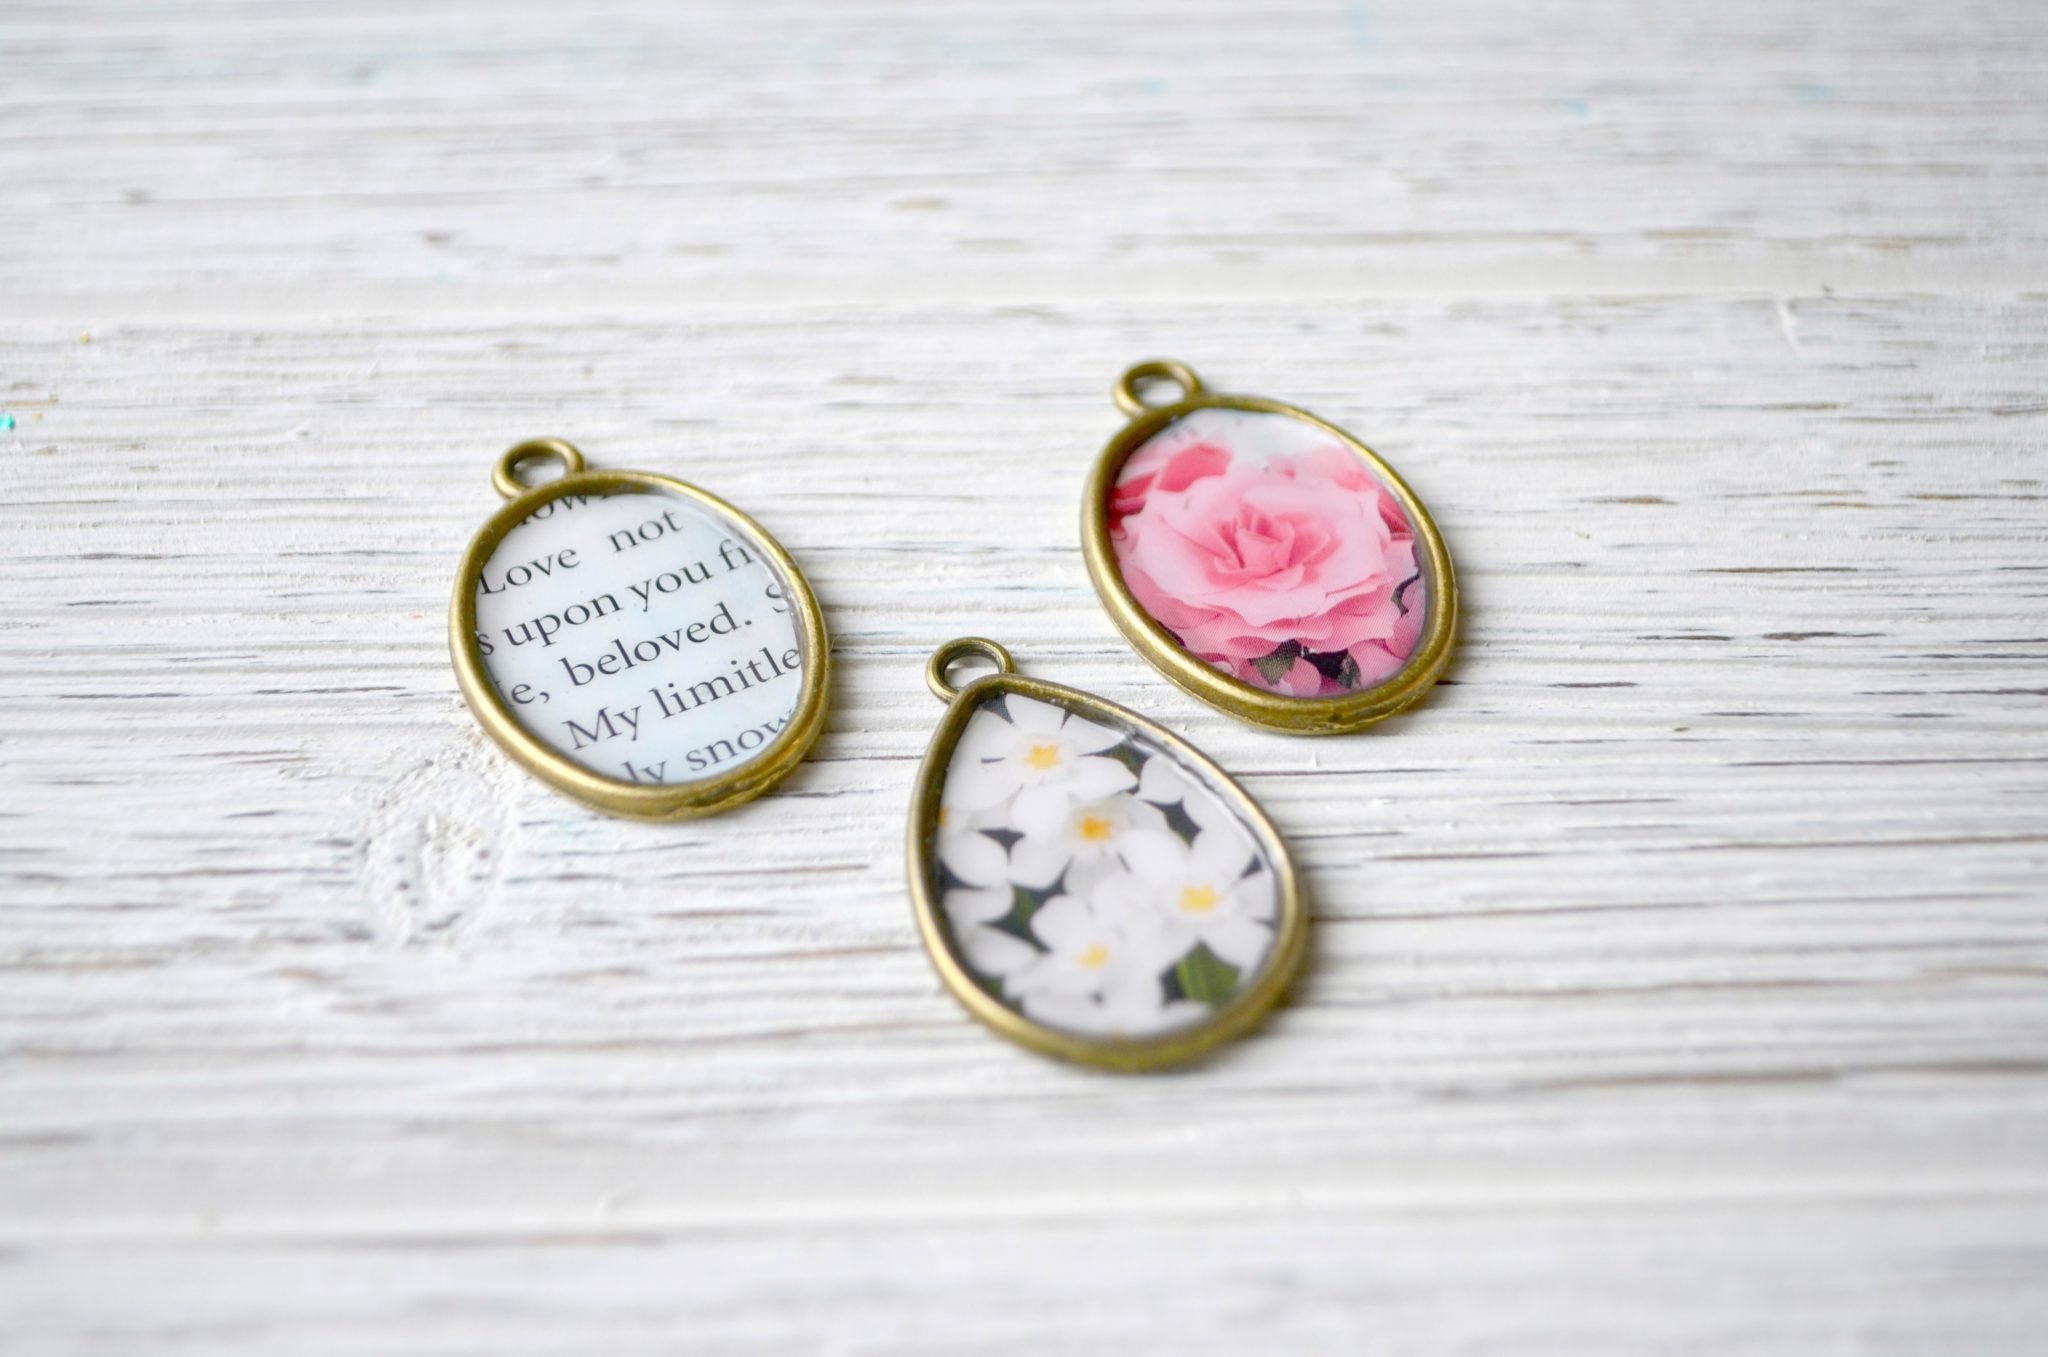
Once the Mod Podge is dry, your image will be sealed into your pendant with a clear, shiny coating. Then, it’s time to turn your piece into a real, wearable pendant by adding a chain.
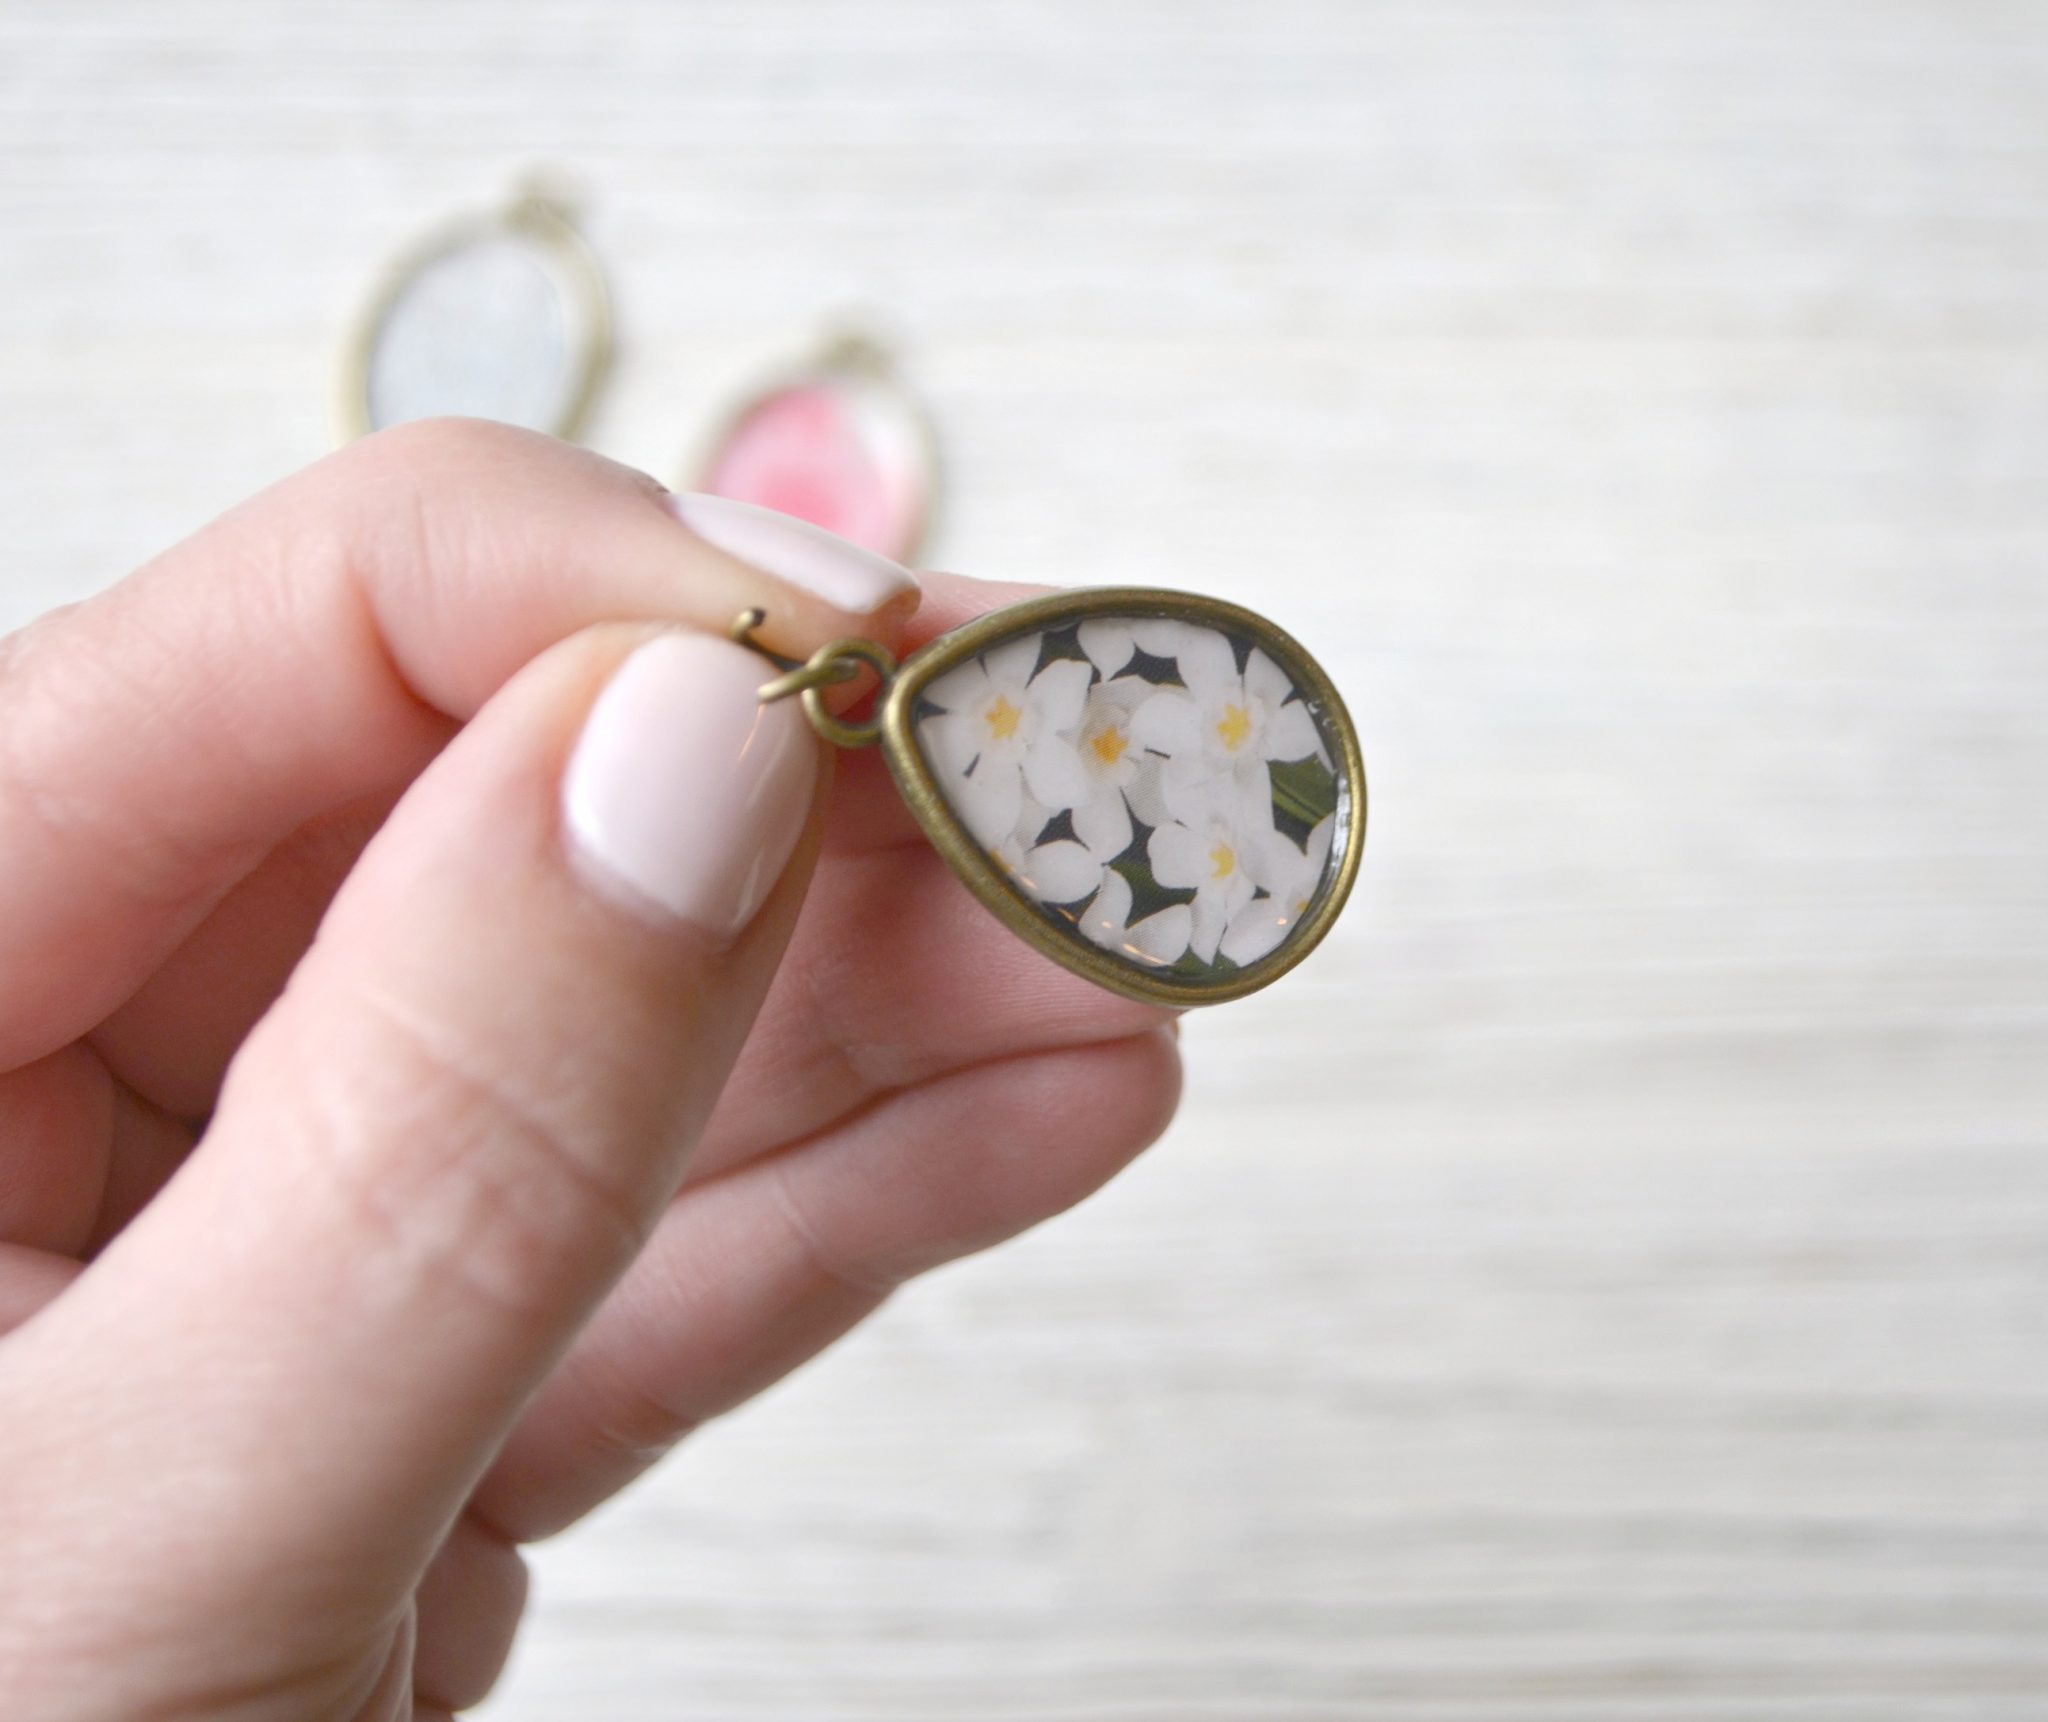
Step 5: Attach a jump ring and chain to your pendant.
To open the jump ring, just hold it with pliers and gently twist the ends apart. Slide your pendant on and place the chain inside, then twist the ring closed again. If your chain did not come with a clasp already attached, you’ll need to add that too.
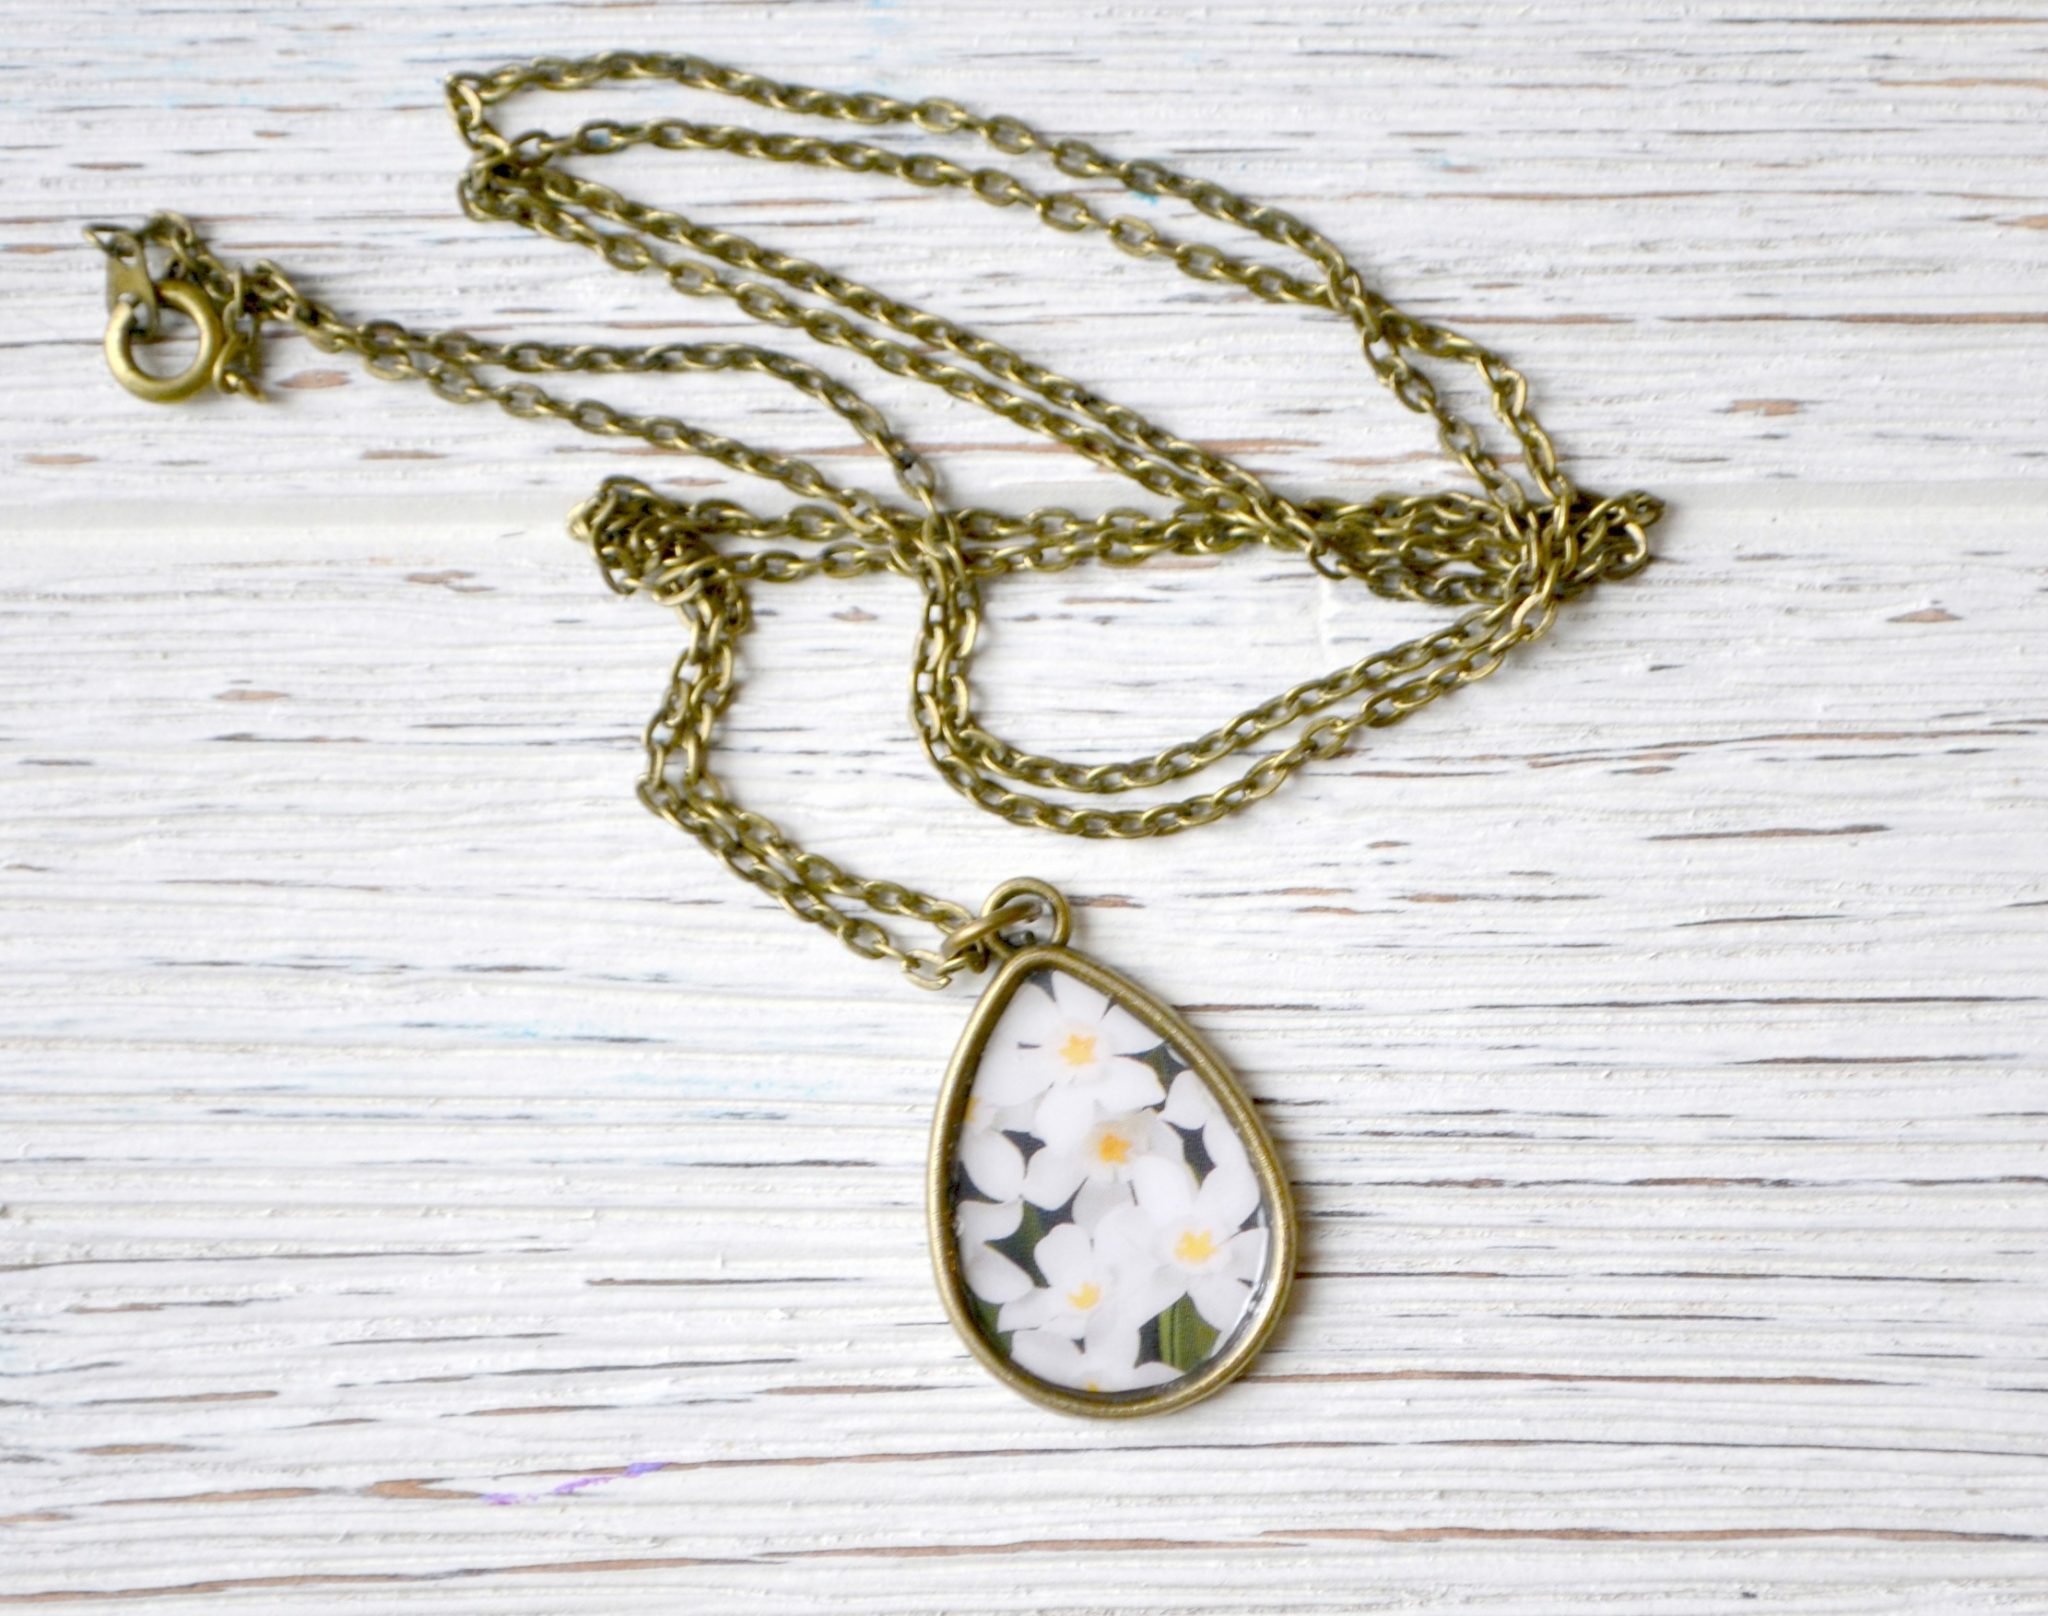
That’s all there is to it! Your pendant is ready to wear or give as a gift.
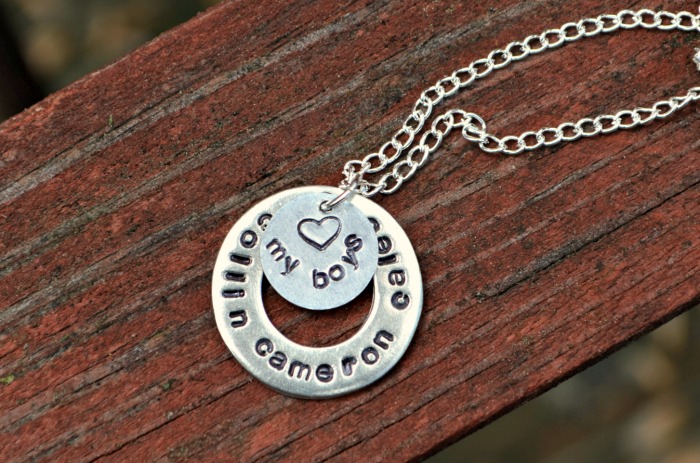
You can follow the same basic steps to create personalized rings, earrings, and bracelets as well, depending on what type of jewelry blanks you use. Here’s an example of a ring created with a favorite piece of sheet music.

This project is so simple to make, and you can create lots of them in a short amount of time. They’d be perfect Mother’s Day gifts for the special ladies in your life, and you can customize each one so it’s totally personal.
What do you think? What’s your favorite formula of Mod Podge? What projects will you create to celebrate National Mod Podge Day this month? Share your favorite Mod Podge creations as a public Instagram feed post with #NationalModPodgeDay throughout the month of May for a chance to win weekly Mod Podge prize packs from Plaid – check out this post for more info! Plaid will also feature live streams leading up to National Mod Podge Day, so be sure to follow them on Facebook.
Take a look at these other fun ideas made by my fellow Plaid Creators!
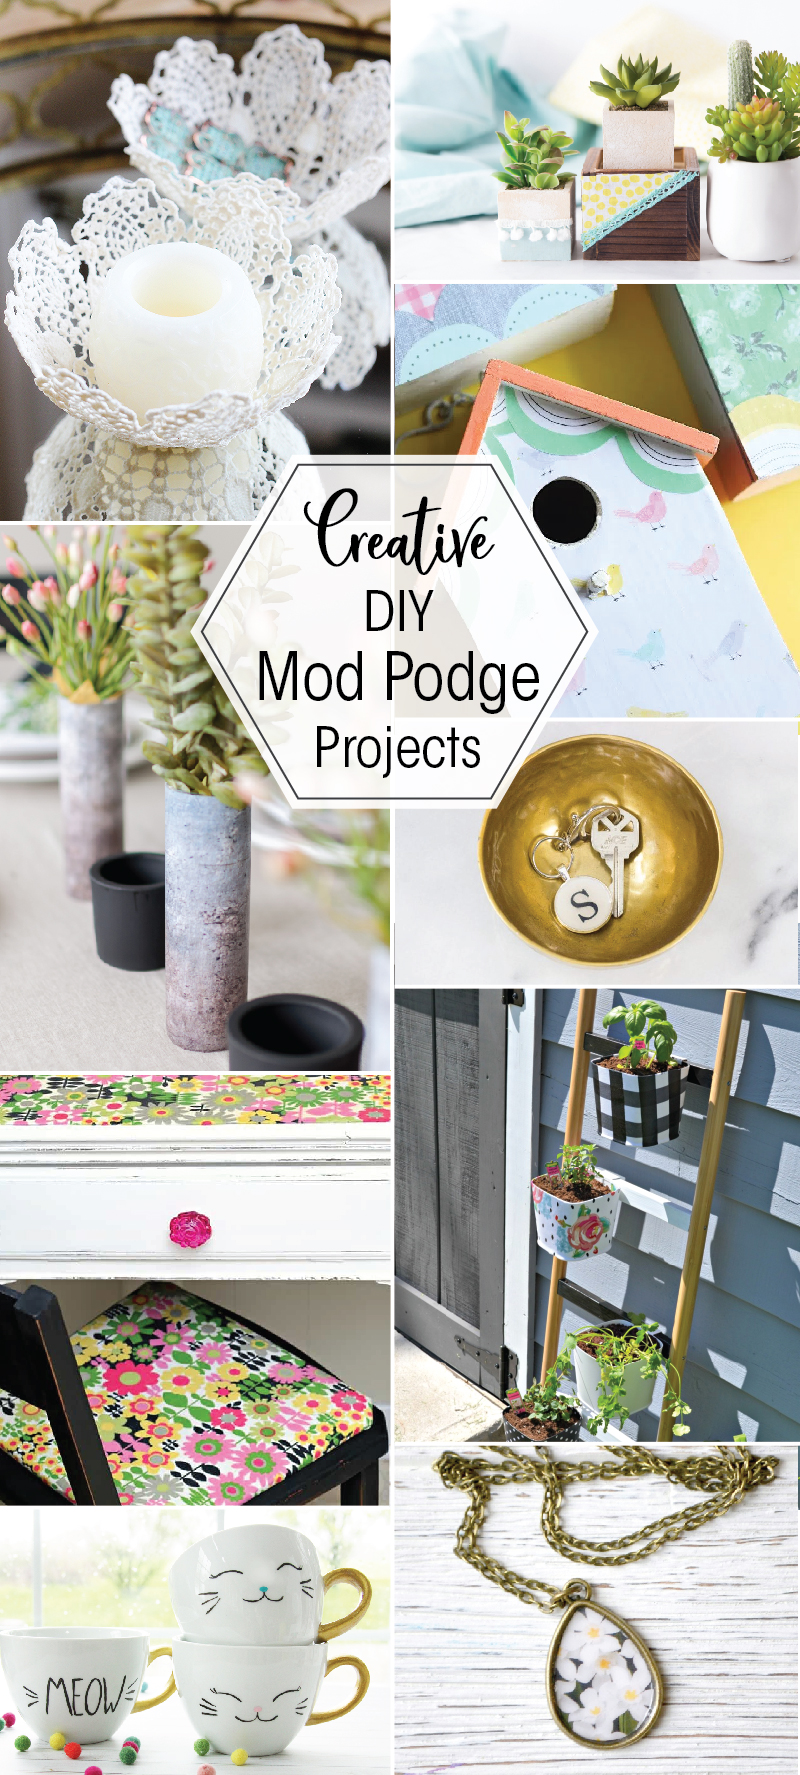
The Cards We Drew – Herb Ladder Planter
Positively Splendid – Lace Doily Bowl
The Pretty Life Girls – DIY Patterned Birdhouses
Erin Spain – DIY Monogram Keychain
Cherished Bliss – Faux Concrete Vase
Amy Latta Creations – Personalized Pendants
Petticoat Junktion – Fabric Covered Cabinet and Chair
Made to Be a Momma – Fabric Embellished Succulent Planters
Flamingo Toes – Painted Cat Mugs


Ooooh! Love the idea! Look so good! Thank you darling for sharing!