
How to Create Your Own Font {without Photoshop!}
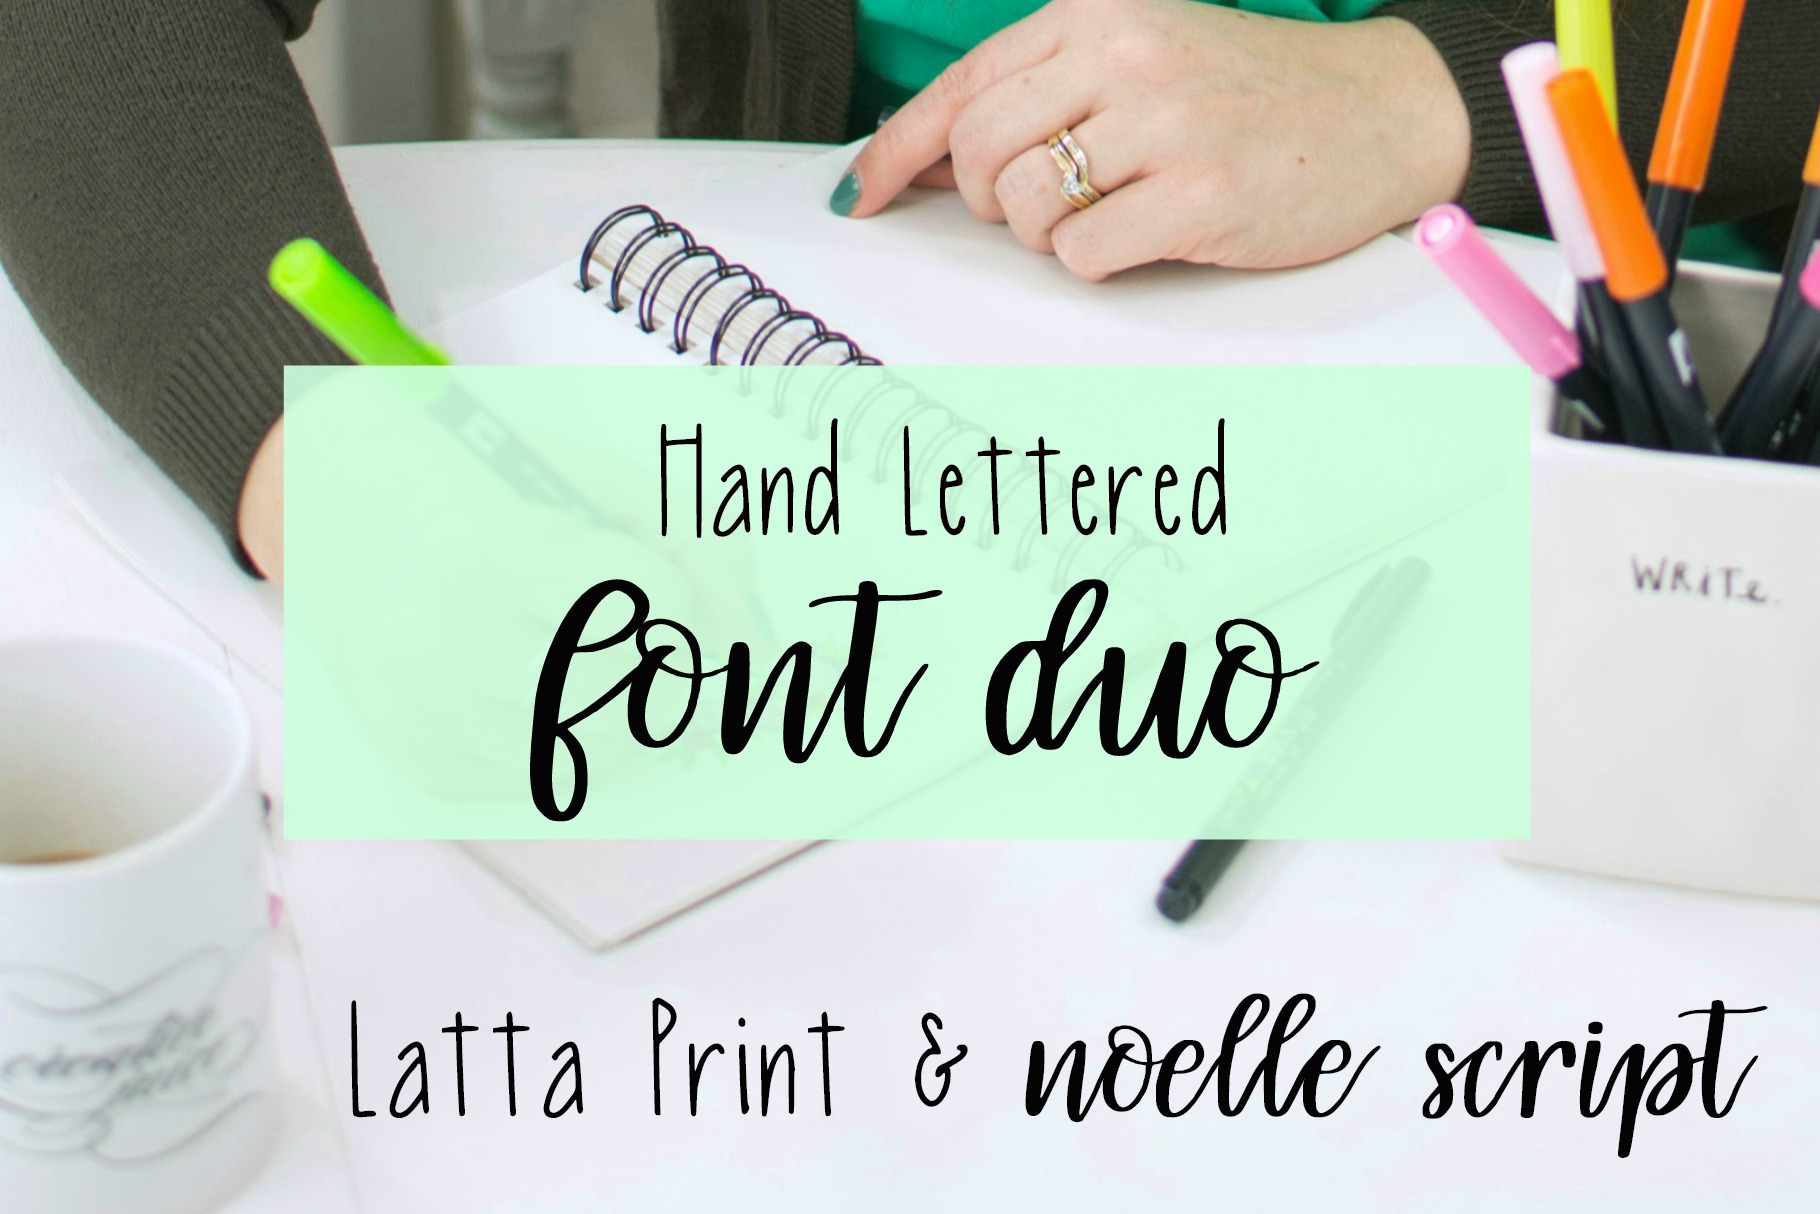
Friends, as many of you know, my most recent creative endeavor has been developing two fonts using my hand lettering. First, I made a minimalist print font called Latta Print, then a brush lettered font called Noelle Script. I have wanted to create my own font for several years now, but every time I looked into it, I thought I needed really expensive software that I didn’t have the budget to purchase. So, I could hardly believe it when I found a totally affordable option…I spent a total of $8 to create my two fonts. Can you even believe that? Today, I’m going to walk you through the basics of trying it for yourself. Ready? Let’s get started!
First, there are two decisions you need to make about how you’re going to create your font.
Digital vs. Paper
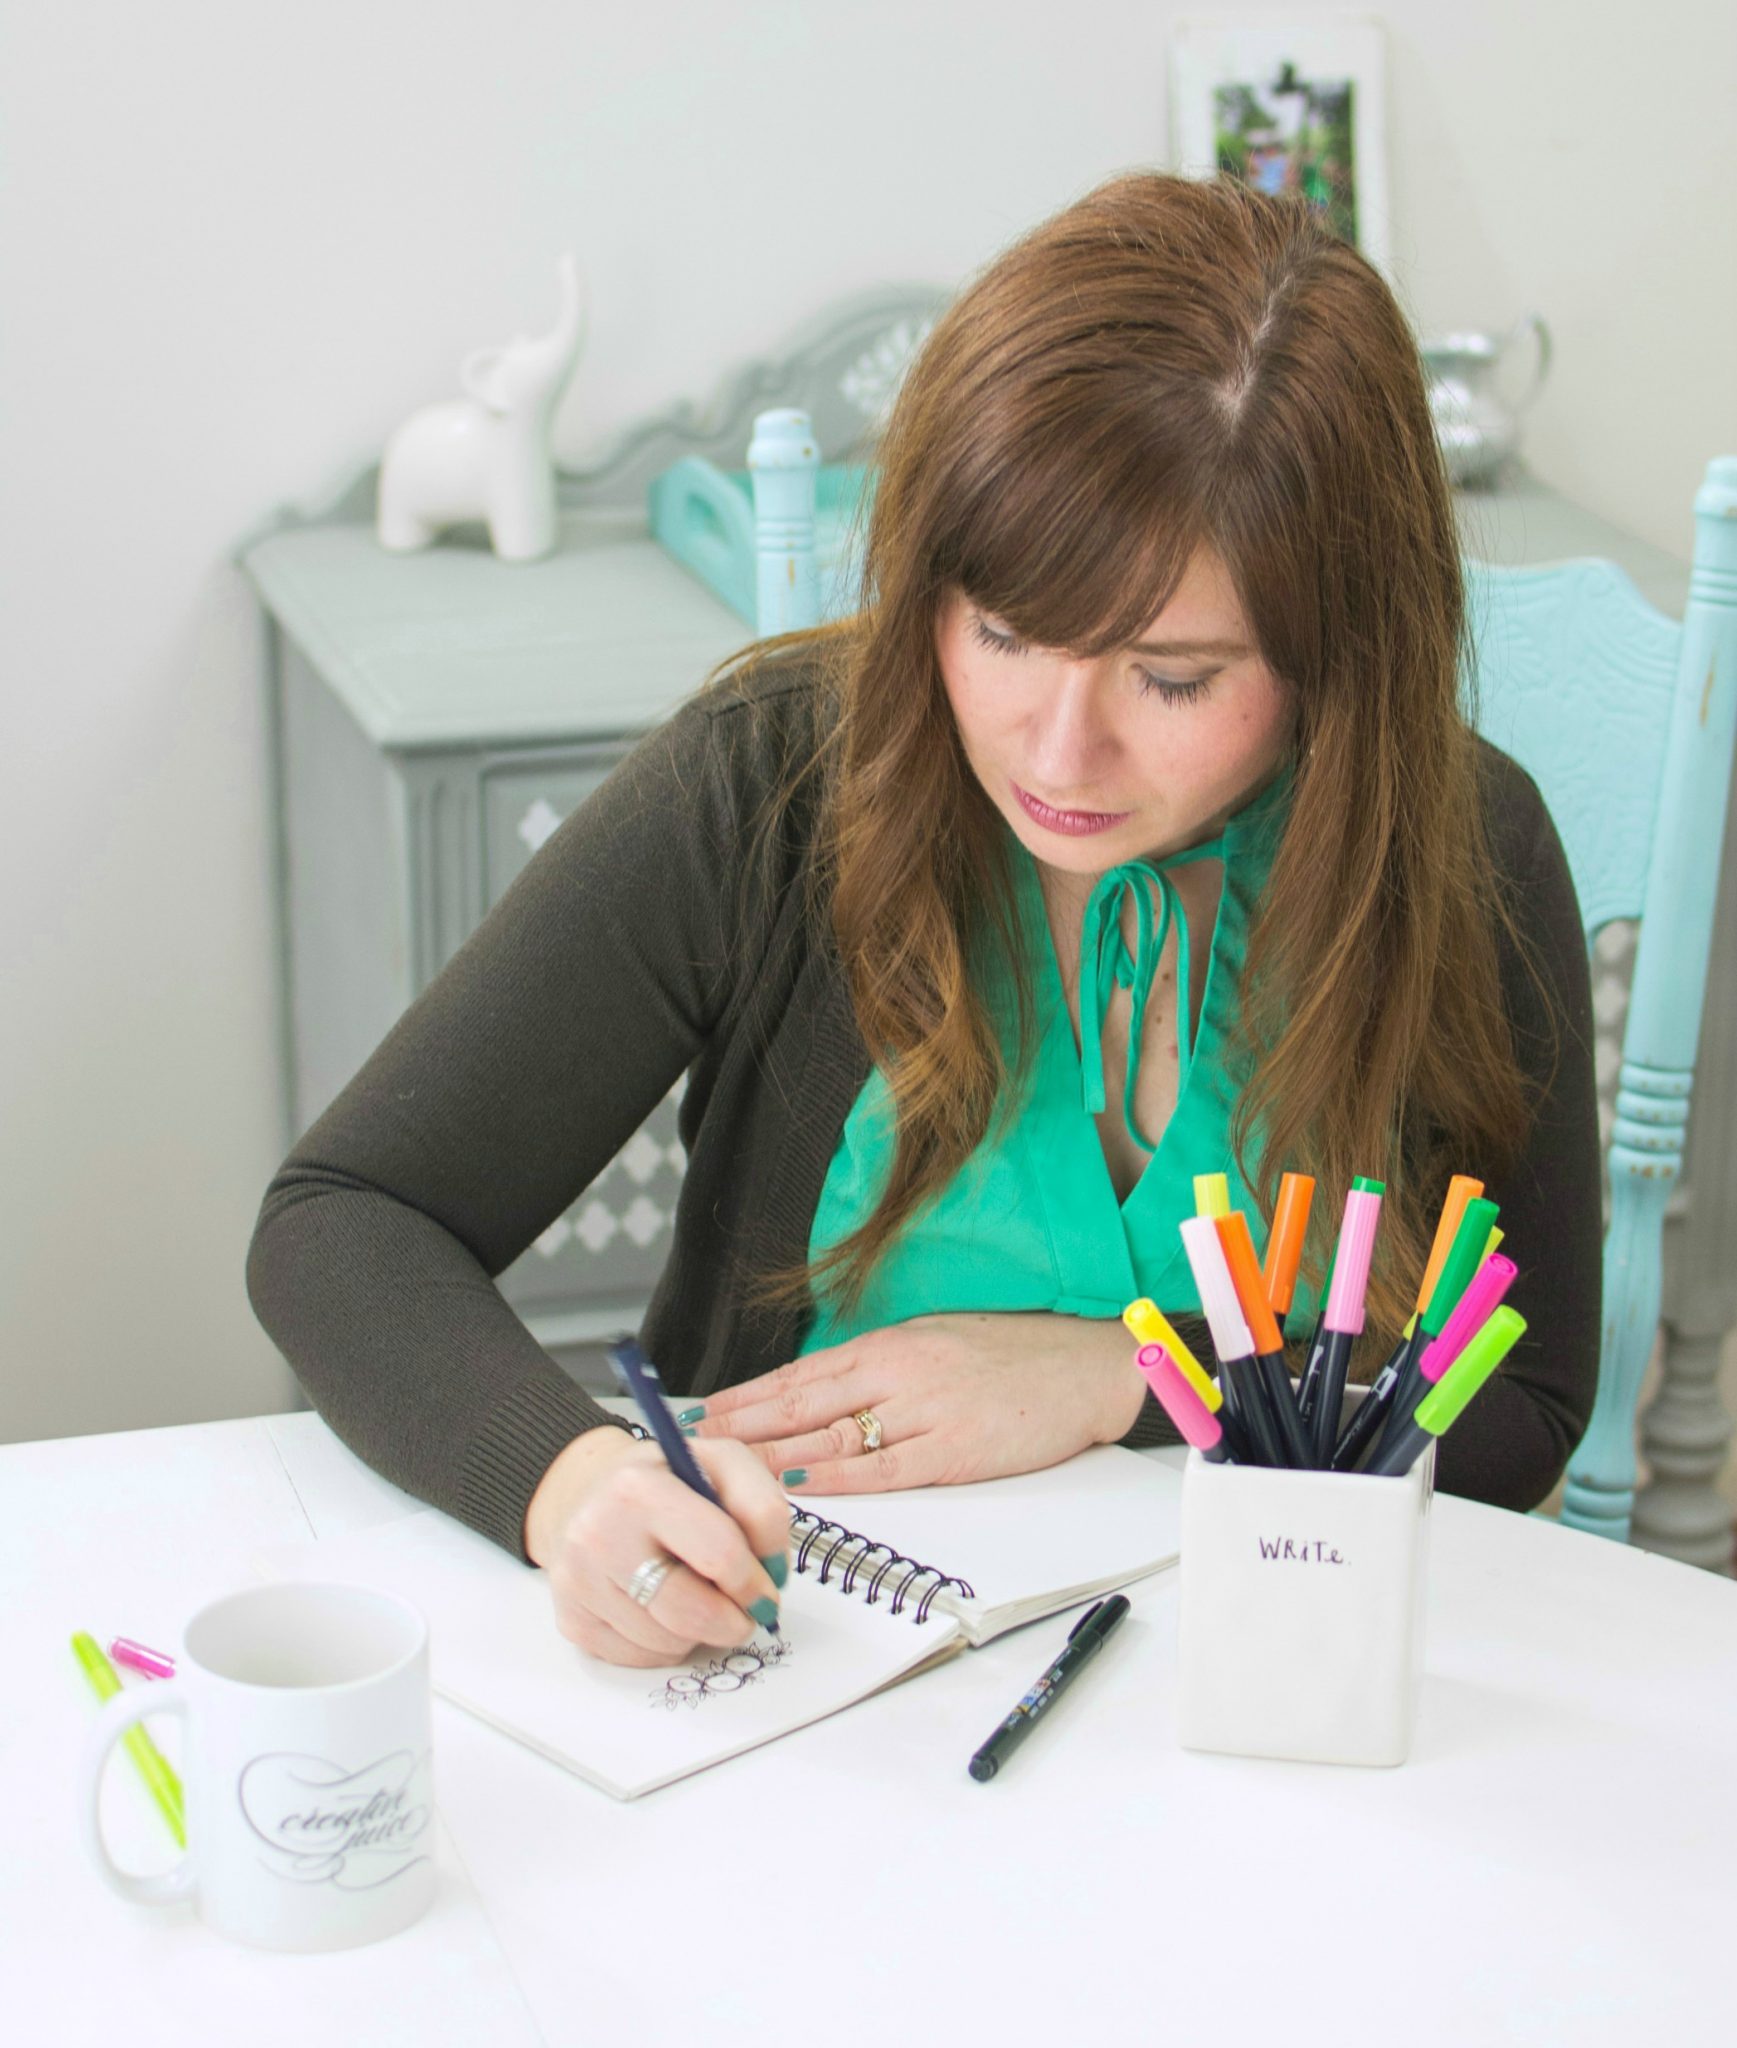
The process I’m going to show you can be done in one of two ways. The easiest way is digitally, which is what I did. I created my letters using the Apple Pencil and the Procreate app on my iPad Pro. You could also use any other app or program that allows you to letter digitally and to save files in PDF format. If you don’t have a digital option available, don’t worry, you can do it by hand with paper and markers too.
Print vs. Script
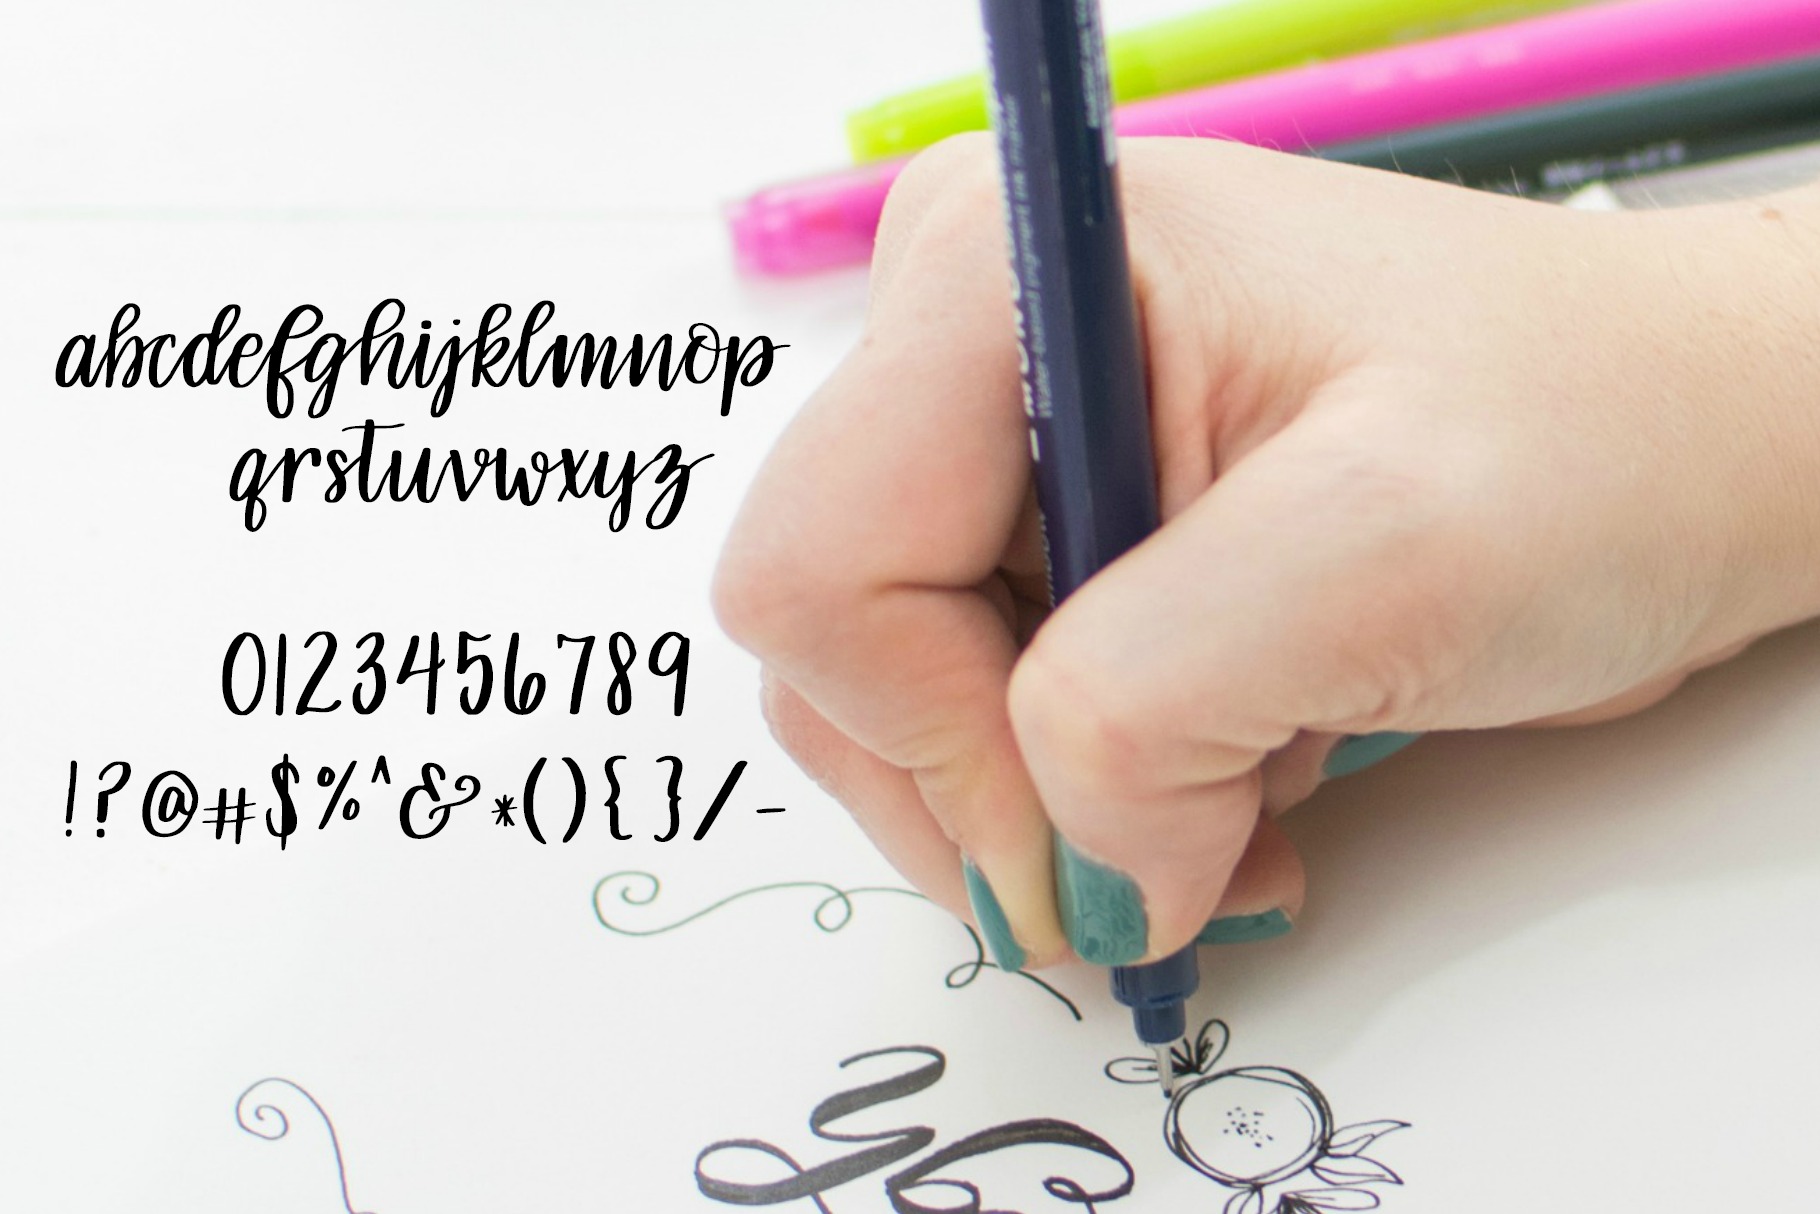
It is MUCH easier to create a print font than a script one and it takes only a fraction of the amount of time. I definitely recommend starting out with print first, then moving on to try script after you’ve gotten some experience under your belt. With a script font, you have to consider how every single letter connects to every other letter, which is incredibly tedious and time consuming. Trust me, I know!
Once you have an idea what style of lettering you want to use for your font, we’re ready to move on to creating it!
Step 1: Create a free account at www.calligraphr.com.
A free account will allow you to test out this process by creating one font with 75 characters. This is how I created Latta Print. If you want to take things further and add more characters, or create more fonts, you can pay $8 which gives you access to the upgraded features for 30 days. There’s no continuing monthly subscription, you simply upgrade whenever you want and renew if/when you want to.
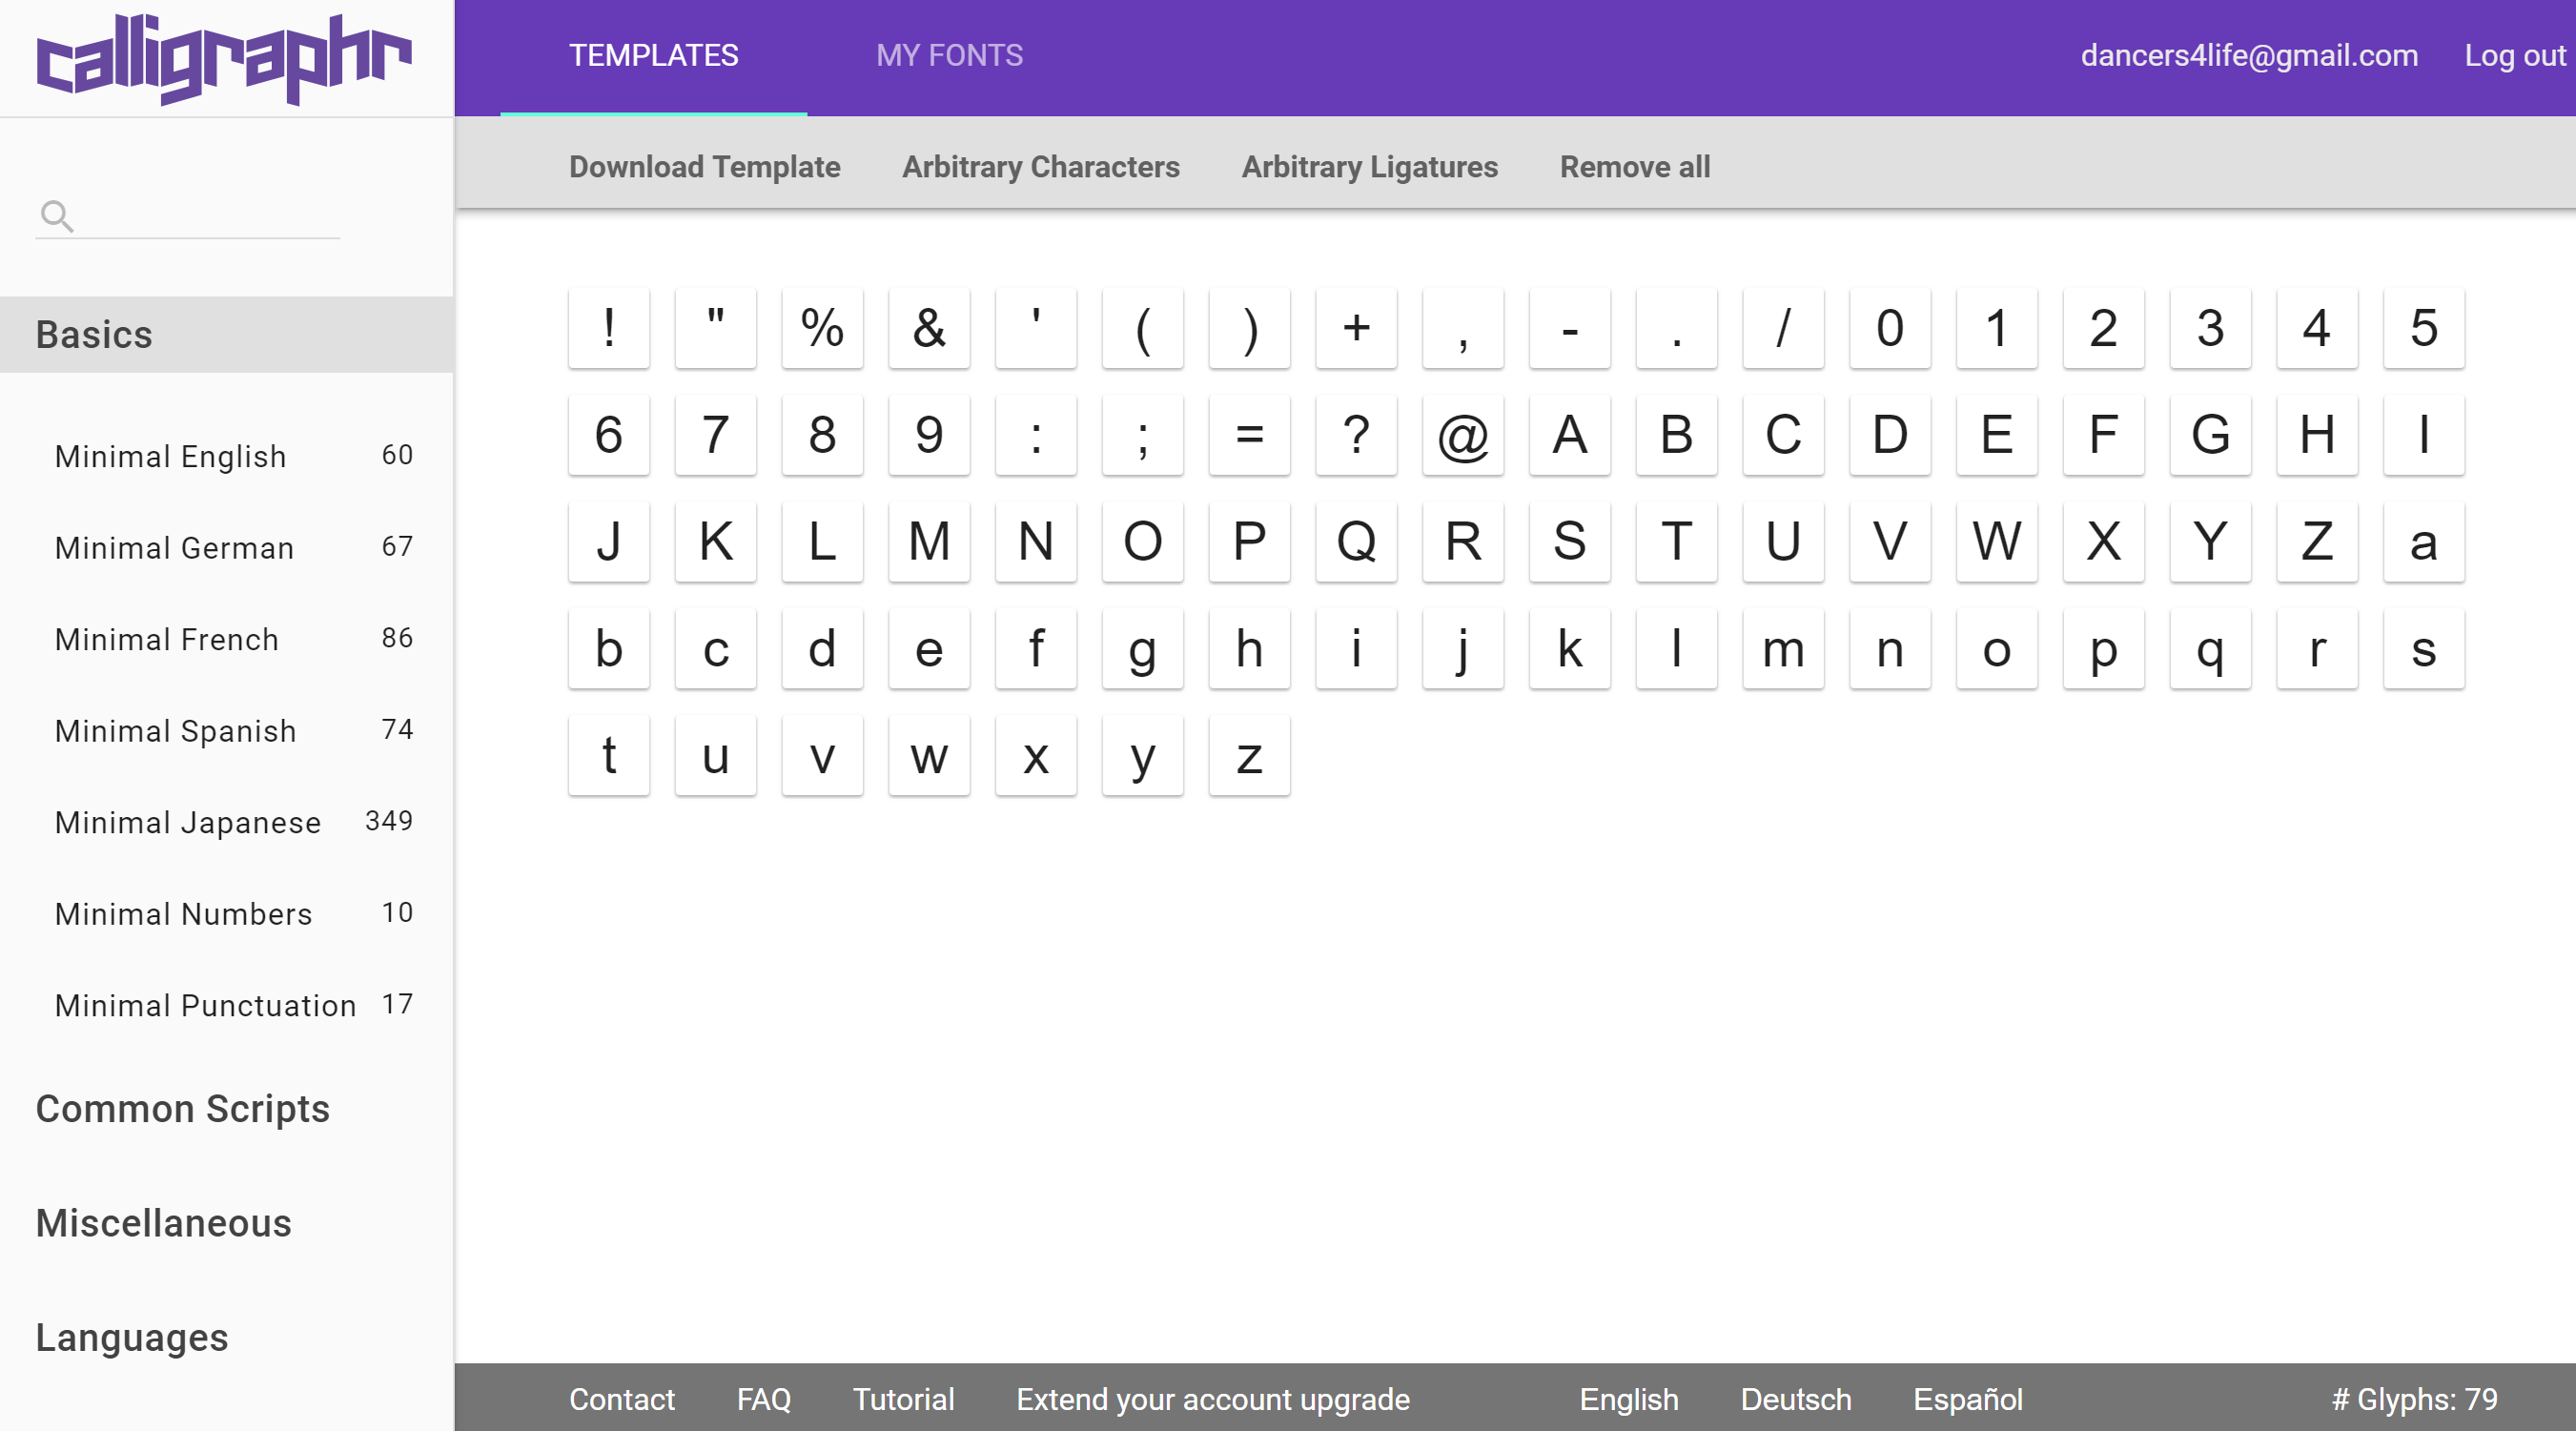
Step 2: Click the Templates Tab and choose the characters you want to include in your font.
For a free font, you’ll want to select Minimal English and Minimal Numbers. This will give you the complete upper and lowercase alphabet, numerals, and very basic punctuation. If you’d like a few more symbols, you can choose Minimal Punctuation as well, but you’ll need to individually delete four of the characters to get down to a total of 75 {unless you pay the $8 fee}.
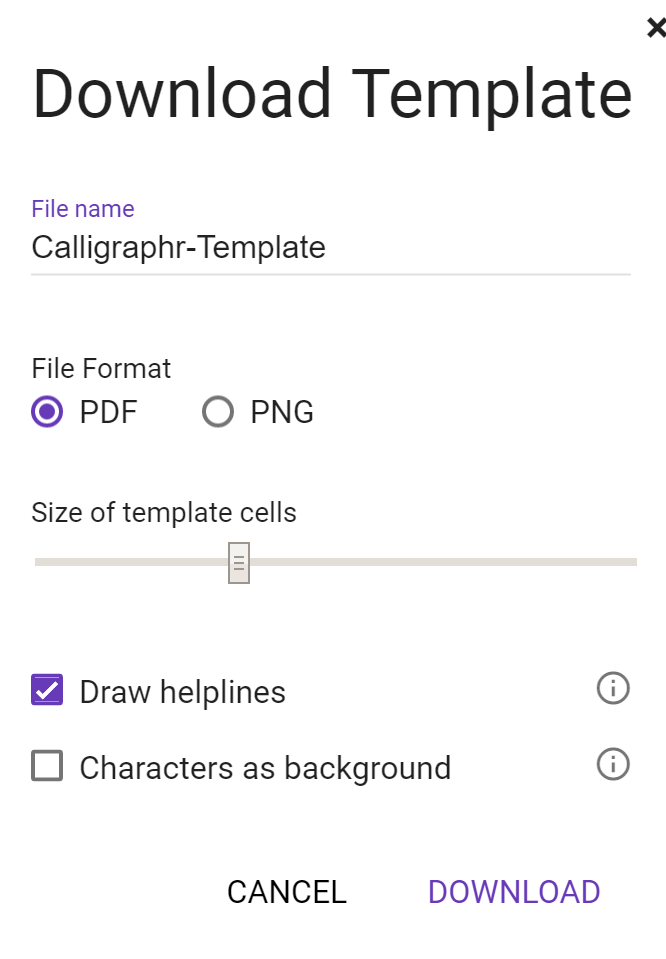
Step 3: Click “Download Templates.”
I recommend checking the box for “draw helplines” because that’s what helped me keep my letters straight and evenly sized.
Step 3: Draw your letters on the templates.
If you are working digitally, you will open the templates in your program of choice. To get them into Procreate, I ended up actually taking screenshots of the downloaded templates and then inserting the screenshots onto a blank canvas. If you are working with a physical pen and paper, you will want to print the templates and draw directly onto them with your favorite marker/pen.
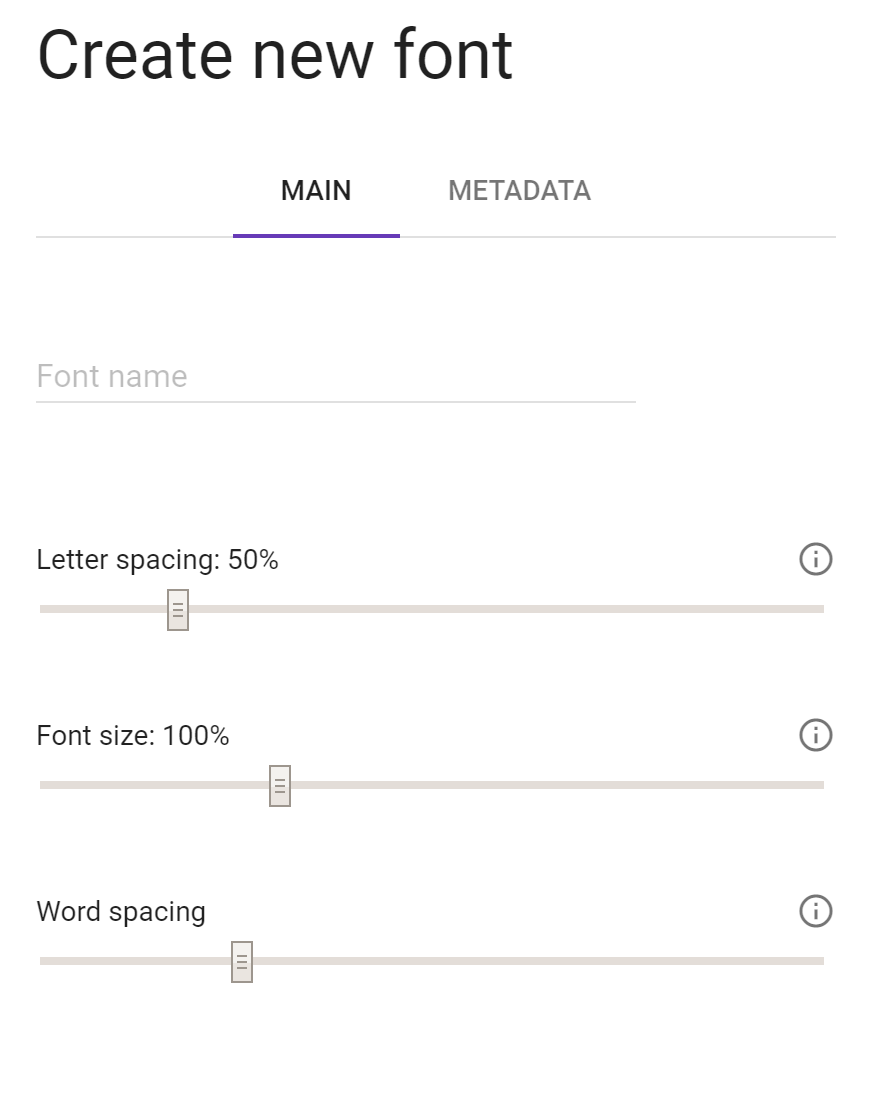
Step 4: Click the “My Fonts” tab, then “New Font.”
Choose a name for your font. You can edit it later, so don’t stress out too much about that part. You’ll also see three sliding bars. Most likely, you won’t need to adjust the font size or word spacing bars, but you may want to change the letter spacing. Mine is 50% for Latta Print. It all depends on how close you want each letter to be to the ones before and after it. For a script font, you’ll want to slide it all the way down to 1% to get the letters as close together as possible. There is another trick for making the letters actually connect, but we’ll talk about that another day. You can edit the letter spacing at any time, so just choose a place to set it initially, then you can play around with it as you preview your font.
Step 5: Upload your templates.
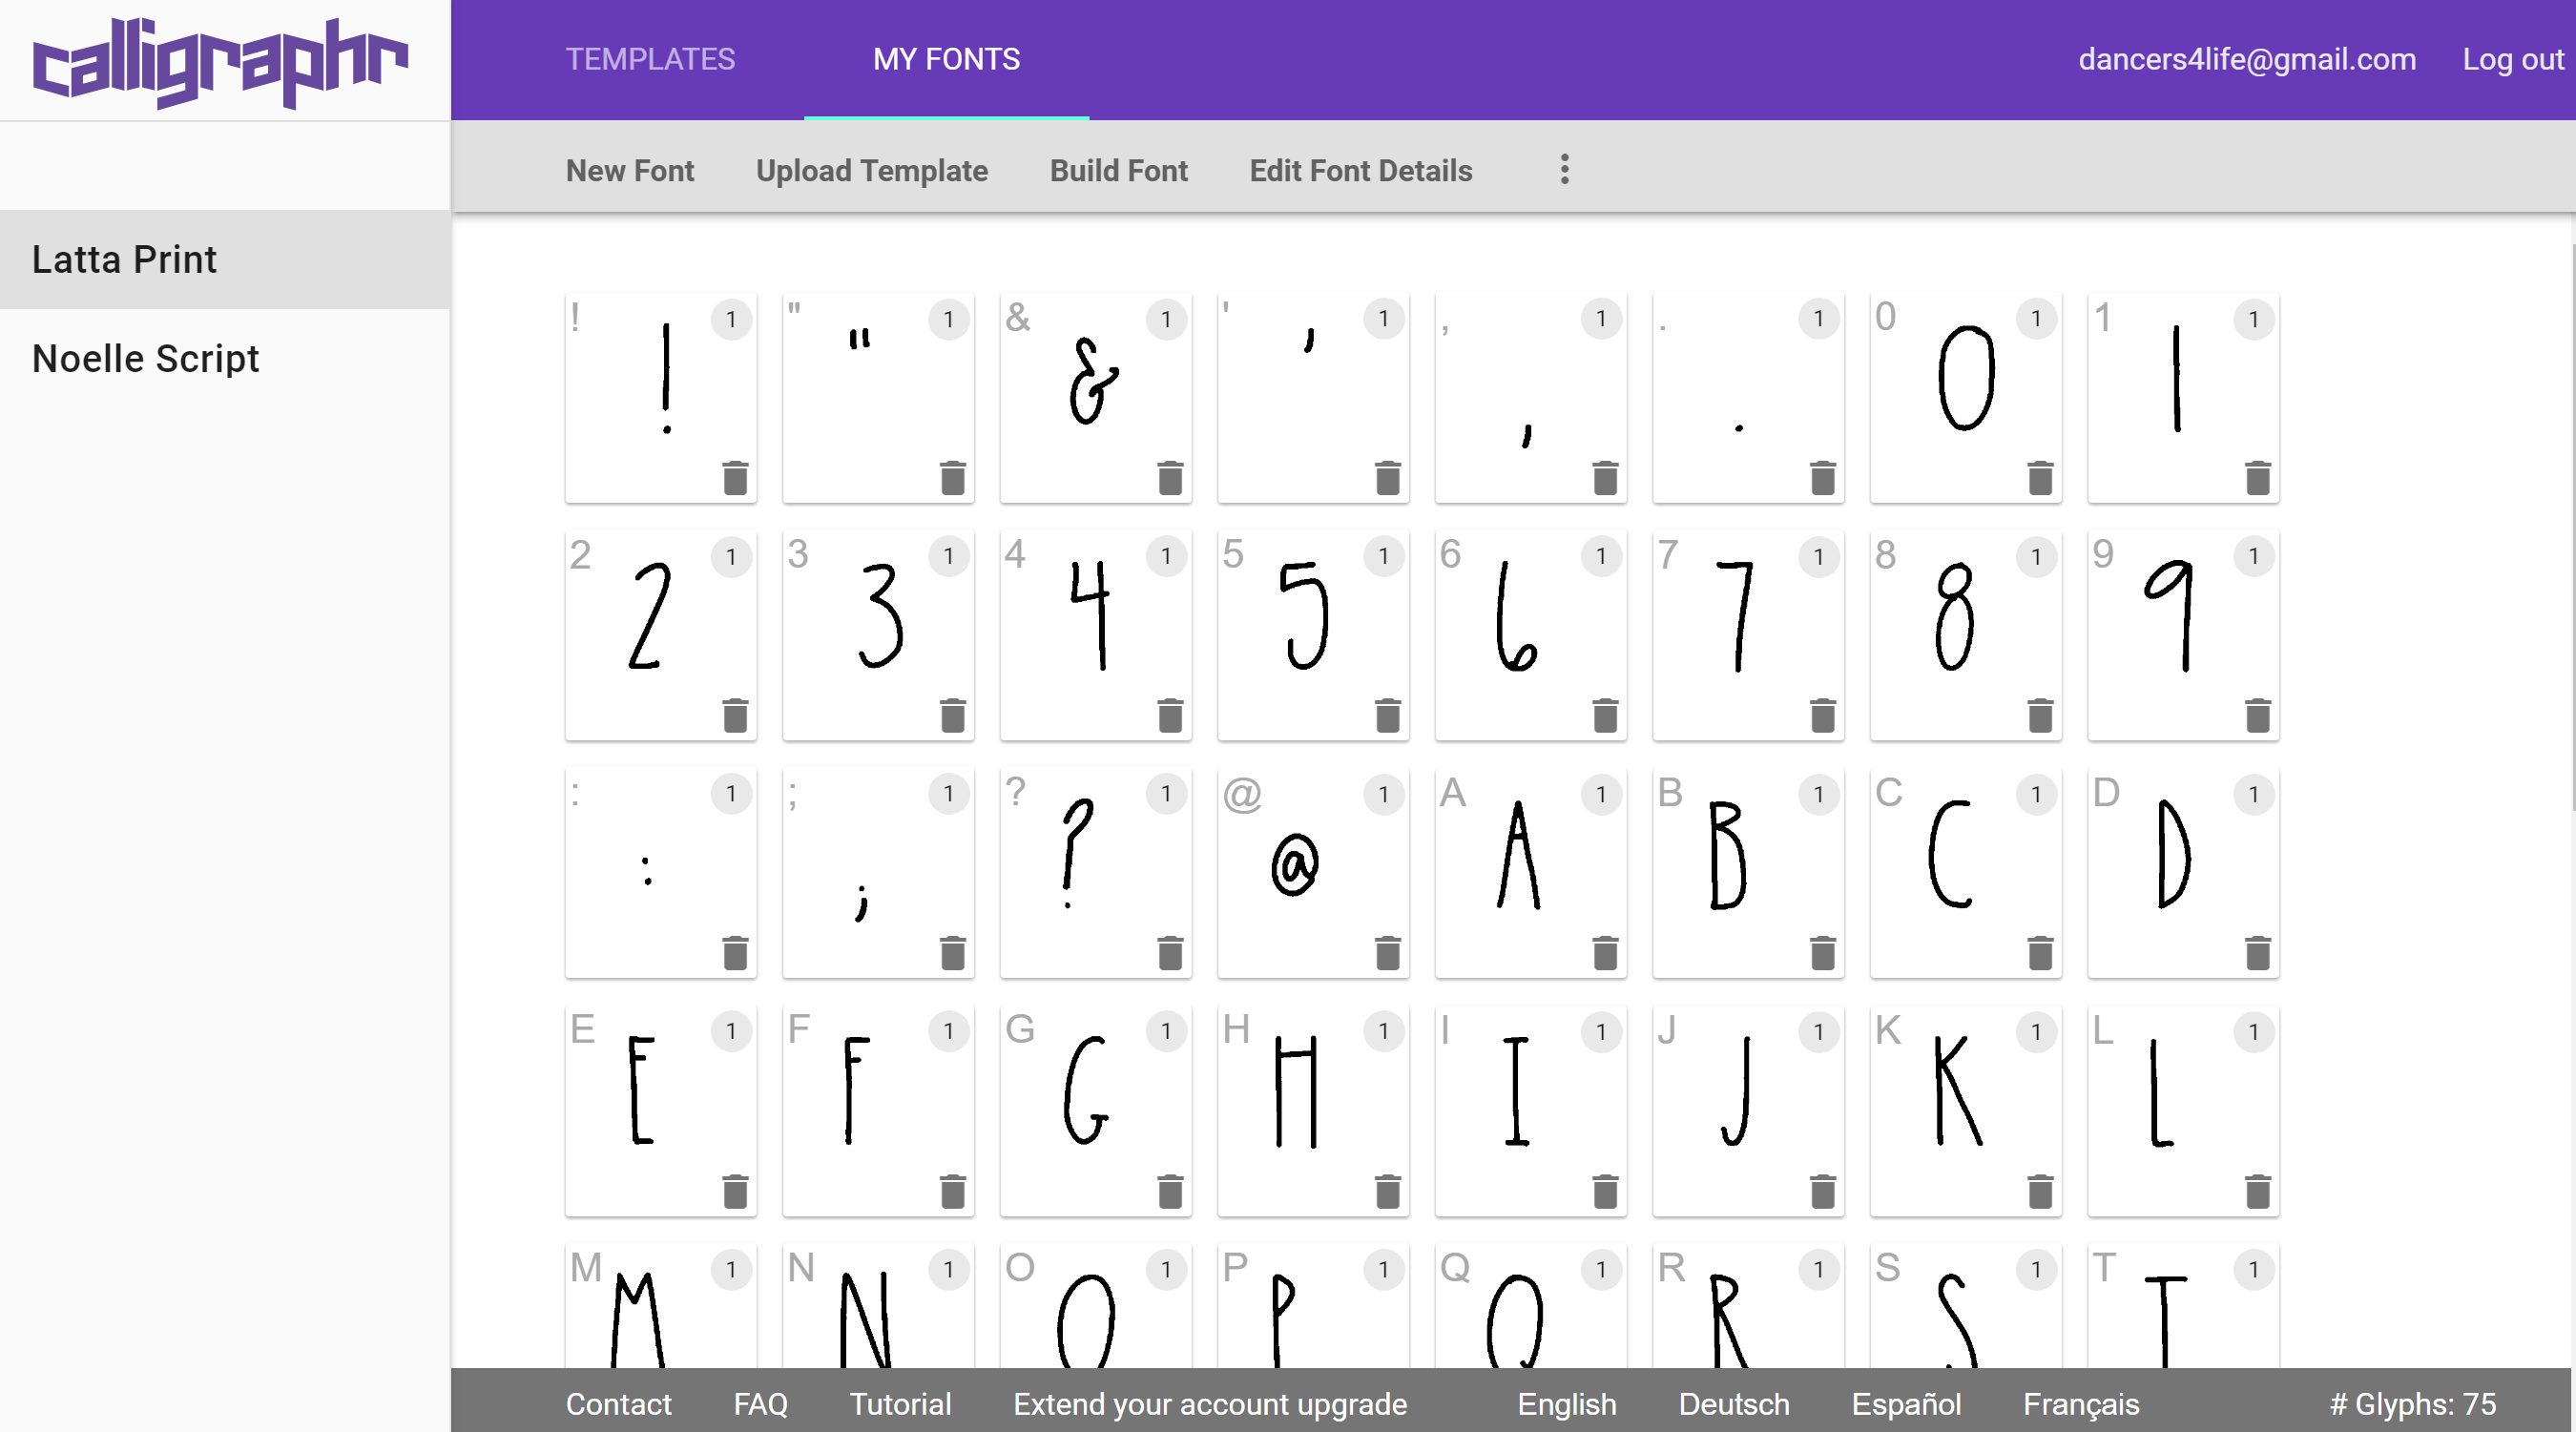
If you used real paper, you’ll need to scan or take digital images of the templates and save them in PDF format. If you kept things digital, this part is super-easy. Just click on upload template, and you’ll get something that looks like this.
If any of the letters doesn’t look the way you want it to, you can click directly on it and choose “Edit Character.” This will give you the ability to erase a mistake or smooth out a rough edge. If you want to redo the letter completely, just delete it, redraw the letter on a new template, and upload it again.
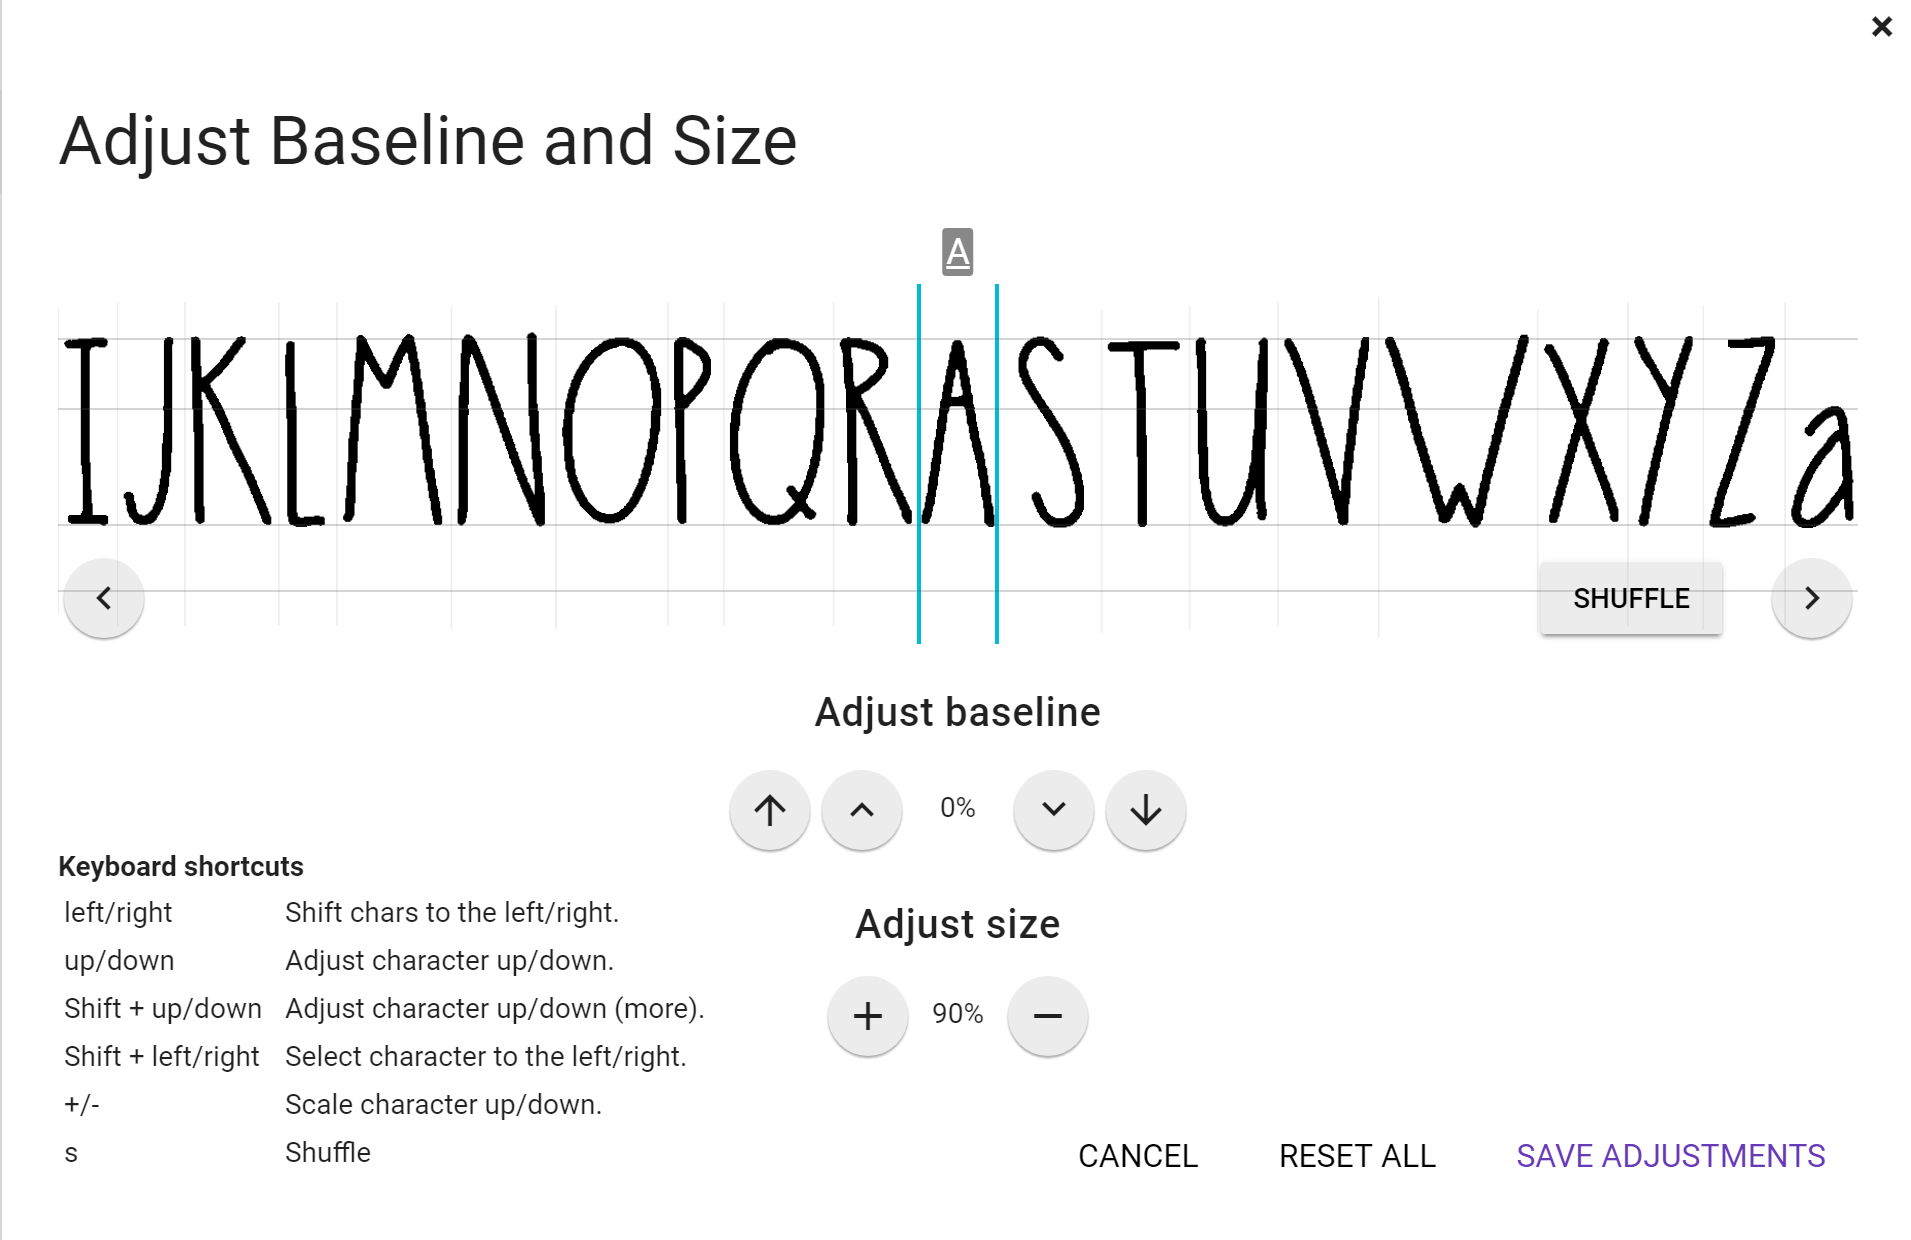
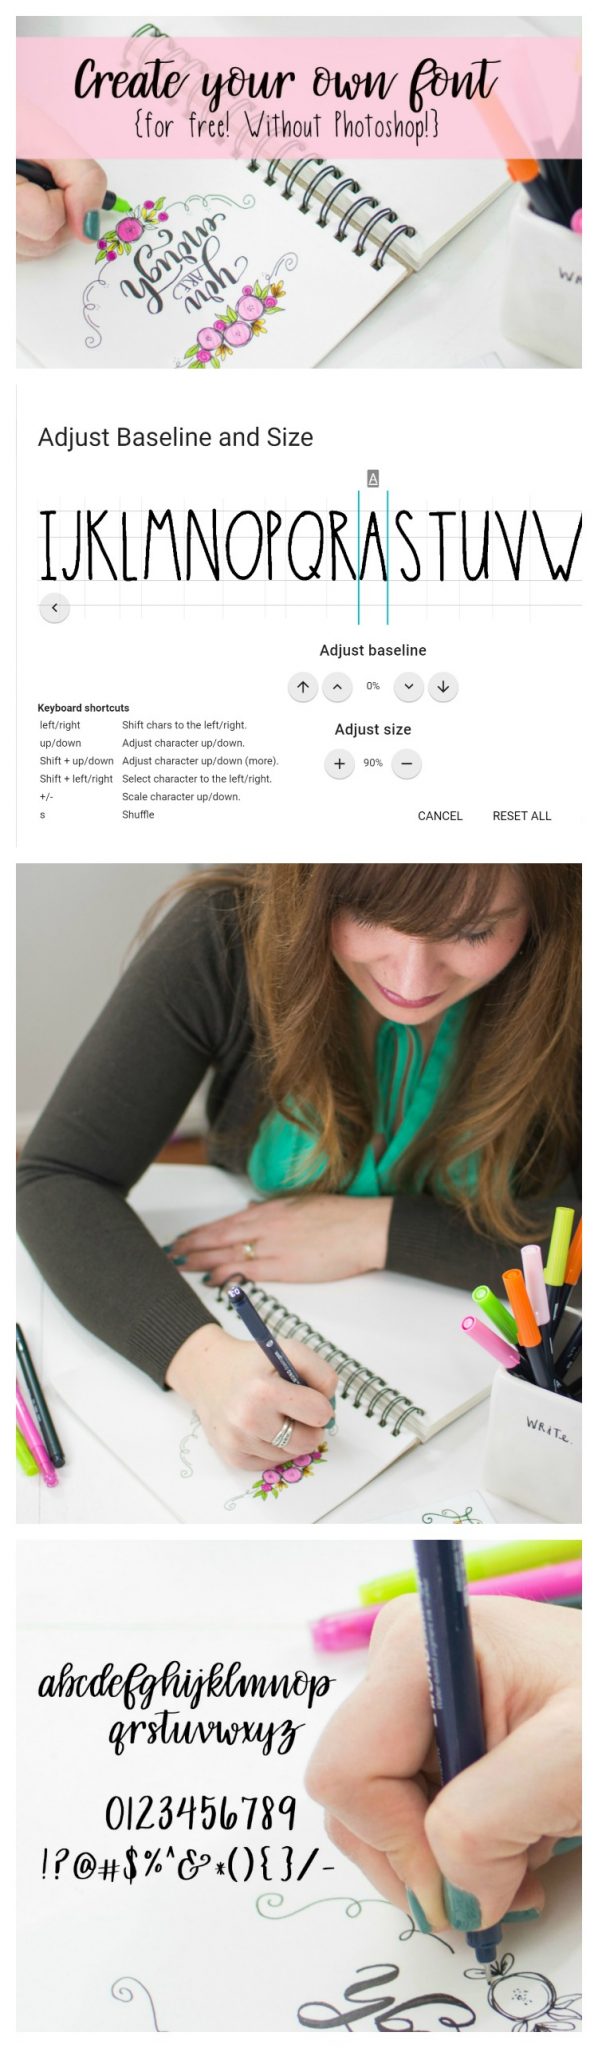
Step 6: Adjust your size and baselines.
To do this, click on the three dots in the menu bar and select Adjust Baseline. You’ll see a screen that looks like the image below. Scroll through the characters, and for each one, click on the arrows or plus and minus buttons to adjust. You’ll want each letter sitting on the baseline and all your letters to be equal in height.
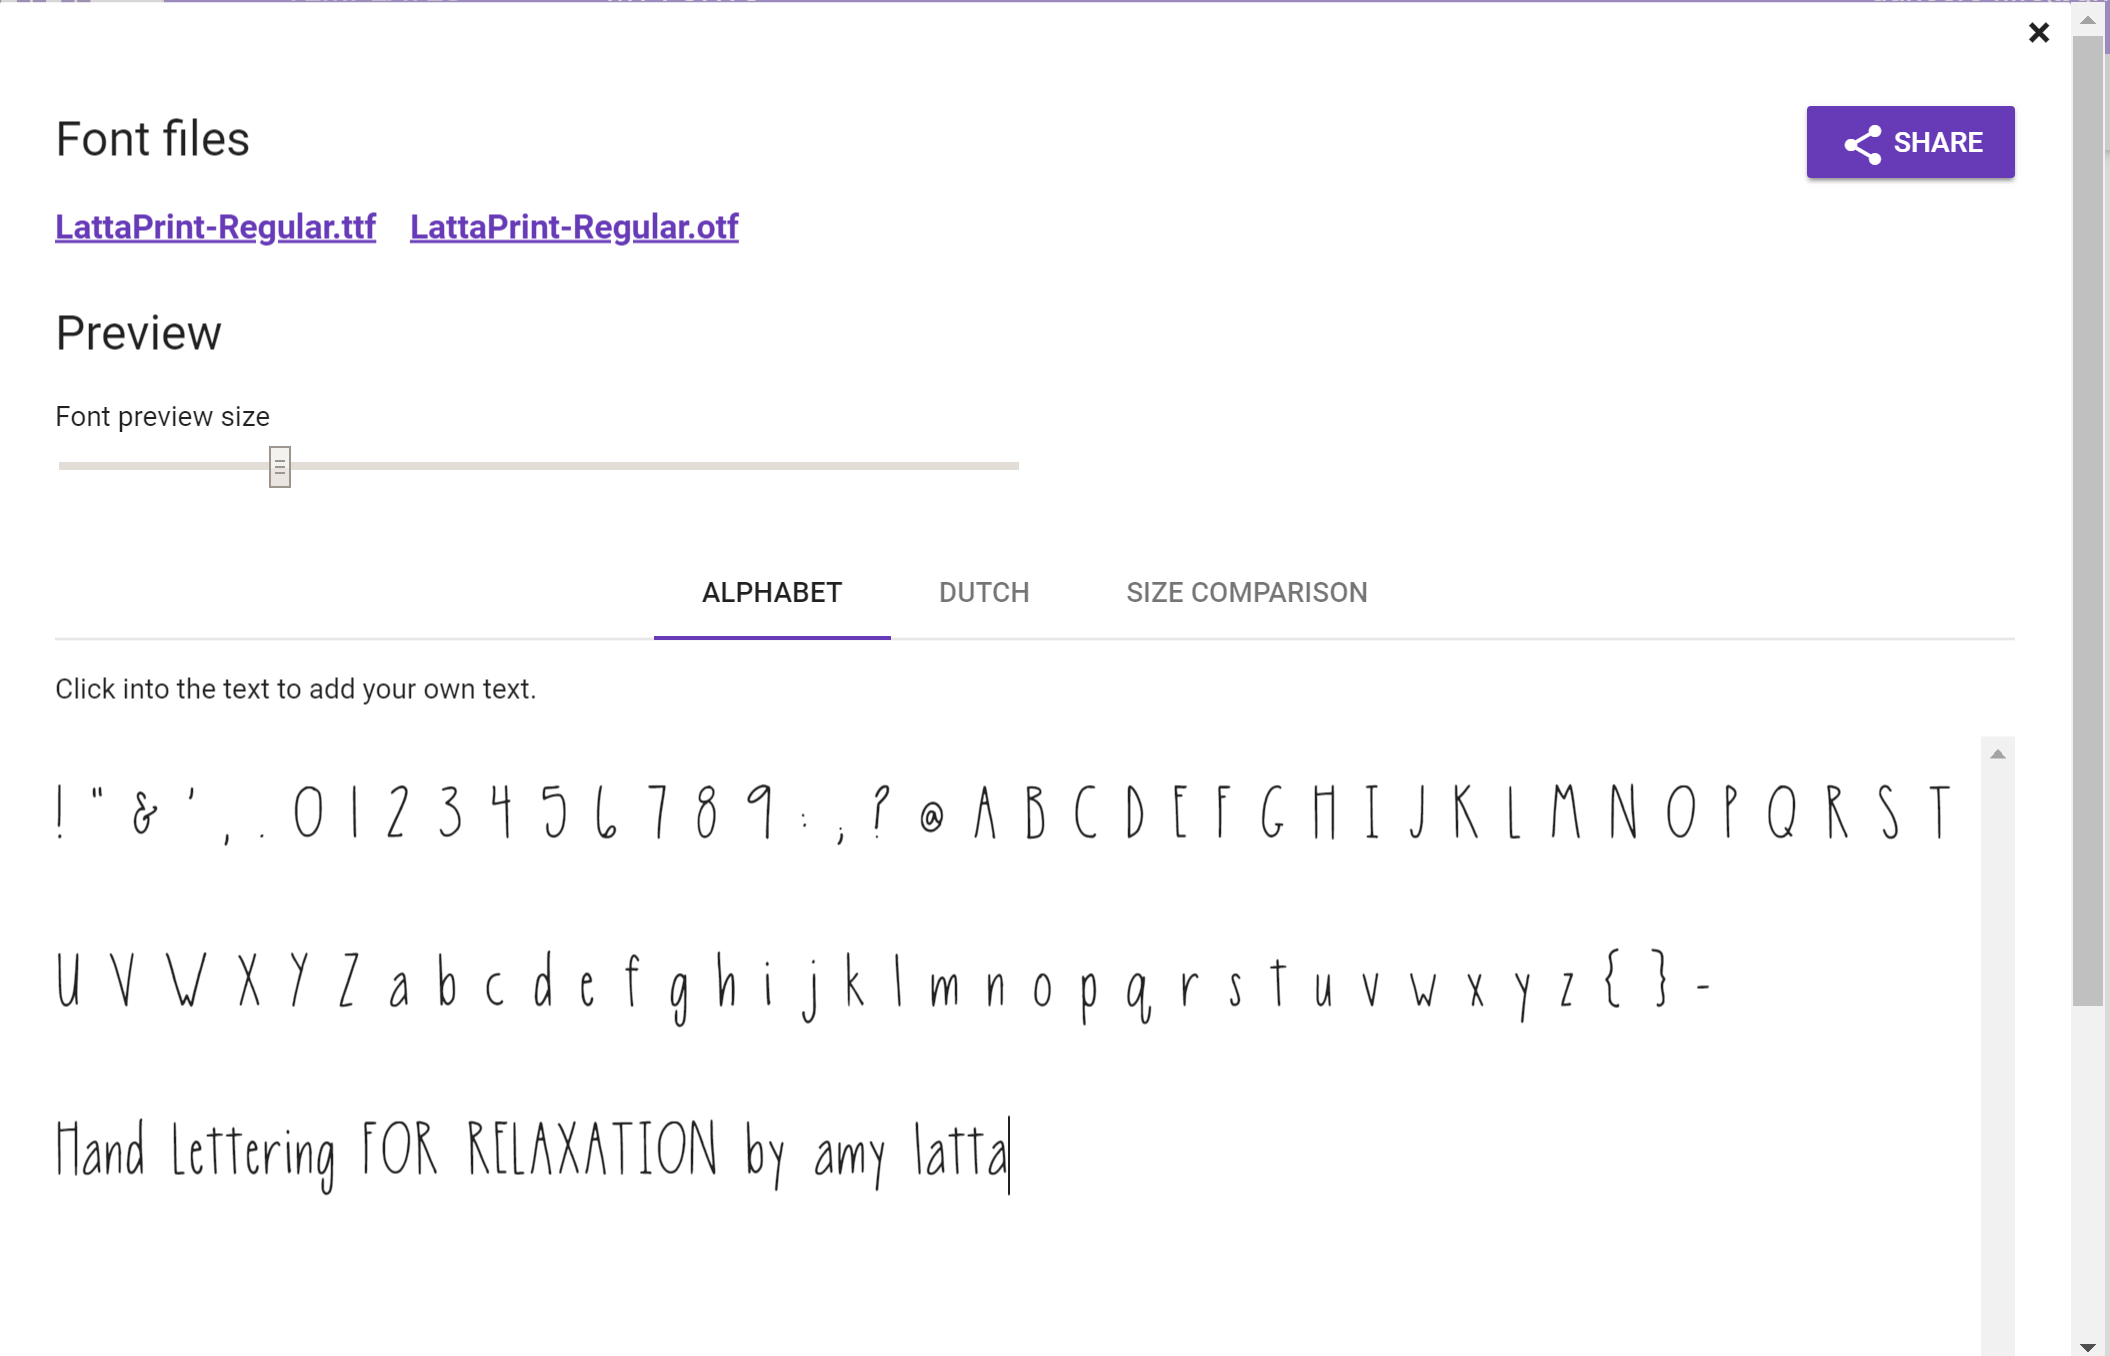
Step 7: Click “Build Font.”
You’ll get a screen like the one below where you see a preview of your characters. Click in the box and type anything you like to test it out! Try using all caps, all lowercase, and a mix of both. Write your name, your favorite food, your favorite book title *cough*, and anything else you can think of. You want to make sure in this preview that the letters work together the way you want them to. If you want to make changes, you can! Just close out of the window and go back to change individual letters, letter spacing, or whatever else you want to fix. Then, go back and choose “Build Font” again. You can do this as many times as you need to until you’re satisfied. When you’re ready, click and download the font files at the top of the screen and save them to your computer.
Once the files are saved to your computer, you can upload them to Creative Market, Etsy, Gumroad, or any other site where you’d like to sell and/or share them. You can email them to a friend, save them to Google Drive…whatever you want to do. After the font is installed and you start using it, if you find a mistake and want to fix something, you can go back in to your calligraphr.com account and easily make changes. Fix whatever is wrong, then Build Font again and save the new file.
Honestly, I was shocked by how easy this process was and the fact that it’s free! I did pay the $8 upgrade because I wanted to make a second font, plus it gave me the extra options I needed to work with script. For the record, I’m not getting any kind of payment or kickback from Calligraphr for this post, I’m just sharing this with you so you can do what I did and see your own lettering as a font. This is the exact process I used, and I couldn’t believe I didn’t need fancy, expensive software to do it!
You can see my fonts at Creative Market and purchase them for your own personal and business use. What about you? I can’t wait to see the fonts you create!


Hi Amy this is Sue I just purchased your book and love it I am enjoying learning to write calligraphy, very relaxing!!! I have painted and always was drawing but this is a new journey, love it!!!! I enjoy following you a lot. I love everything you do. Thank you for helping people like myself Have great day!!!! Sincerely Sue
Hi, Sue! I’m thrilled that you are enjoying the book and the website so much. Thanks for being here!
Thank you so much for providing me with the best information.As a beginner this blog has really helped me in lettering and now i really enjoy doing it.I had got so much tutorials from here which really helped me.Looking forward for more and to be come the best from my side.And finally i could say the credit goes to you.
Yay! I’m so glad to hear it!