
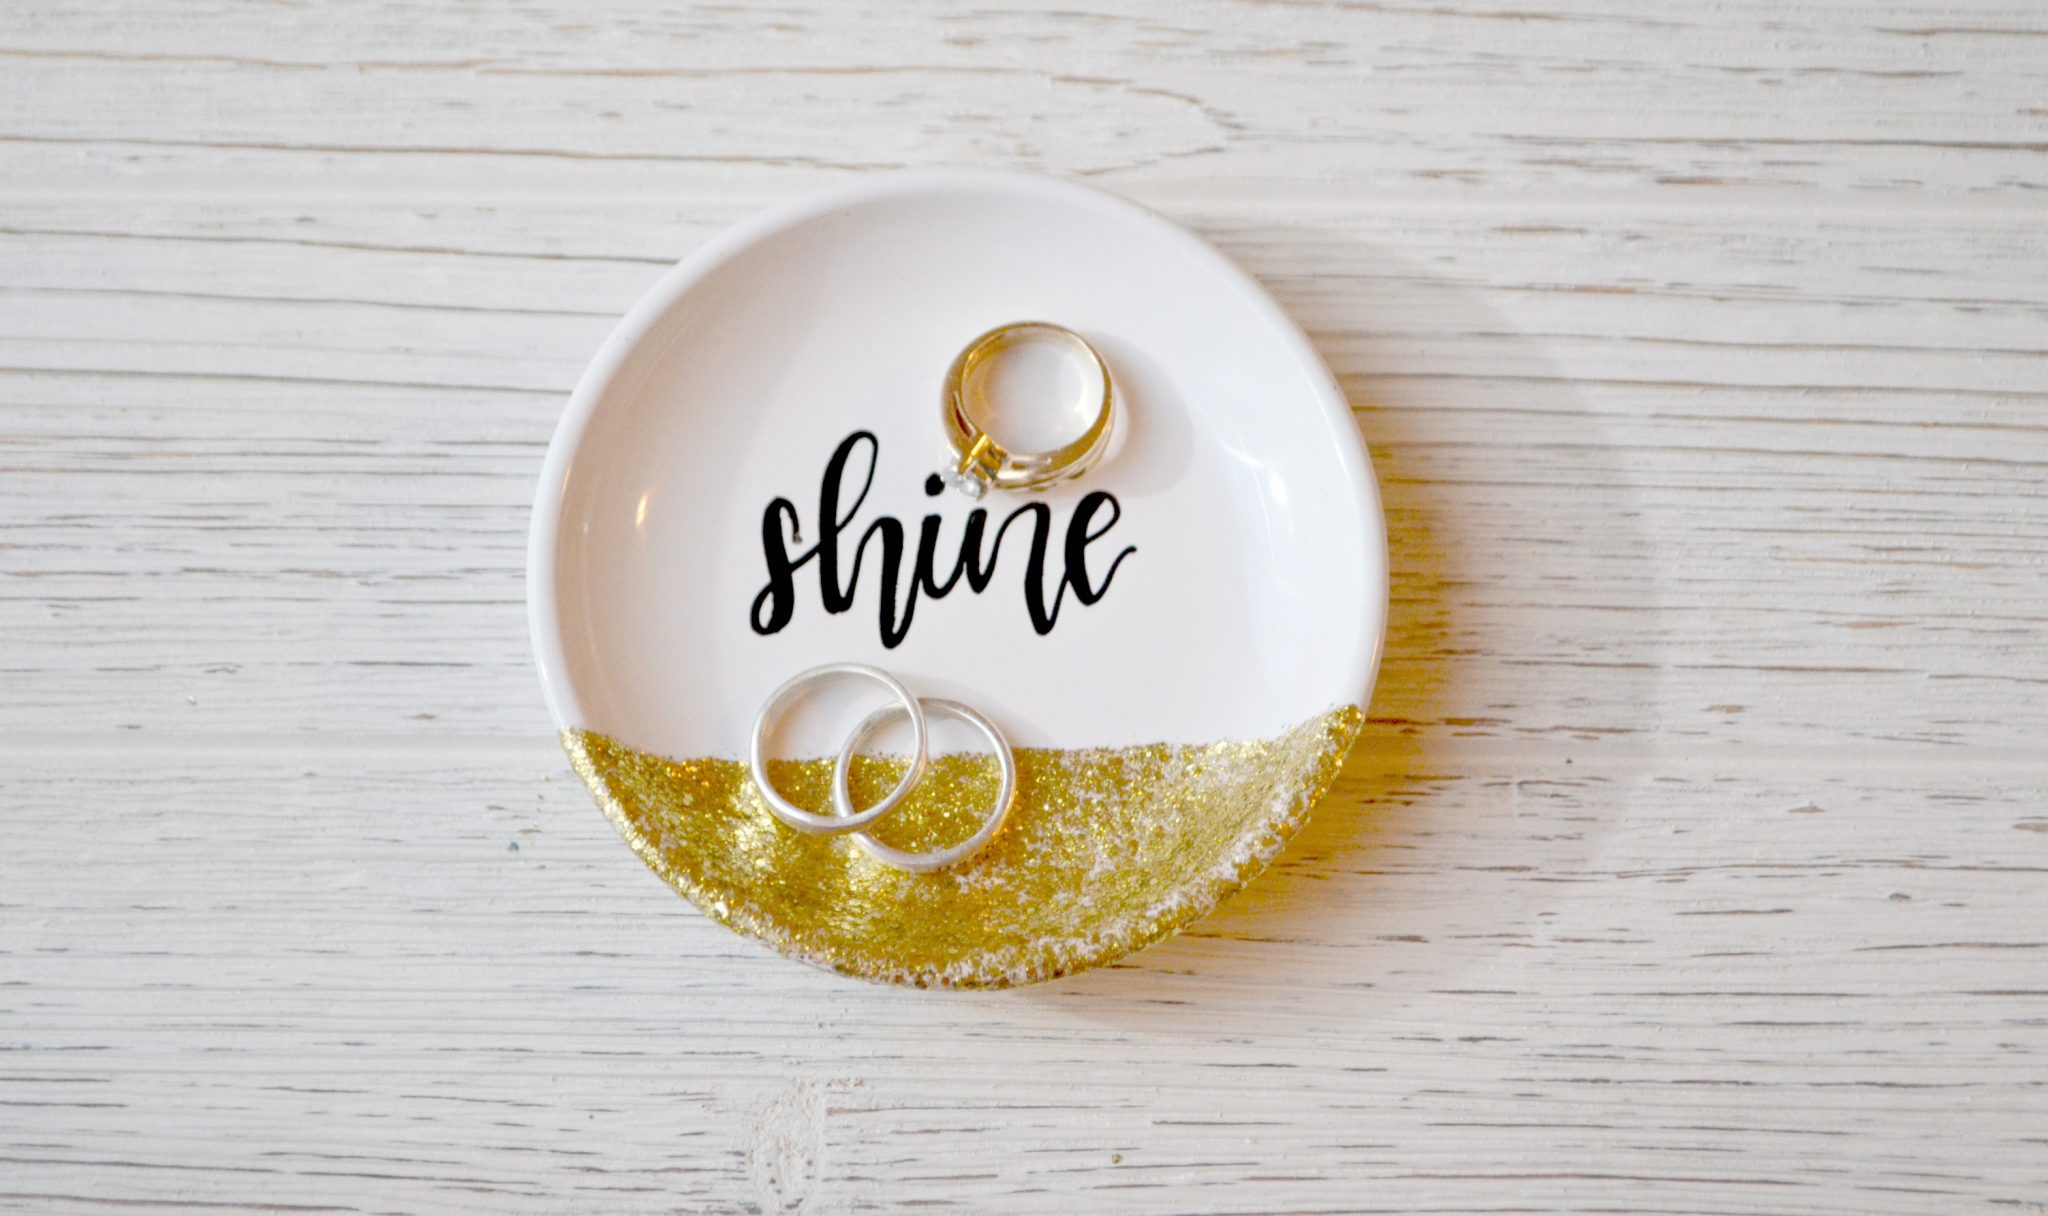
DIY Ring Dish with Mod Podge Mega Glitter
Friends, if you love all things glittered as much as I do, you’re going to go crazy for today’s super-simple project and the brand new craft supply I used to make it! Take a look…
DIY Ring Dish with Mod Podge Mega Glitter
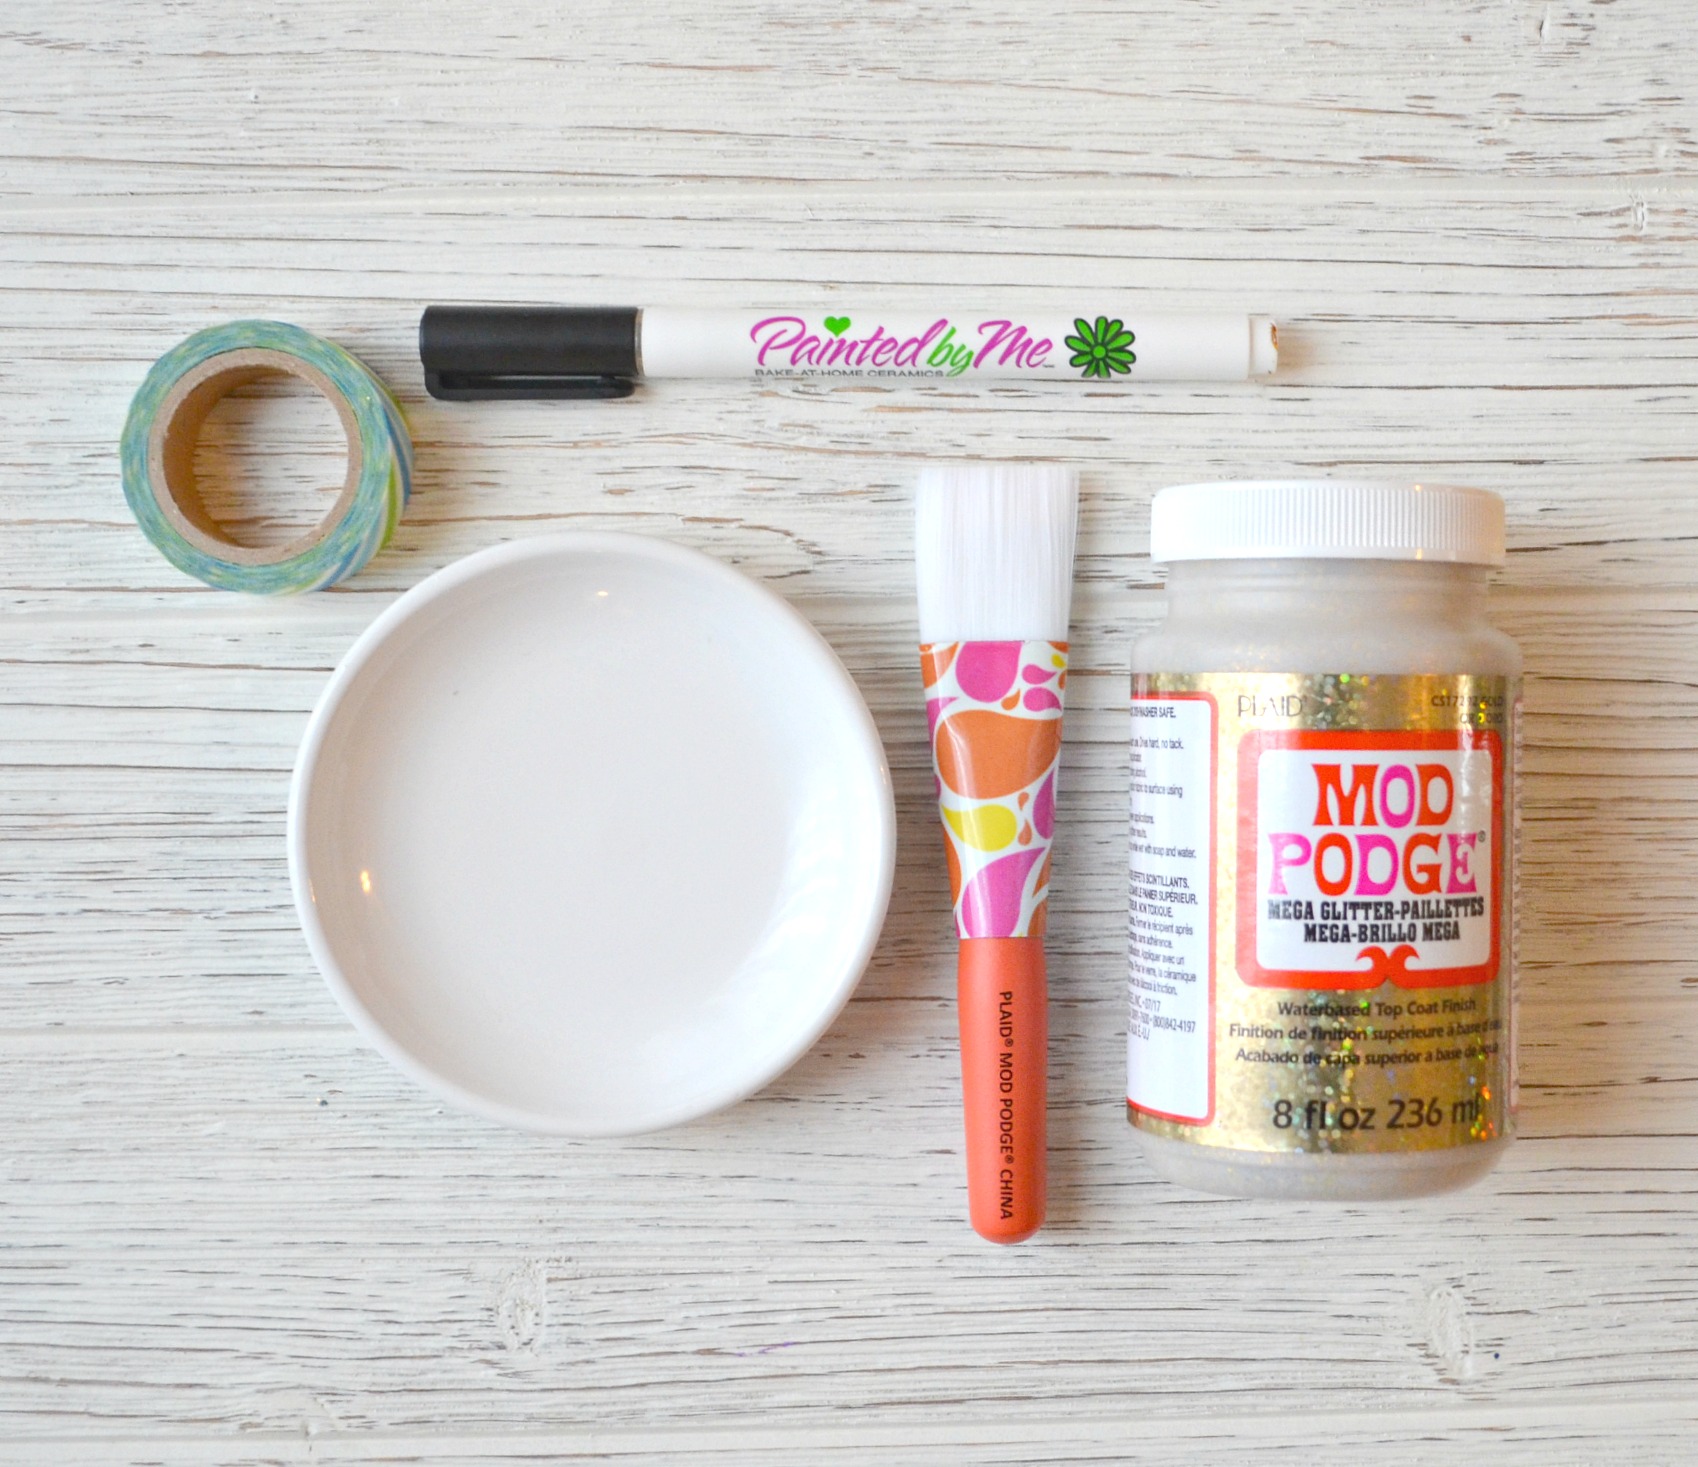
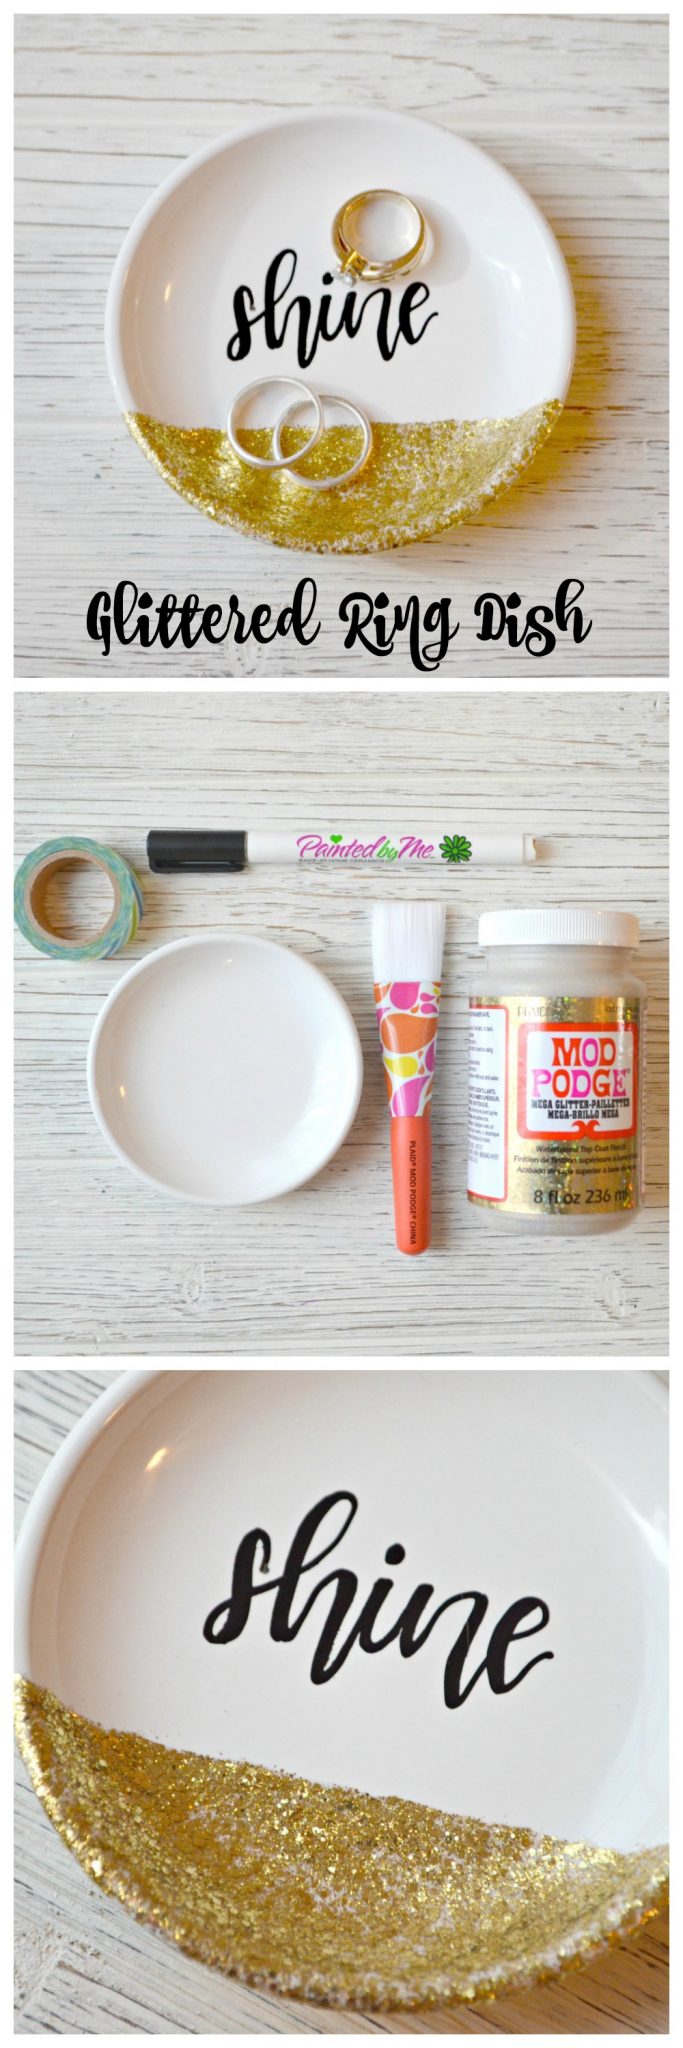
You’ll need:
a small, plain white dish {mine is from Michaels}
Mod Podge Mega Glitter
painters’ or washi tape
paintbrush
ceramic paint marker
First, let’s take a second to acknowledge the pure awesomeness of something called Mod Podge Mega Glitter. It’s a brand new addition to the Mod Podge family this year, and like all of the other varieties, it’s a glue, sealer, and decoupage formula in one. It’s composed of four different sizes of glitter particles so you get more sparkle and total coverage. You can have all the shine you want with none of the usual mess that comes from working with glitter, plus since Mod Podge is self-sealing, the glitter won’t come off with normal use of your project.
Ready to get started?
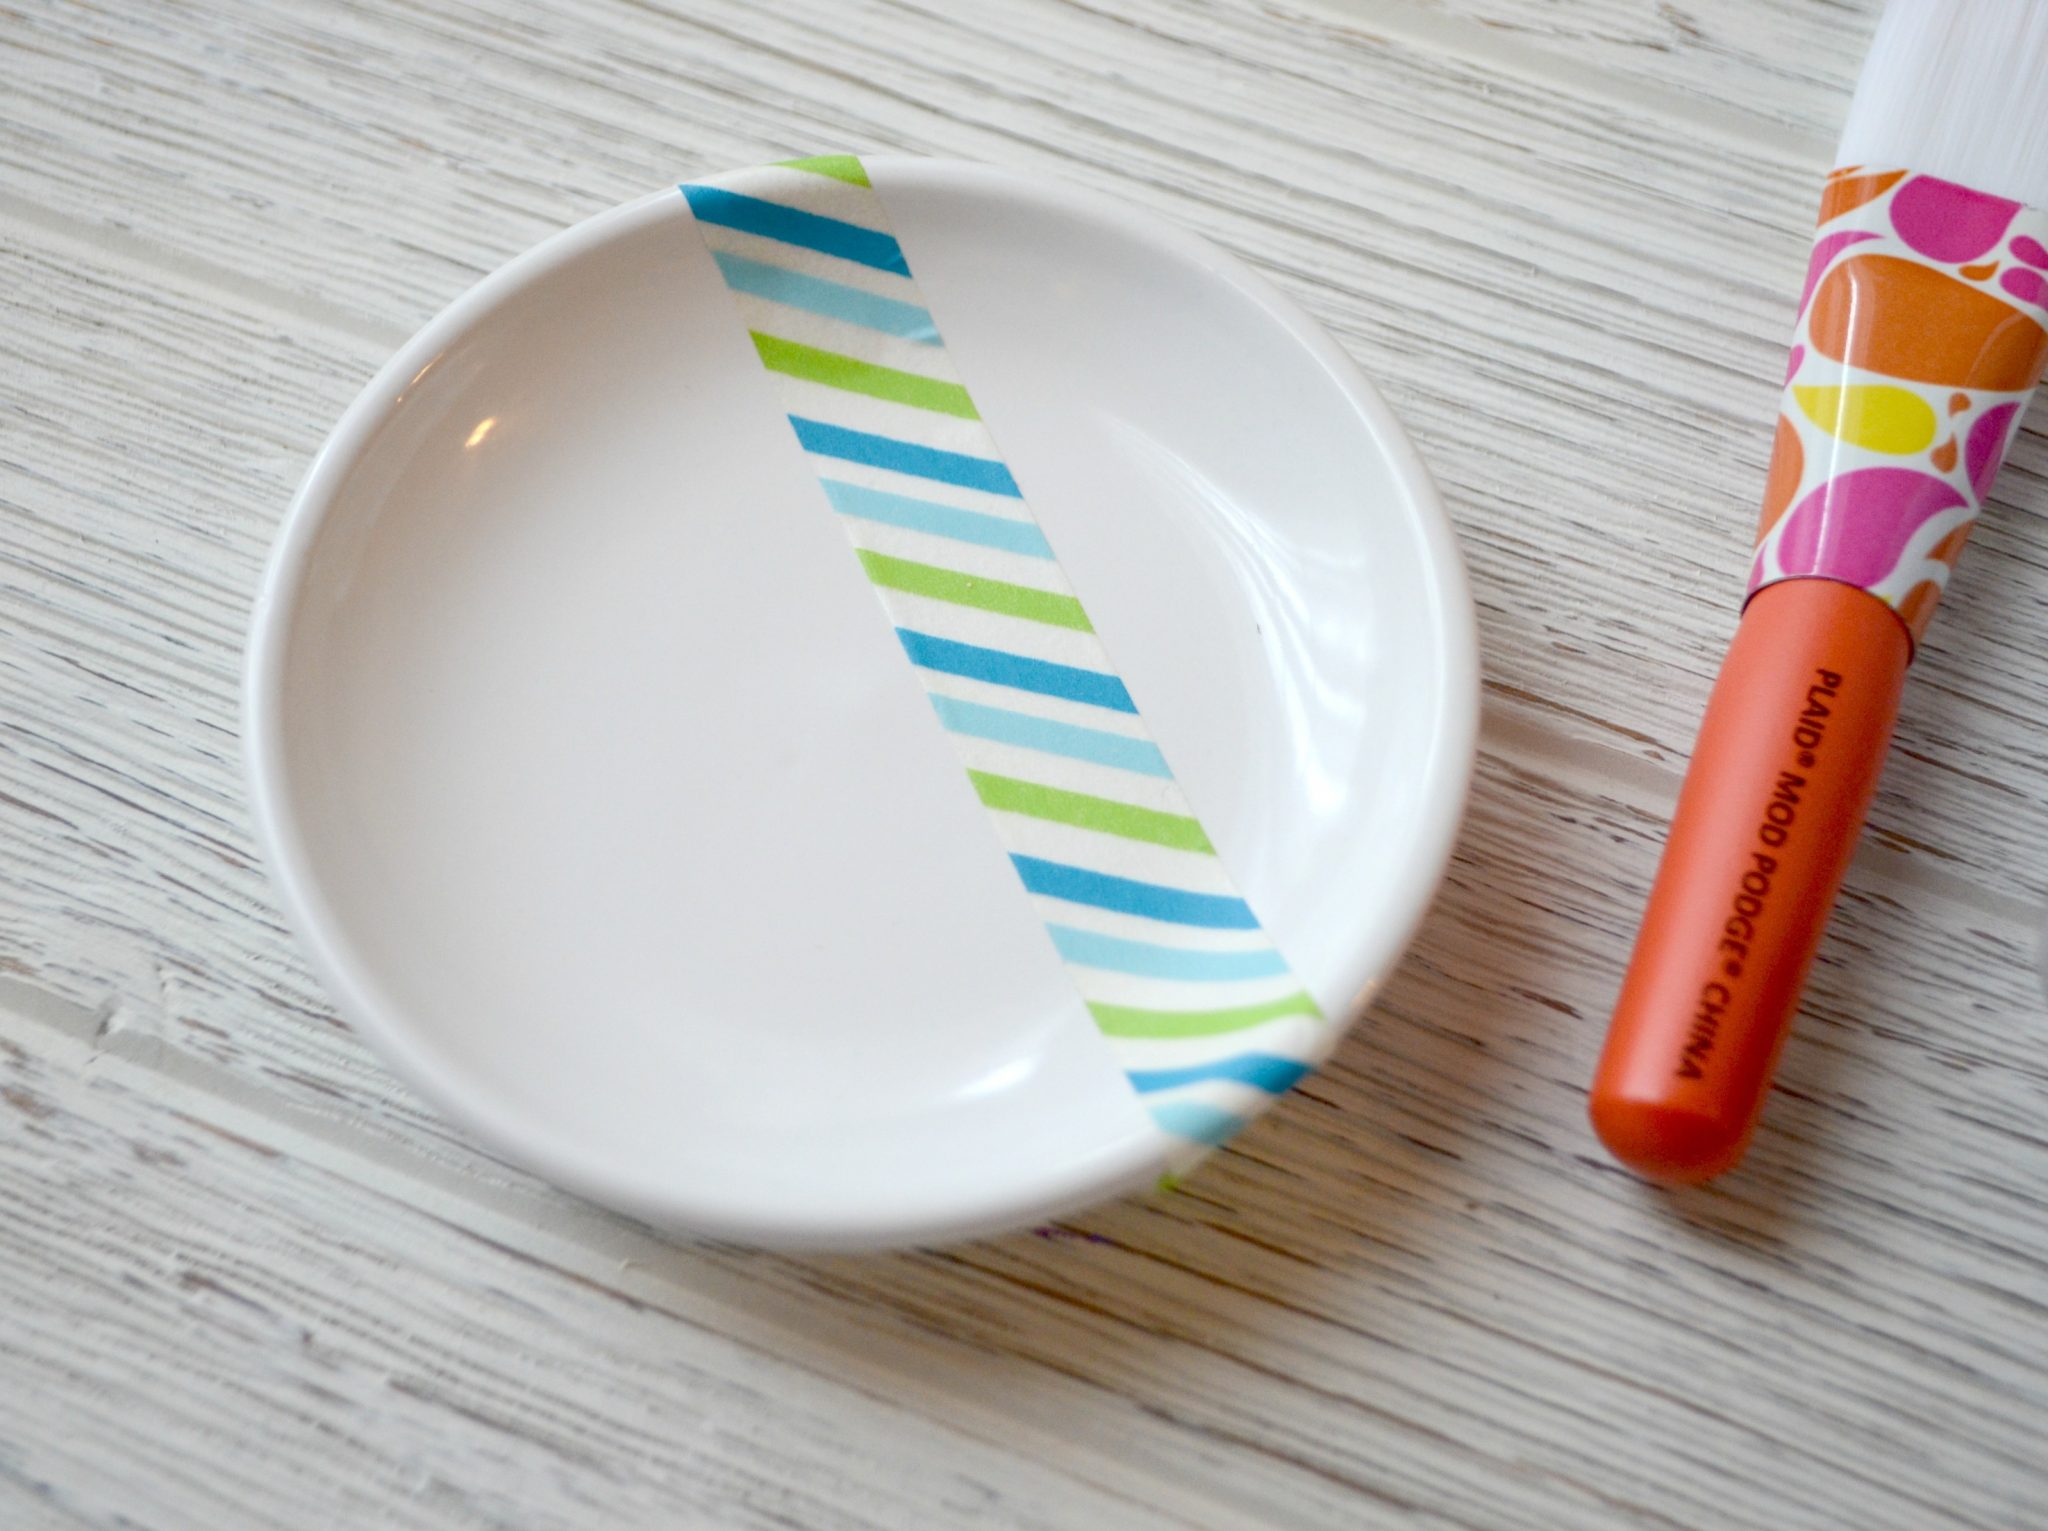
Step 1: Tape off a section of your dish.
You can position the tape anywhere you like. The area to one side of the tape will get glittered, and the rest will remain white. I decided to tape off about 1/3 of mine.
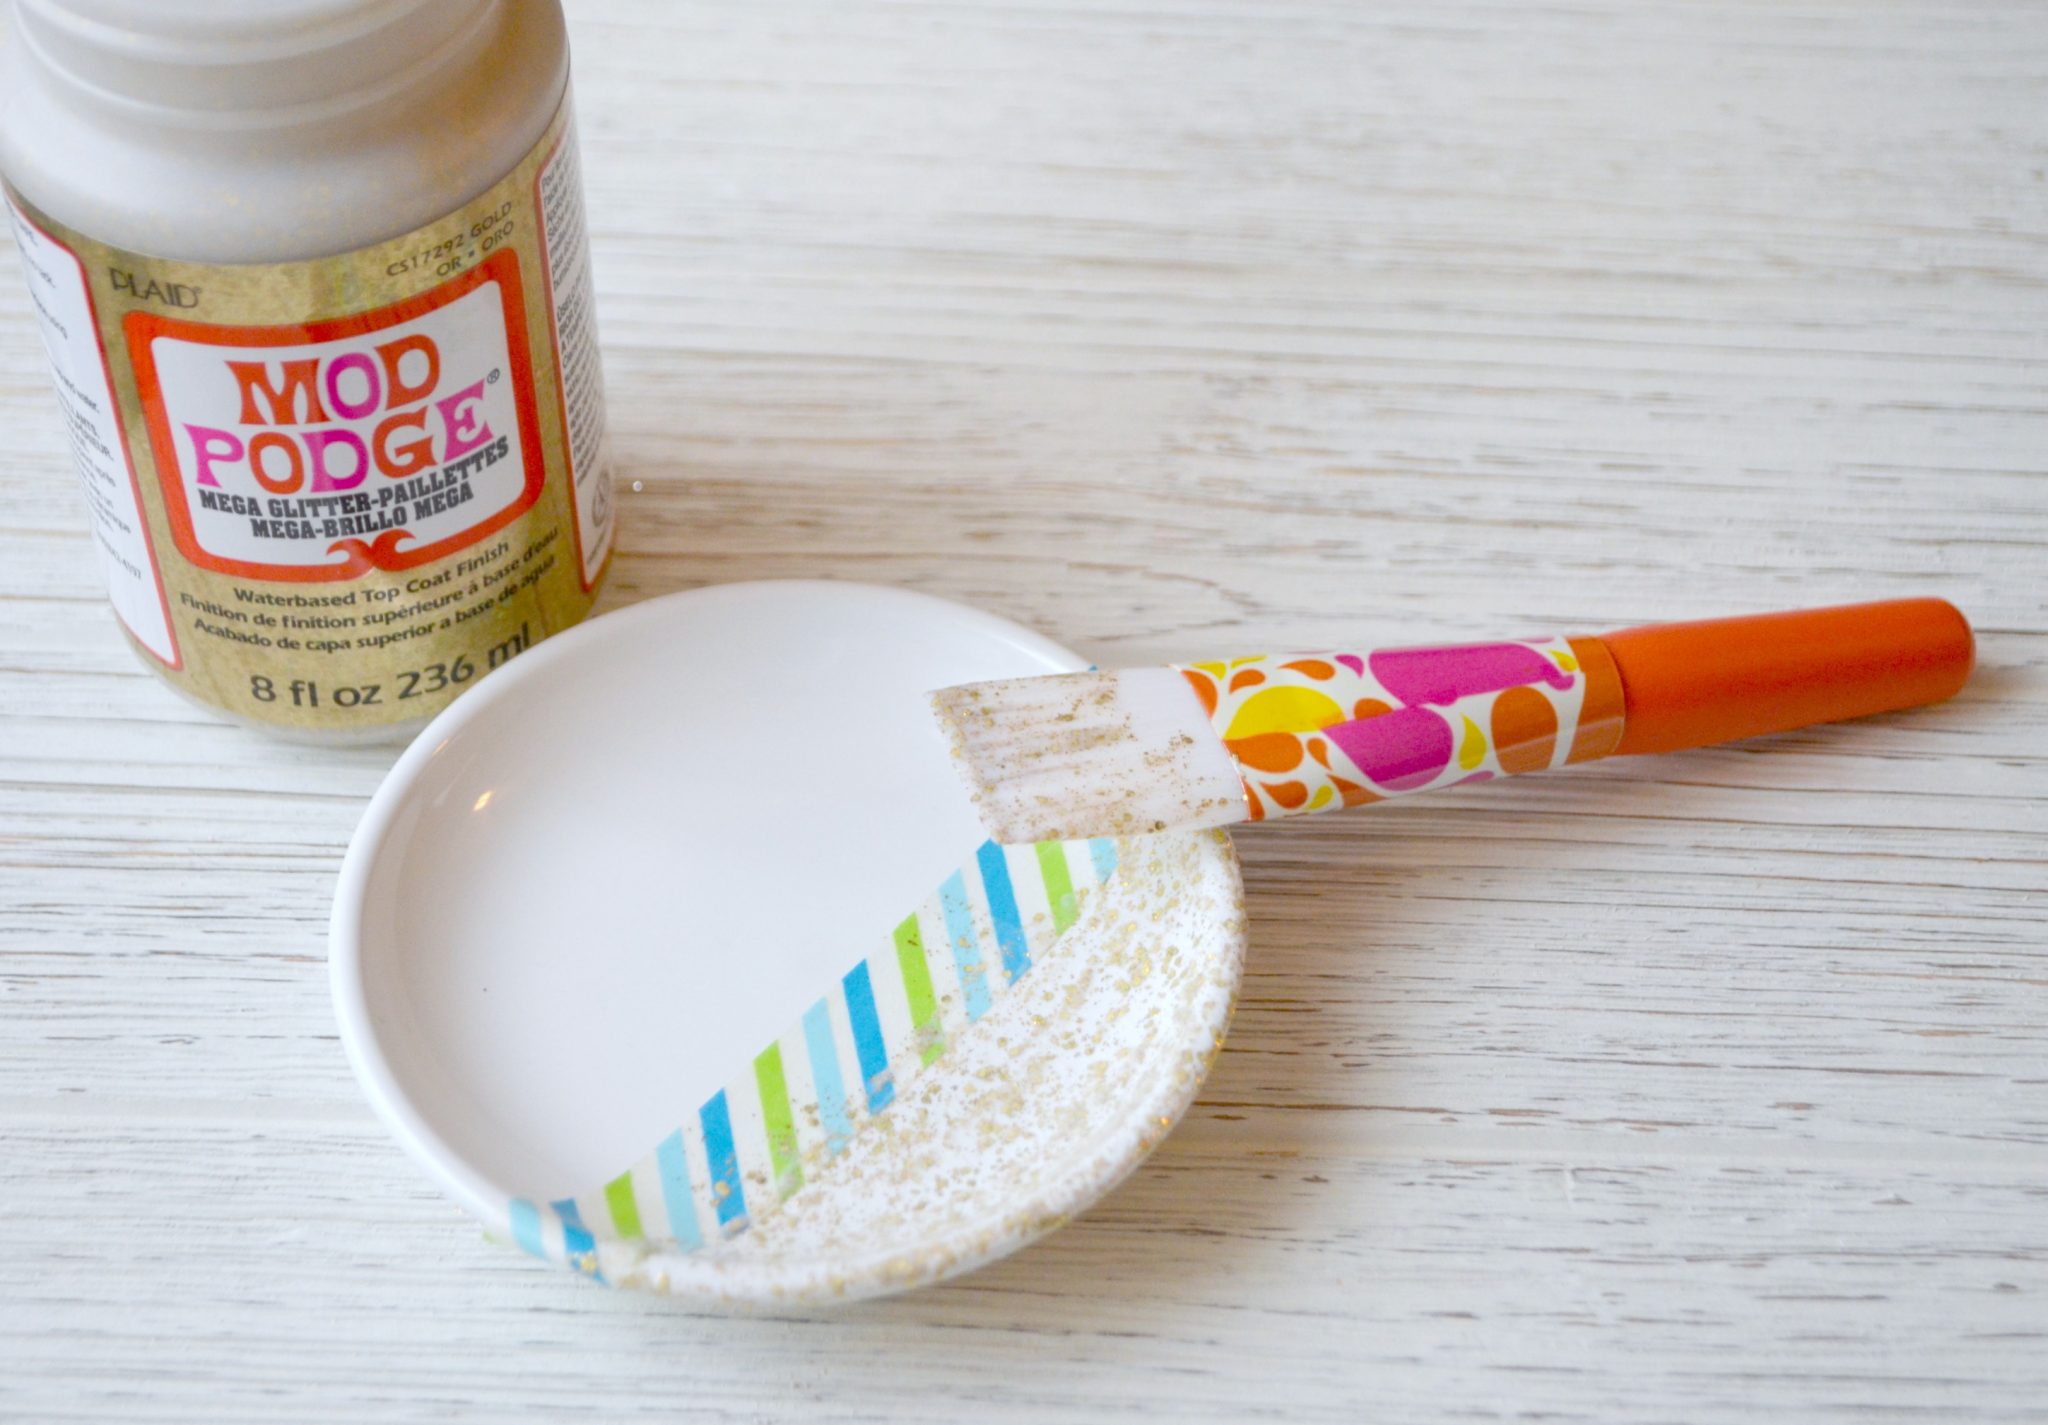
Step 2: Apply a coat of Mod Podge Mega Glitter.
I used Gold, but it’s also available in Silver and Hologram. When you apply the Mod Podge, think about dabbing the formula onto the surface rather than using brush strokes like you normally would when painting. Allow it to dry completely for about 2 hours or until it’s no longer cool to the touch.
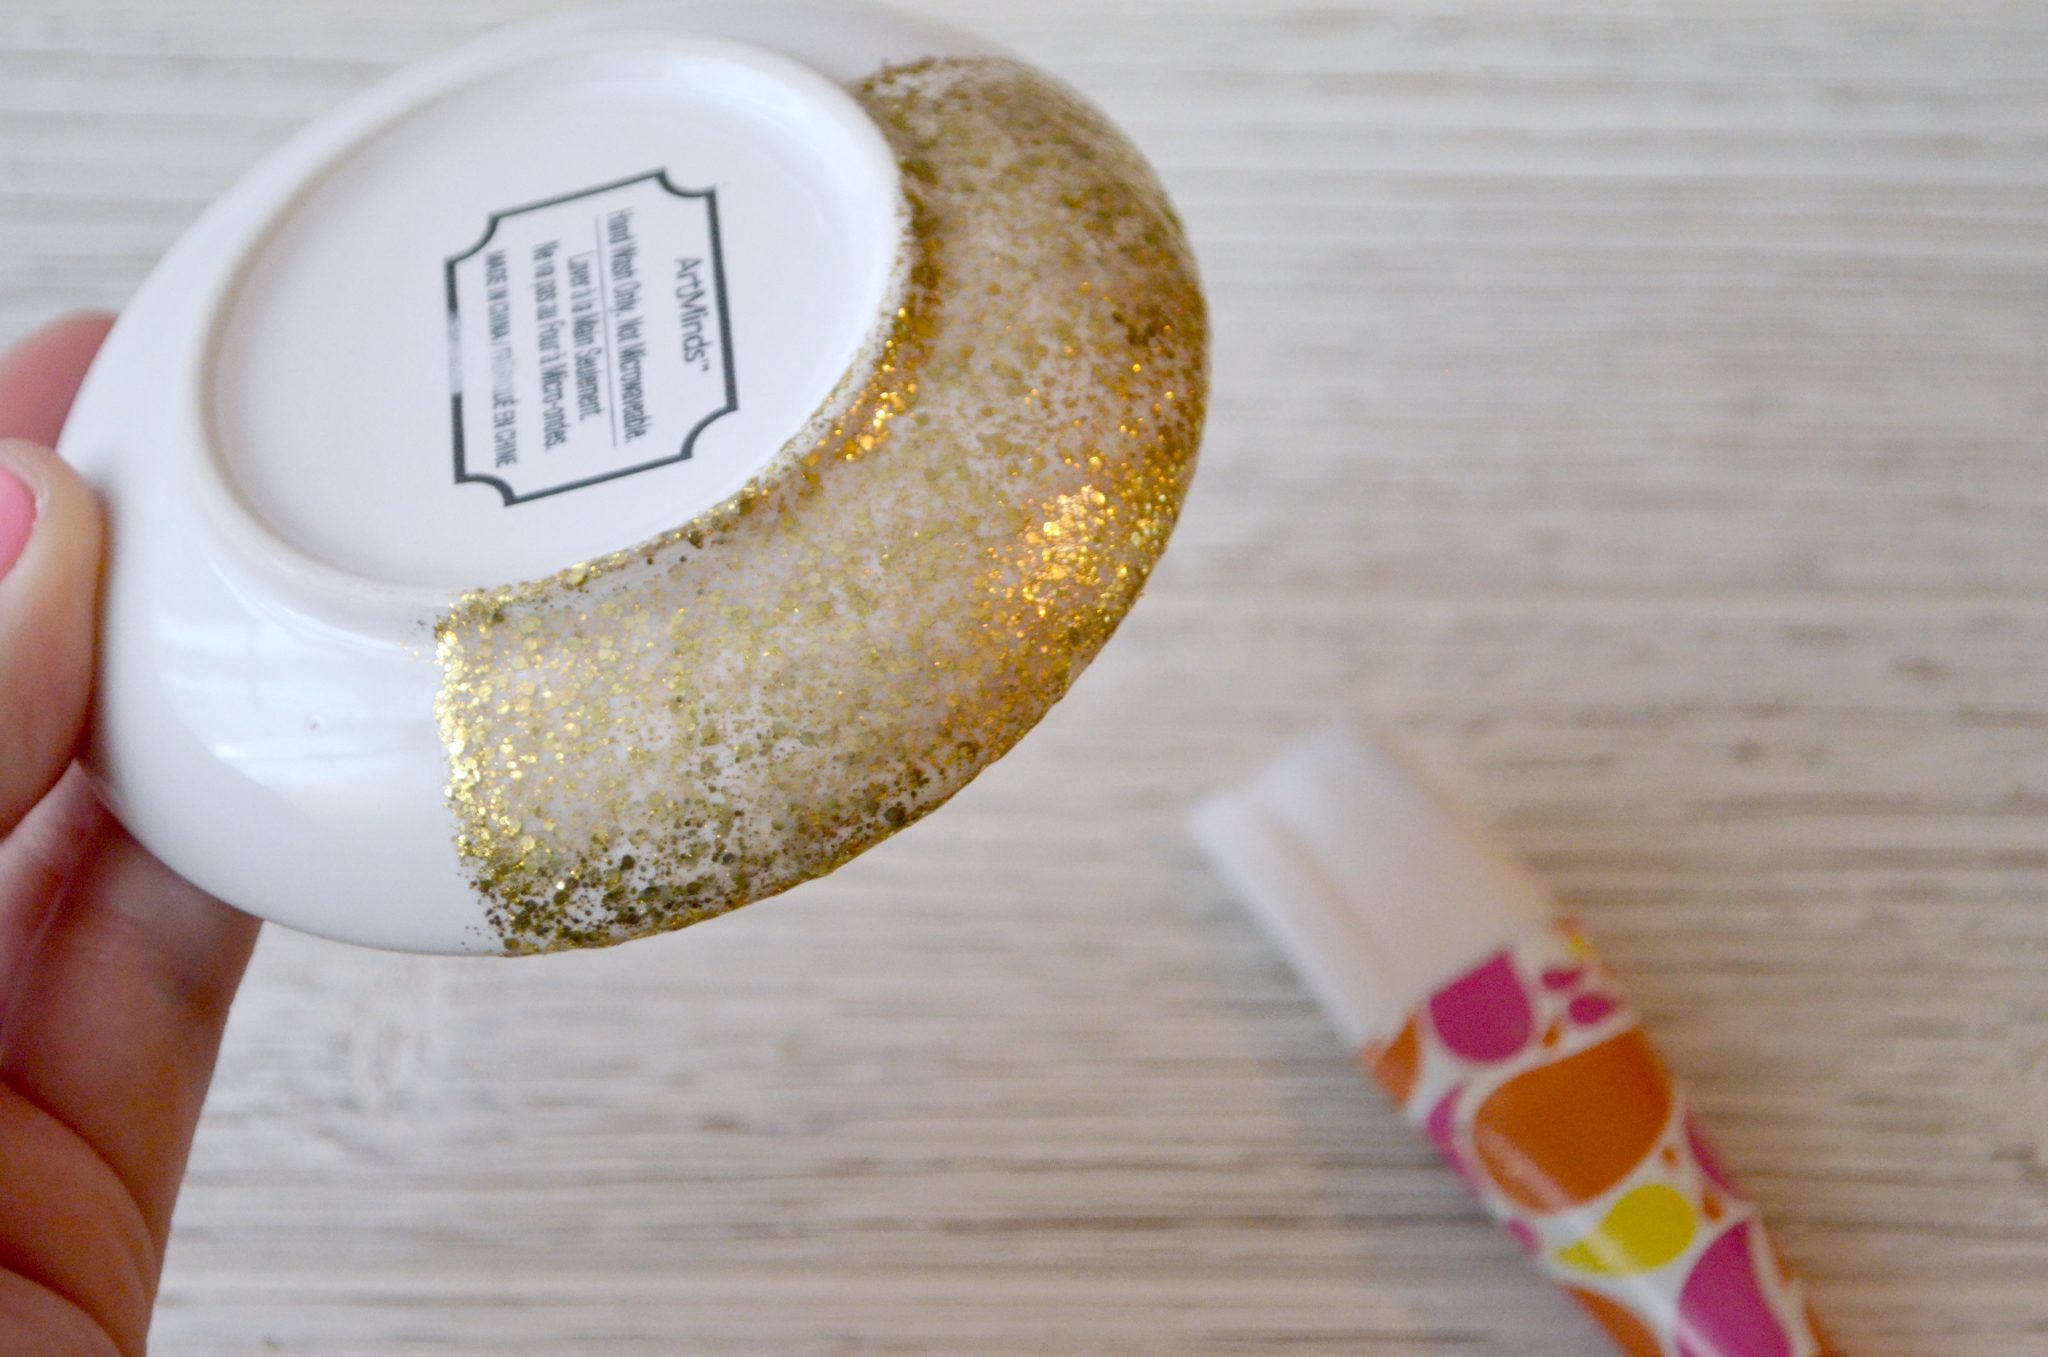
Step 3: Apply 1-2 more coats of Mod Podge Mega Glitter.
Don’t forget about the bottom of your dish! Here’s how the glitter looked after a second coat. You can see that there is a huge difference from the speckled look of one coat to the coverage you get from two. I wanted even MORE sparkle, with no white showing through, so I applied a third coat after the second one was dry. Remove your tape when you are finished.
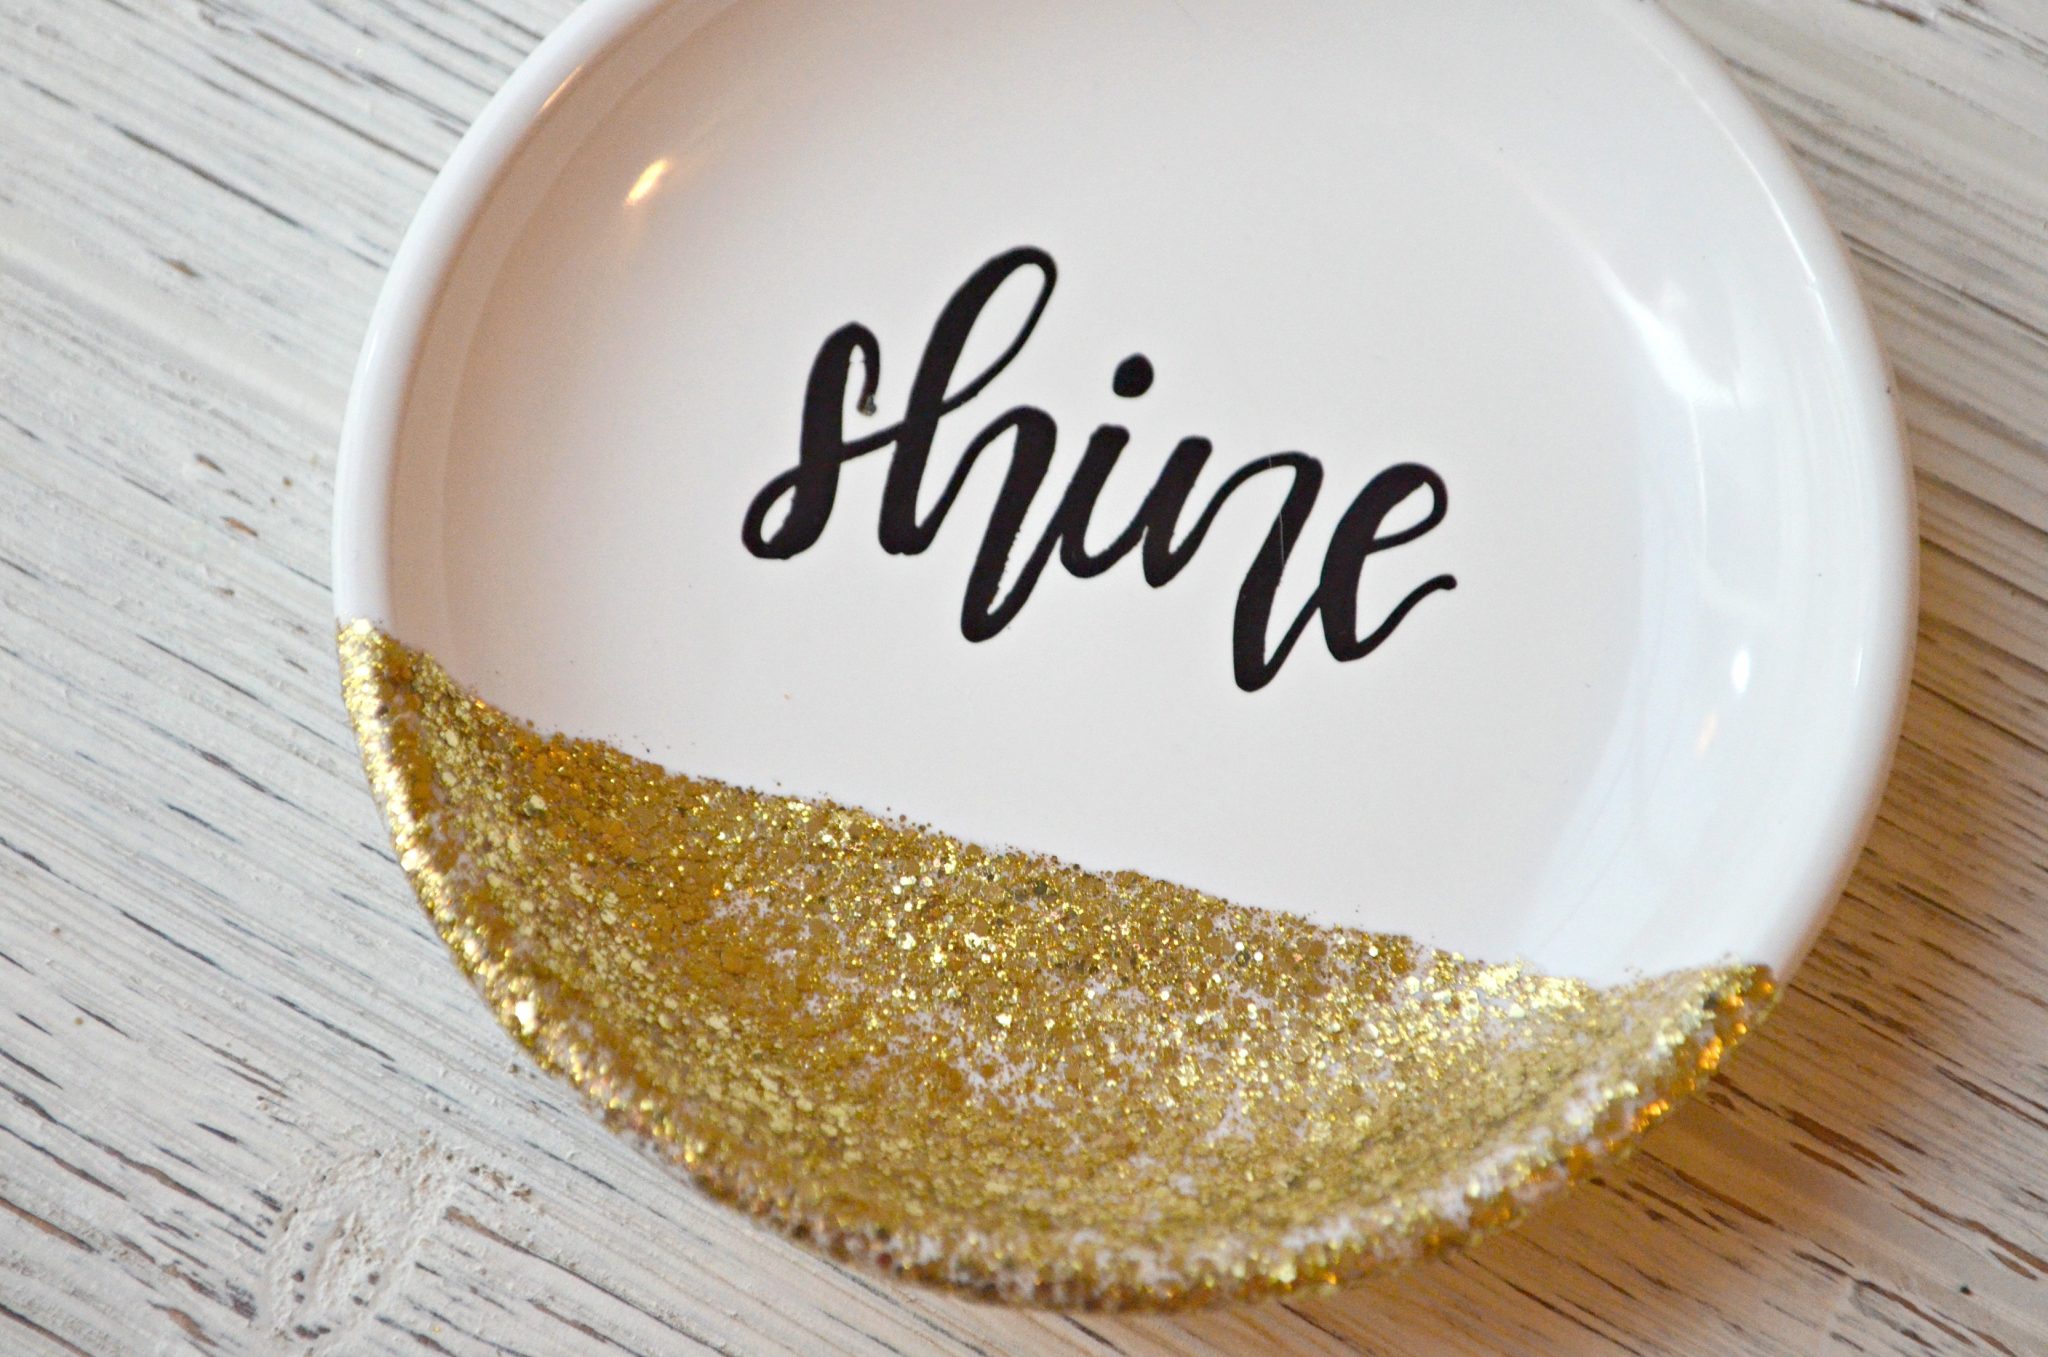
Step 4: Write whatever you like on the white part of the dish.
I went with, “shine” and used my favorite faux calligraphy technique. If you’re new to hand lettering and want to give it a try, be sure to check out my beginner tutorial here…it’s easier than you think! You could also do an initial, a monogram, or any word/phrase you choose. Follow the instructions on your paint and/or pen for curing.
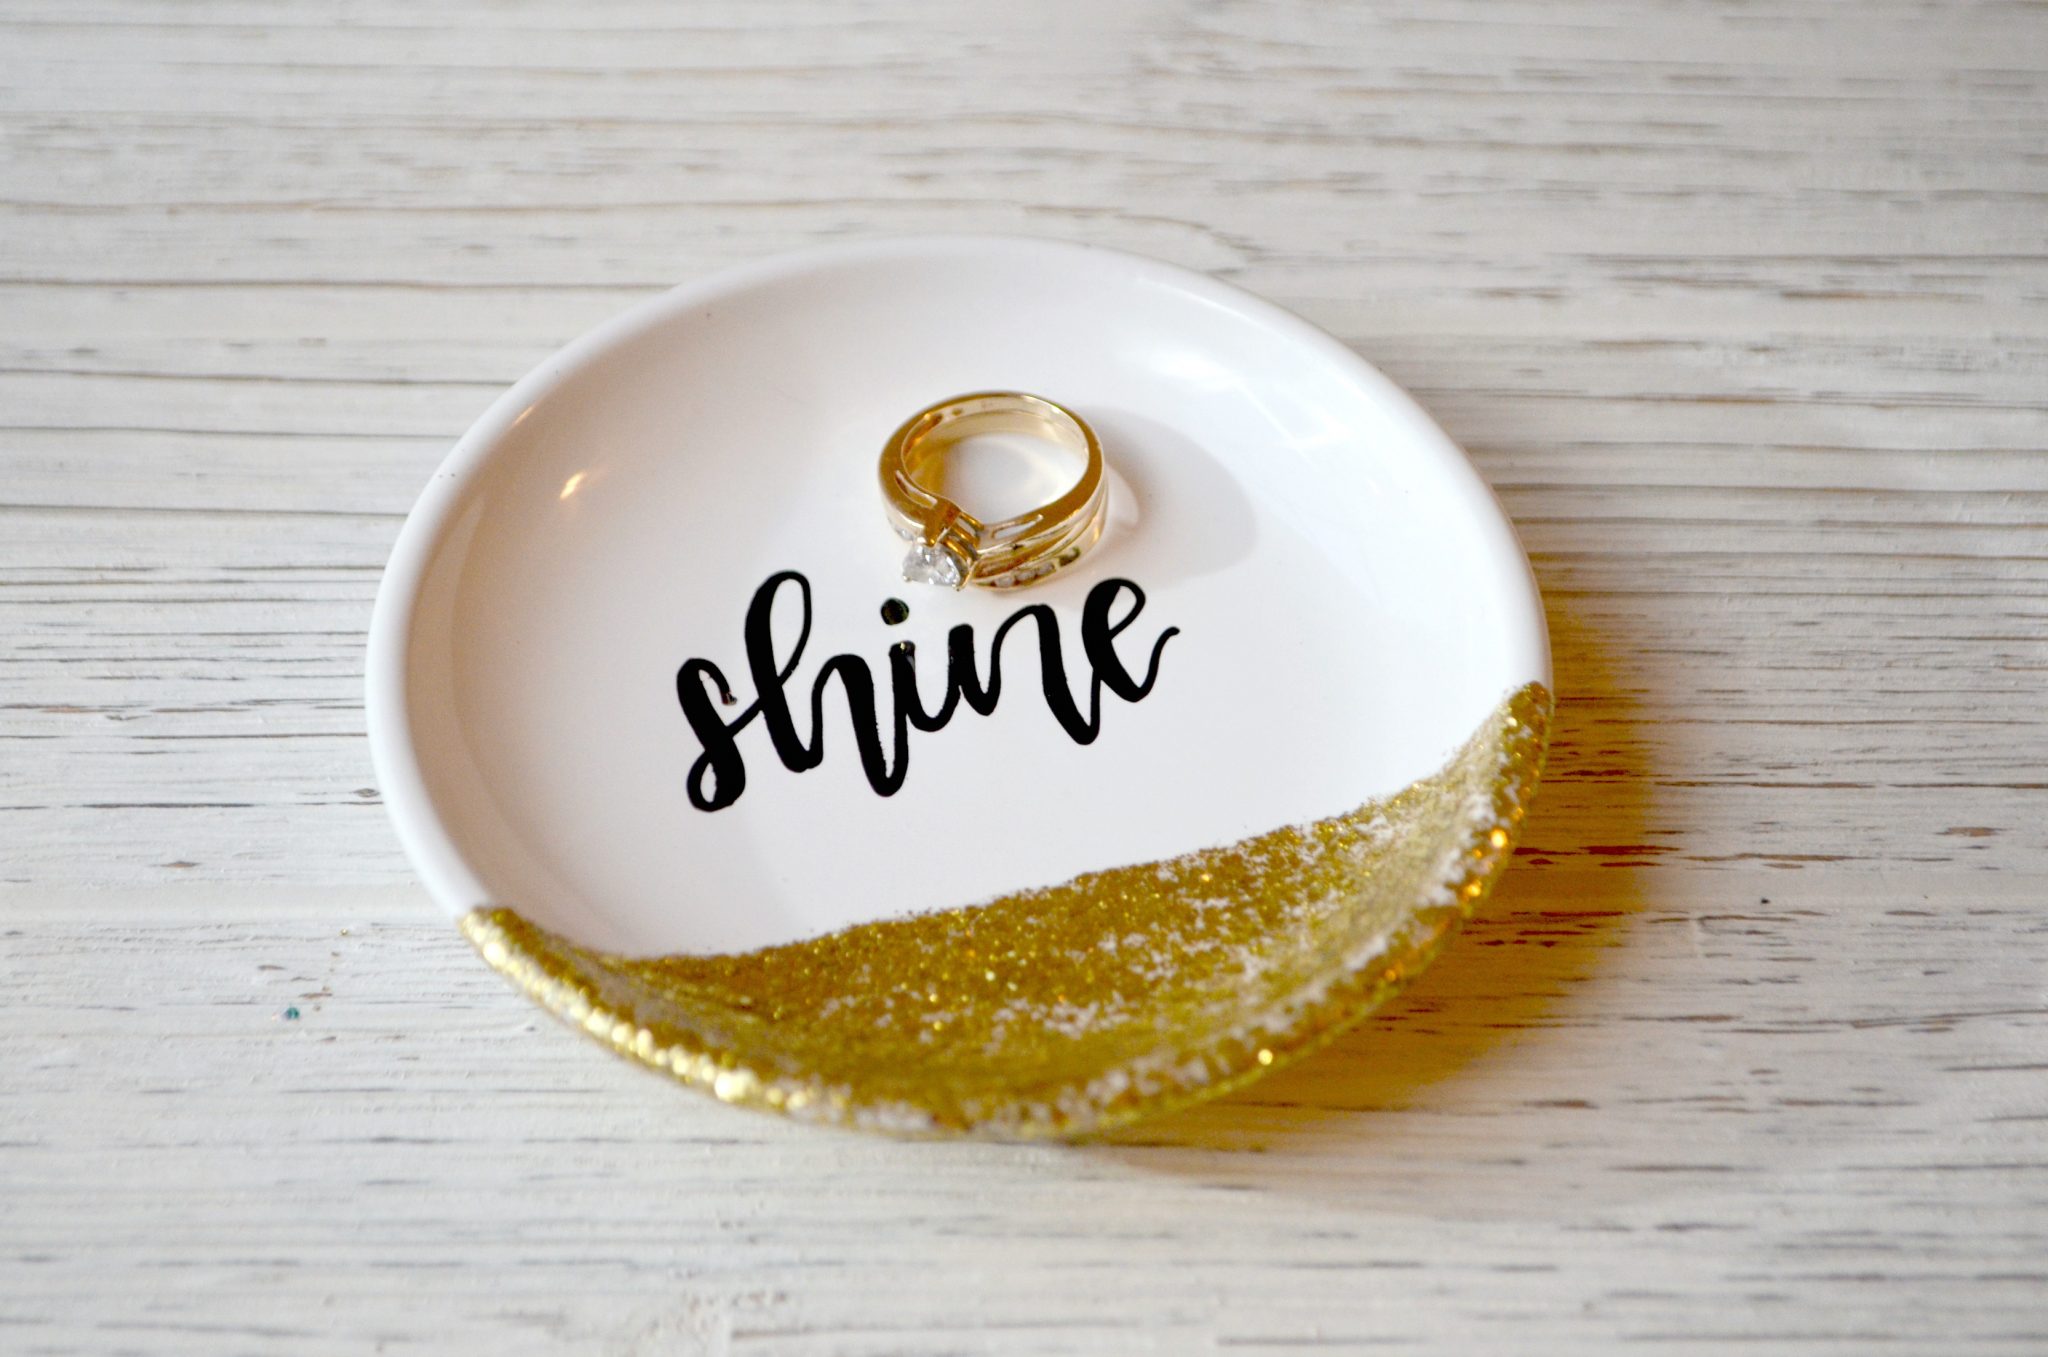
That’s all there is to it! How fabulous and glittery is that?! I guarantee you if I saw this little dish for sale in my favorite store, I’d be taking it home with me. It’s so easy to make, and it’s also a fun and inexpensive gift idea for a friend. Every girl has at least one piece of jewelry, right?

Just look at that sparkle! I absolutely love the way this little dish turned out, and now I want to add glitter to everything in my house.
If you’re in the same boat, thinking about all the things you could glitter, you’ll be glad to know that Mod Podge Mega Glitter can be applied to wood, tin, terra cotta, canvas, papier mache, glass or ceramics (glazed or bisque), rigid plastic, and more. In fact, my friends Liz and Sam over at the Pretty Life Girls just used it to jazz up a few pairs of shoes! Like all the other varieties of Mod Podge, Mod Podge Mega Glitter is water-based for easy clean-up, non-toxic, and made in the USA. I can’t wait to see what amazing things you create with it!

Happy glittering, friends!
PS. Hop on over and join our Facebook group to show off your latest projects and interact with other crafty folks.
PPS. Want more hand lettering projects? Click here!
PPPS. There’s this really great book on lettering too, that I think you’d love. Check it out.


Looks great Amy. Where did you find the paint pen for ceramics? Is that also from Michaels?? I would like to give this a try.