
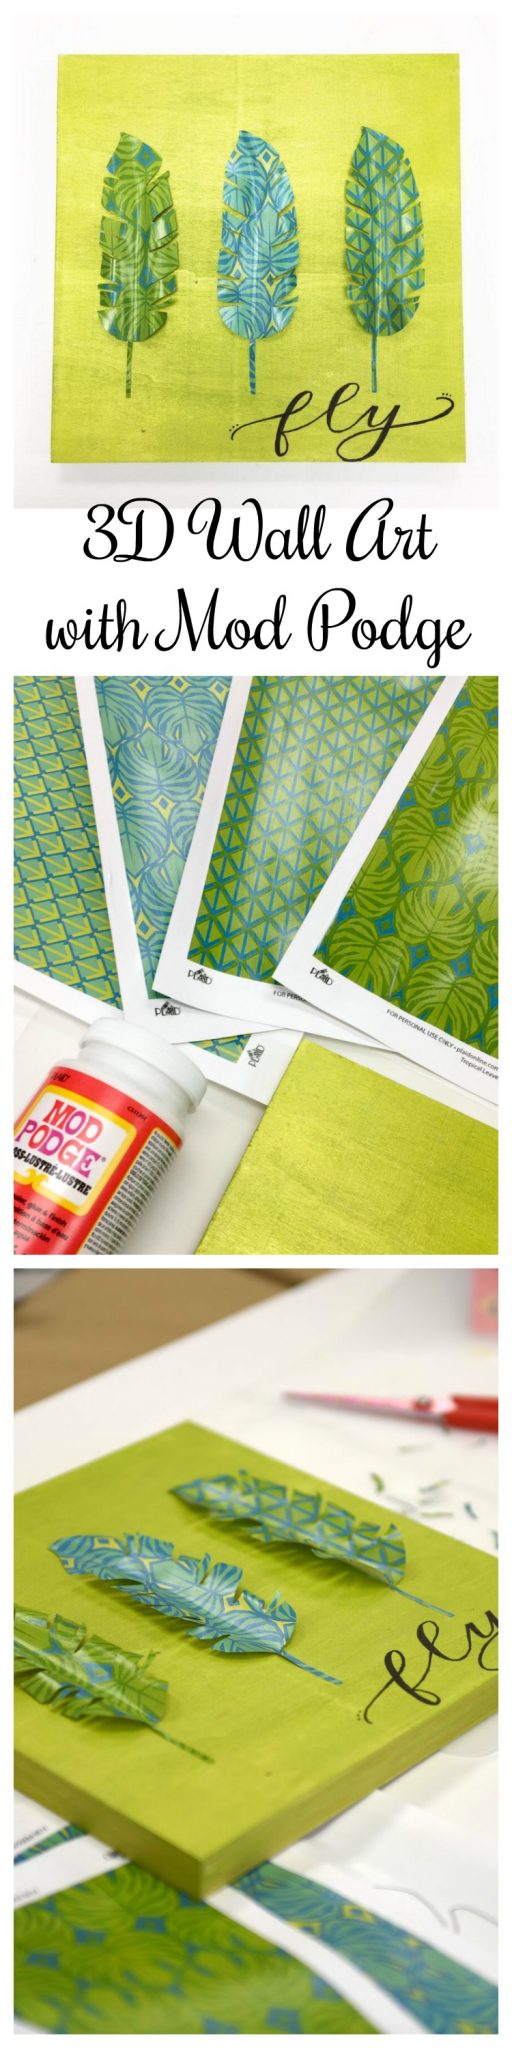
3D Wall Art with Mod Podge
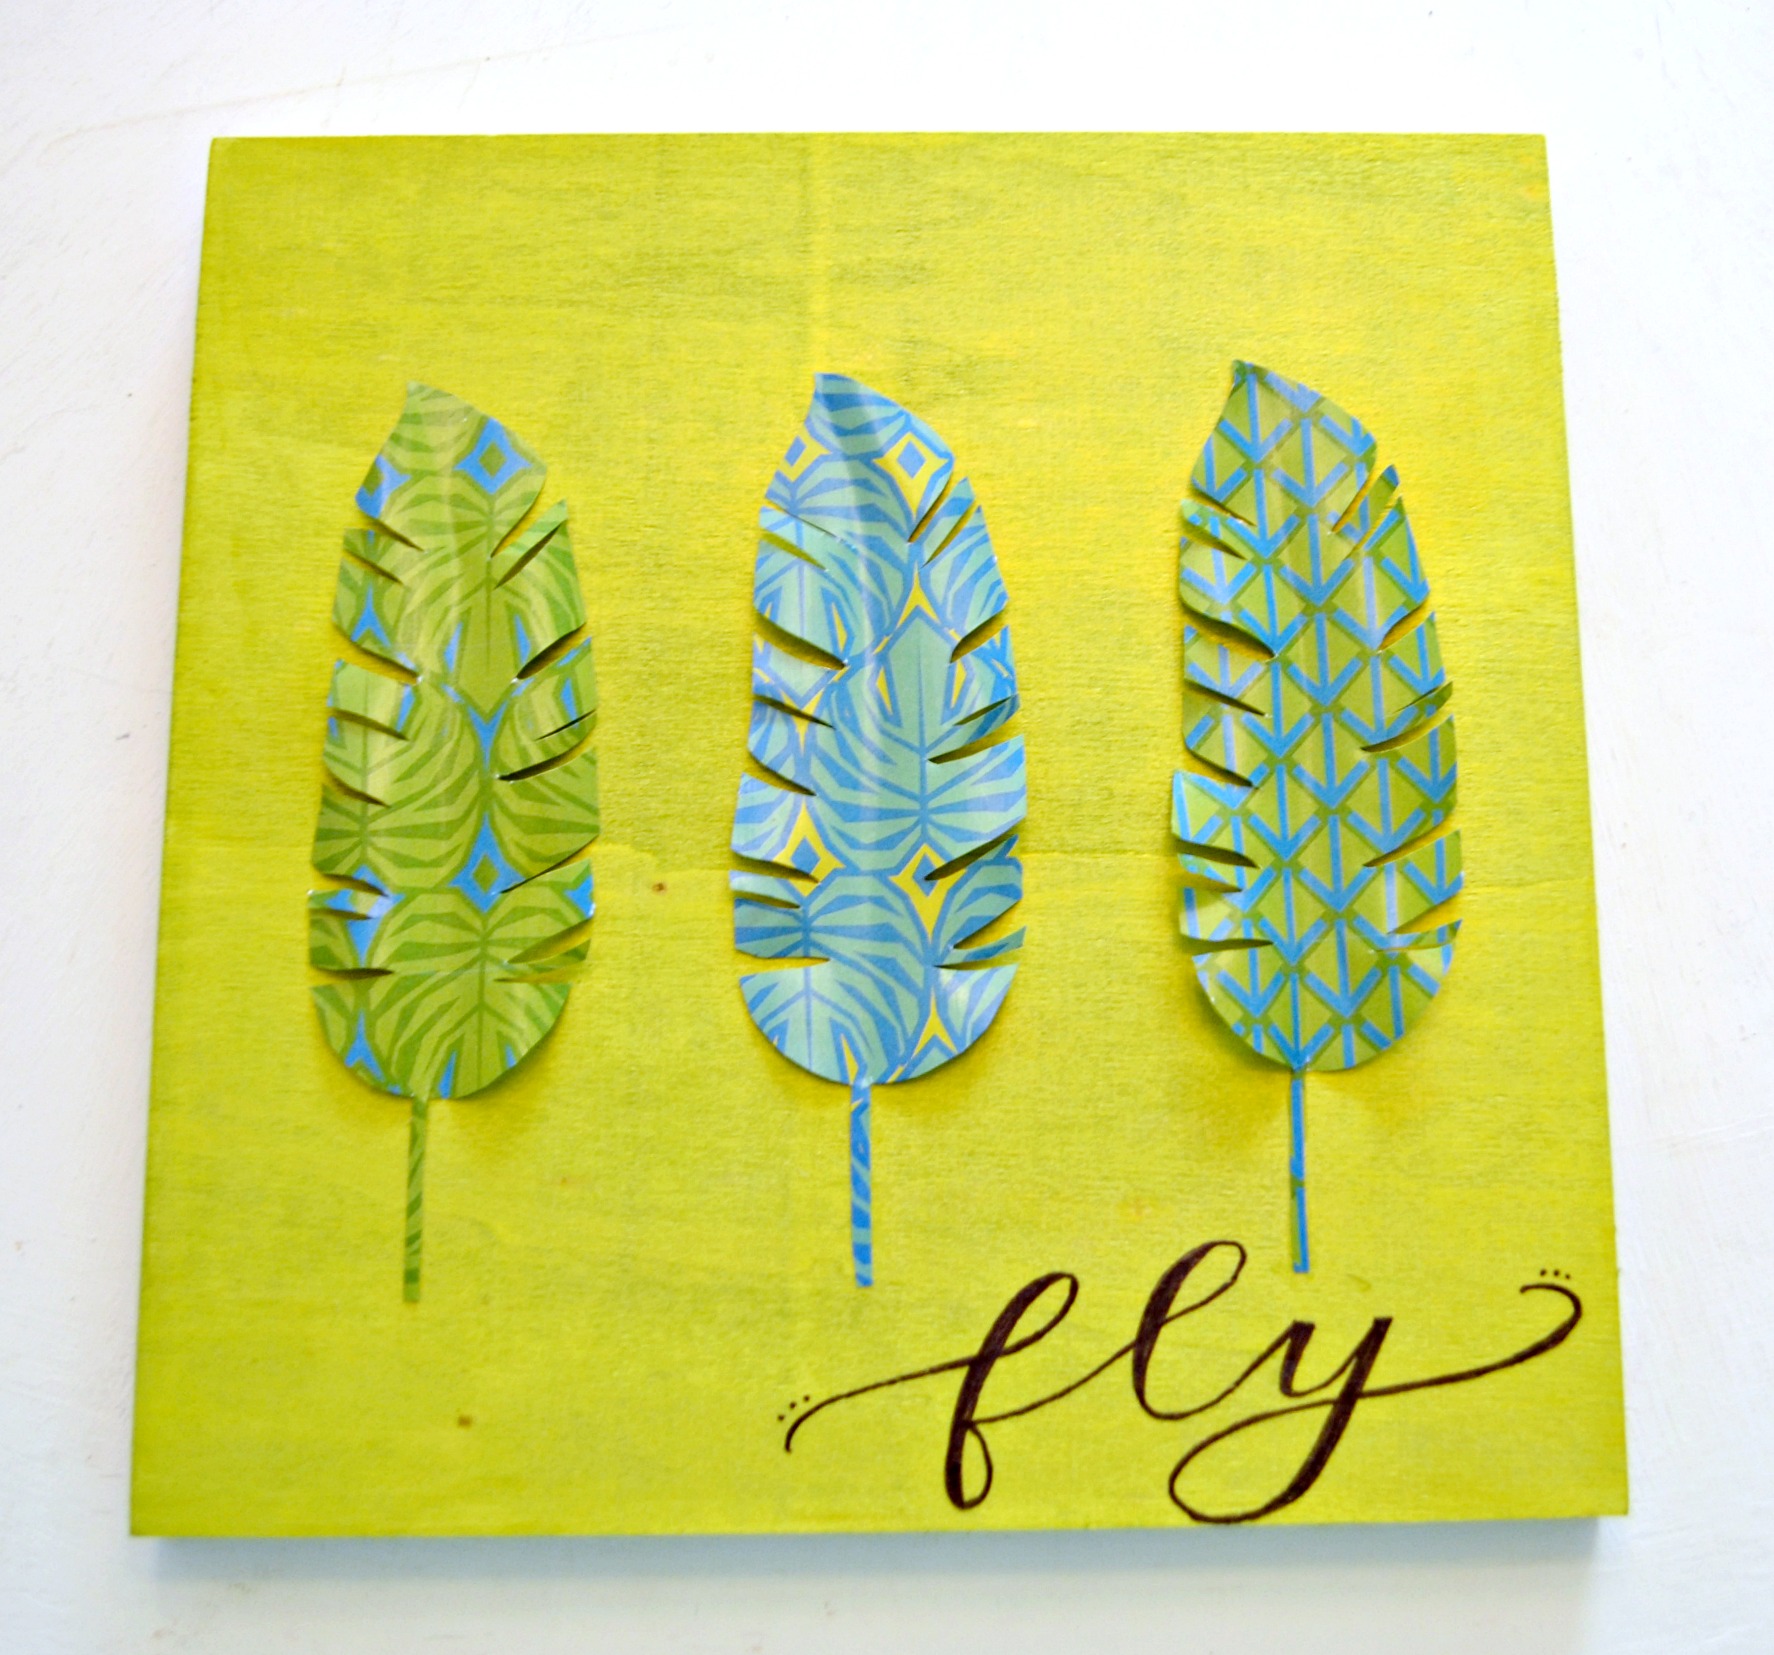
Where are all my fellow Mod Podge lovers? I’ve got a fun wall art project to share with you today! It’s quick and easy, just my style. Mod Podge is an all-in-one glue, sealer, and decoupage medium, and in this project, we’re going to be using it to help us give regular paper a fun three-dimensional effect. Take a look…
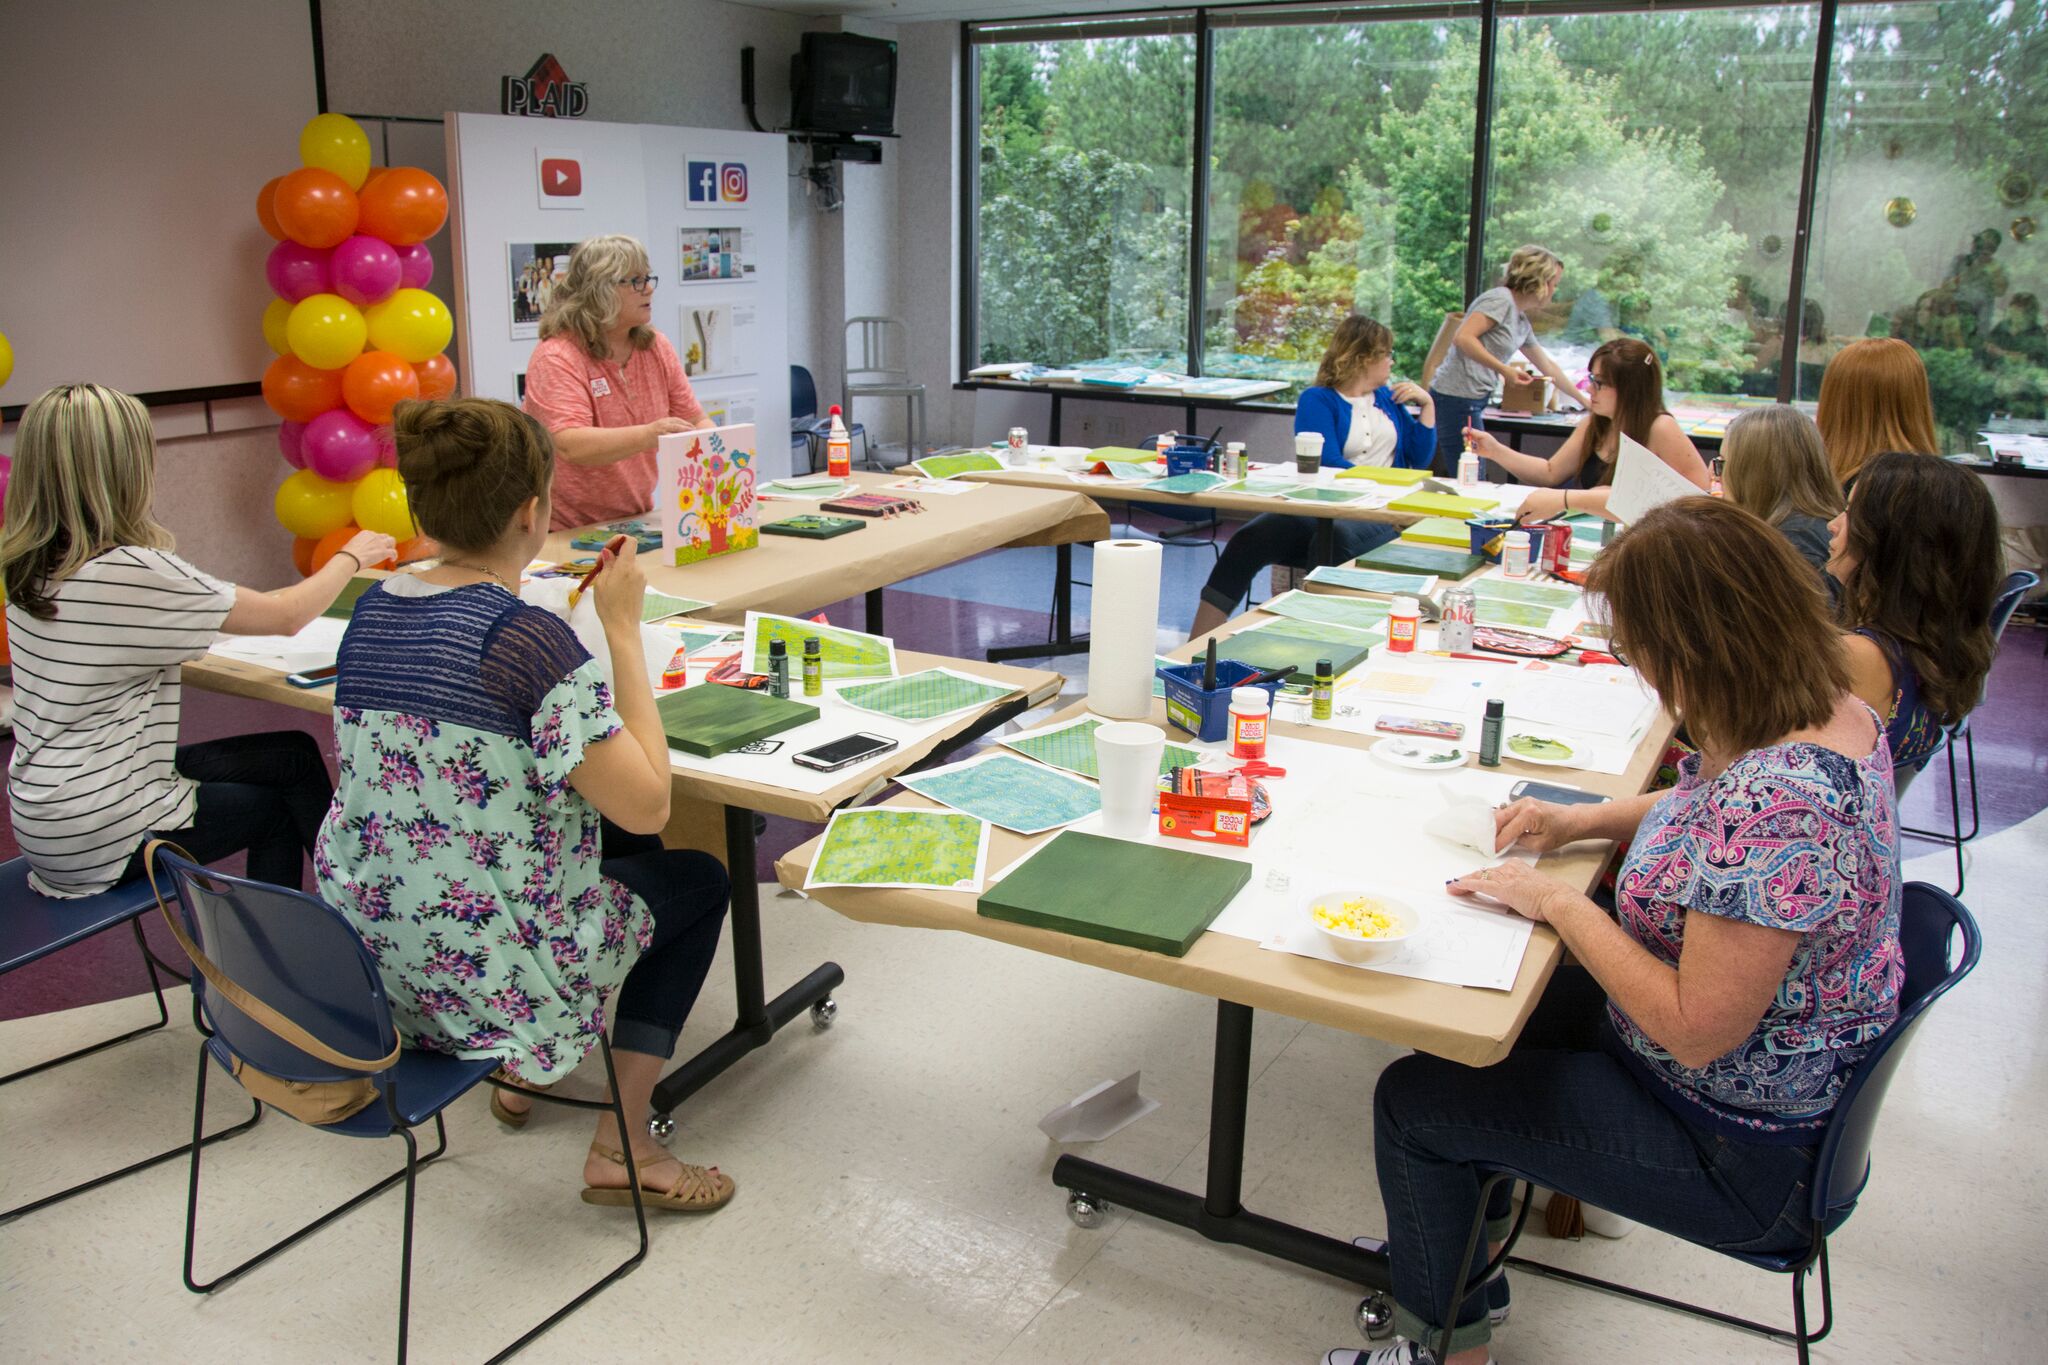
This project was one of the many things I made during the Plaid Creators Summit back in June, when I got to visit Plaid Headquarters in Atlanta. Here’s one of the original inspiration projects we were shown before they turned us loose to create our own version. Tropical vibes are definitely on trend right now, so their idea was to create a collage of patterned leaves on a canvas. As cute as it is, I thought the longest of the leaves looked like a feather and that inspired me to take my canvas in a slightly different direction.

{photo courtesy of Plaid Crafts}
You’ll need:
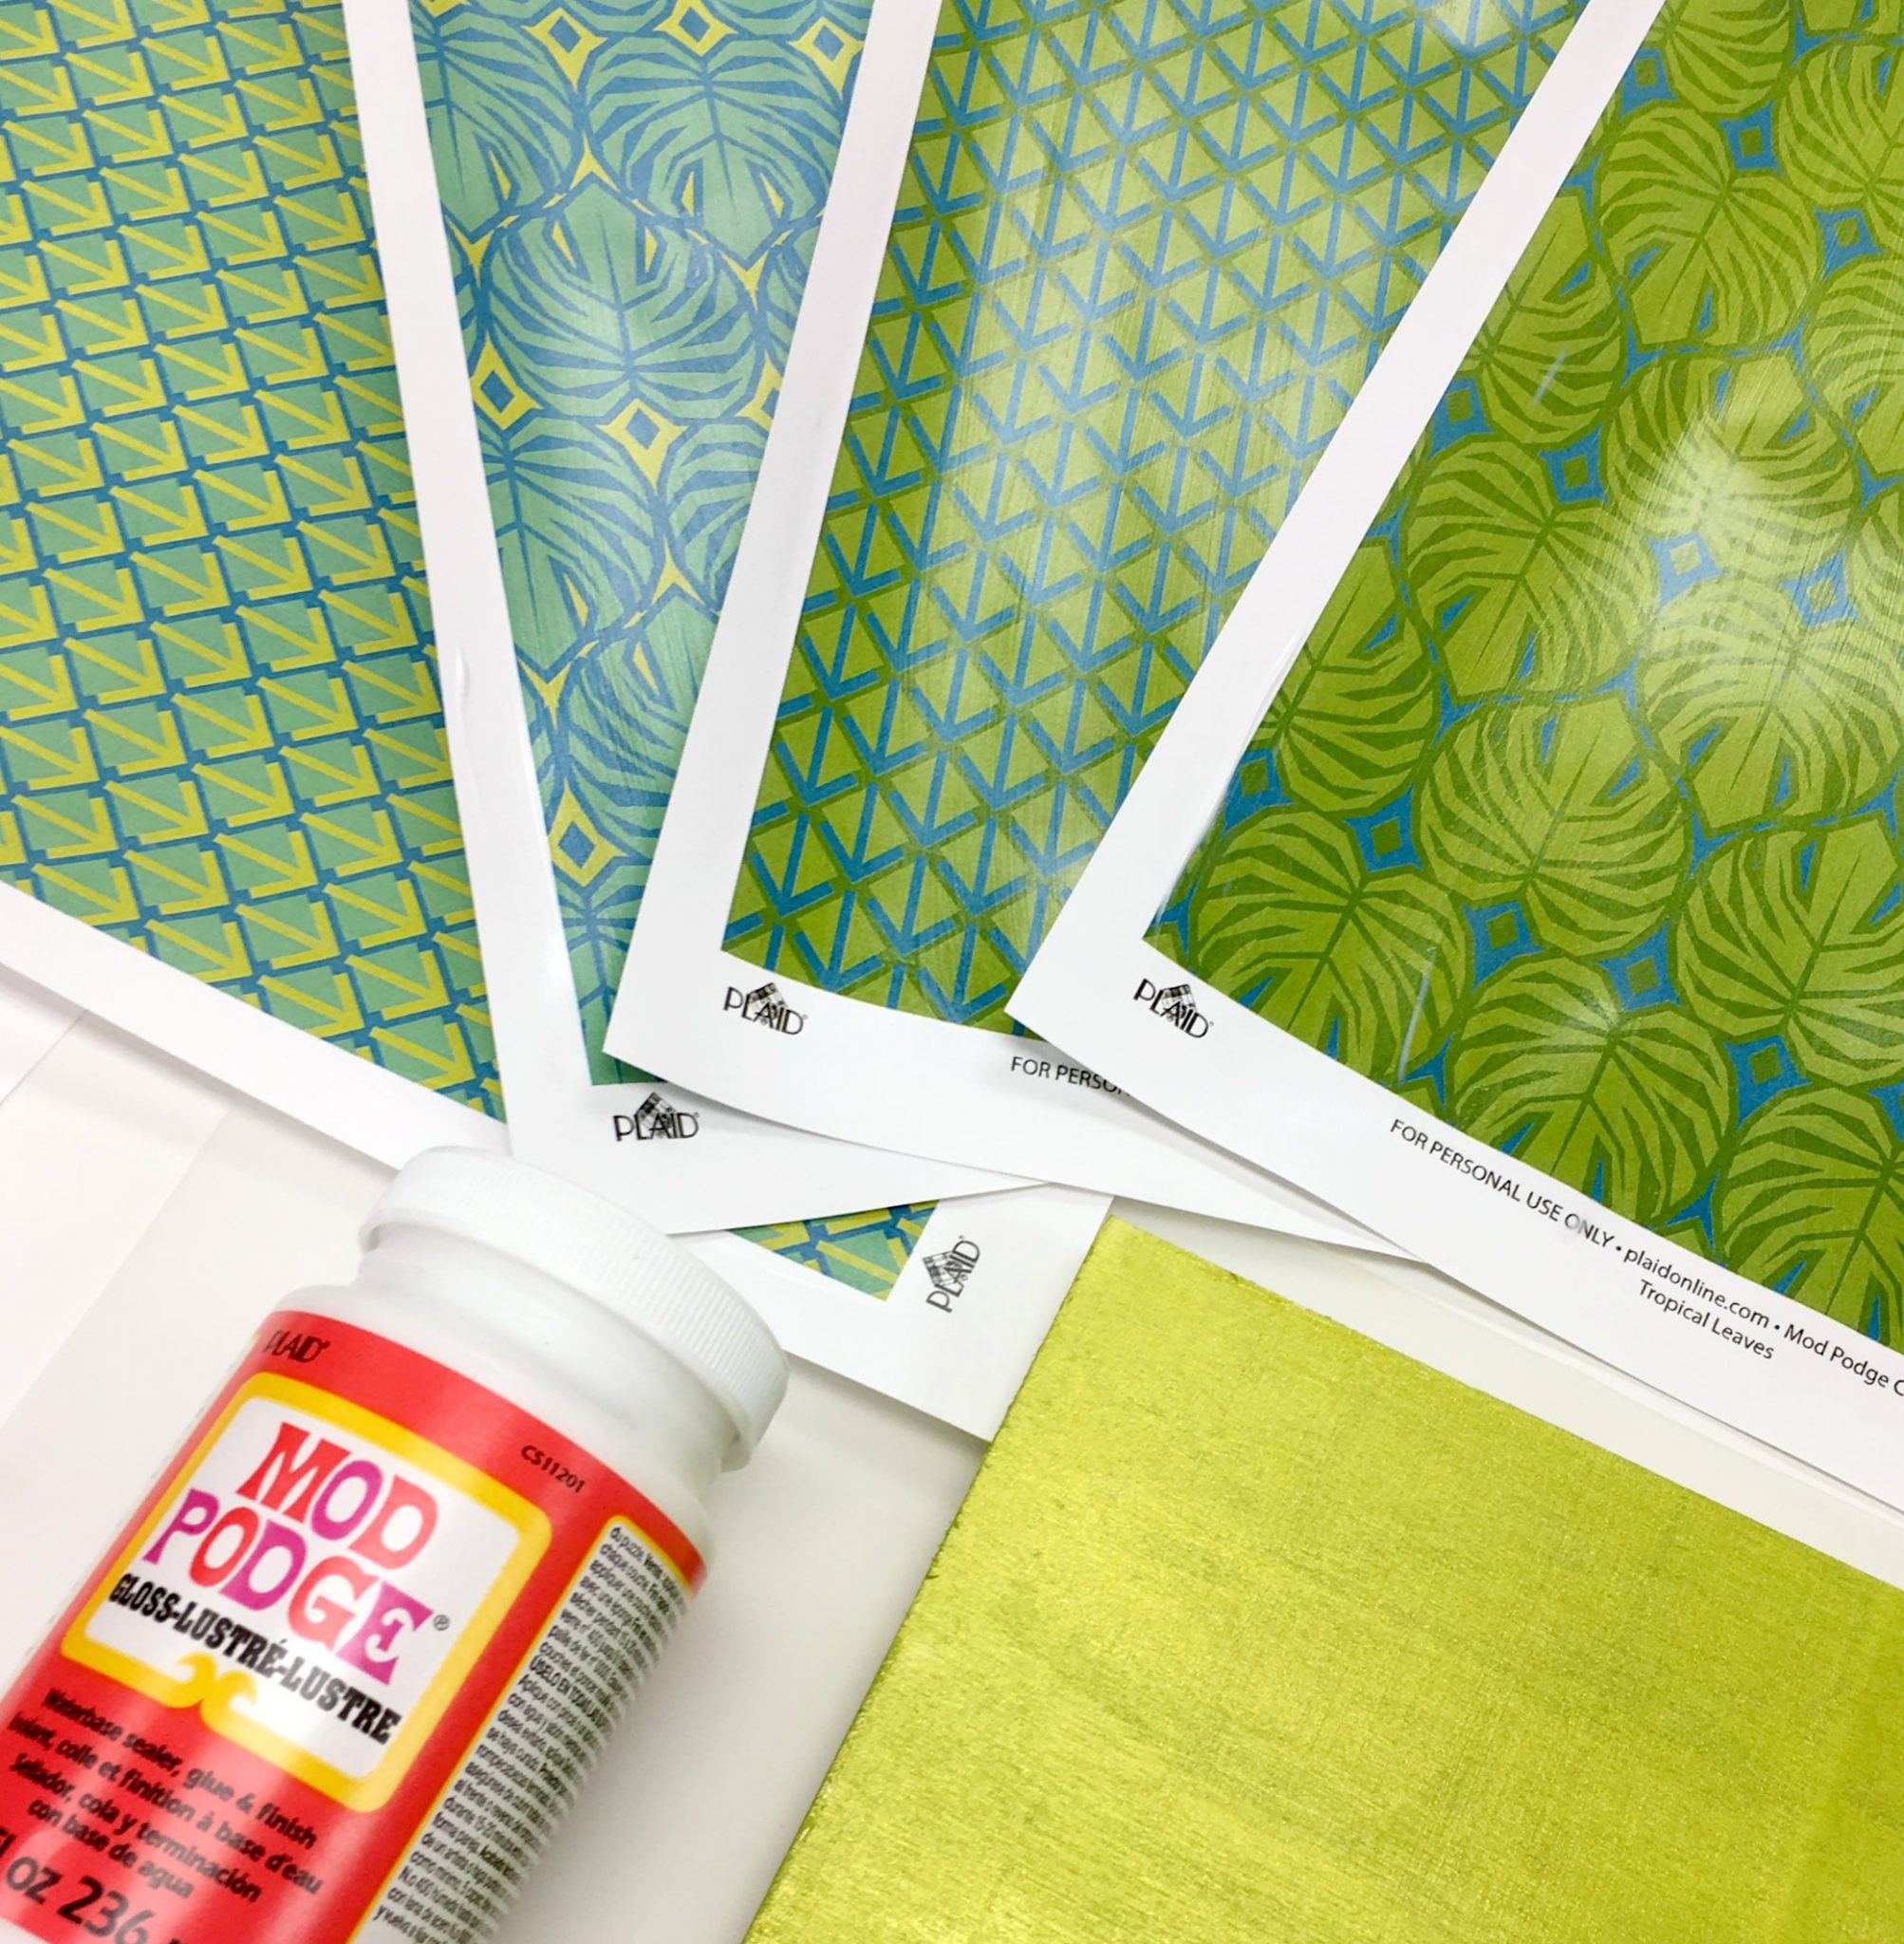
Mod Podge Free Downloadable Papers – Tropical Leaves
Mod Podge Gloss
Large Paintbrush
FolkArt Color Shift Acrylic Paint – Green Flash
Scissors
8×8″ Wooden or Stretched Canvas
Black Permanent Marker {optional}
Printing Your Papers
First, print a full set of the patterned papers. Then, insert them back into the printer so that you can print the leaf template on the back. Follow your printer’s instructions to make sure that you are printing on the reverse side. If you prefer to just print the leaf template separately and then trace and cut, you can certainly do that, but it’s really convenient to have the patterned paper on one side and just cut the lines on the back.
It’s best to print using a laser or other dry toner printer. If you are printing on an inkjet printer, the printed papers should be sealed before working with Mod Podge. Inkjet printers use water-based inks which means when you use water-based Mod Podge on top, the ink on the printed images may re-wet and cause the colors to blur. To prevent this from happening, lightly spray seal the printed image with a few coats of Mod Podge Matte Clear Acrylic Spray before you move to the next step. If you use a laser printer, you will not need to seal your papers.
If you happen to have other patterned scrapbook paper that matches your decor and you’d like to use that instead, just run it through your printer and print the leaf templates on the back. It will not need to be sealed before you apply Mod Podge.
Preparing Your Paper
Apply a thin, even coat of Mod Podge to the front of your patterned papers. I used the Gloss formula, but you can use a different one if you prefer, like Extreme Glitter or Matte. Let it dry completely. When it’s totally dry, flip each paper over and apply a coat of Mod Podge to the back. A good tip is to work on painting your canvas while you wait for the fronts of your pages to dry.
Preparing Your Background
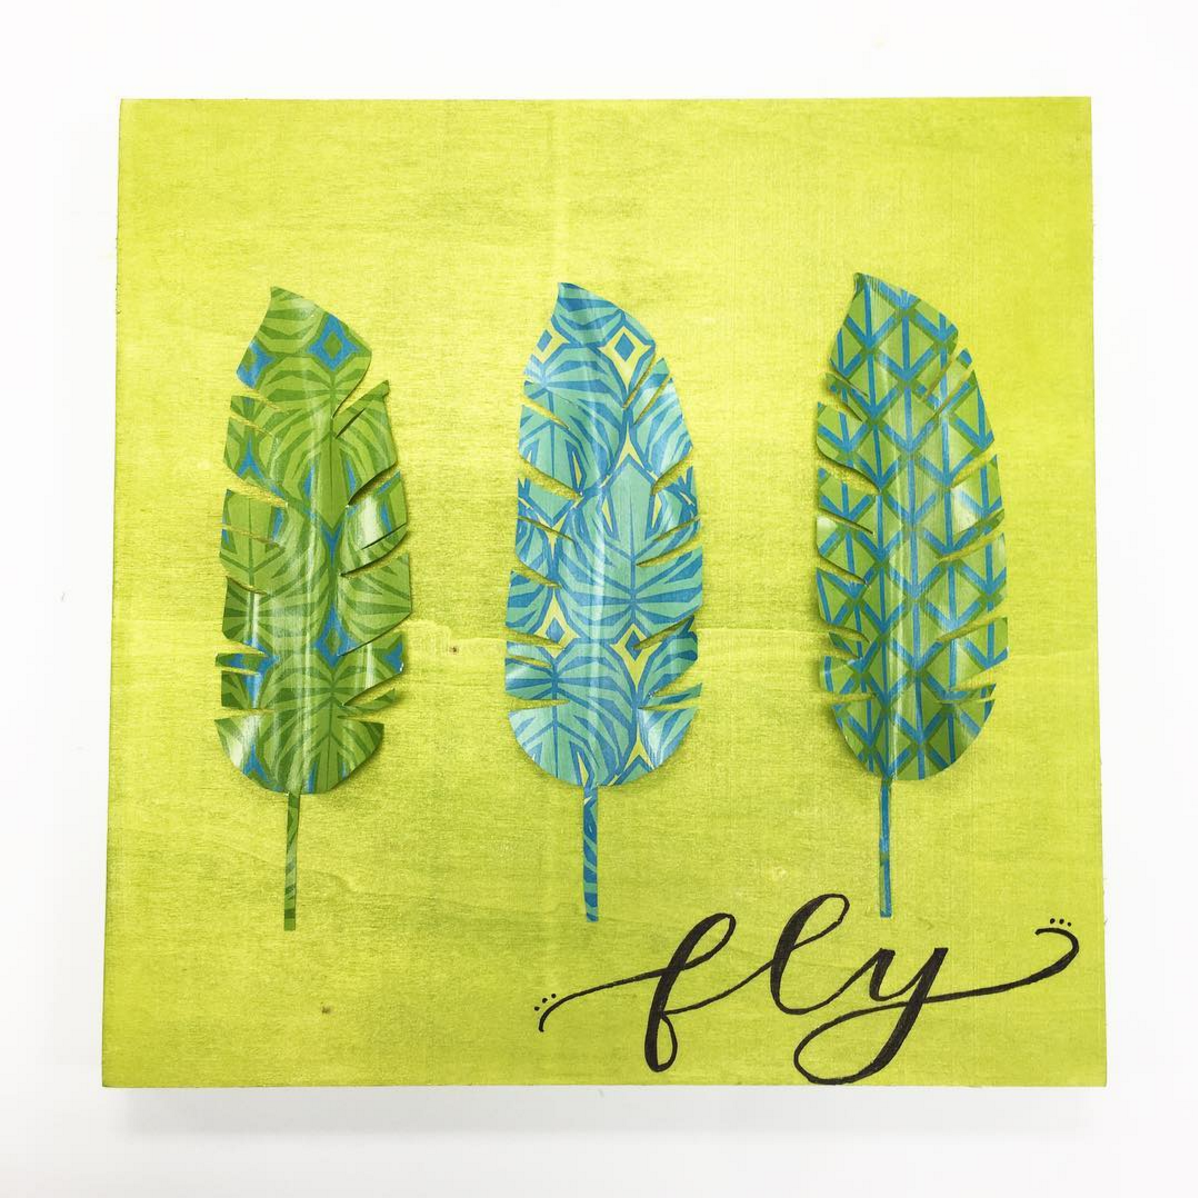
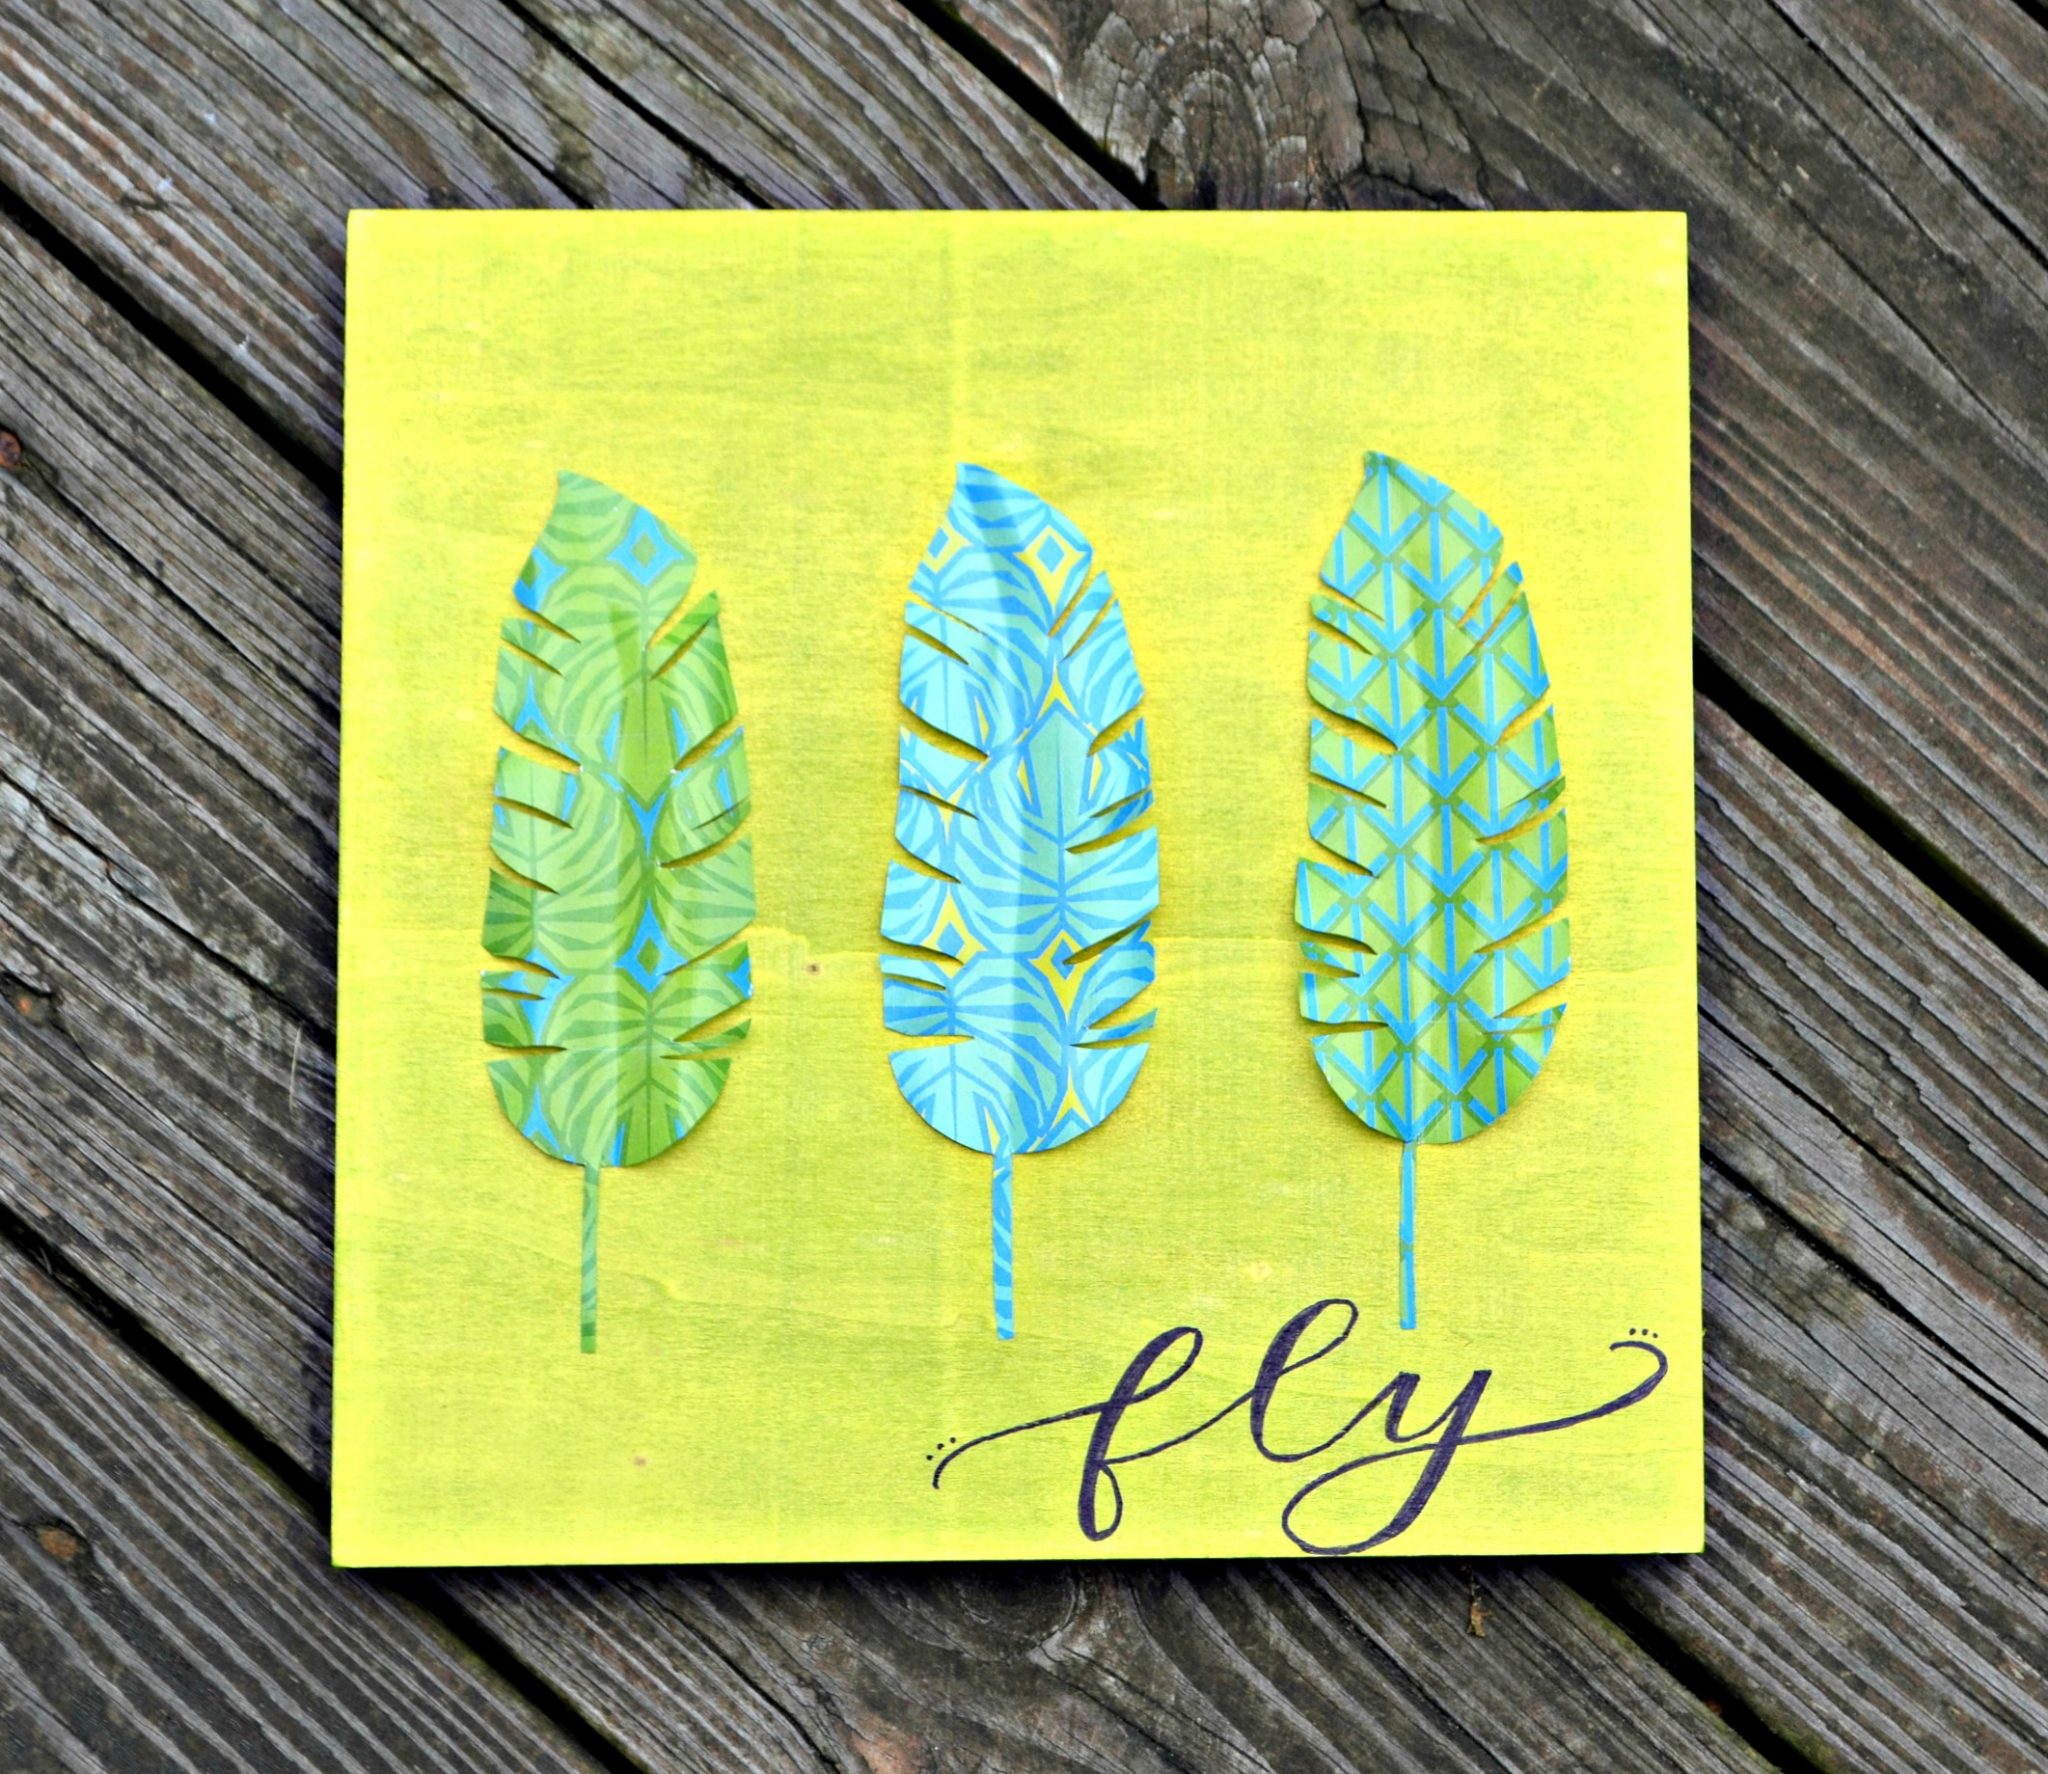
Paint a coat of FolkArt Color Shift onto your wood or canvas, including the edges, using a large basecoat brush. I found that one coat was enough to give good coverage on my wooden surface, but you can add a second coat if you like. Some of the other bloggers chose to use a darker green FolkArt acrylic paint instead, or you could use any color that matches your decor and papers! I chose to use Color Shift because I like the metallic sheen and the way it seems to change colors in different light.
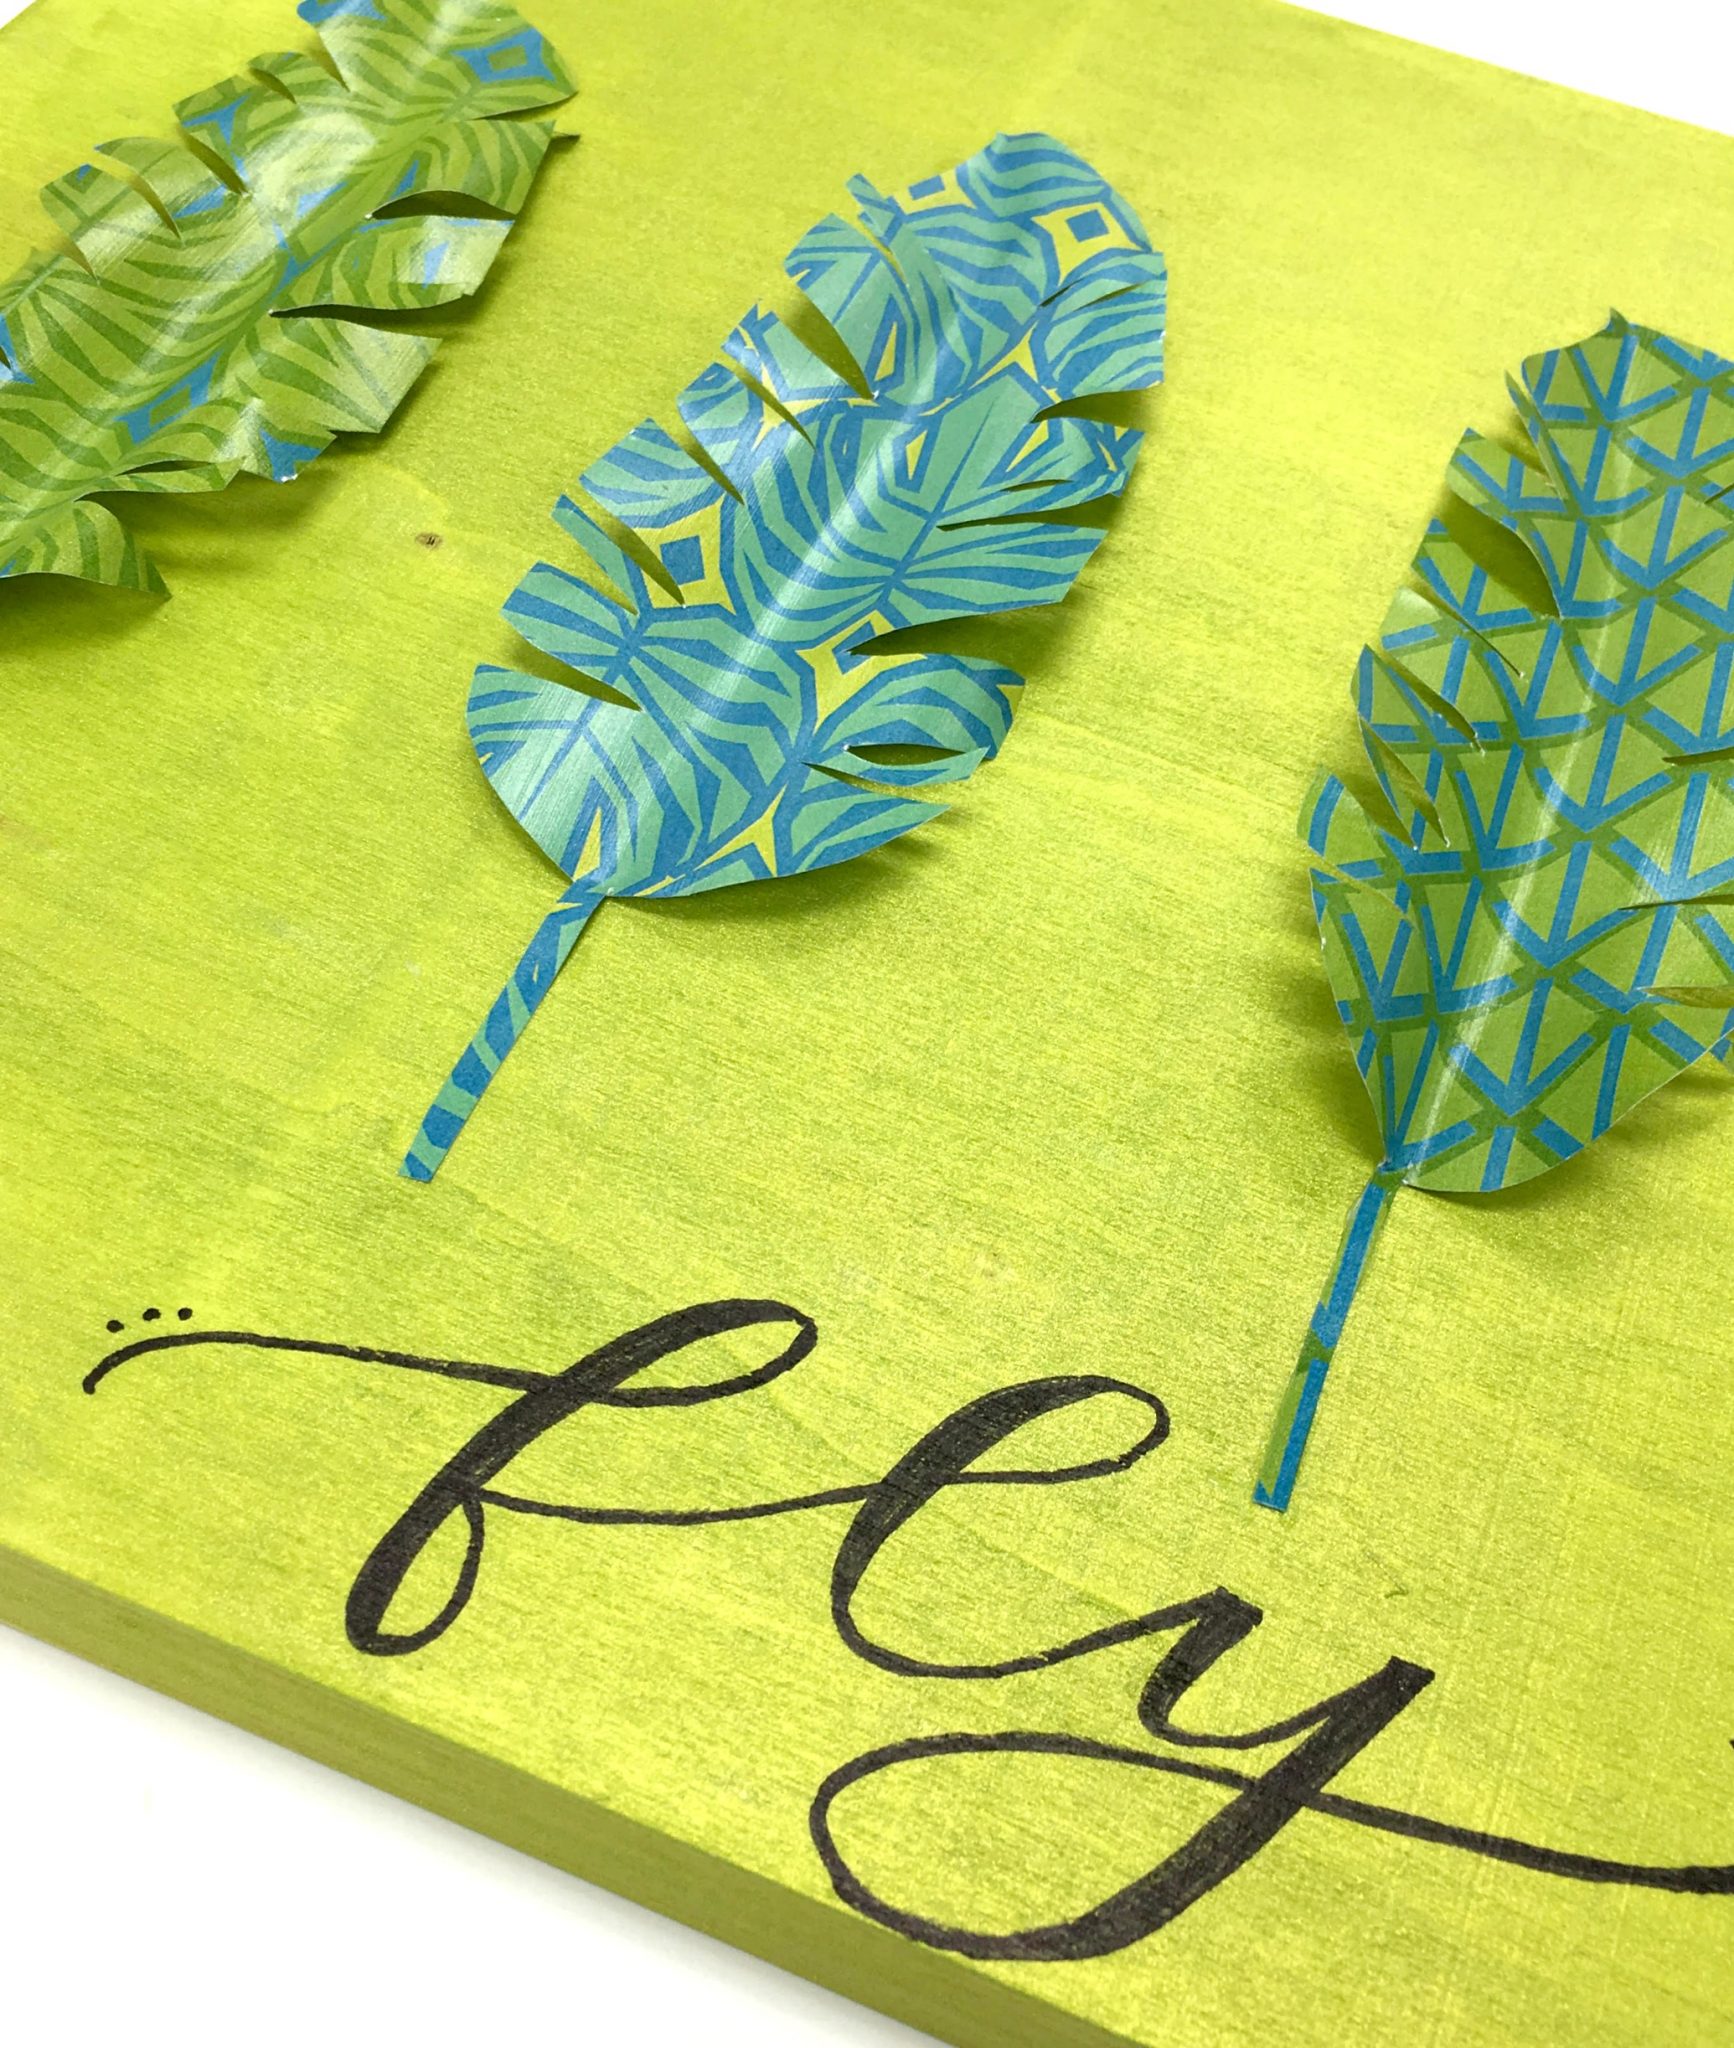
Creating Your Feathers/Leaves
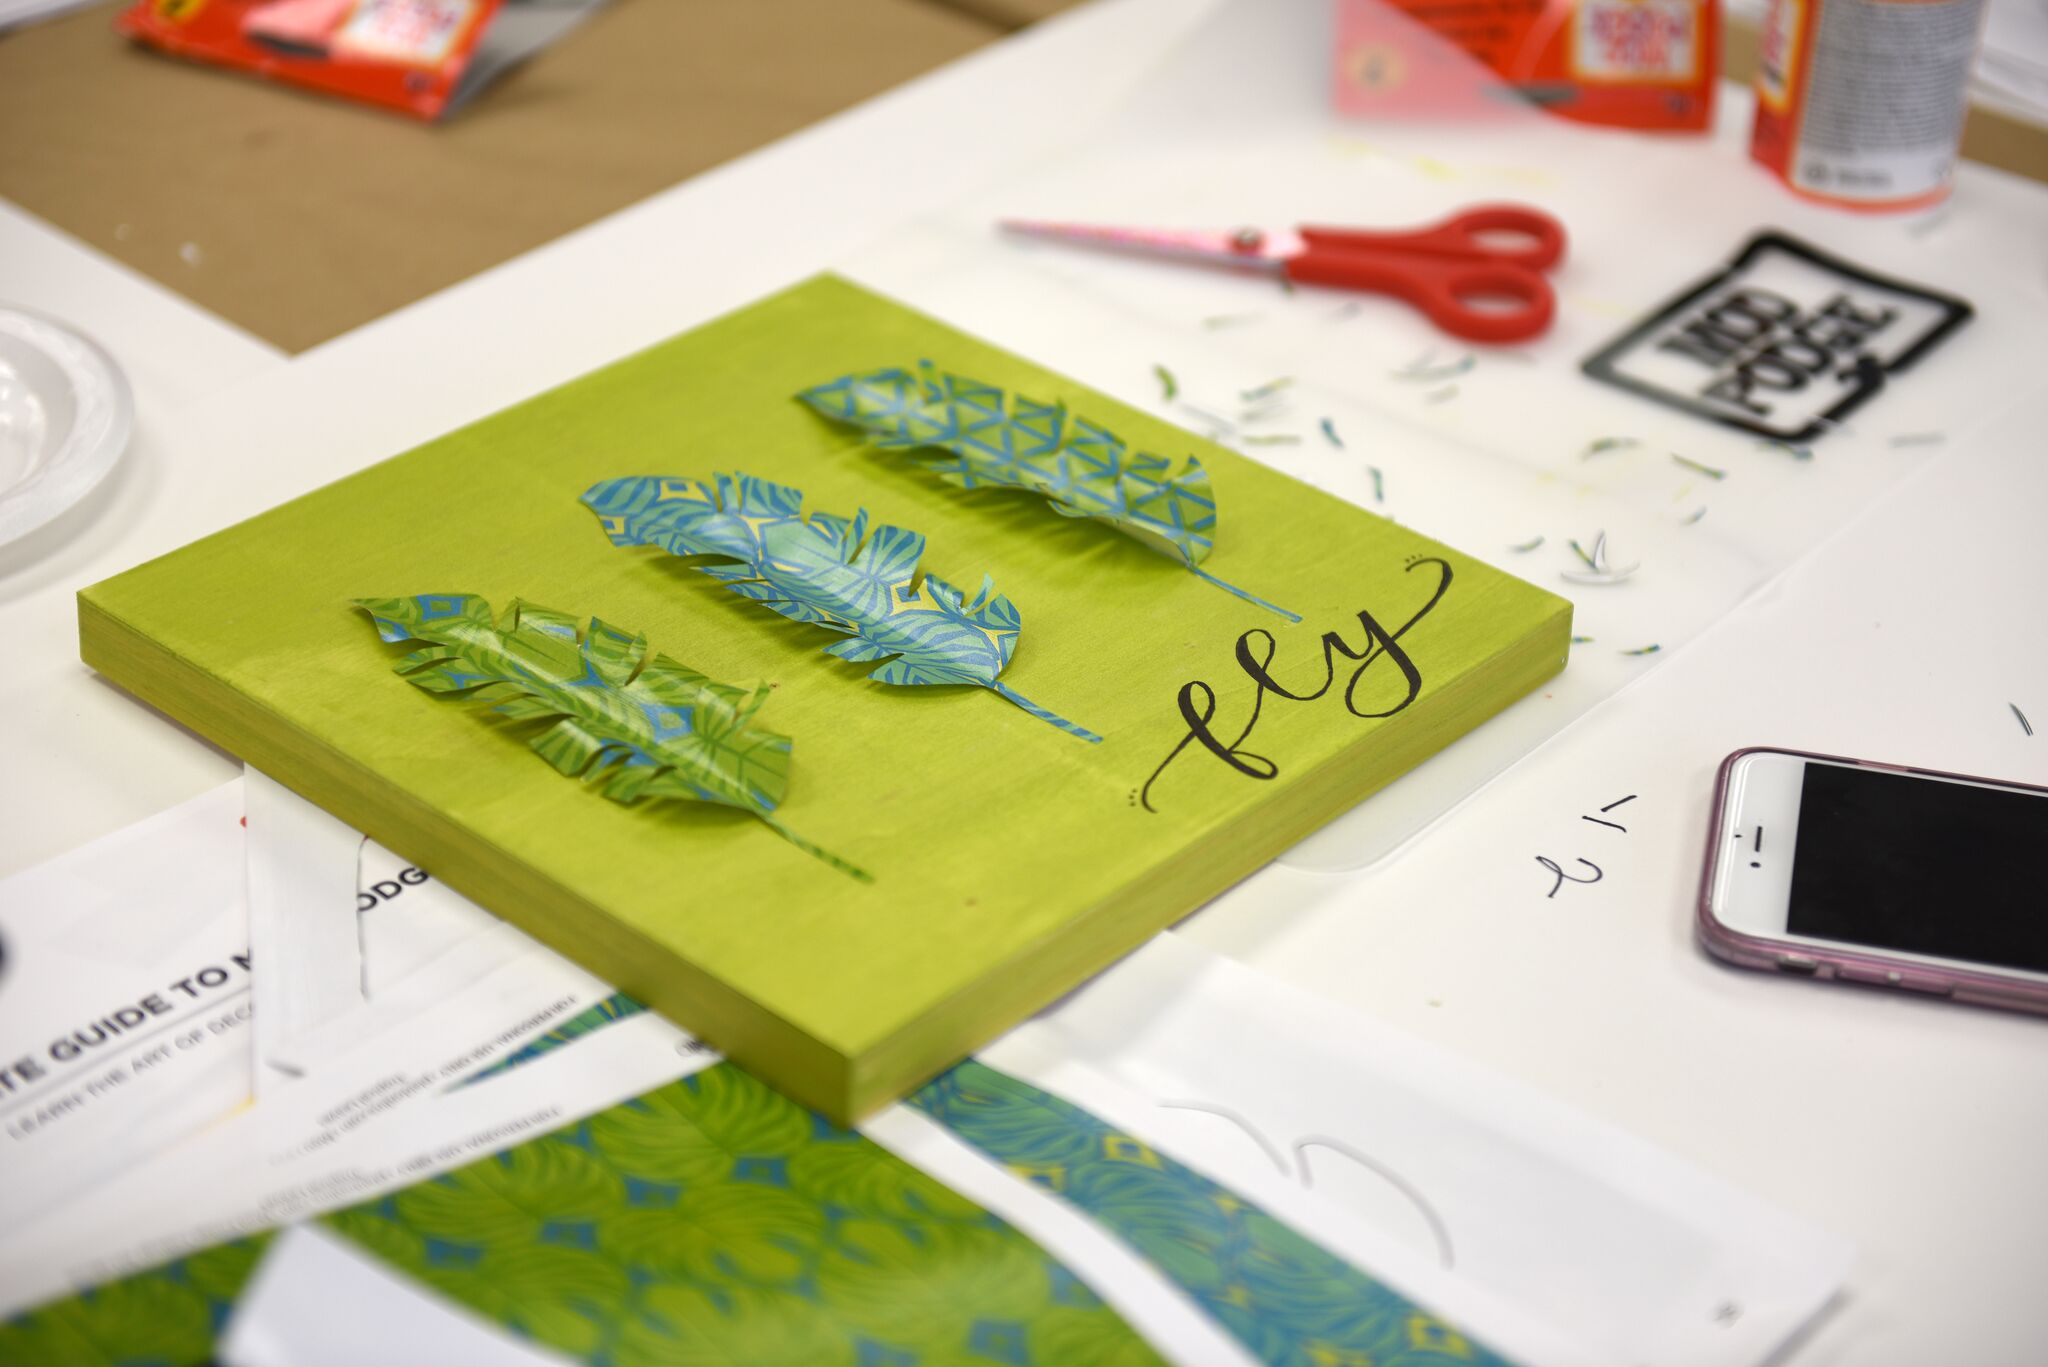
Choose which shapes you want to cut from each patterned paper. I cut the same shape from three different papers, but you can choose whichever ones appeal to you. Carefully cut along the lines of the template. Then, it’s time to create dimension! First, fold your leaf/feather in half. Then, open it back up and use a pencil or your finger to gently curl the edges.
Position your leaves/feathers where you want them on the background and attach them by applying Mod Podge along the center fold on the back of each shape. Press in place and allow the Mod Podge to dry completely.
Adding Text {optional}
None of the other bloggers chose to add words to their projects, but since hand lettering is my jam, I couldn’t let a great opportunity to letter pass me by! I used a permanent marker to write the word “fly” and used my faux calligraphy technique to give it a brush lettered look.
That’s all there is to it! The project itself is super-quick, the longest part is waiting for the paint and Mod Podge to dry so you can move on to the next step. Remember, a thin and even coat is always the best way to go. What do you think? I love the way it turned out; so bright and fun!
If you try your own version of this project, I’d love to see it! Come join us in the One Artsy Mama & Friends Facebook group and share your latest projects of all kinds. See you there!


2 Comments