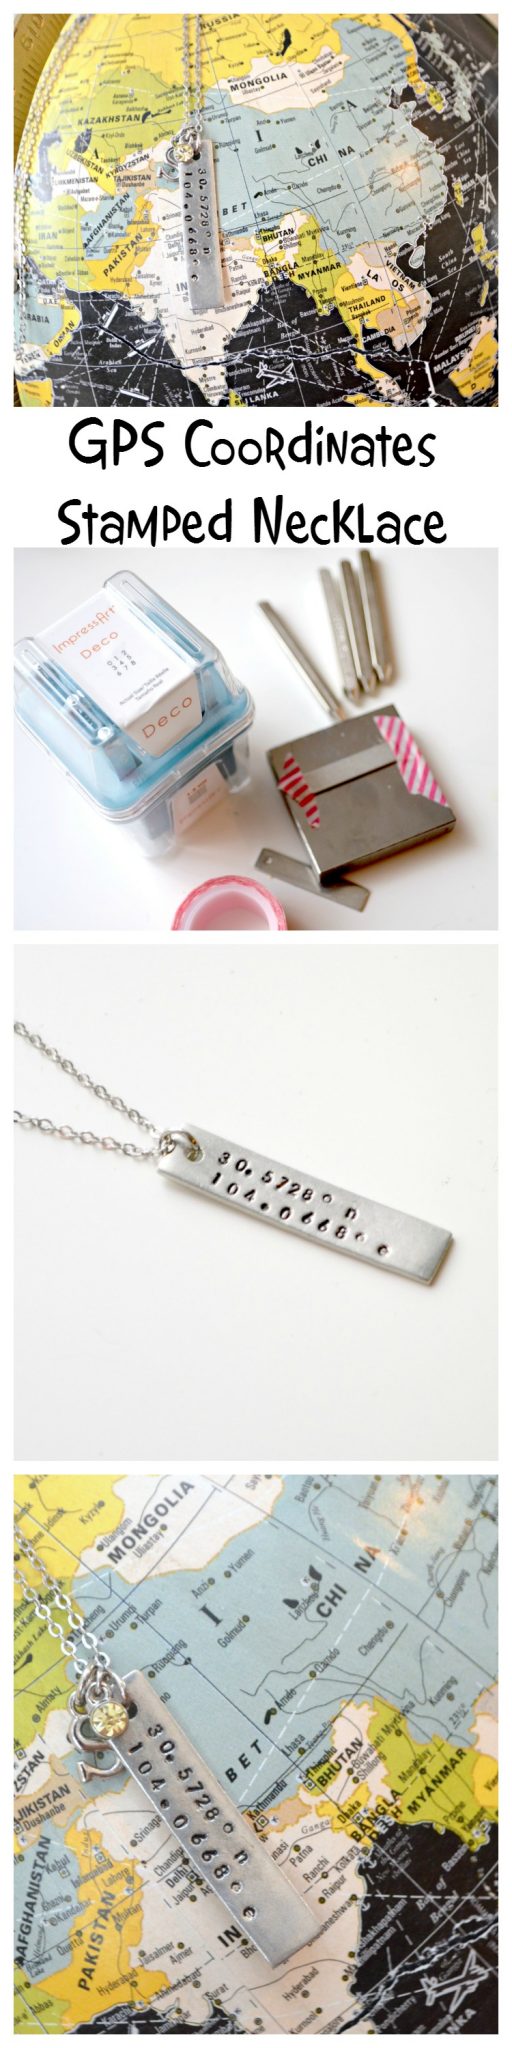
Stamped GPS Coordinates Charm Necklace
Thanks to ImpressArt for sponsoring today’s post. All opinions, as always, are honestly my own.
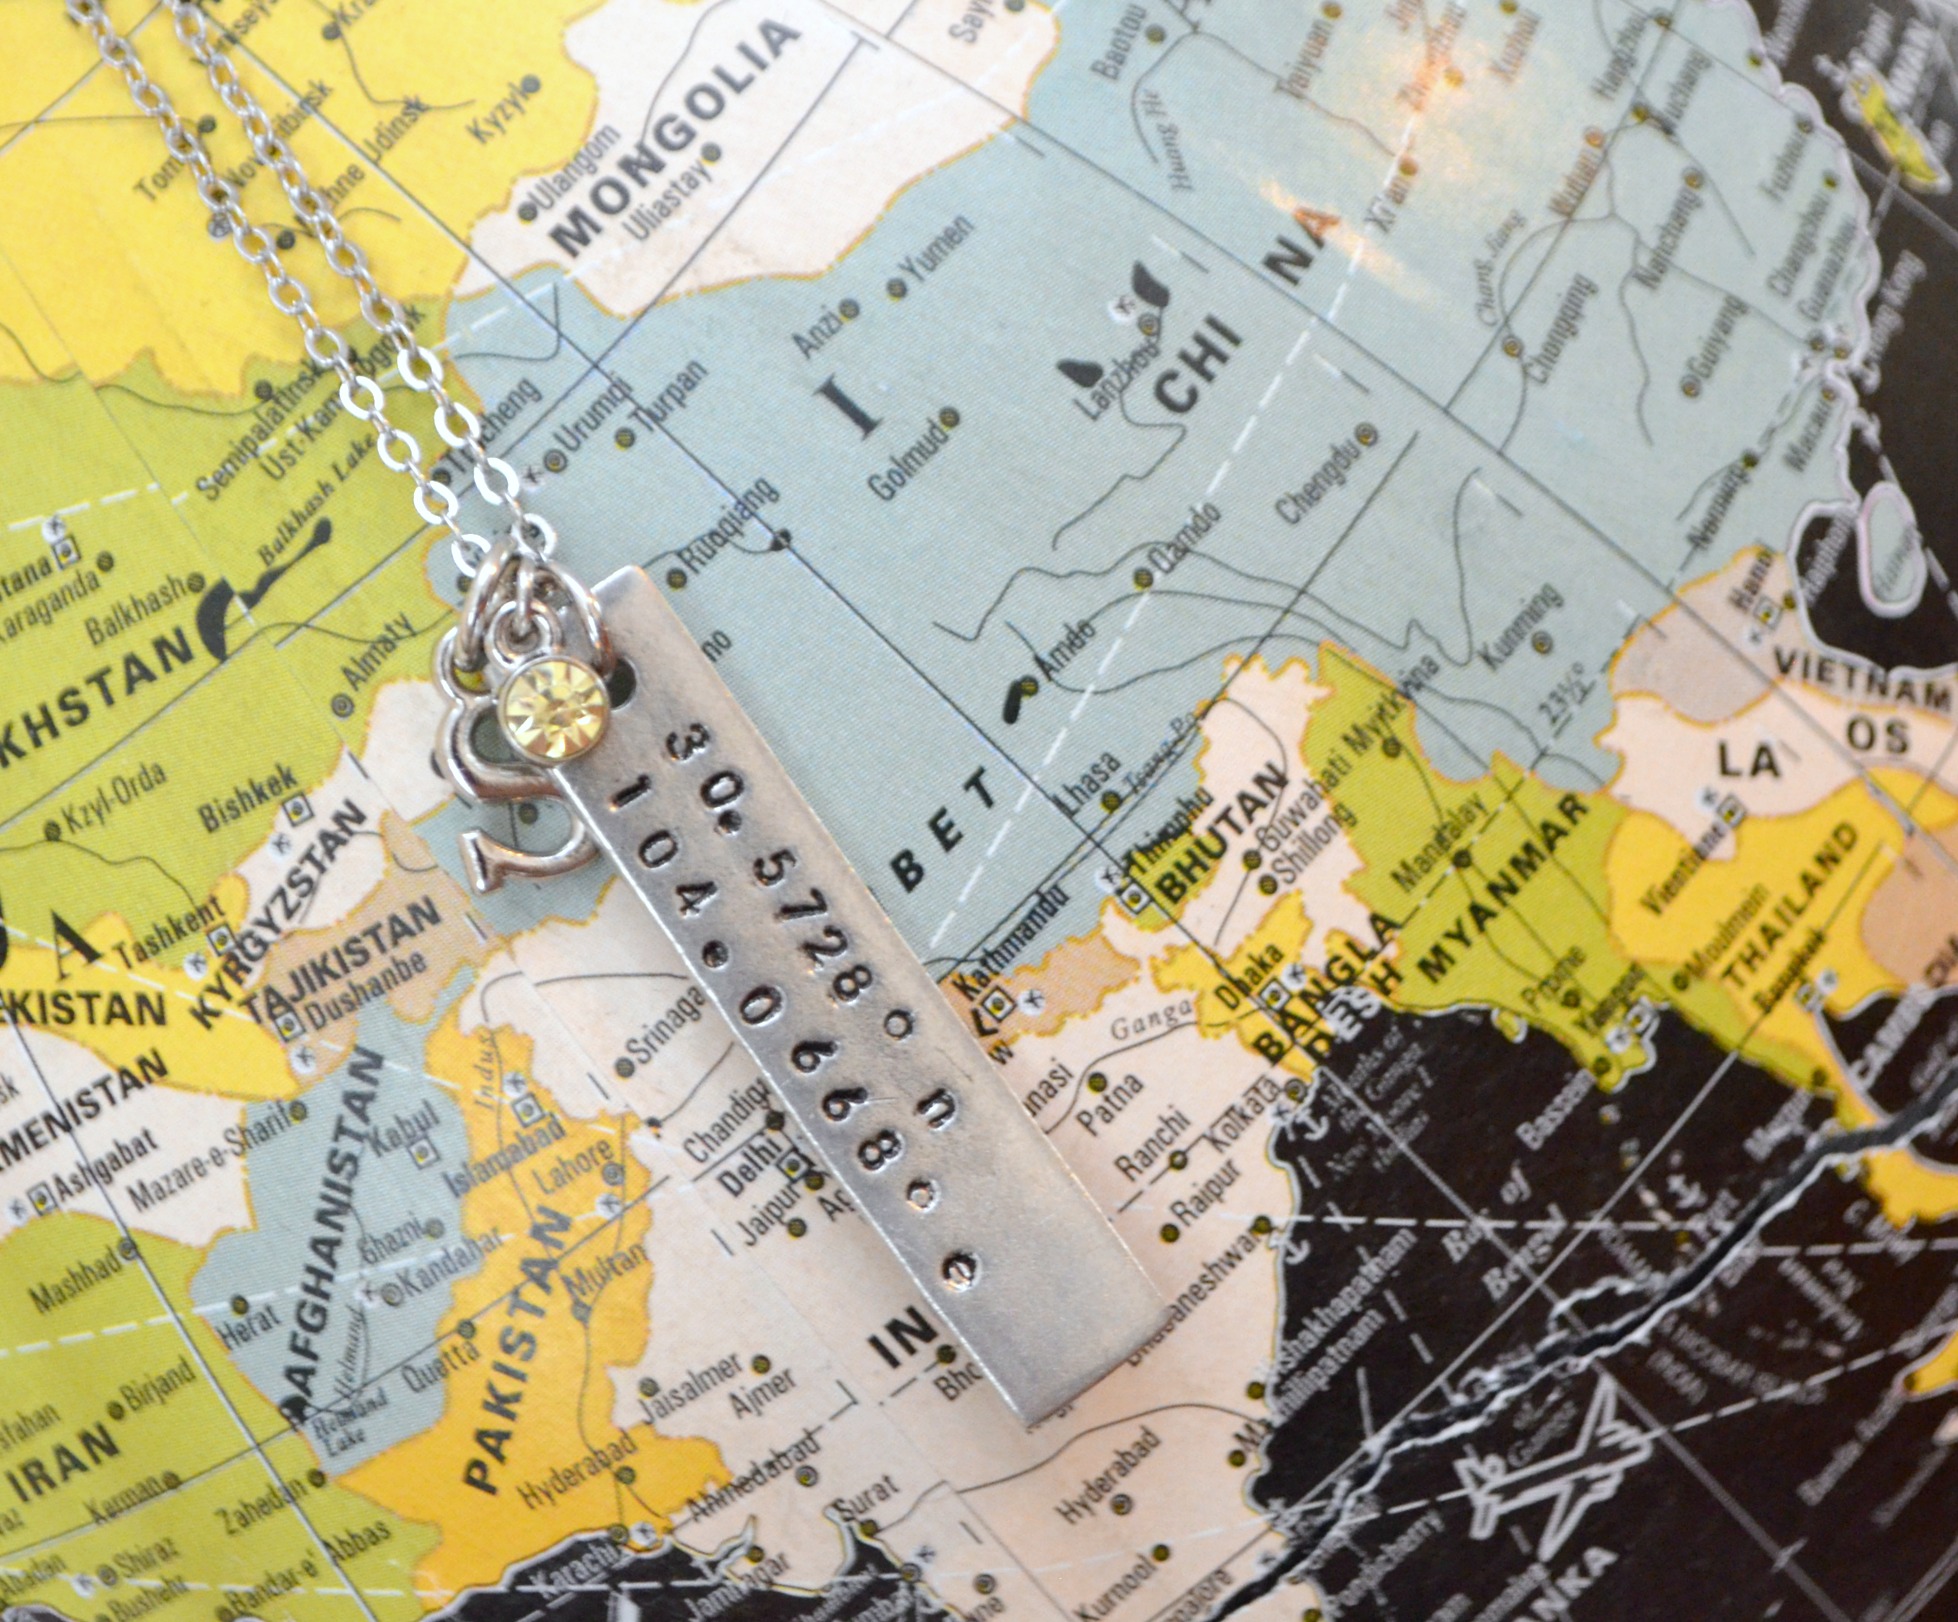
As many of you know, we have some pretty exciting things happening here in the Artsy Family, the most important being that we are adopting a 10-year-old boy from China! {If you missed the news, you can read all about it here.} We hope to travel in early fall to bring him home, but in the meantime, sometimes the ache to have him here with us and hold him in our arms is so strong it’s almost a physical feeling. I decided to create a special necklace I could wear to help me feel a little more connected to him, and today I want to share a tutorial with you so that you can create your own version to help you feel a little closer when someone you love is far away.
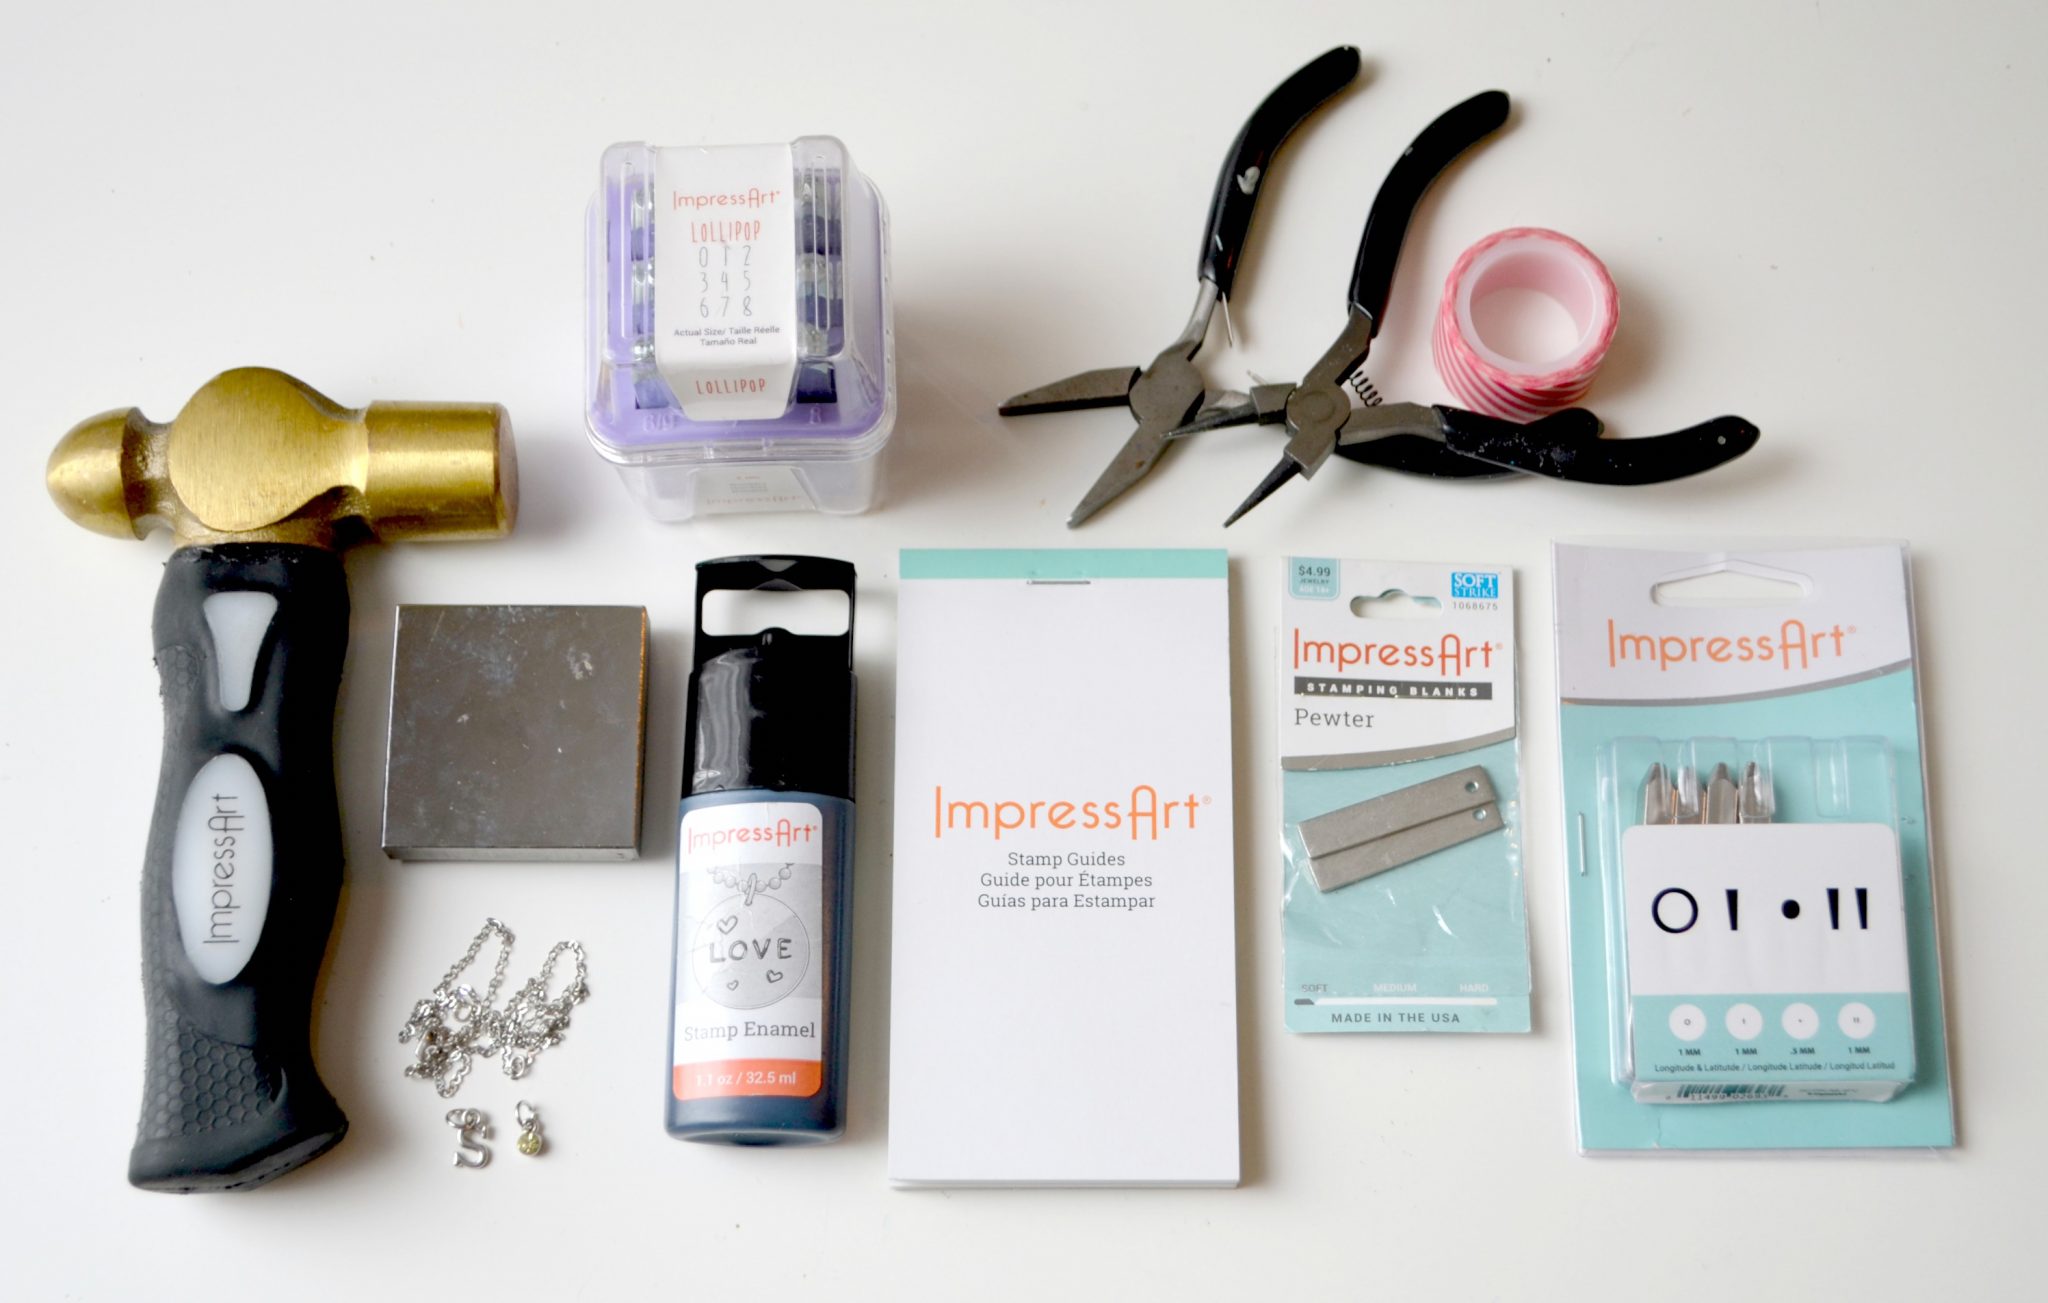
Materials:
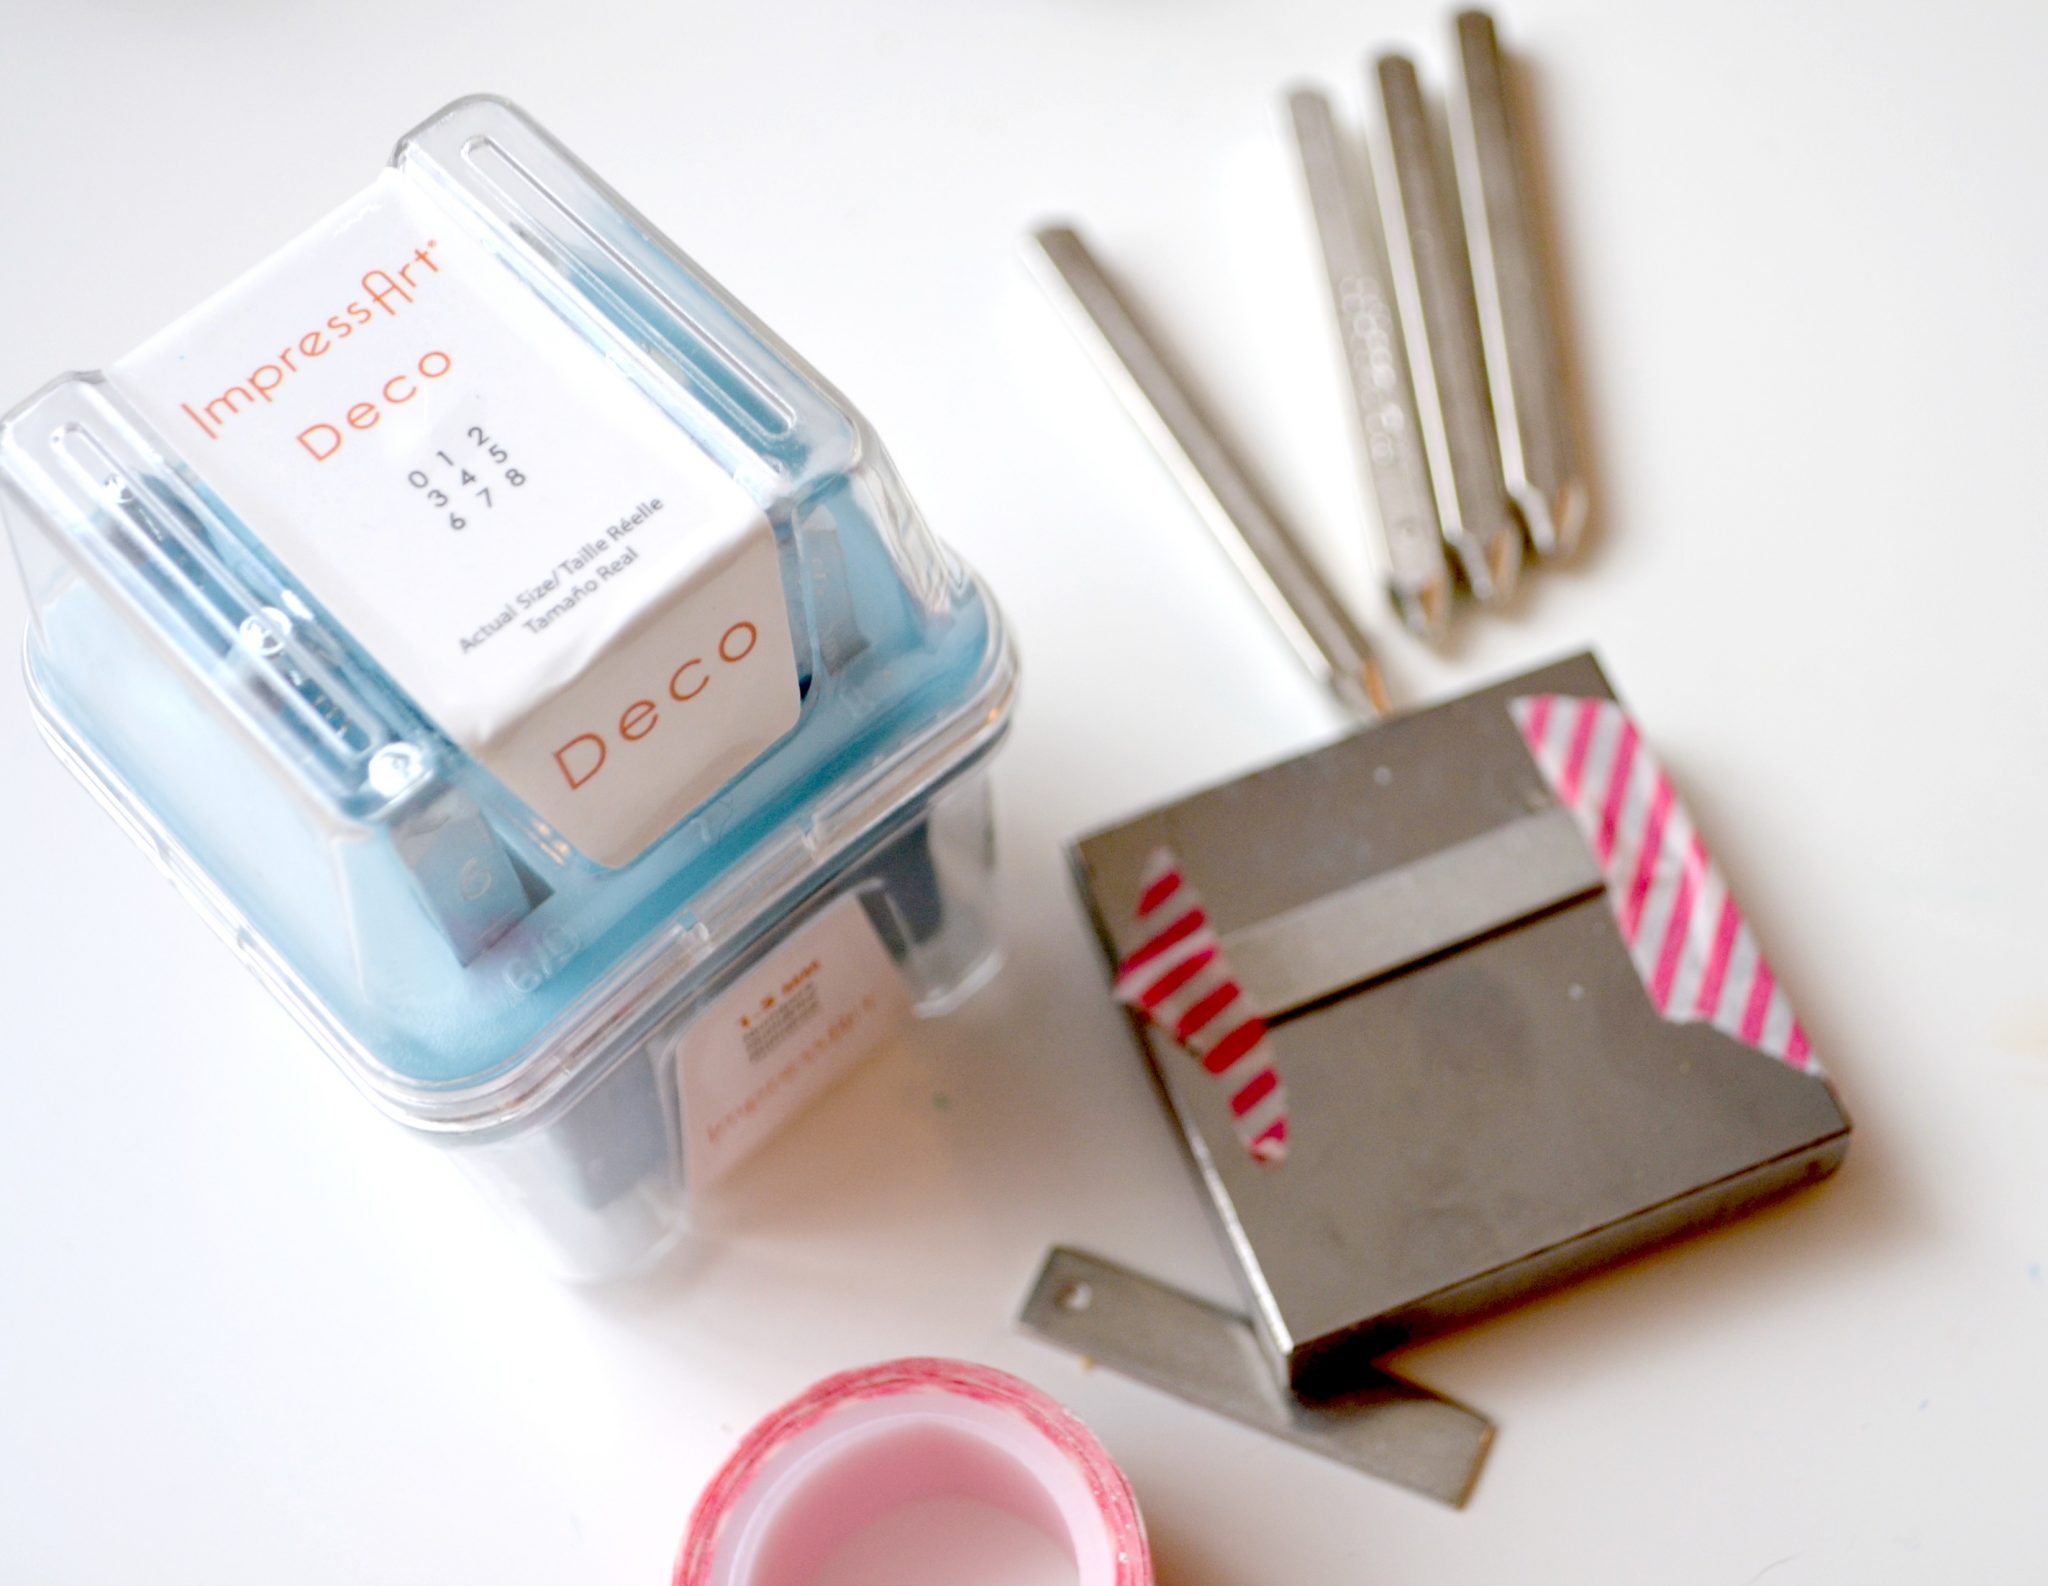
ImpressArt Soft Strike Pewter Stamping Blank, Rectangle
ImpressArt Latitude & Longitude Stamp Pack
ImpressArt Deco Letter Stamps & Deco Number Stamps, 1.5mm
ImpressArt Stamp Guides
ImpressArt Stamp Enamel
Metal Stamping Hammer
Steel Stamping Block
Washi or Painters’ Tape
Jewelry Pliers
Paper Towel or Soft Lint-free Cloth
Necklace Chain with Clasp and Jump Rings
Monogram and/or Birthstone Charm {optional}
If you happen to be new to metal stamping, let me start by saying that it’s much easier than you might think, and although the supplies can be a bit of an investment at first, they pay for themselves in no time! Once you have the stamps, hammers, and block, you can use them over and over and over again to create countless pieces of jewelry for yourself and the people in your life.
Ready to get started?
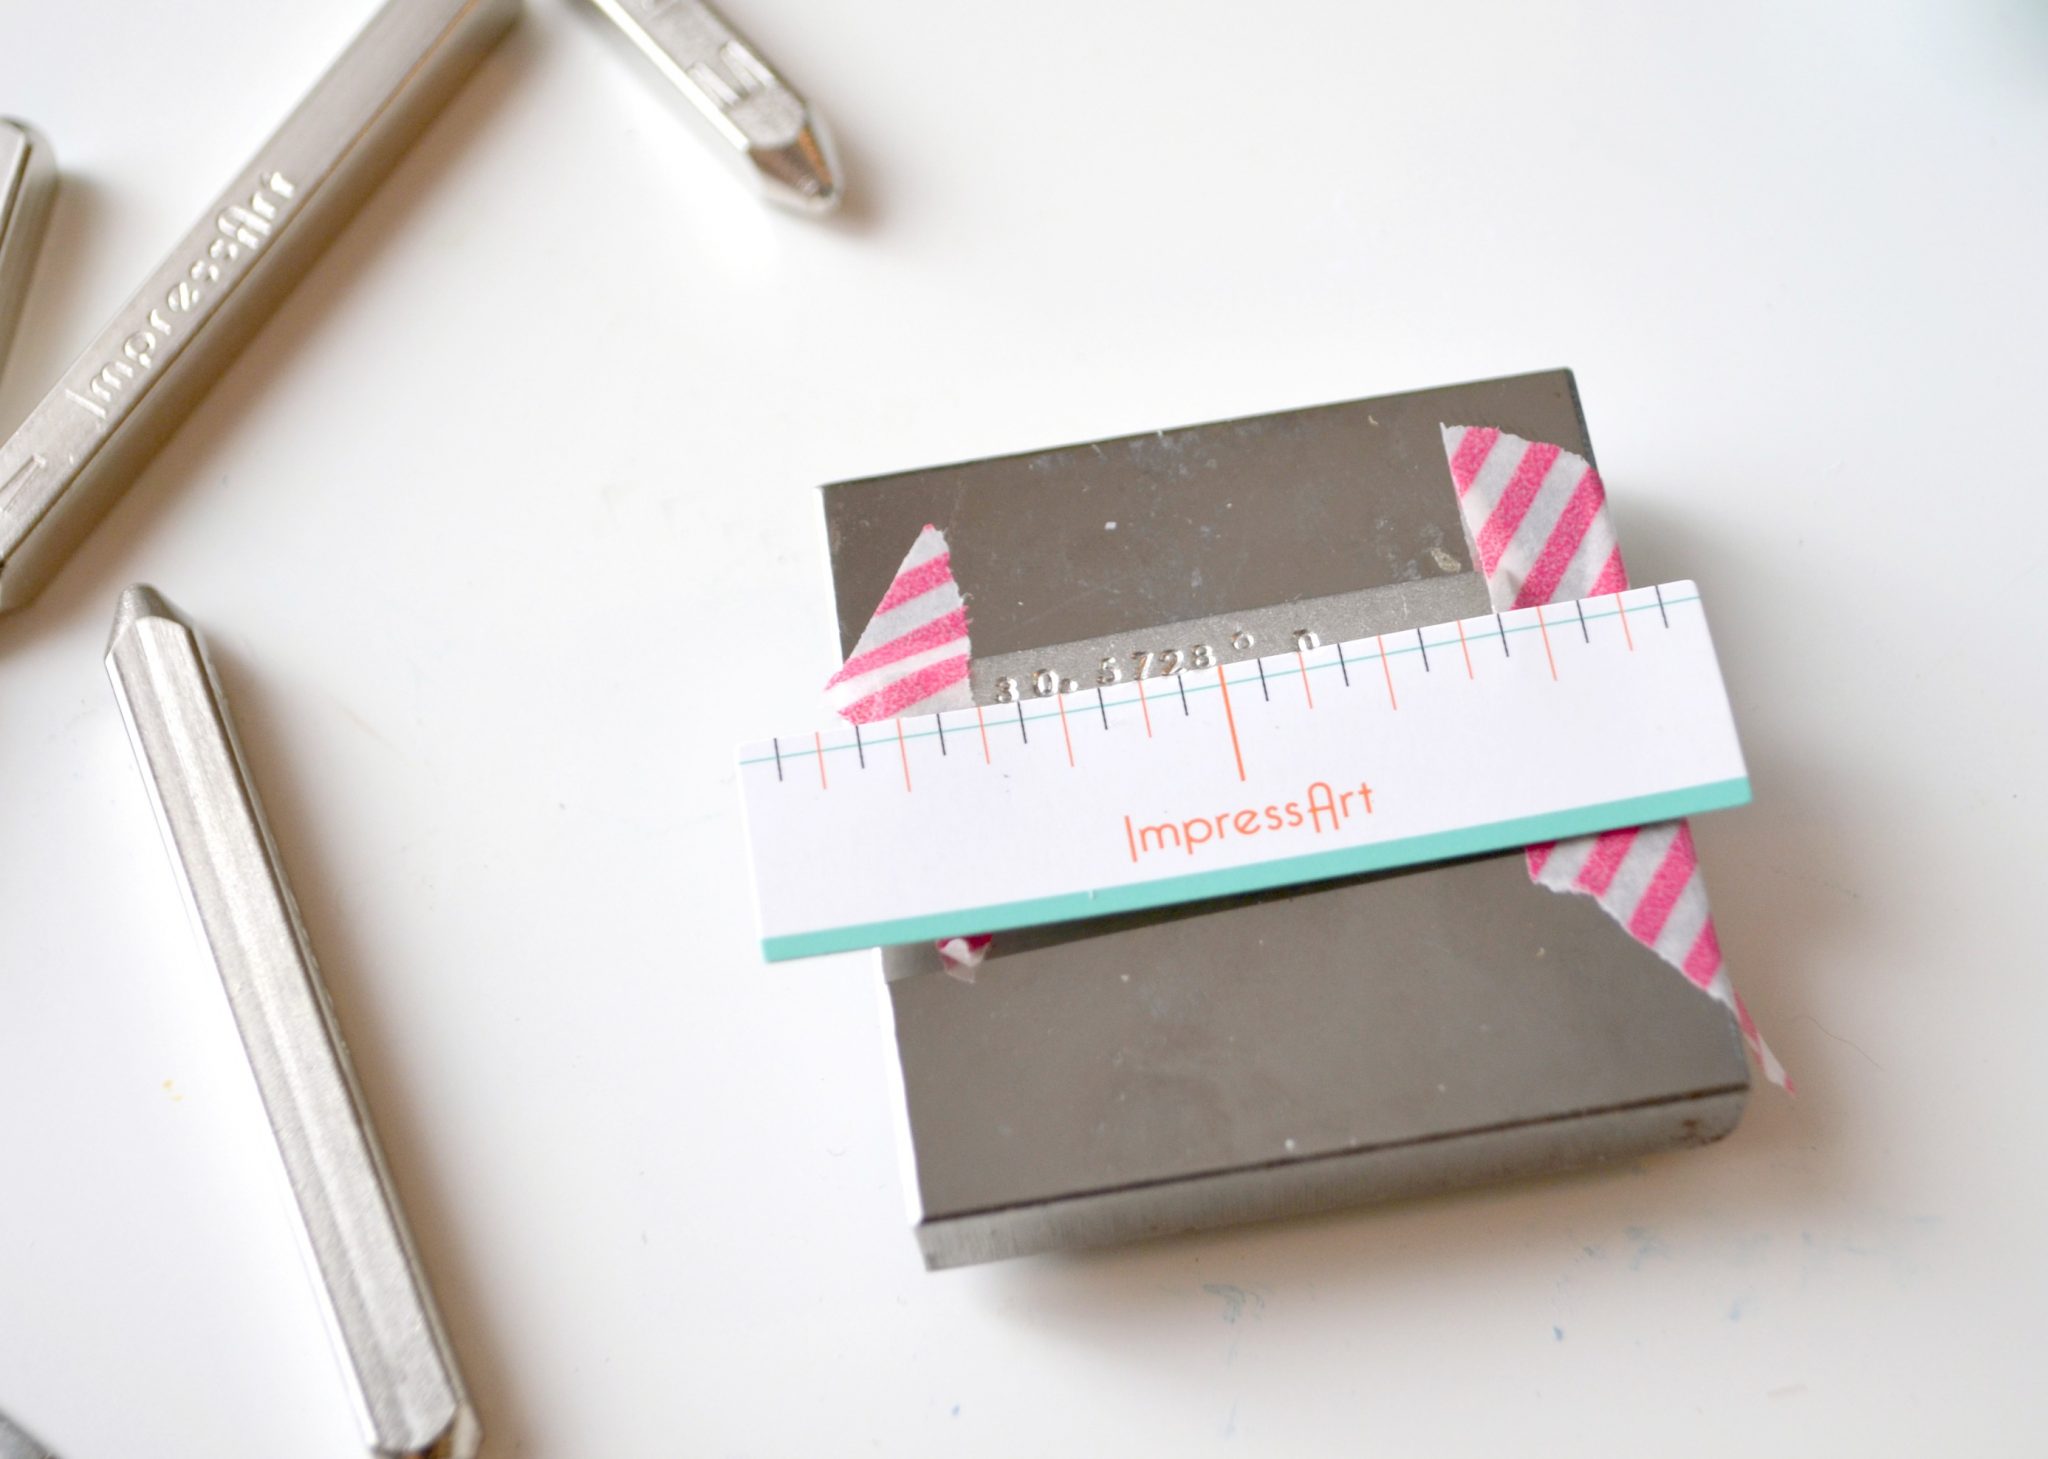
Step 1: Tape your blank to the steel block.
Steel blocks come in a variety of sizes. For this project, the smallest one was a great fit for my rectangle blank. Make sure you don’t try to stamp on other surfaces, because it could damage your table/floor/etc. The steel protects your surface and also provides the perfect amount of resistance to give you a clean stamped impression.
Step 2: Place an ImpressArt Stamp Guide horizontally across your blank.
I needed two rows of type, so I placed this just slightly above center to help me mark where the top line of numbers should go.
Step 3: Stamp your first coordinate.
You can easily find coordinates for any location in the world by doing a Google search. To stamp them, simply hold each stamp vertically with the raised number, letter, or symbol touching the blank. Use the hammer to give the top of the stamp a firm tap. One tap should be enough to create your image.
*Pro tip* ImpressArt stamps have an image of the design along with the IA logo printed on one side of the stamp; if you make sure that side is facing you, you’ll always know that your design is right side up!
Step 4: Remove the stamp guide and stamp your second coordinate below the first one.
If you’d like to, you can reposition the stamp guide to help keep your numbers straight.
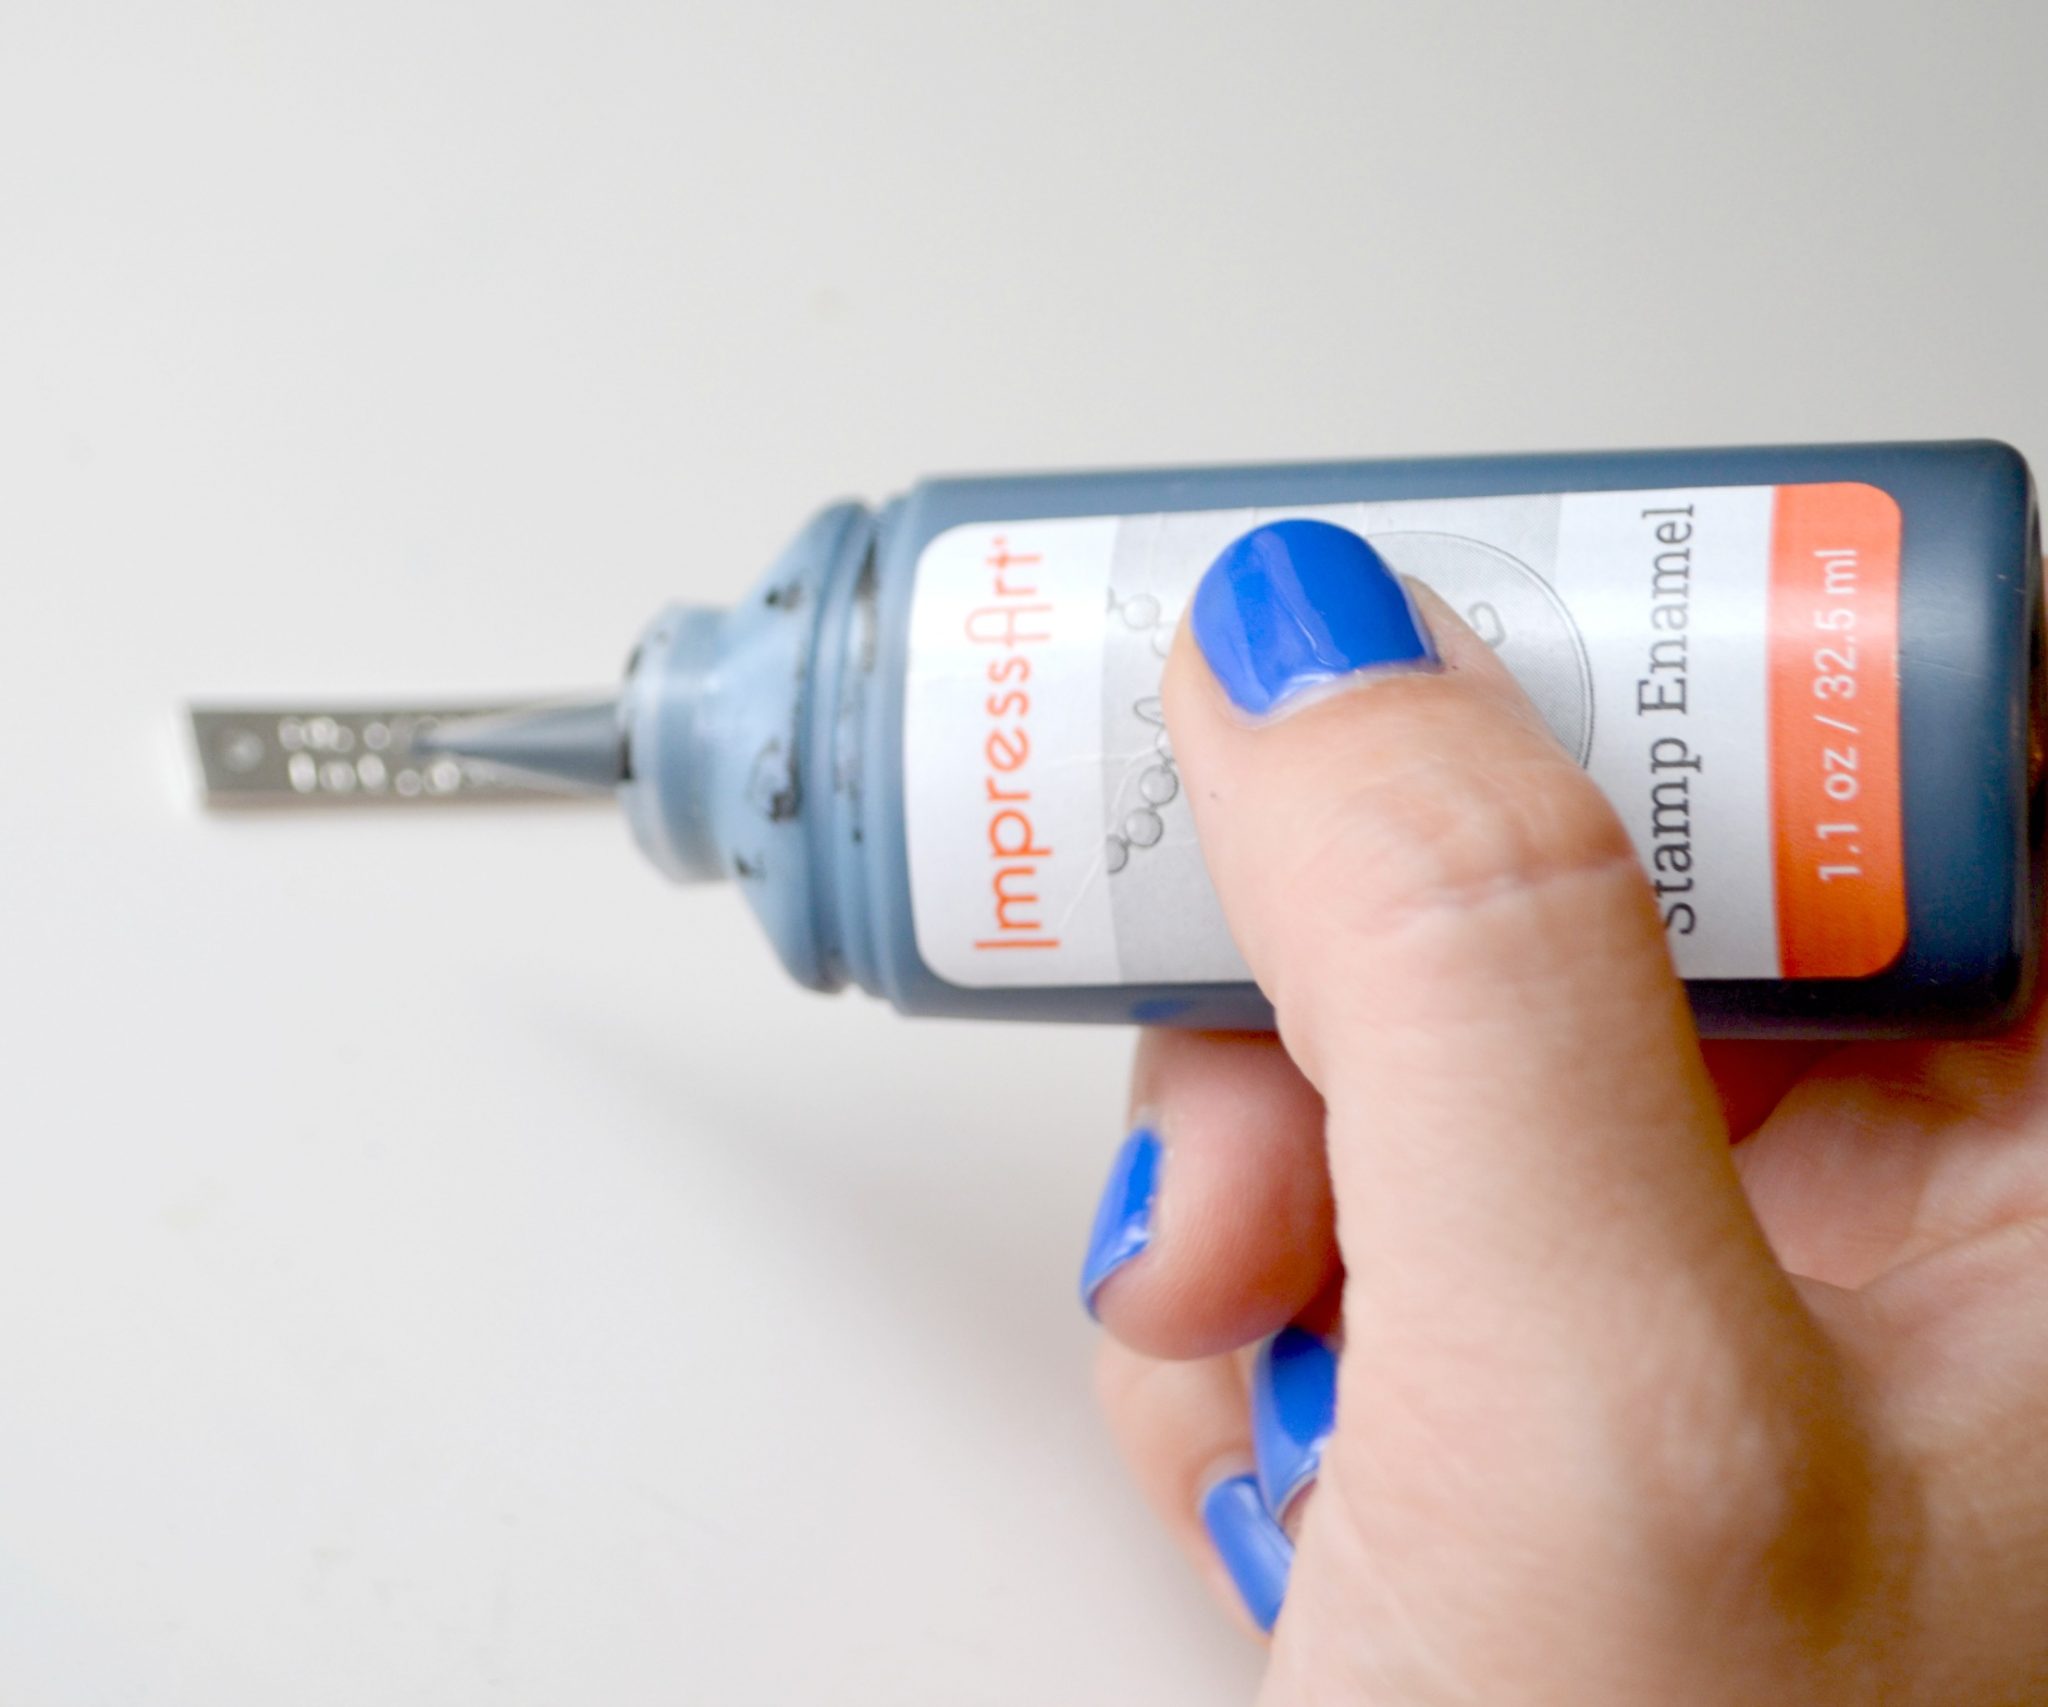
Step 5: Apply ImpressArt Stamp Enamel.
Gently squeeze the bottle and fill in each stamped area with enamel. Allow it to sit for 10-30 seconds, then use a paper towel or a soft lint-free cloth to wipe off the excess. The enamel on the surface of the blank will rub off easily, while the enamel down inside the imprints will stay, making your stamped design black and easy to read.
Step 6: Attach the blank to a chain using a jump ring.
You can use a chain that already has a clasp {this is the easiest option} or you can create your own by using any length of chain and adding jump rings and a clasp to the ends. To open a jump ring, you’ll want to use pliers to gently twist the ends in opposite directions; one toward yourself and one away. Then, to re-close it, simply twist the ends back together.
If you’re satisfied at this point, you can call it a finished project! If you’d like to add a few extra charms, continue on to the next step.
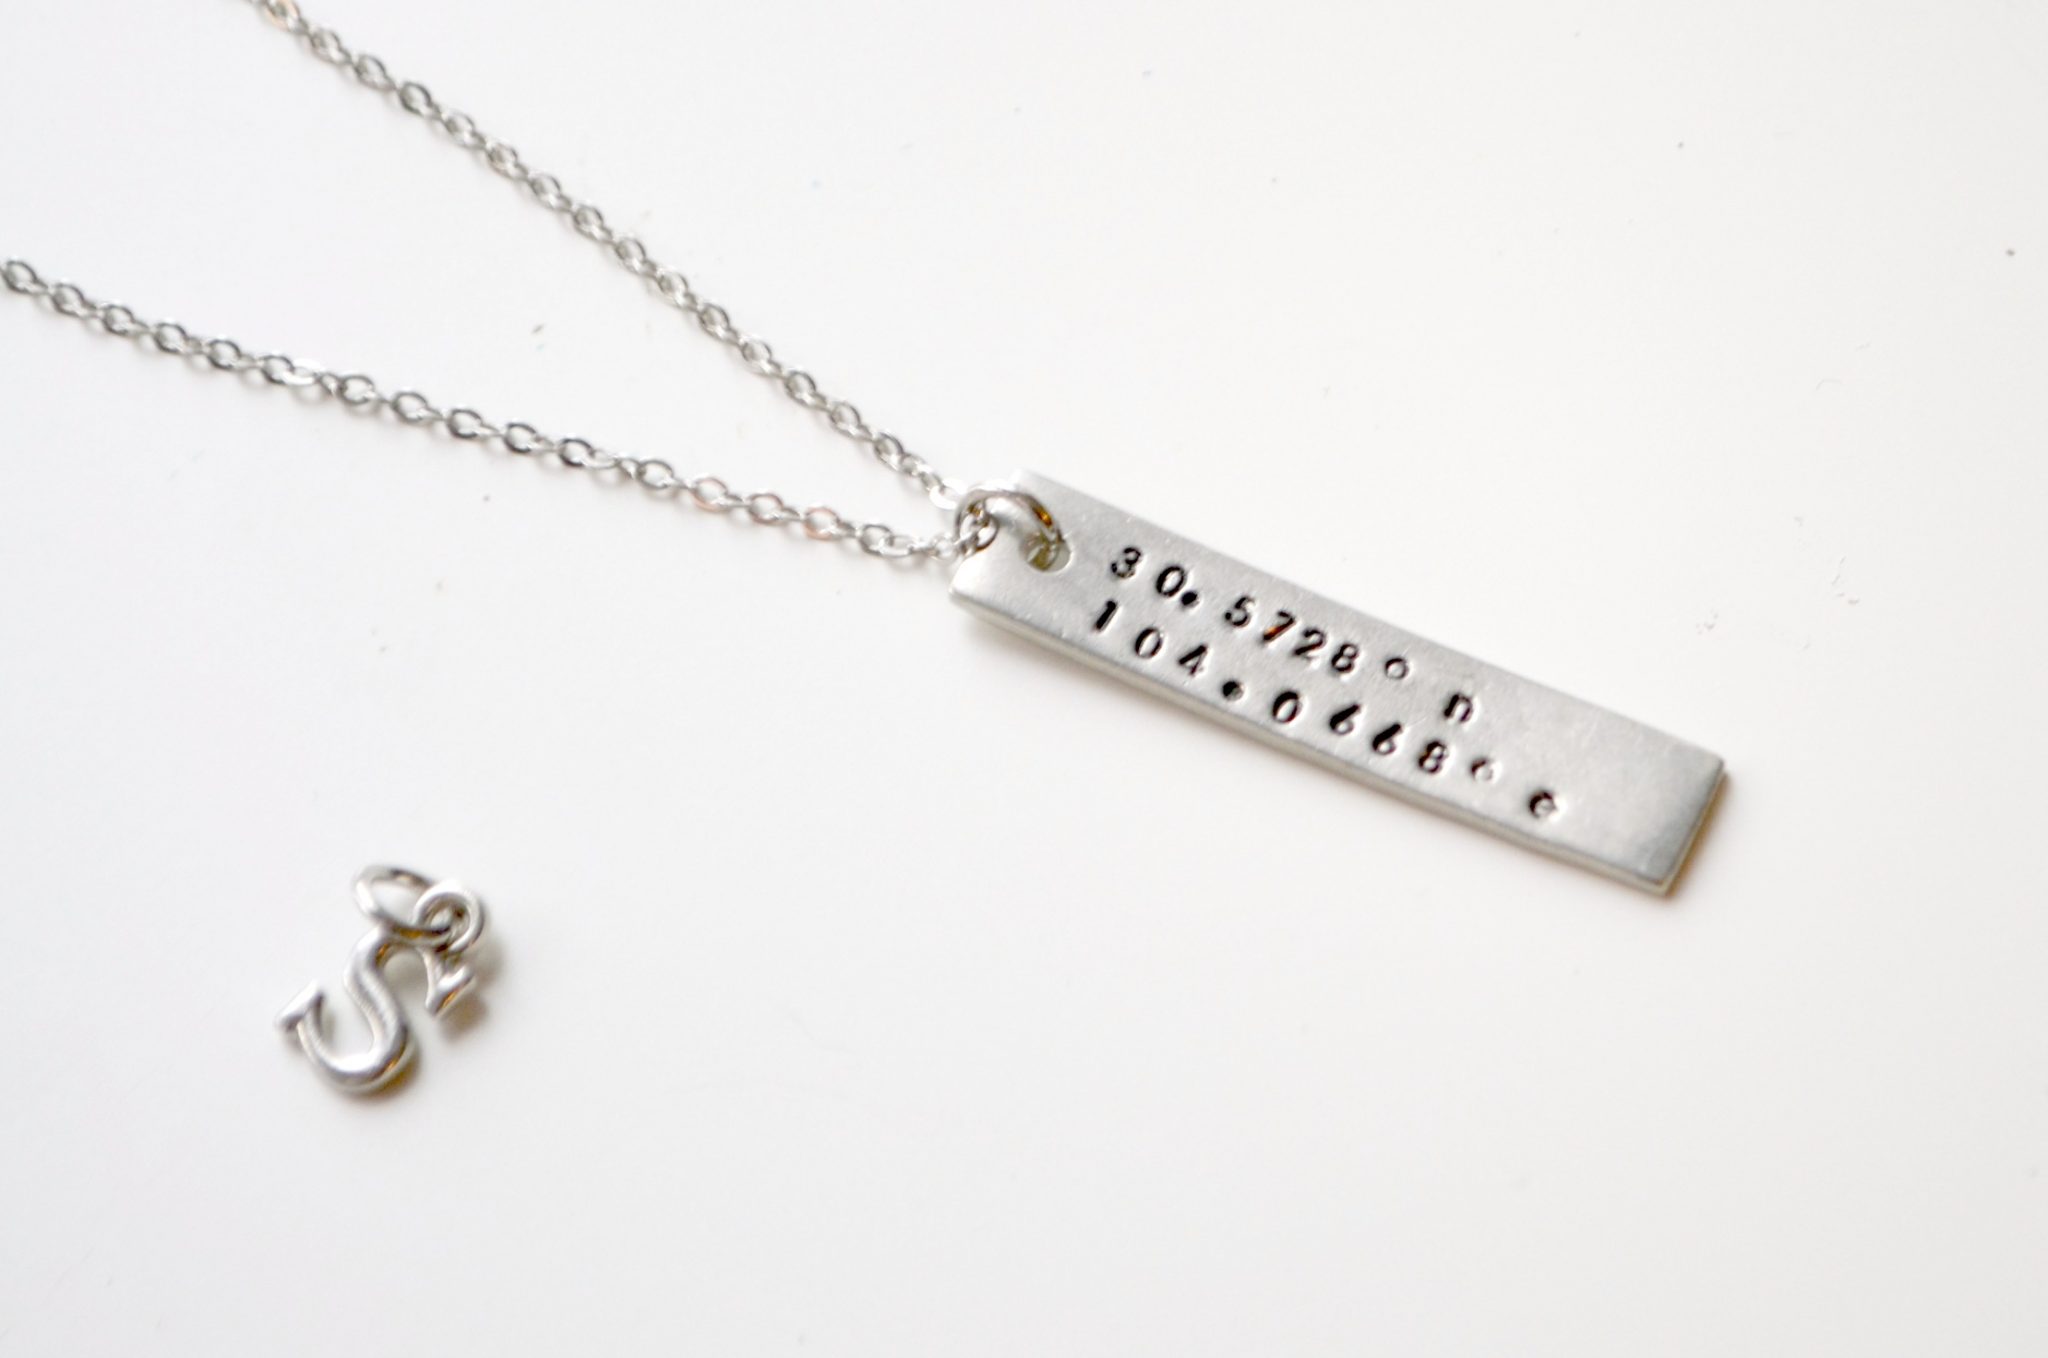
Step 7: Add charms.
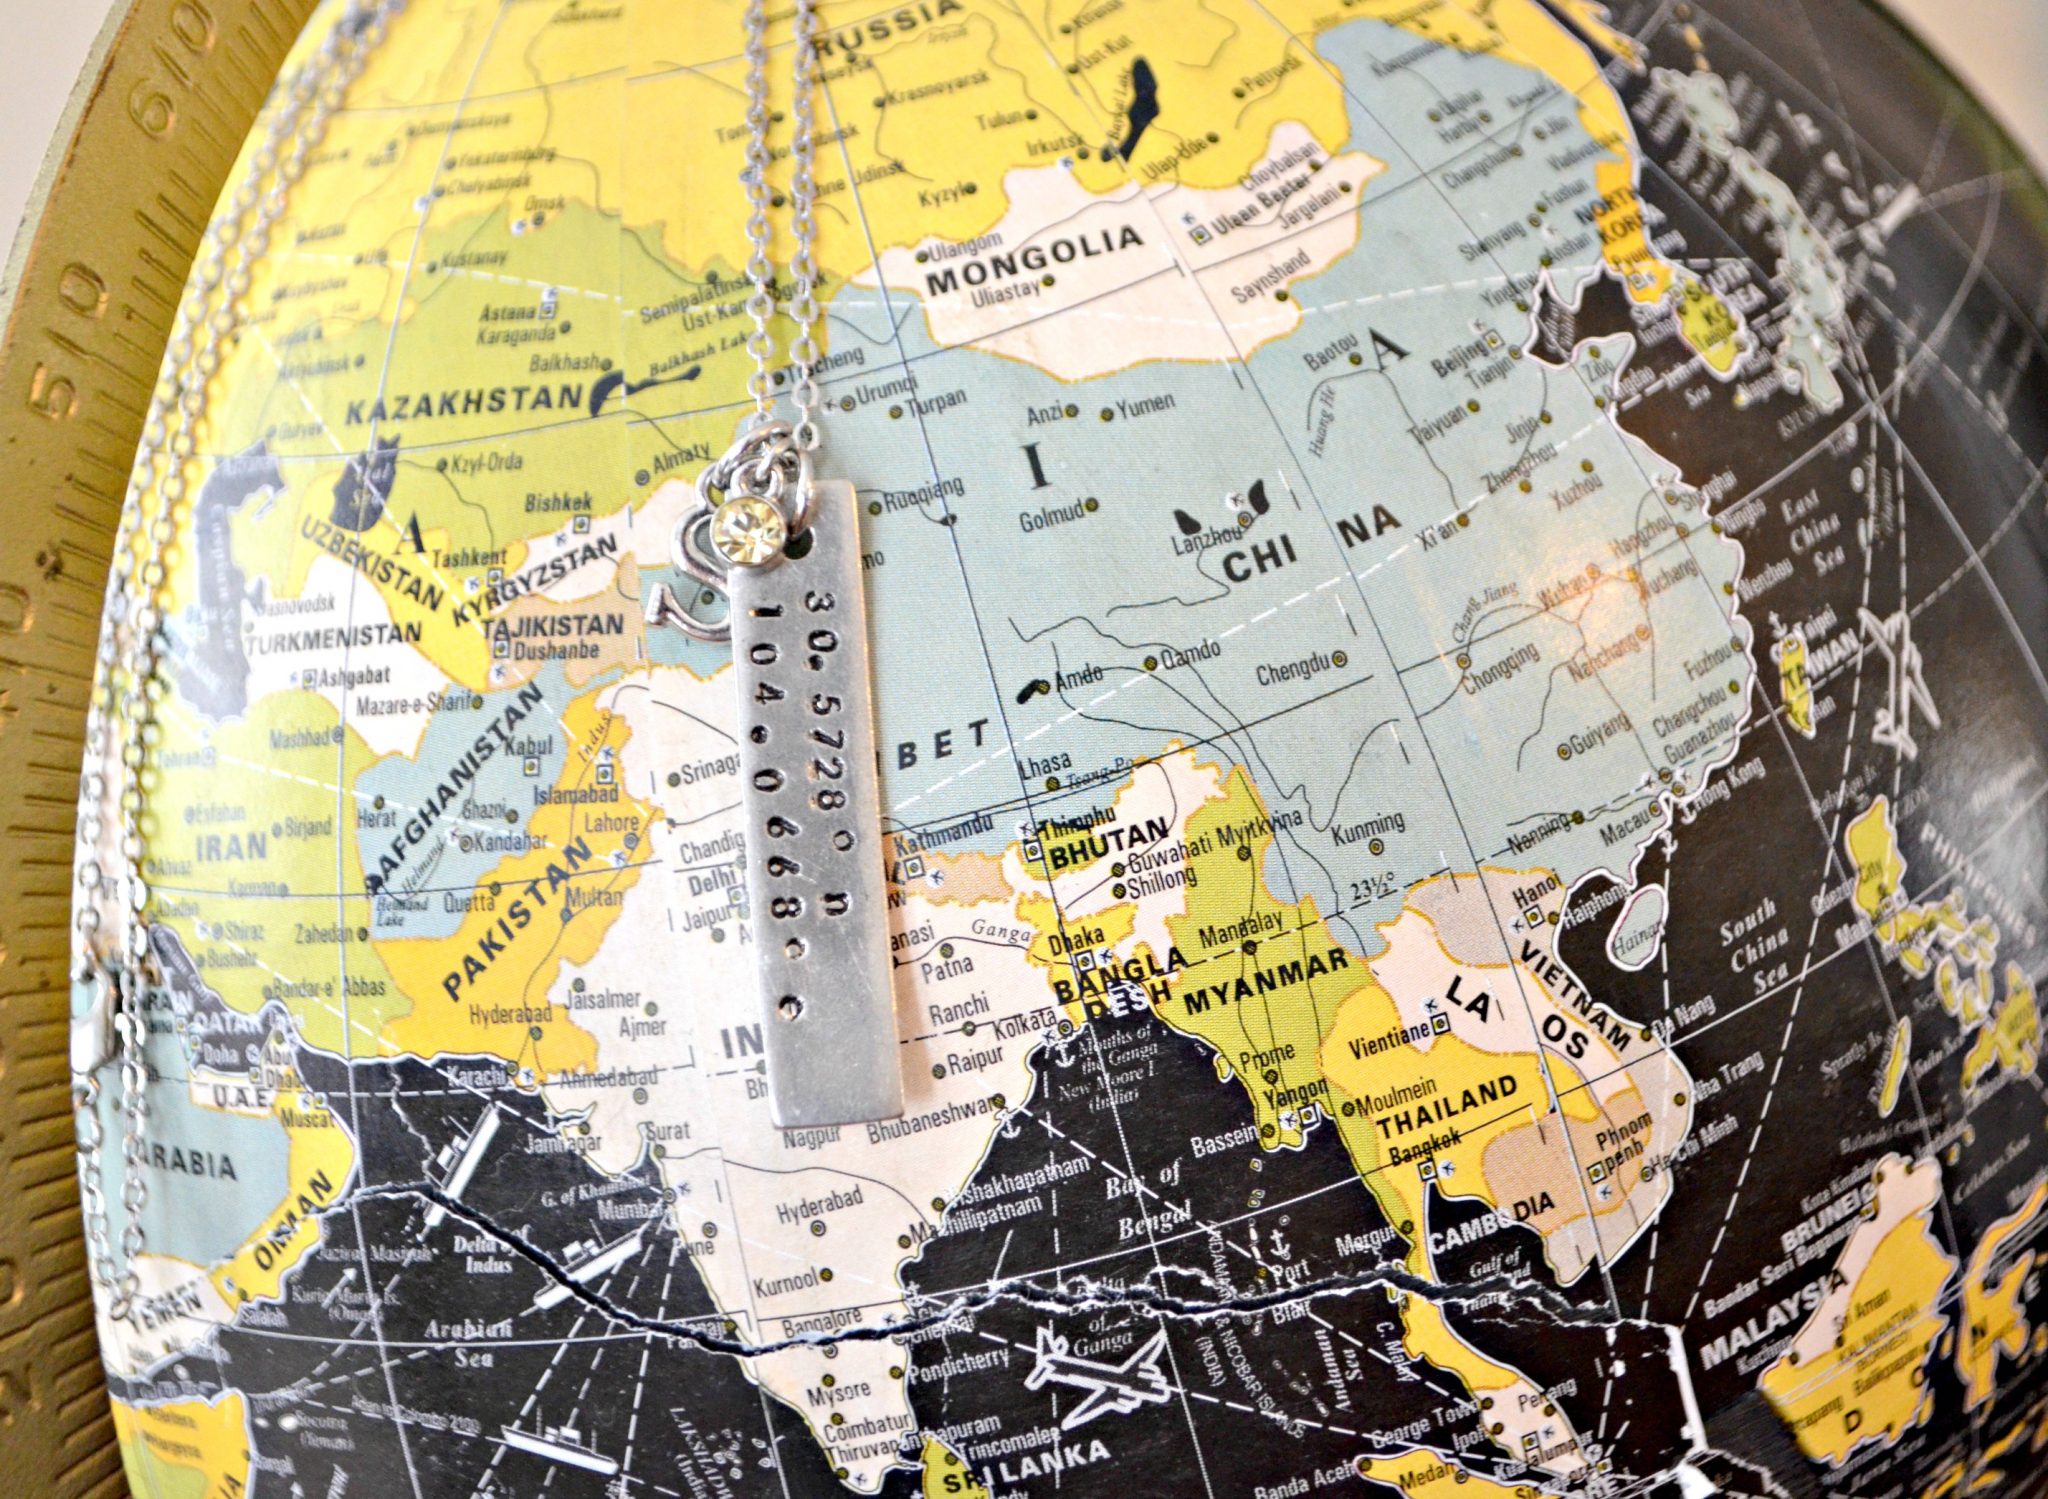
I chose to ornament my necklace with an “S” for “Scout,” which is the nickname we’ve been using until we’re able to find out from our son whether he wants to go by his Chinese name or an American one. I also added a small birthstone charm. To place them on the necklace, I just opened the jump rings, threaded the chain through, and re-closed them.
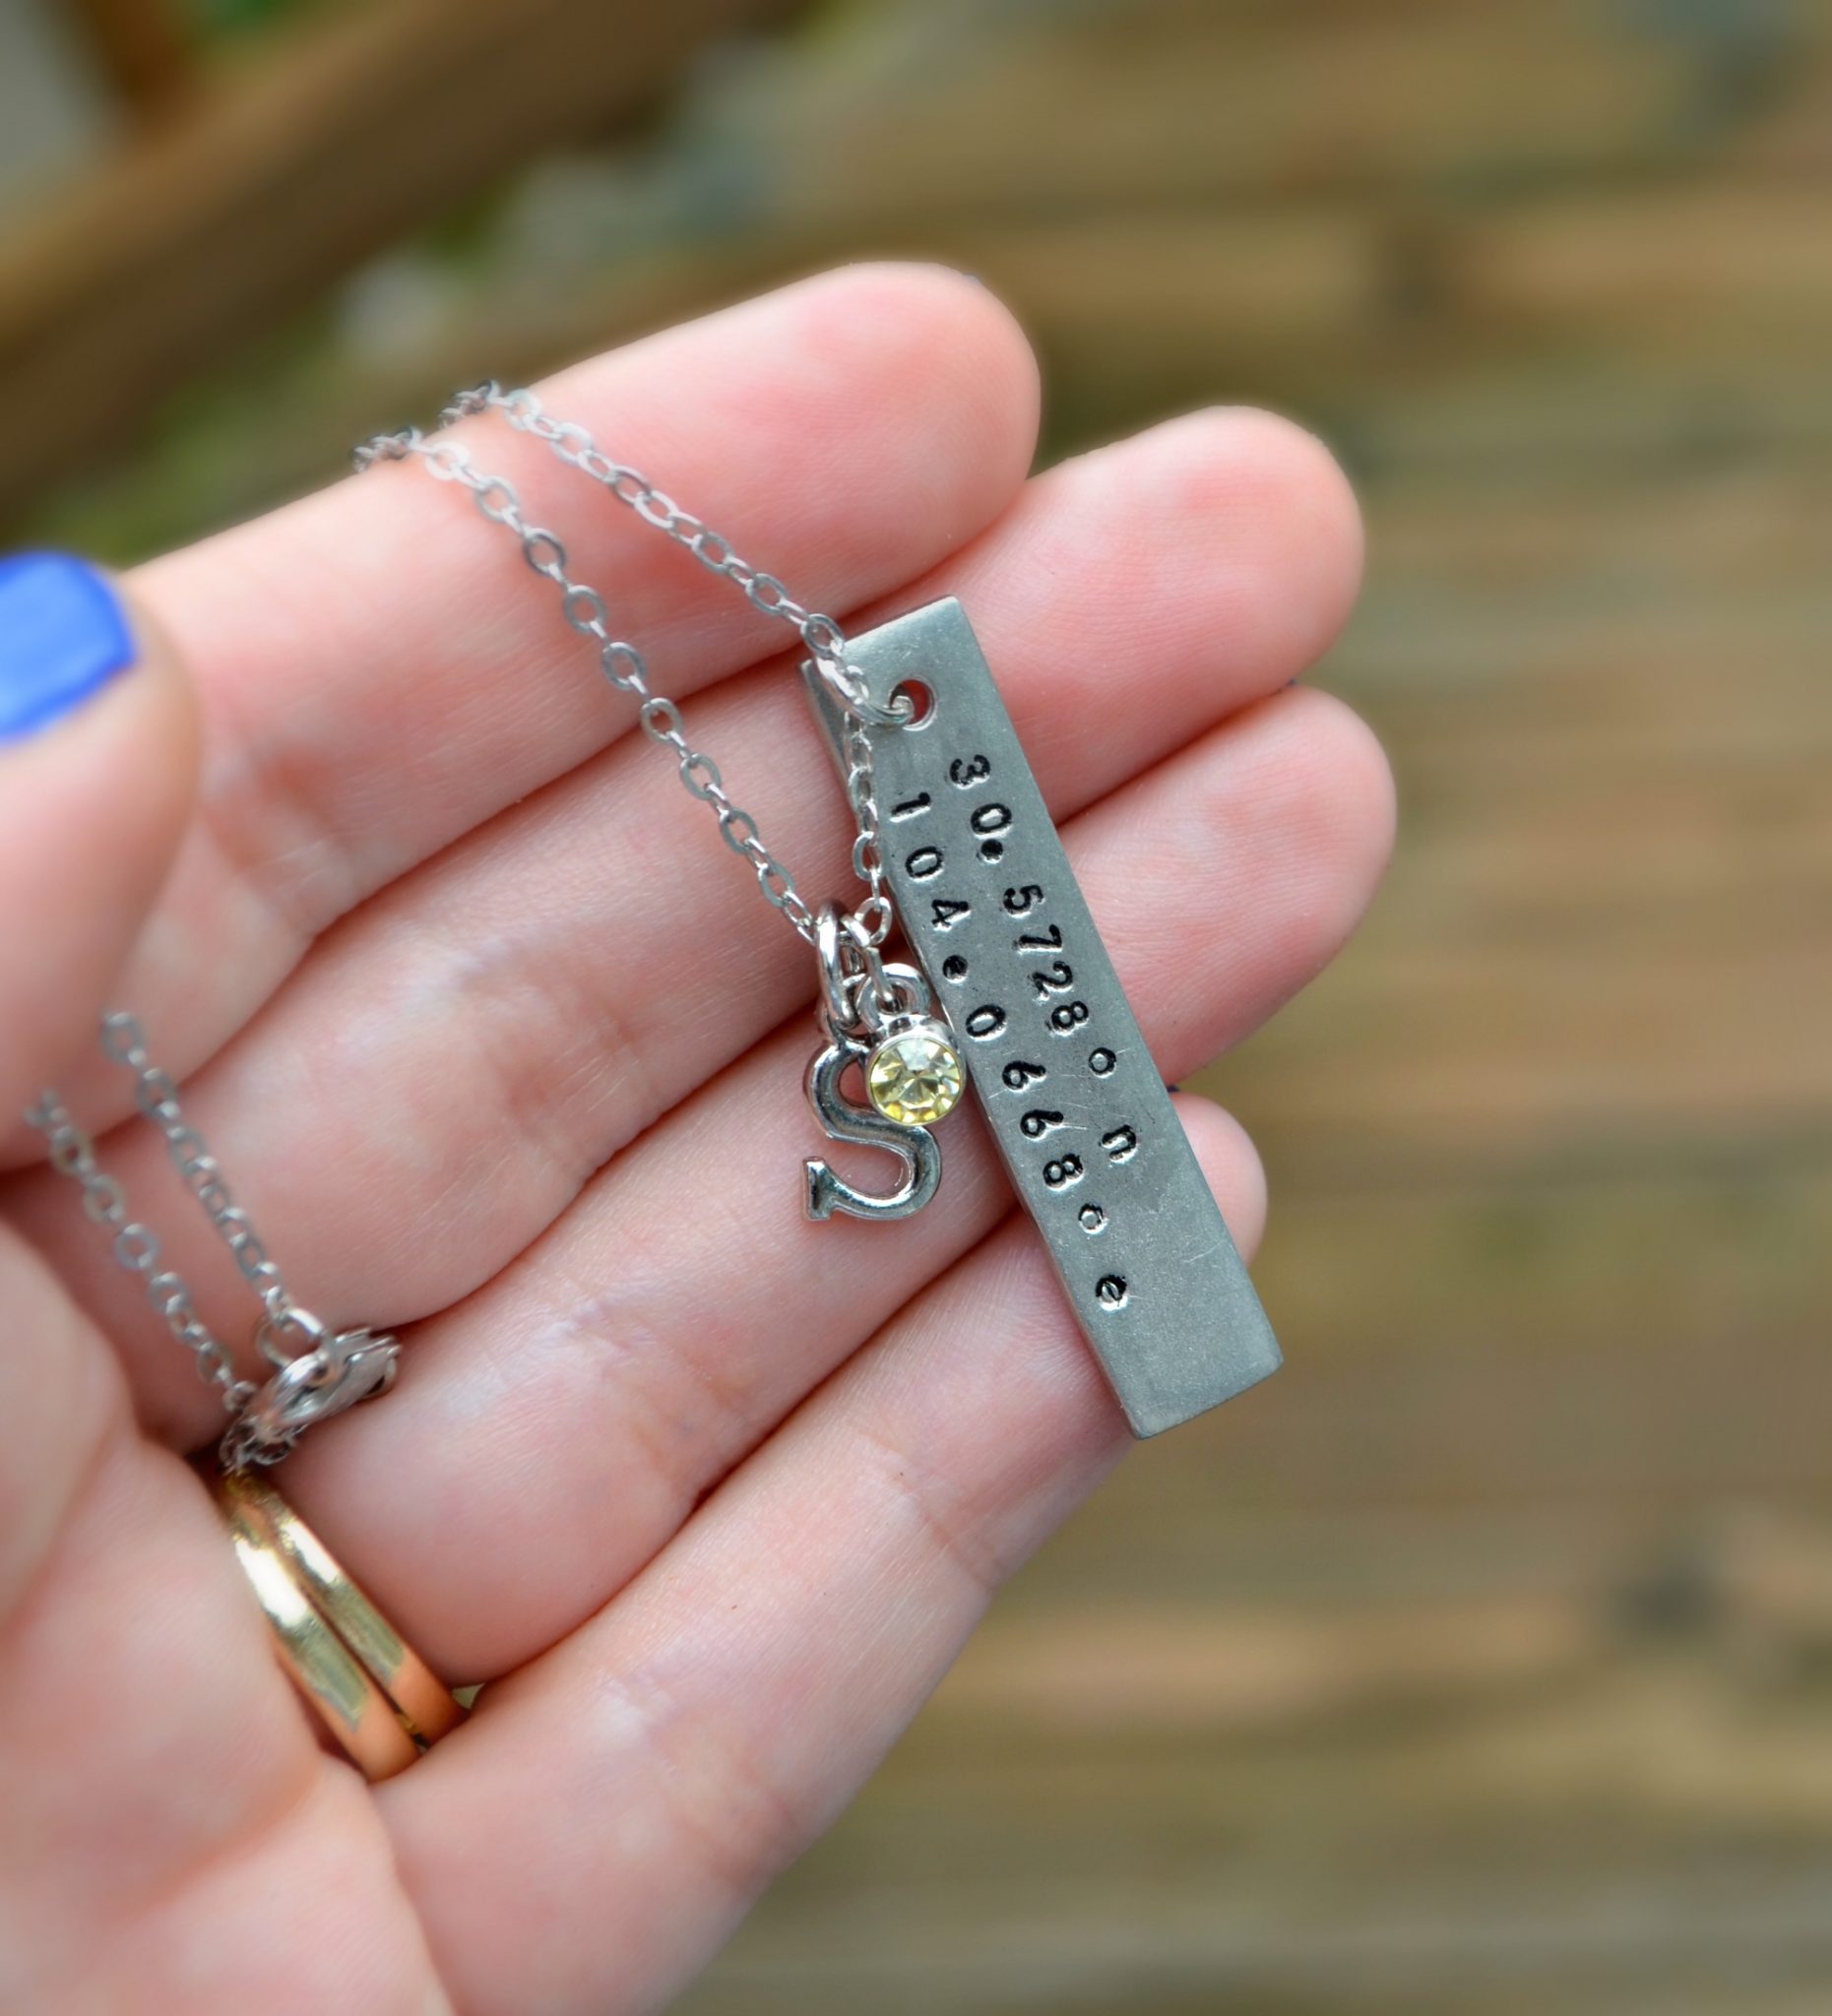
I am absolutely thrilled with how this turned out.
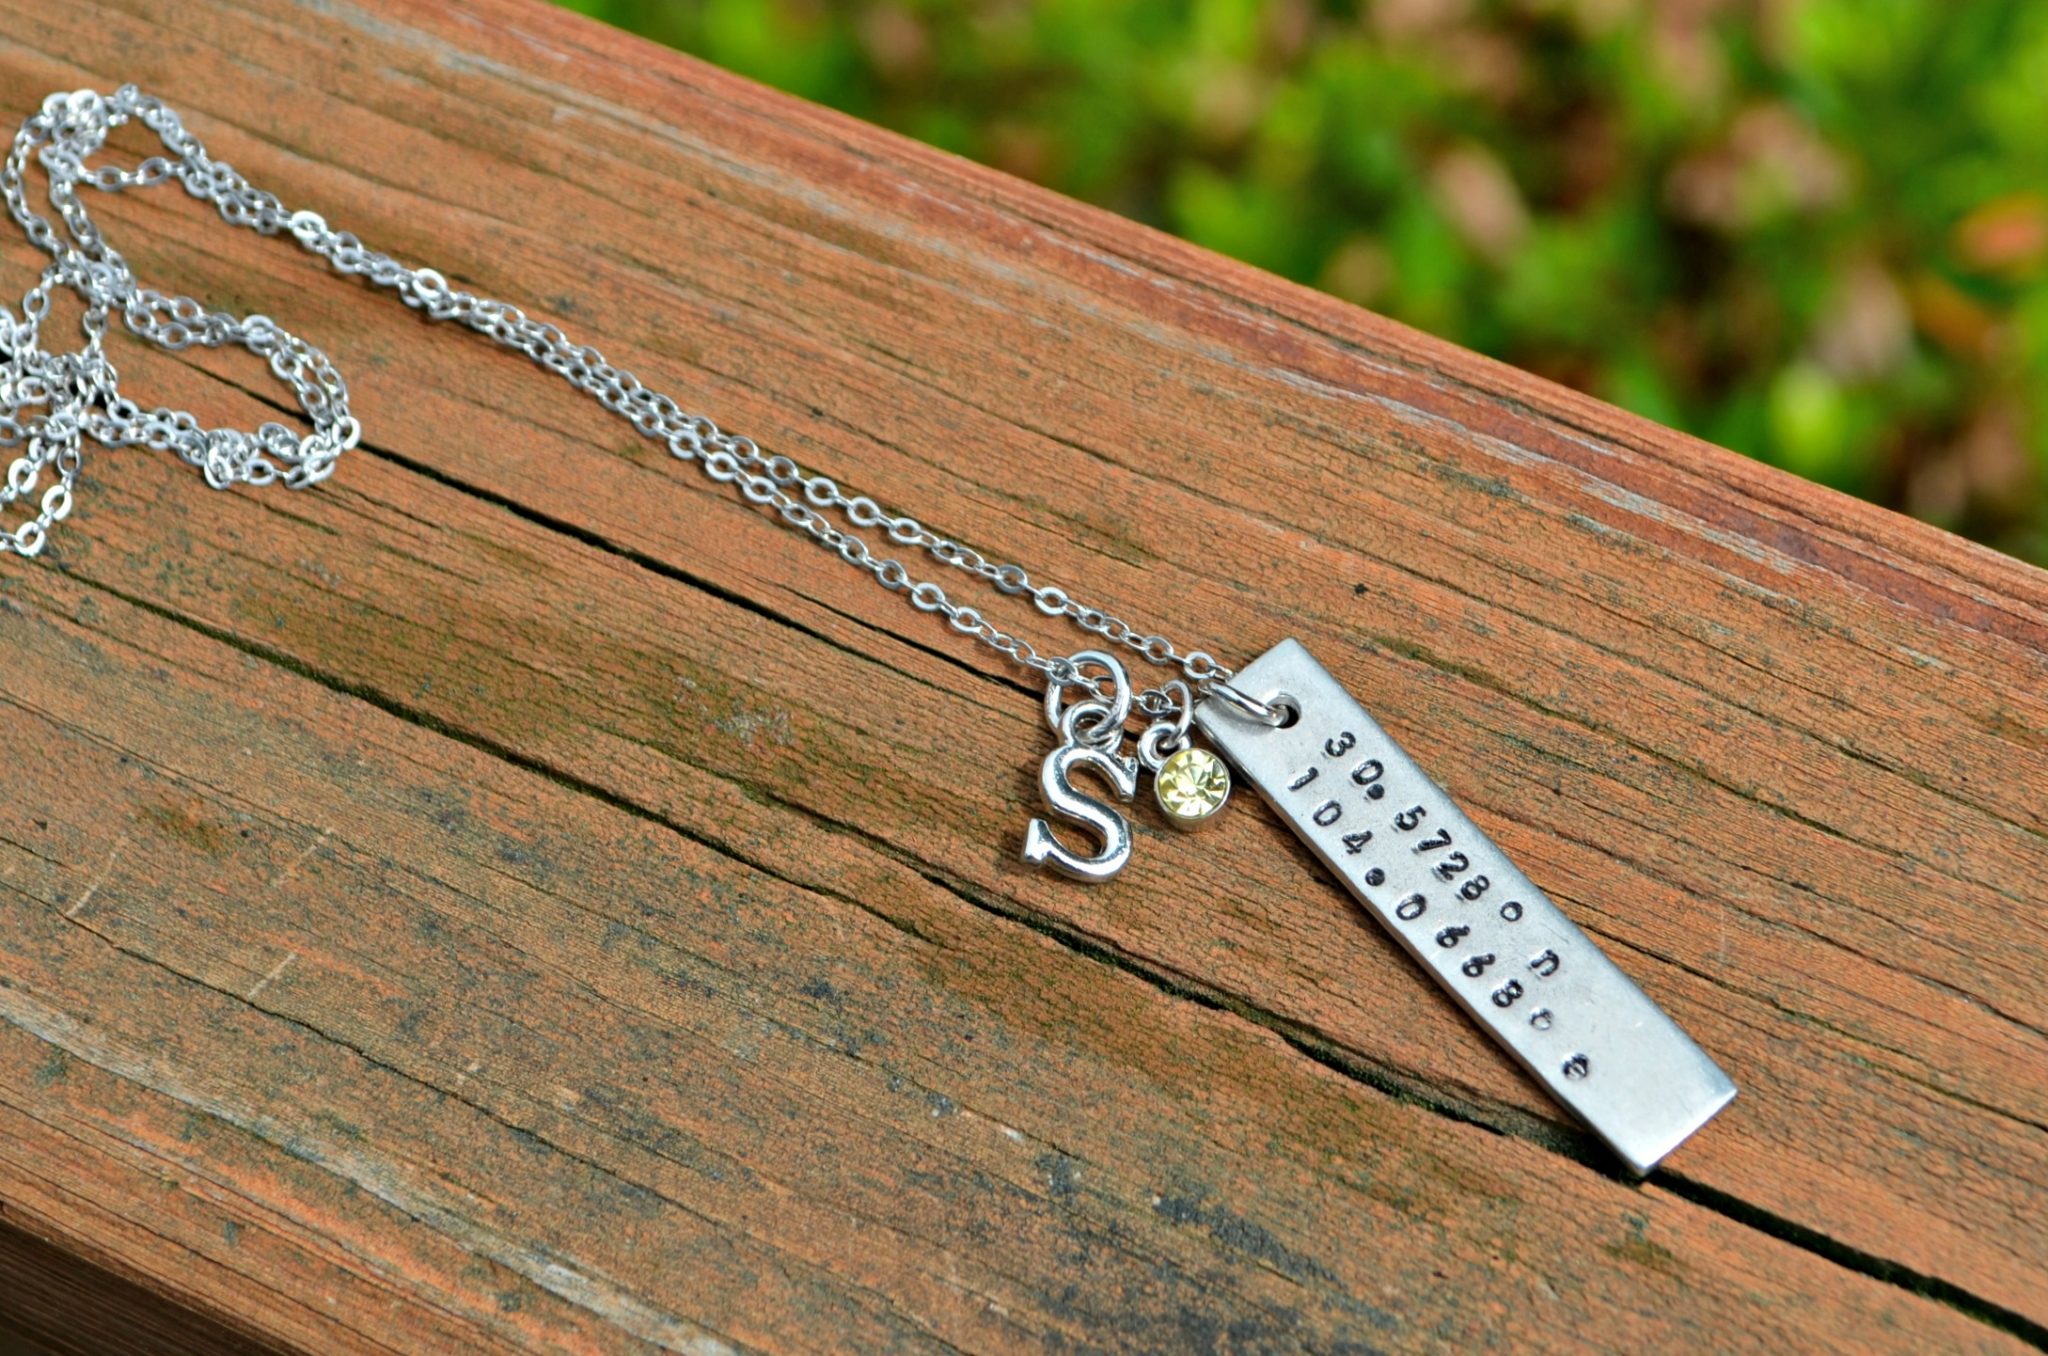
Somehow, when I wear it, I feel just a little bit closer to that sweet boy who will soon be a part of our family forever.
Is there someone in your life who feels a little too far away? Why not create a necklace like this one to help them seem a little bit closer? What coordinates would you use?