
Coastal Chic Photo Display
Thanks to Plaid Crafts for sponsoring today’s post; all opinions are honestly my own.
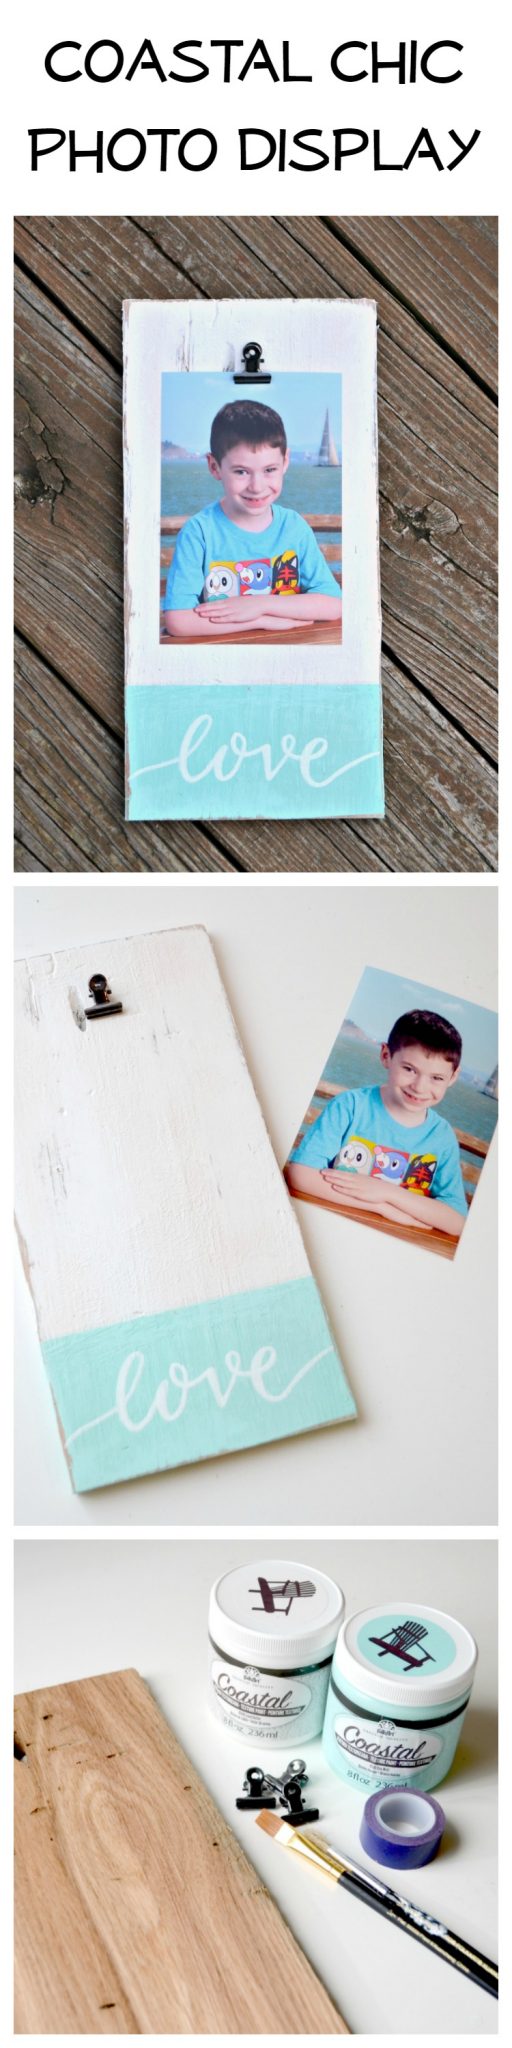
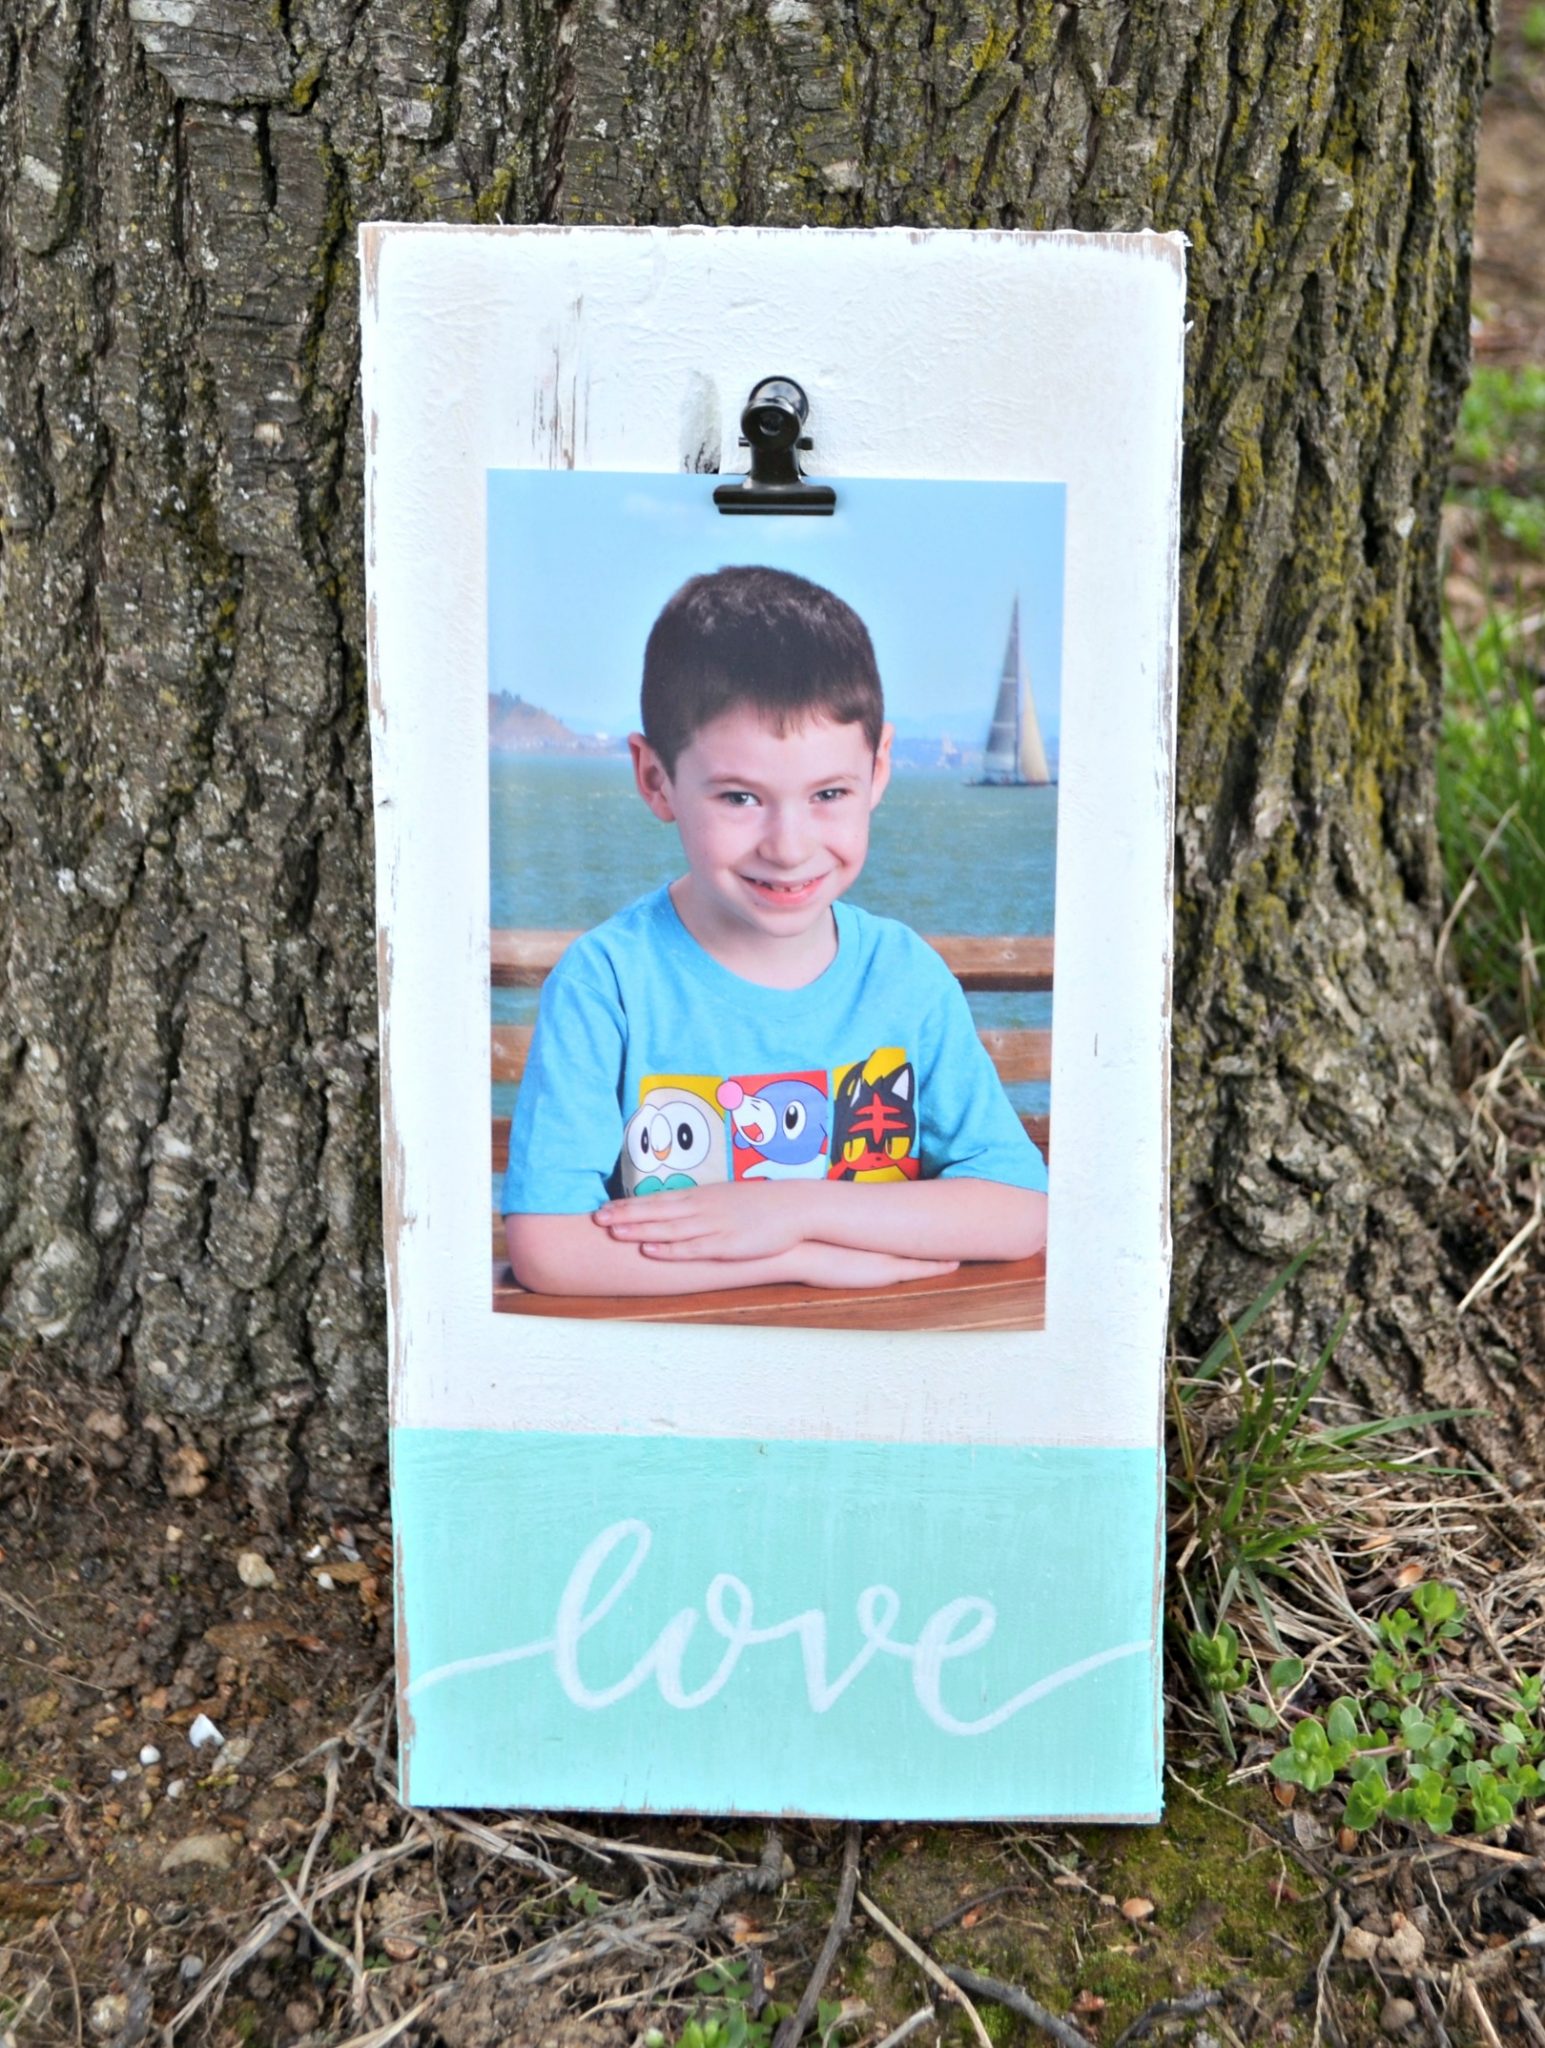
Recently, Little Crafter had his Spring school pictures taken and I wanted to put one on display. Rather than just popping it in a frame, I wanted to create an interesting piece of decor that would show off the photo as well as complement the overall feel of the room. Here’s what I came up with, and how you can create something similar for your own home!
You’ll need:
FolkArt Coastal™ – Sand Dollar, Sea Mist
FolkArt Paintbrushes
Scrap Wood
Painters’ Tape
Small Metal Craft Clip
Glue
Sandpaper or Power Sander
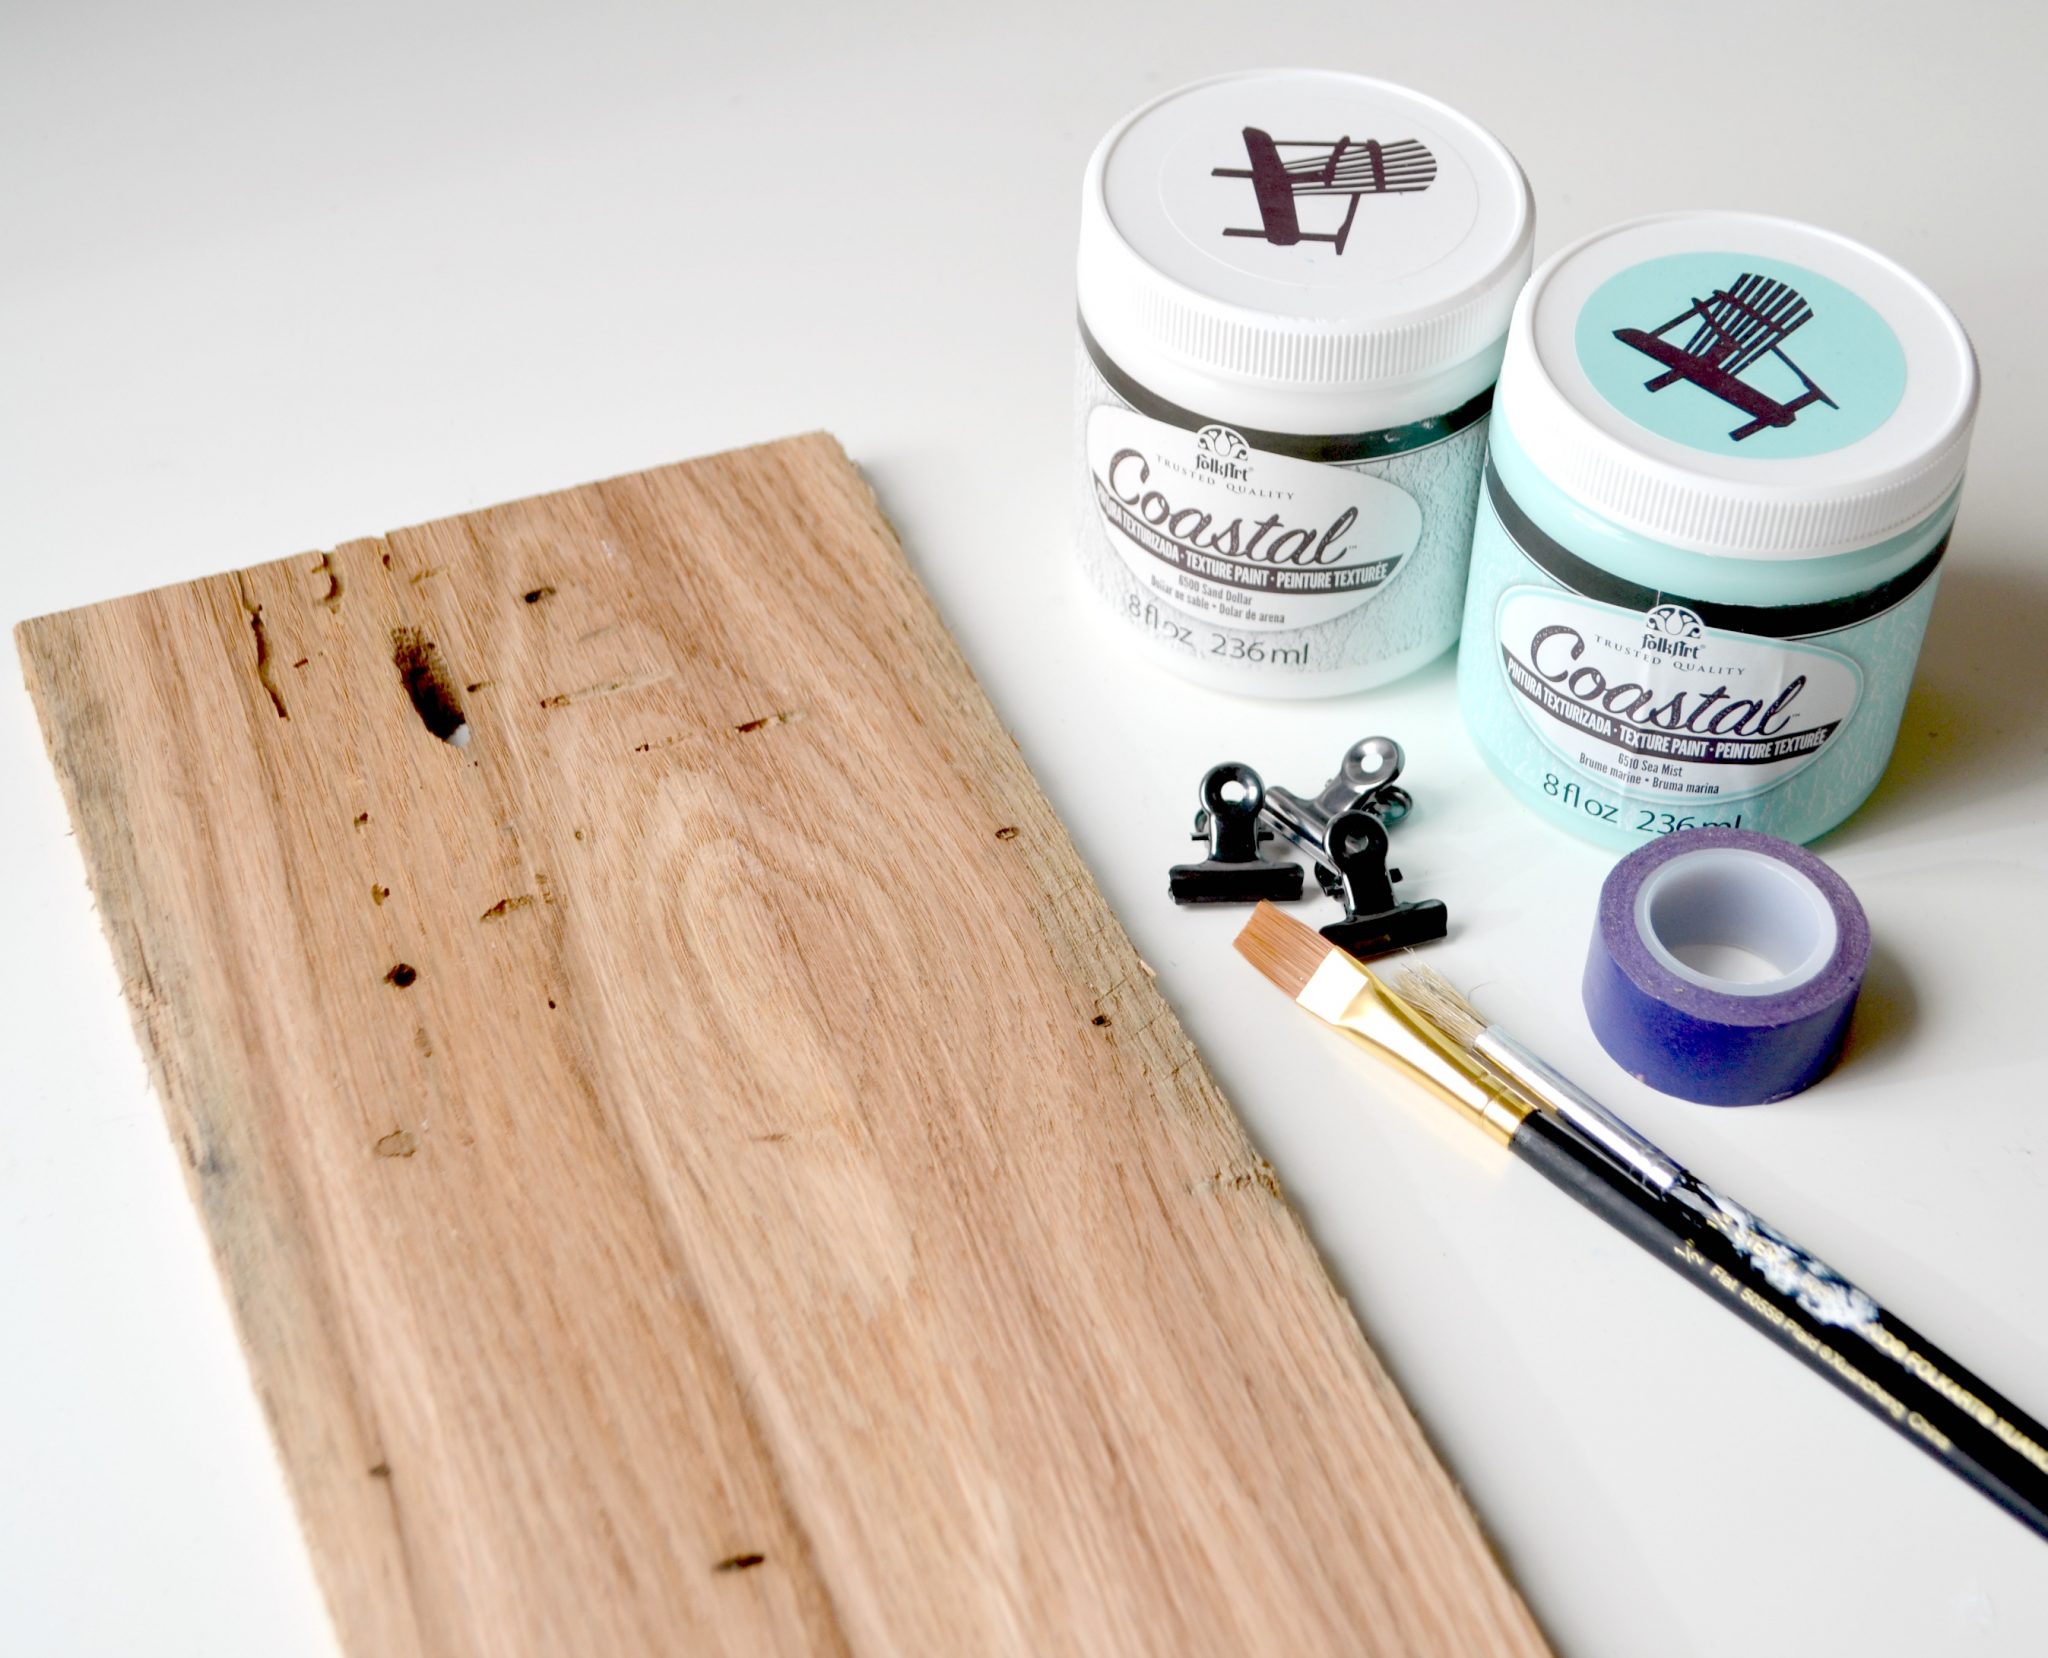
FolkArt Coastal™ is a brand new water-based, non-toxic paint released by Plaid Crafts this year and it’s quickly become one of my absolute favorites for home decor projects. Our family loves the beach, so we have touches of coastal decor all over the house already. This new paint allows me to create pieces that look like they’ve been naturally weathered by the sun, sand, and salt air for years. It’s an easy to use, pre-mixed formula that can be applied, layered, and distressed, just like you’ll see on today’s project. FolkArt Coastal™ is made in the USA, comes in an 8 oz tub and is available 10 Coastal Chic colors; the ones I chose for this photo holder are Sand Dollar and Sea Mist.
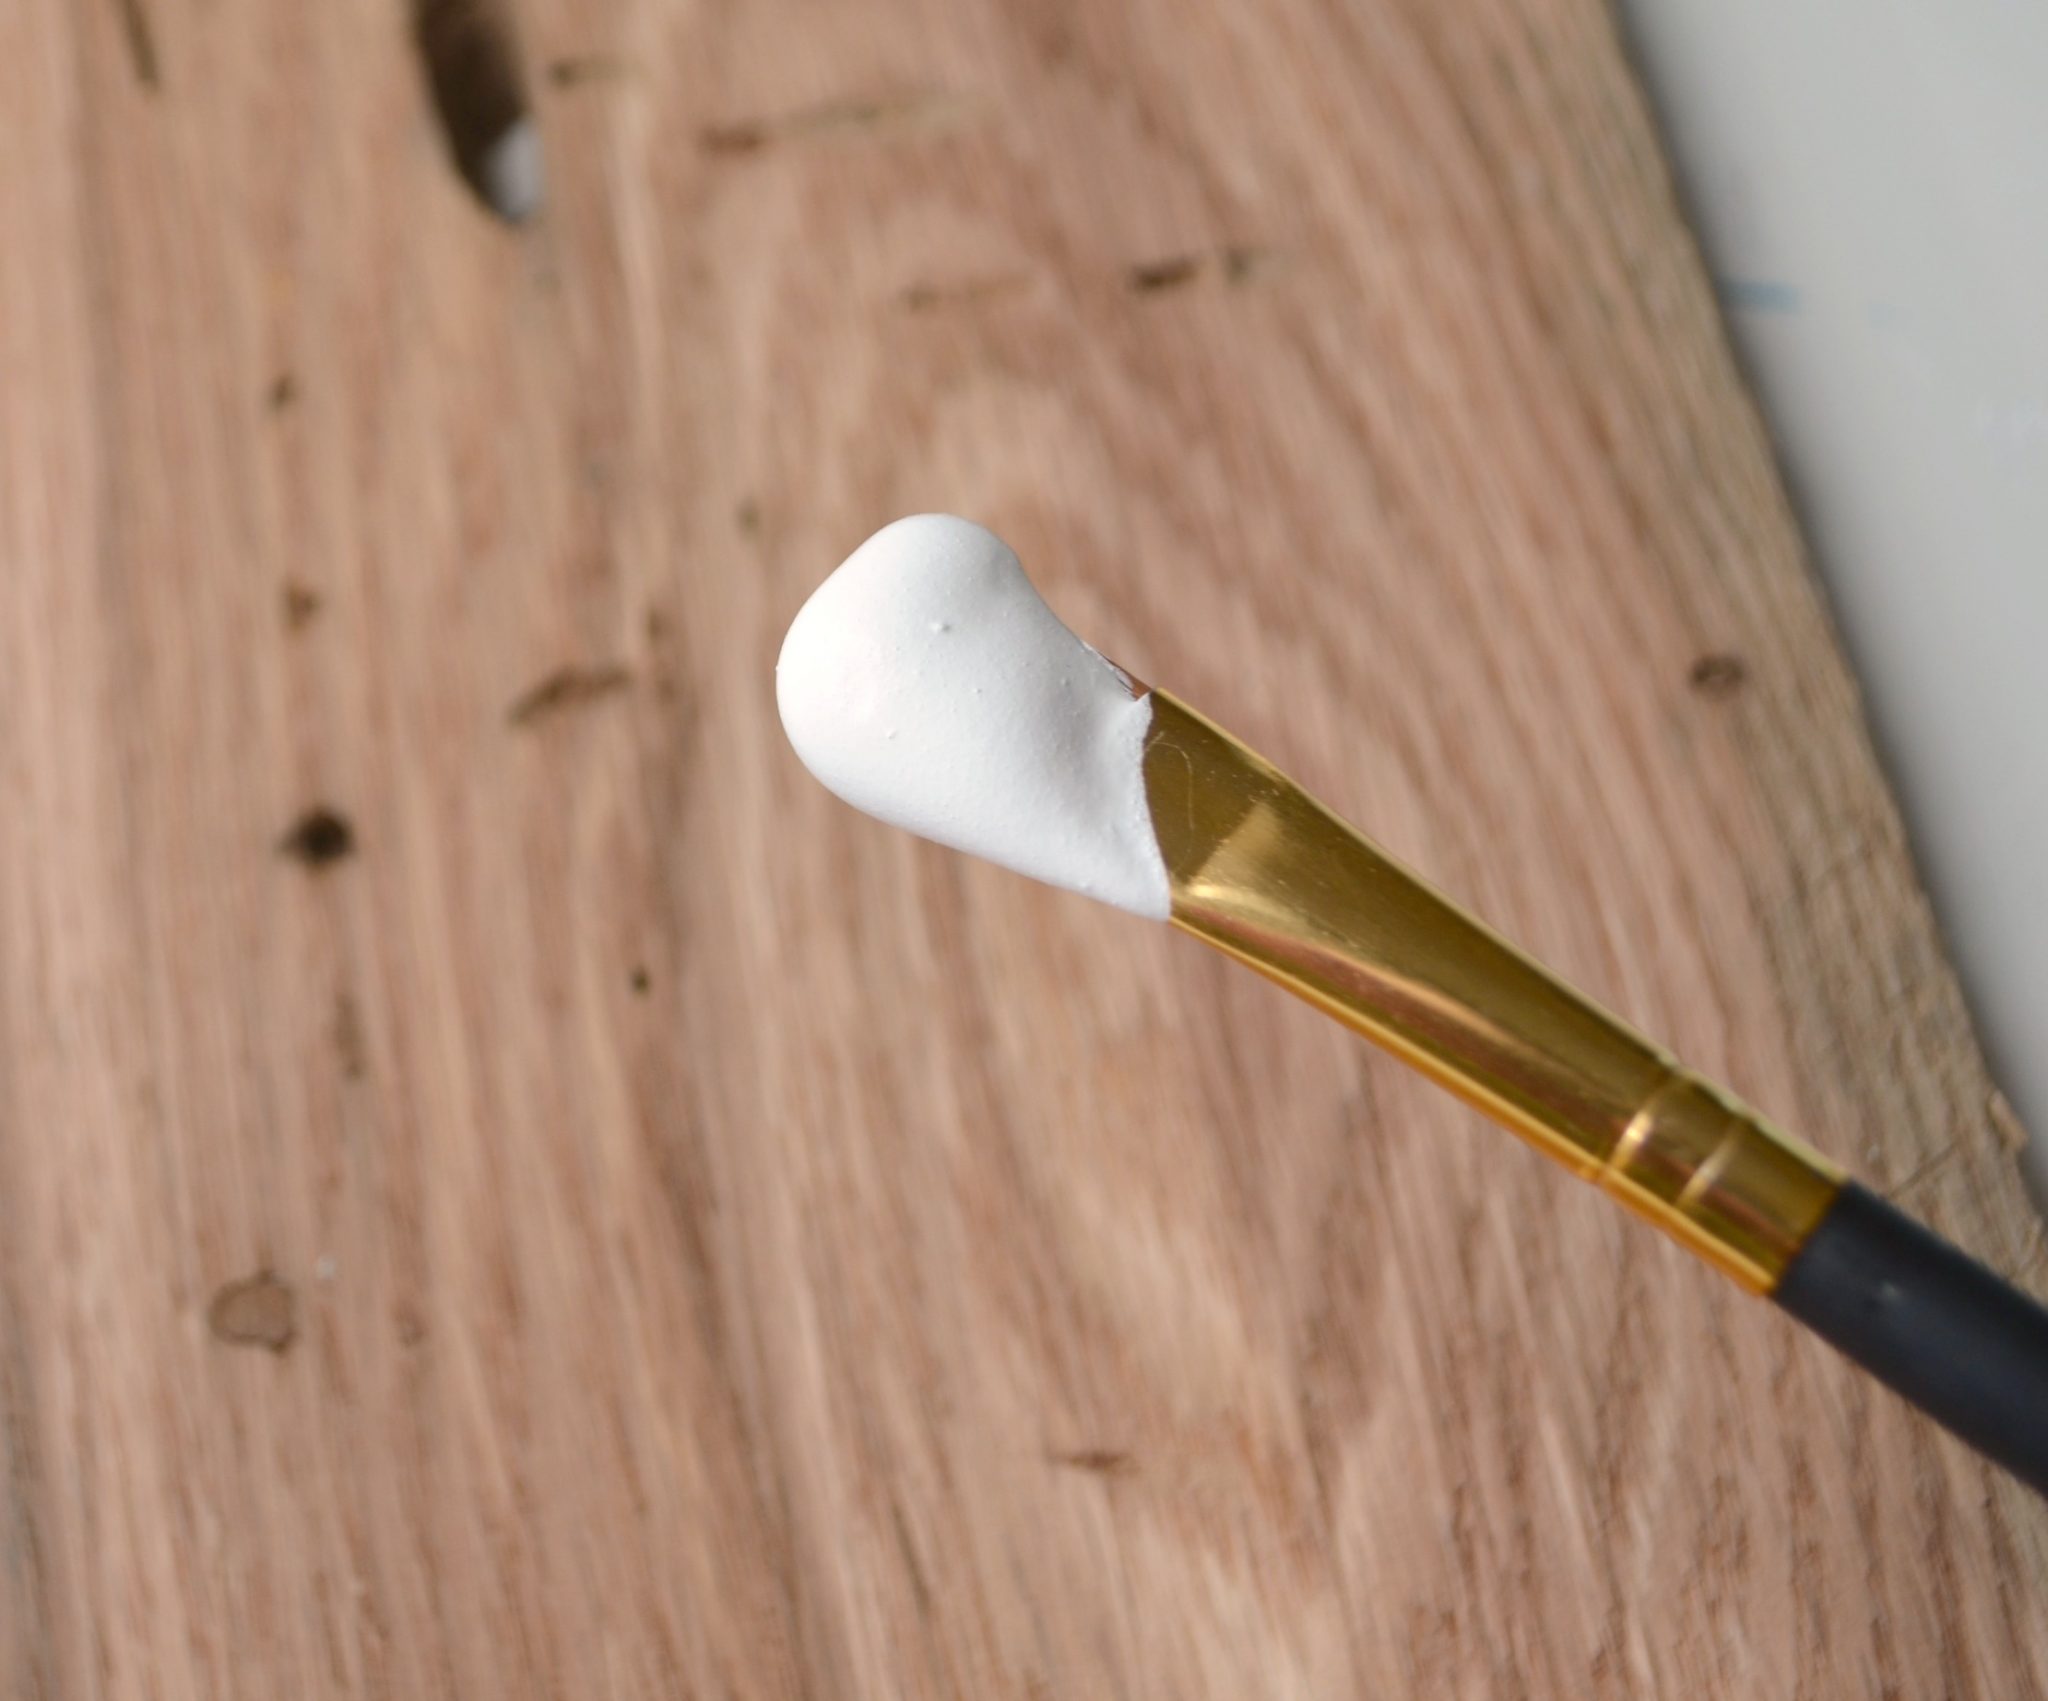
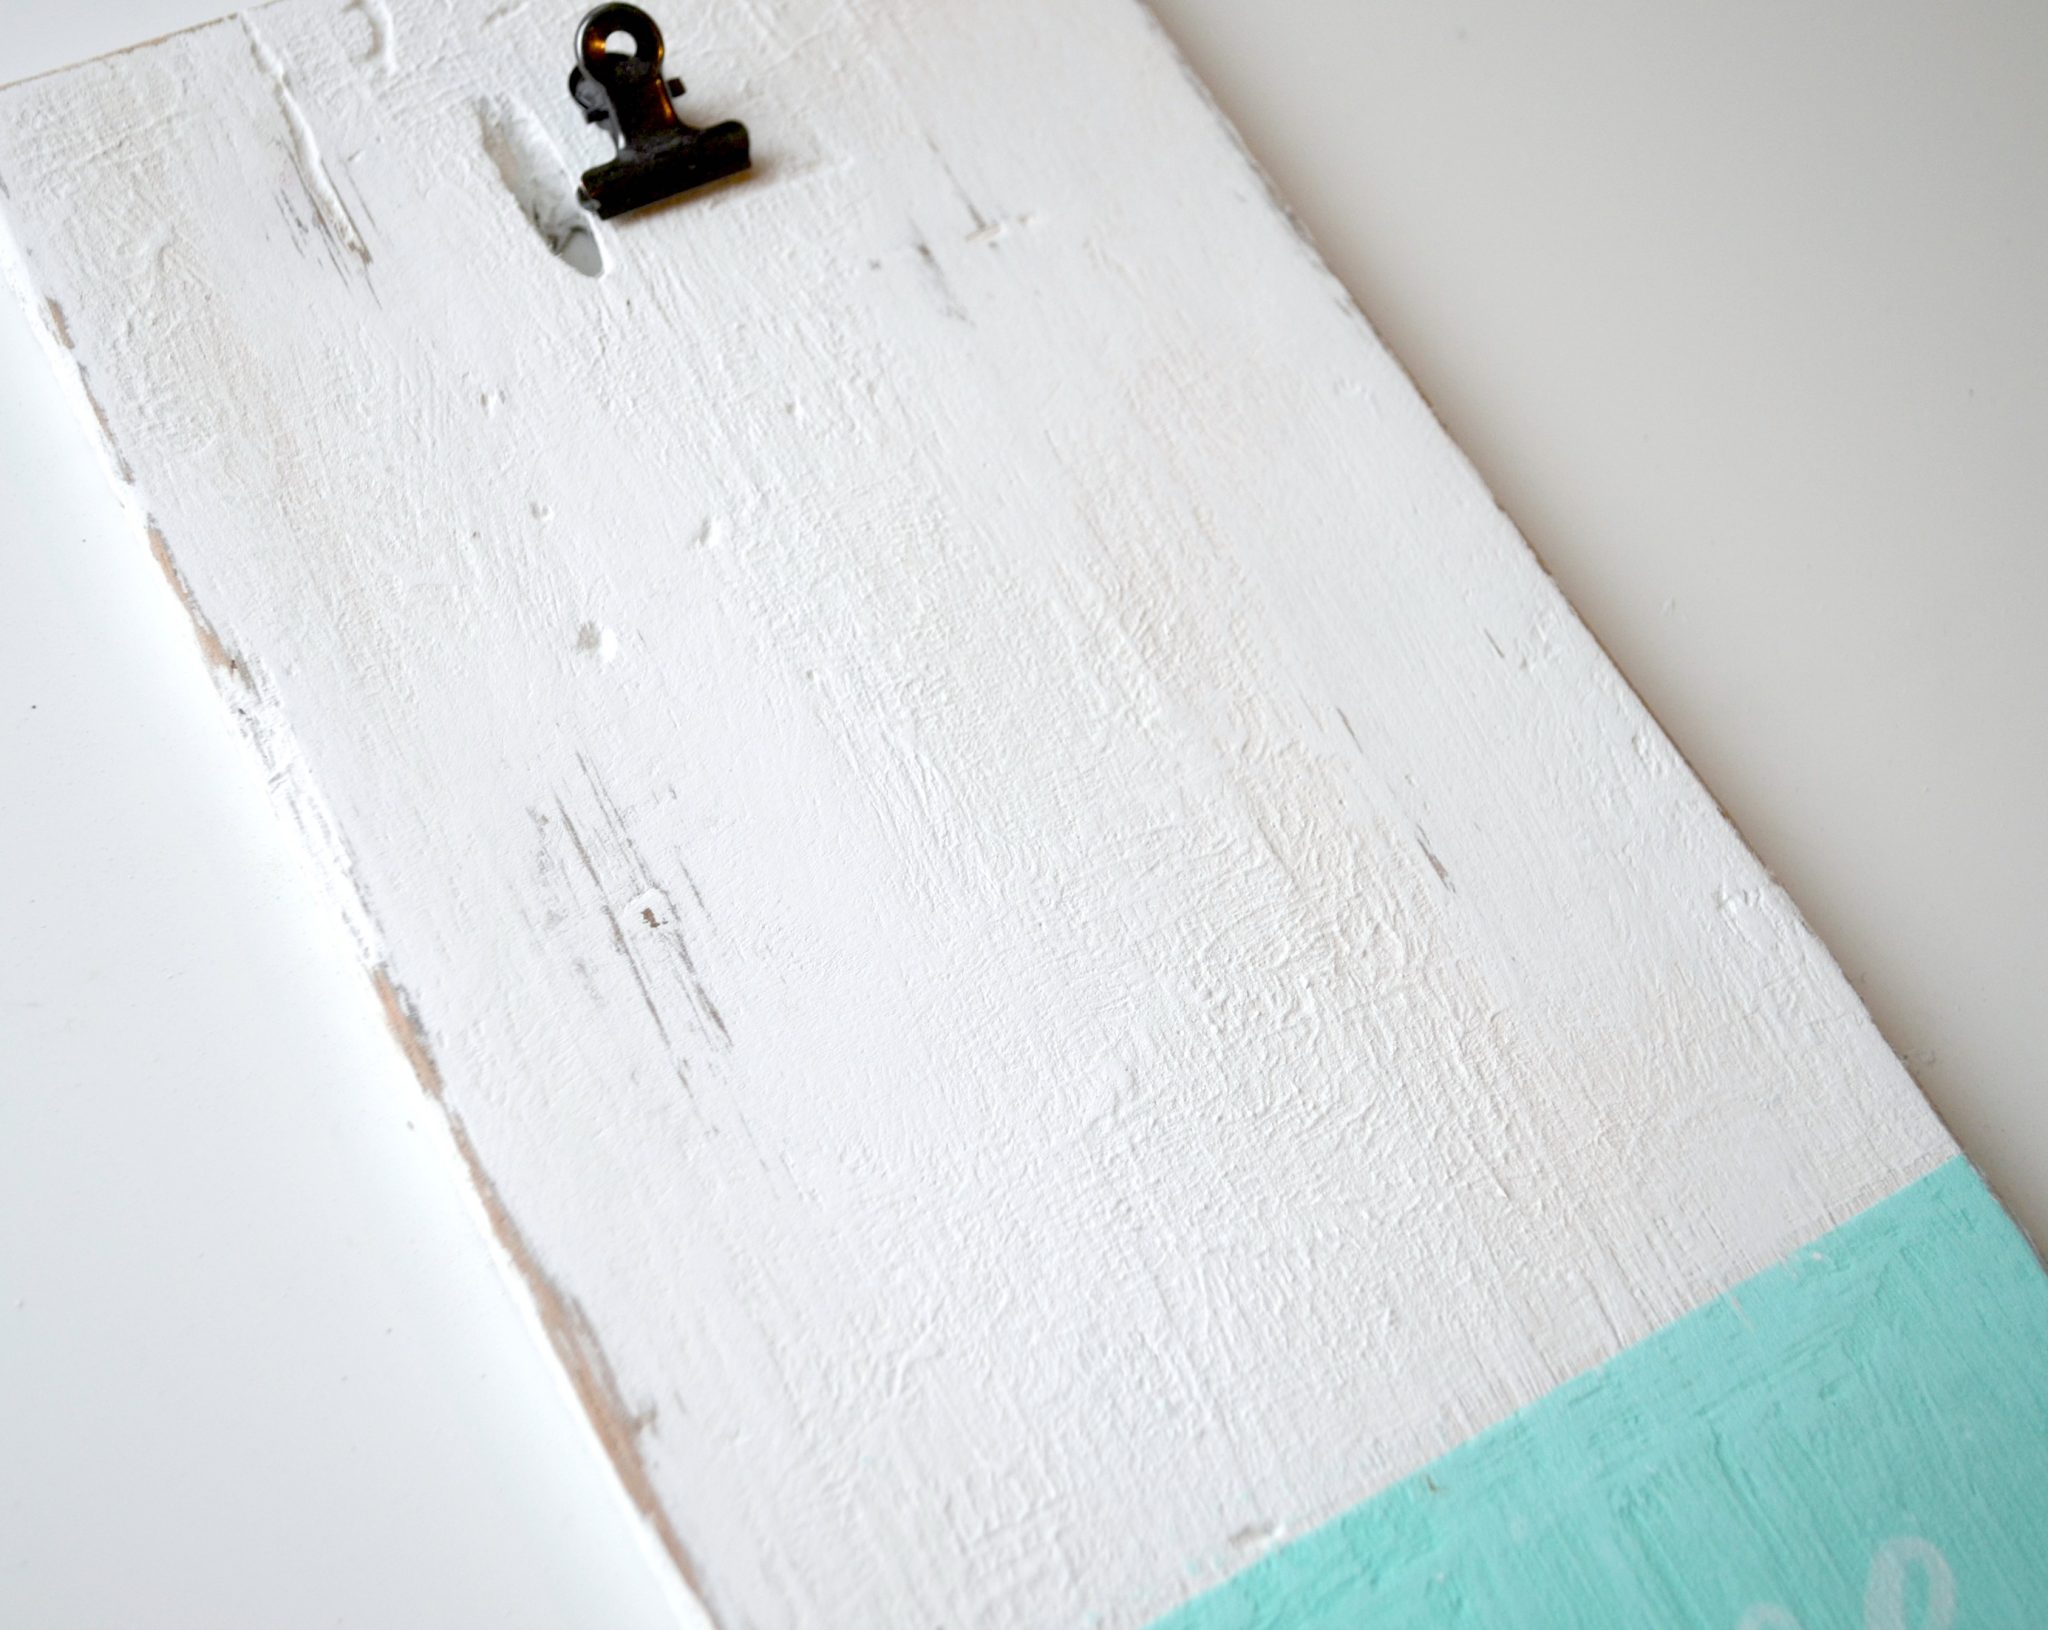
Step 1: Apply two coats of Sand Dollar paint.
You can see that the texture of the paint is completely different from what you’d find with a regular acrylic or chalk paint. This Coastal paint is thicker and has some texture to it. I was trying to think of a good way to describe the consistency, and my neighbor came up with a great comparison; she said it feels like you’re spreading frosting. You can apply the paint with a palette knife or any kind of brush you like.
Step 2: Add texture.
The paint already has some texture built in, but you can add more by going back over the surface with dry stipple brush while your paint is still wet. You can also use a palette knife to create little peaks in the wet paint.
Step 3: Tape off the bottom 1/4 of your piece of wood. Apply Sea Mist paint for a color blocked effect.
Once again, add any texture you like while the paint is still wet, then remove the tape.

Step 4: Distress the wood by sanding around the edges and other areas on the surface of your project.
You can, of course, do this by hand with sandpaper, or you can use a power sander instead. I love my RYOBI ONE+ 18V Corner Cat Sander for jobs like this, because it saves a ton of time and effort. I start by going around all the edges and corners, then looking for spots that would naturally start to show wear after years of being exposed to the elements.
There’s no right or wrong amount of distressing to do; it all depends on your own personal taste. Some folks like a more fully painted look while others remove far more paint than I personally would. Sand until you like the look of your project, then stop! Wipe off any excess dust from the sanding process with a damp paper towel.
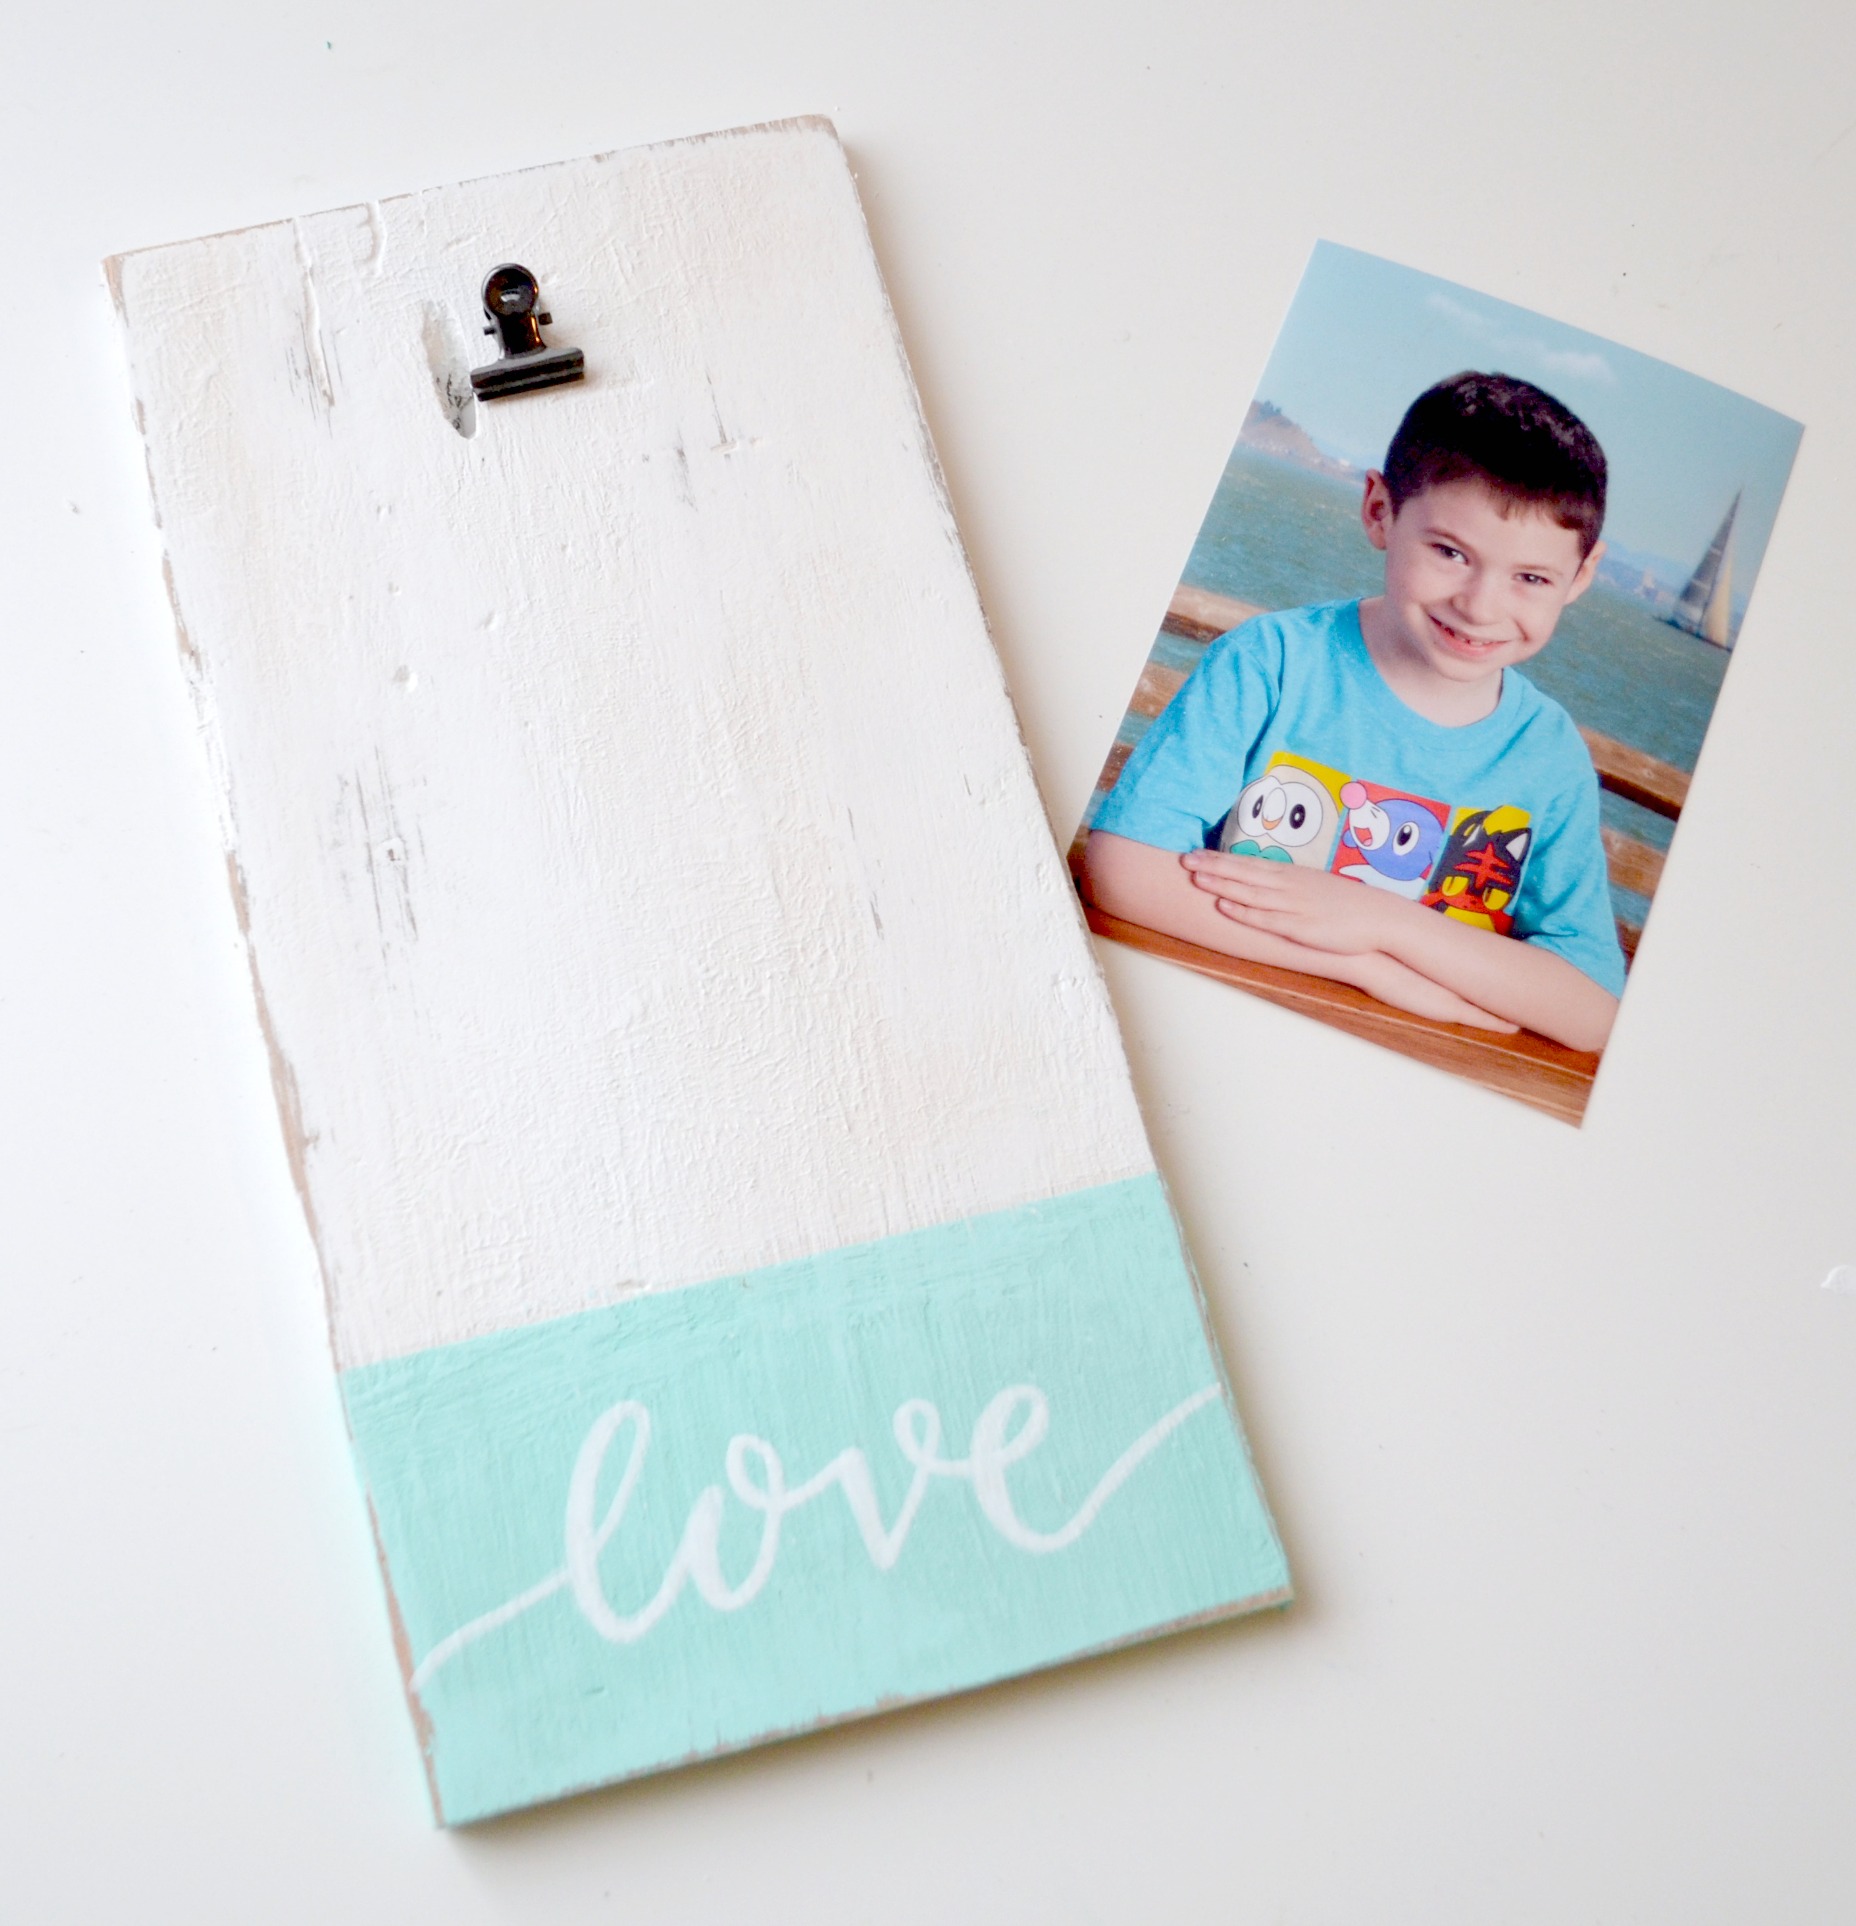
Step 5: Glue a small metal craft clip to the top center of your wood.
You’ll want to use a strong adhesive that’s able to hold both the clip and the weight of your photo.
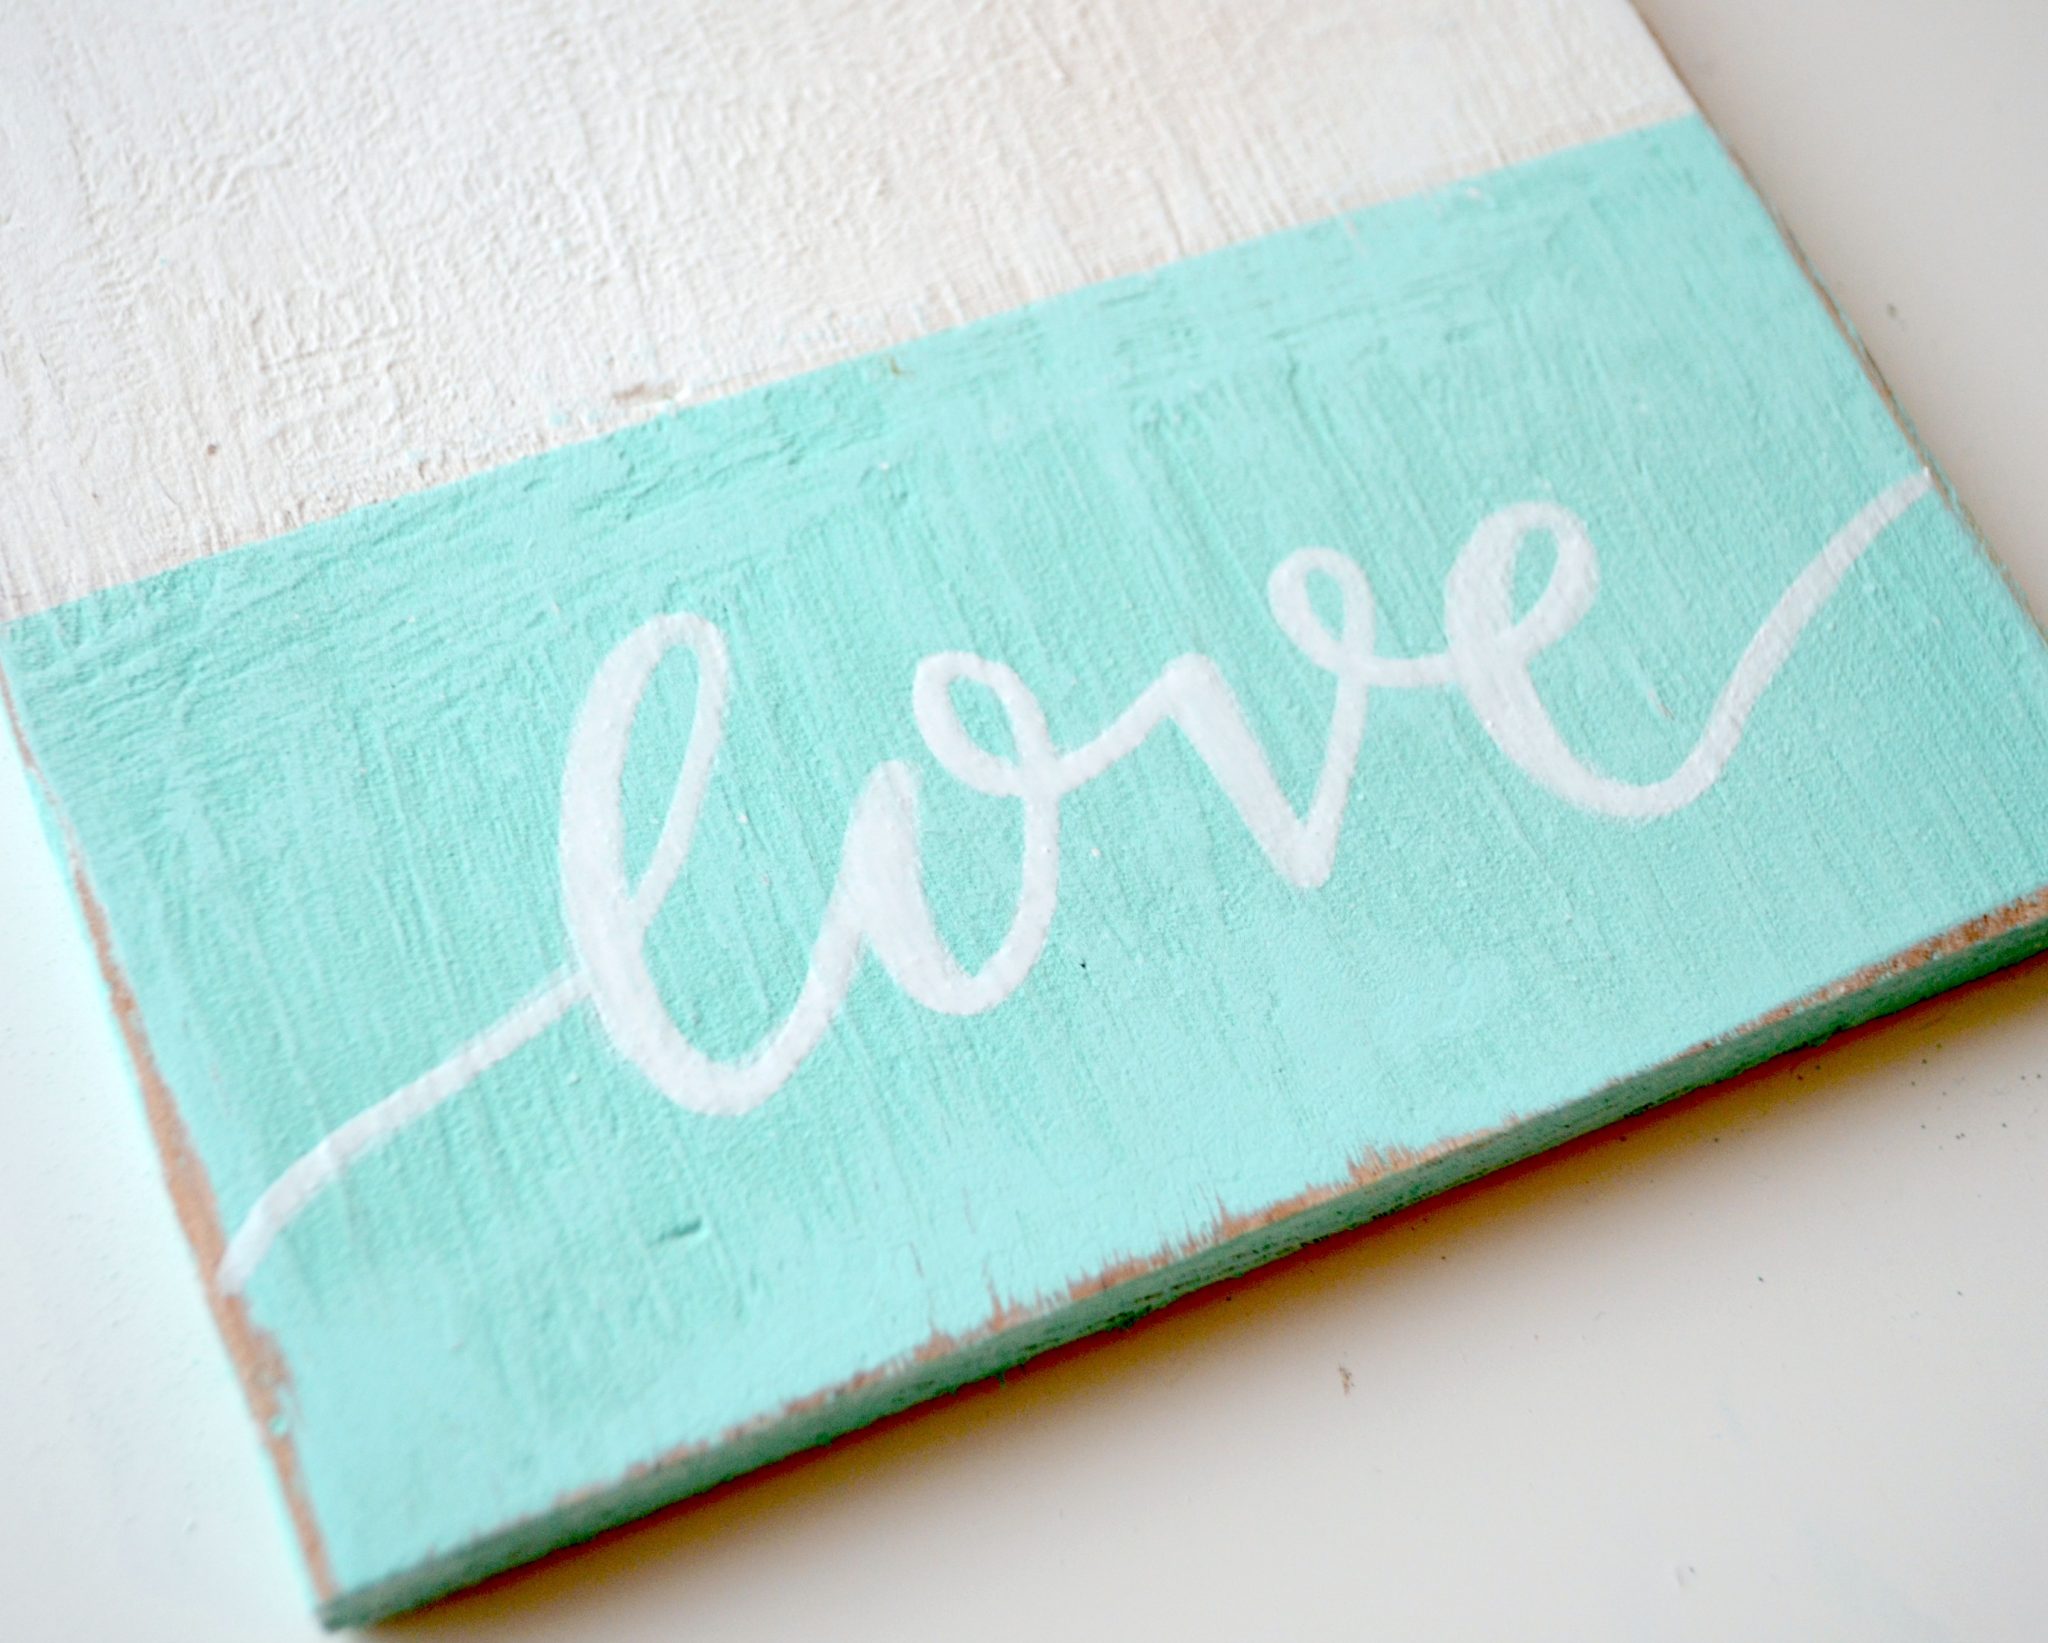
Step 6: Add a word or design to the bottom painted portion of your photo holder.
As many of you know, hand lettering is my jam, so I lettered the word “love” on mine with white paint. However, you can easily use one of the many FolkArt stencils instead to create a design, word or phrase.
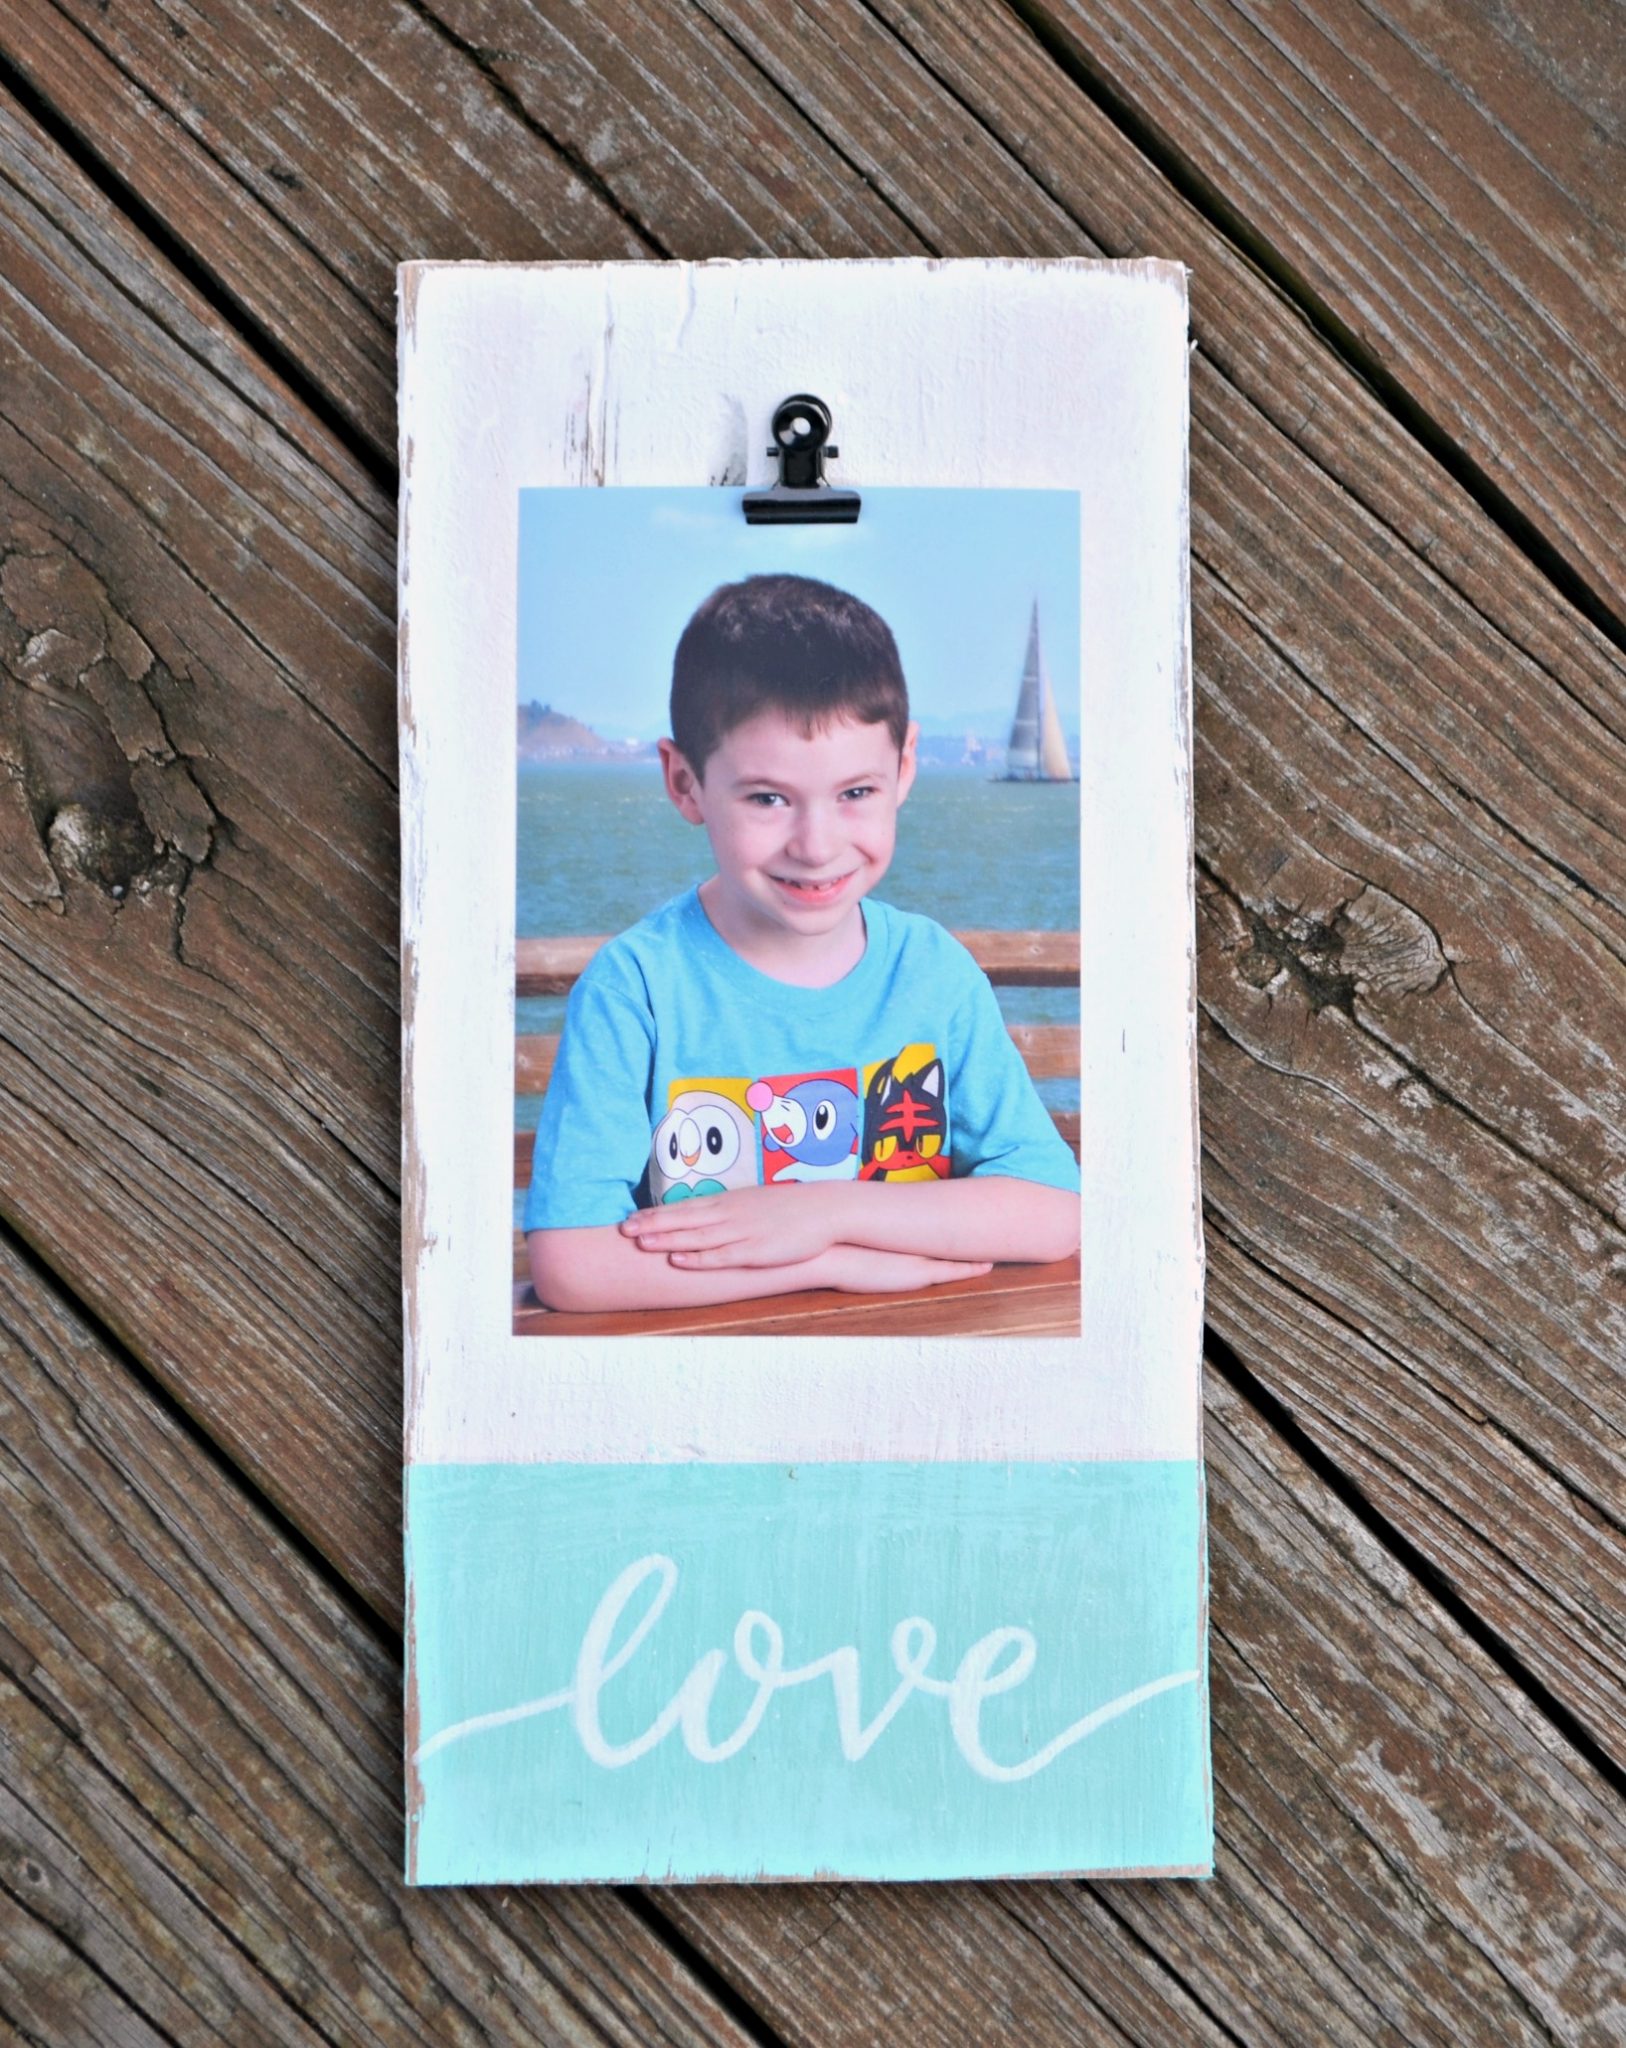
Step 7: Trim and attach your photo.
My 4×6 photo was a perfect fit, but if your scrap wood is a different size, trim the photo to whatever dimensions you need it to be. Then, clip it in place.
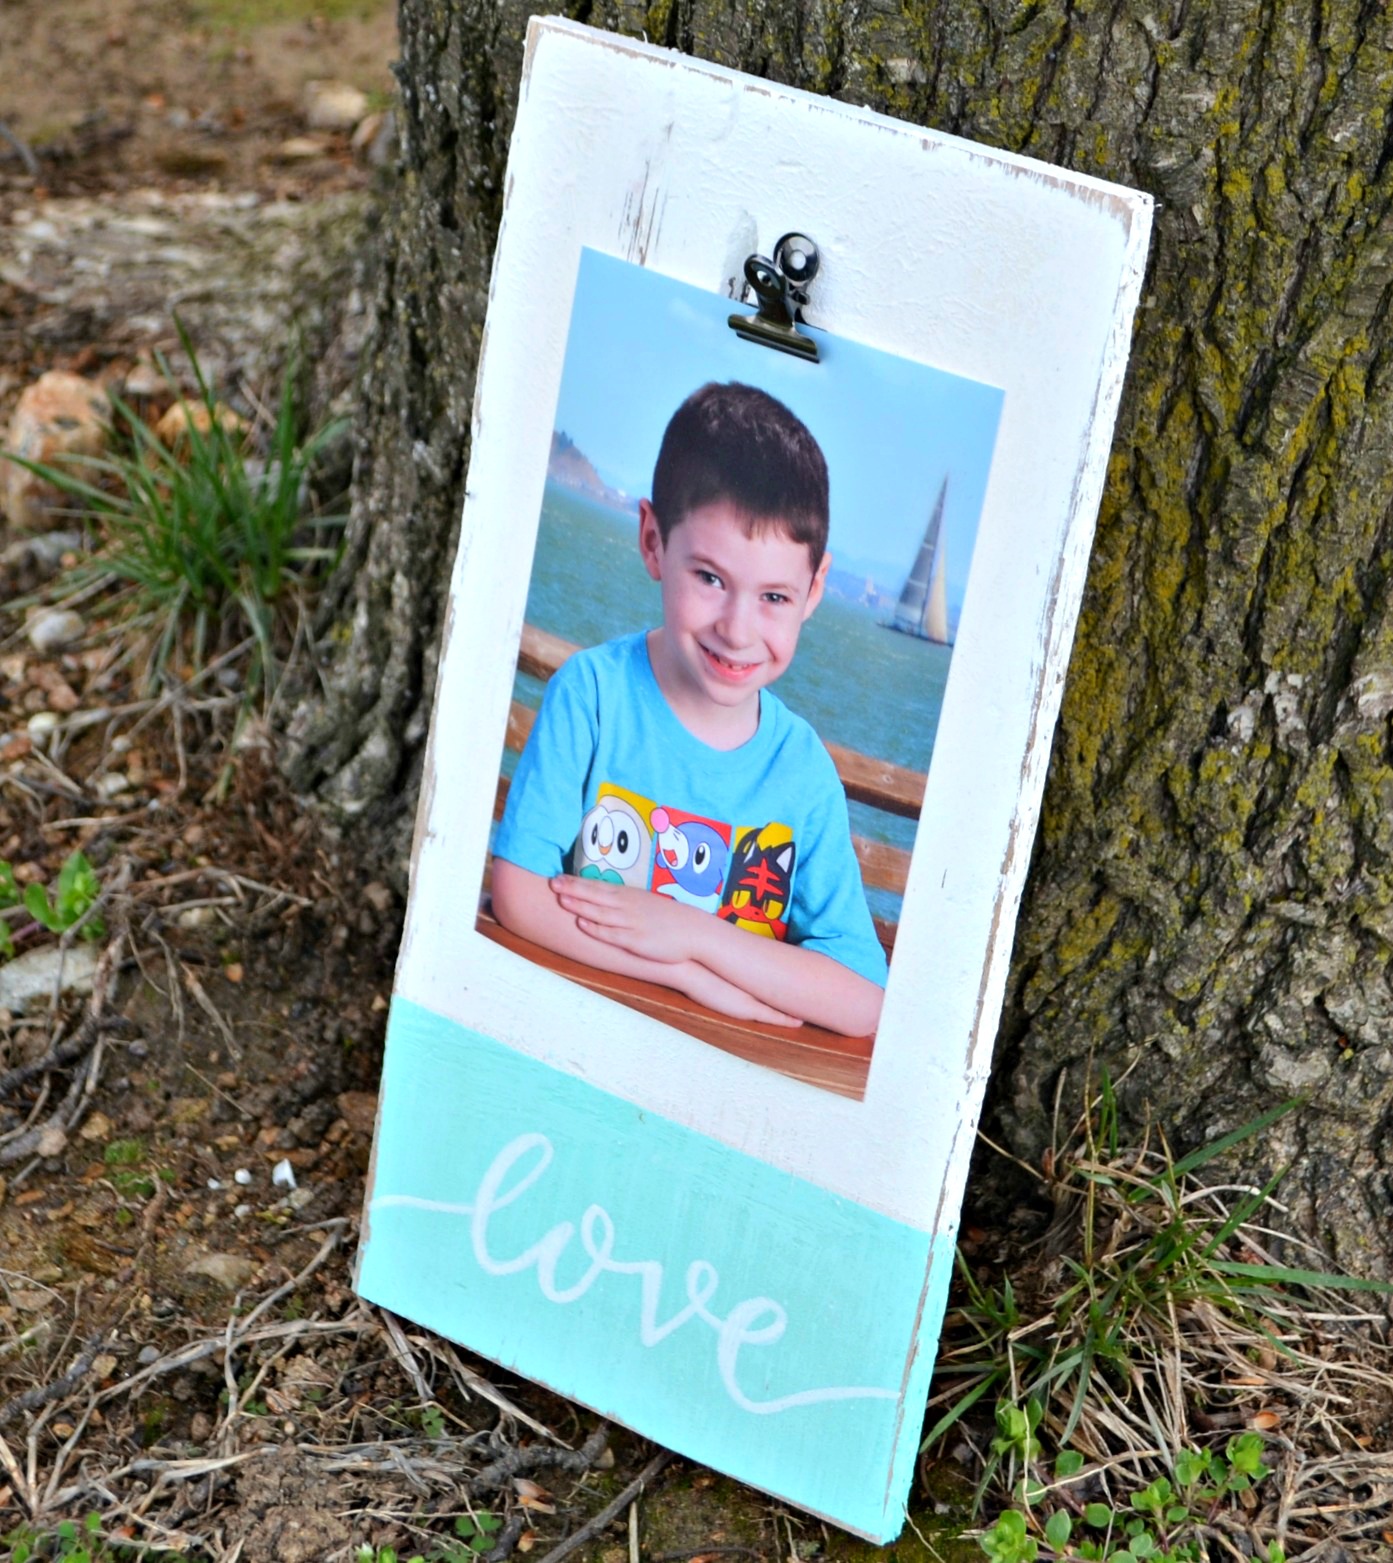
One of my favorite things about this photo display is how simple it is to change by simply unclipping one photo and replacing it with another. Right now, Little Crafter’s spring school picture seems to complement it perfectly {he even chose to have the sailboat background!} but this summer when we get new family photos at the beach, I can switch things around.
I am a huge fan of the weathered coastal look, and I know many of you are too. You are going to love this new Coastal paint and the possibilities it brings to your projects.
I also recently used this paint to create my front door sign…be sure to check out that tutorial if you haven’t already!

Several of my fellow Plaid Creators are sharing their latest projects using FolkArt Coastal today; be sure to check them out for more inspiration! The rest of the Plaid Creators have been busy playing with some other new products to create Fairy Gardens! Check out all of their projects here:
To stay in the loop about all the newest products and project ideas, be sure to follow Plaid on Facebook, Pinterest, & Instagram.


What a nice way to display his picture…
Love the color.