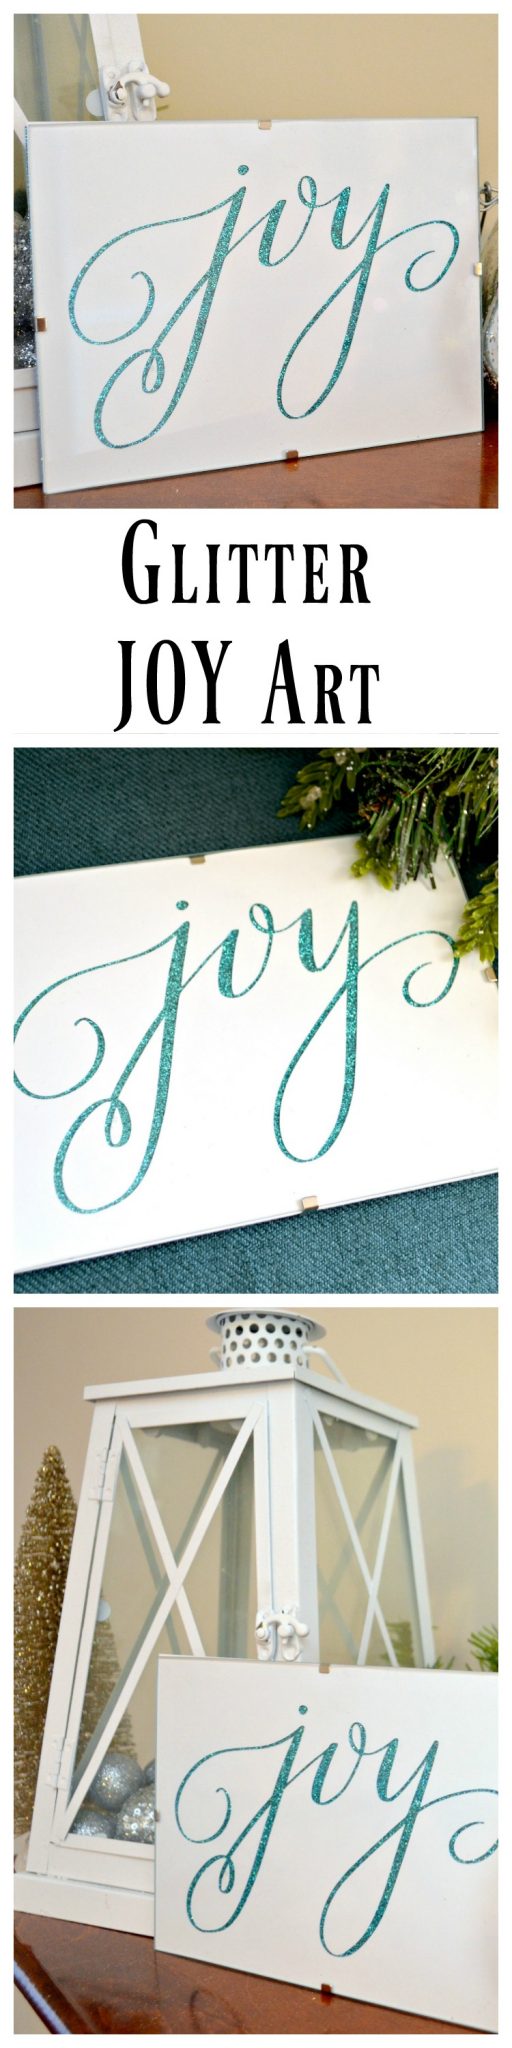
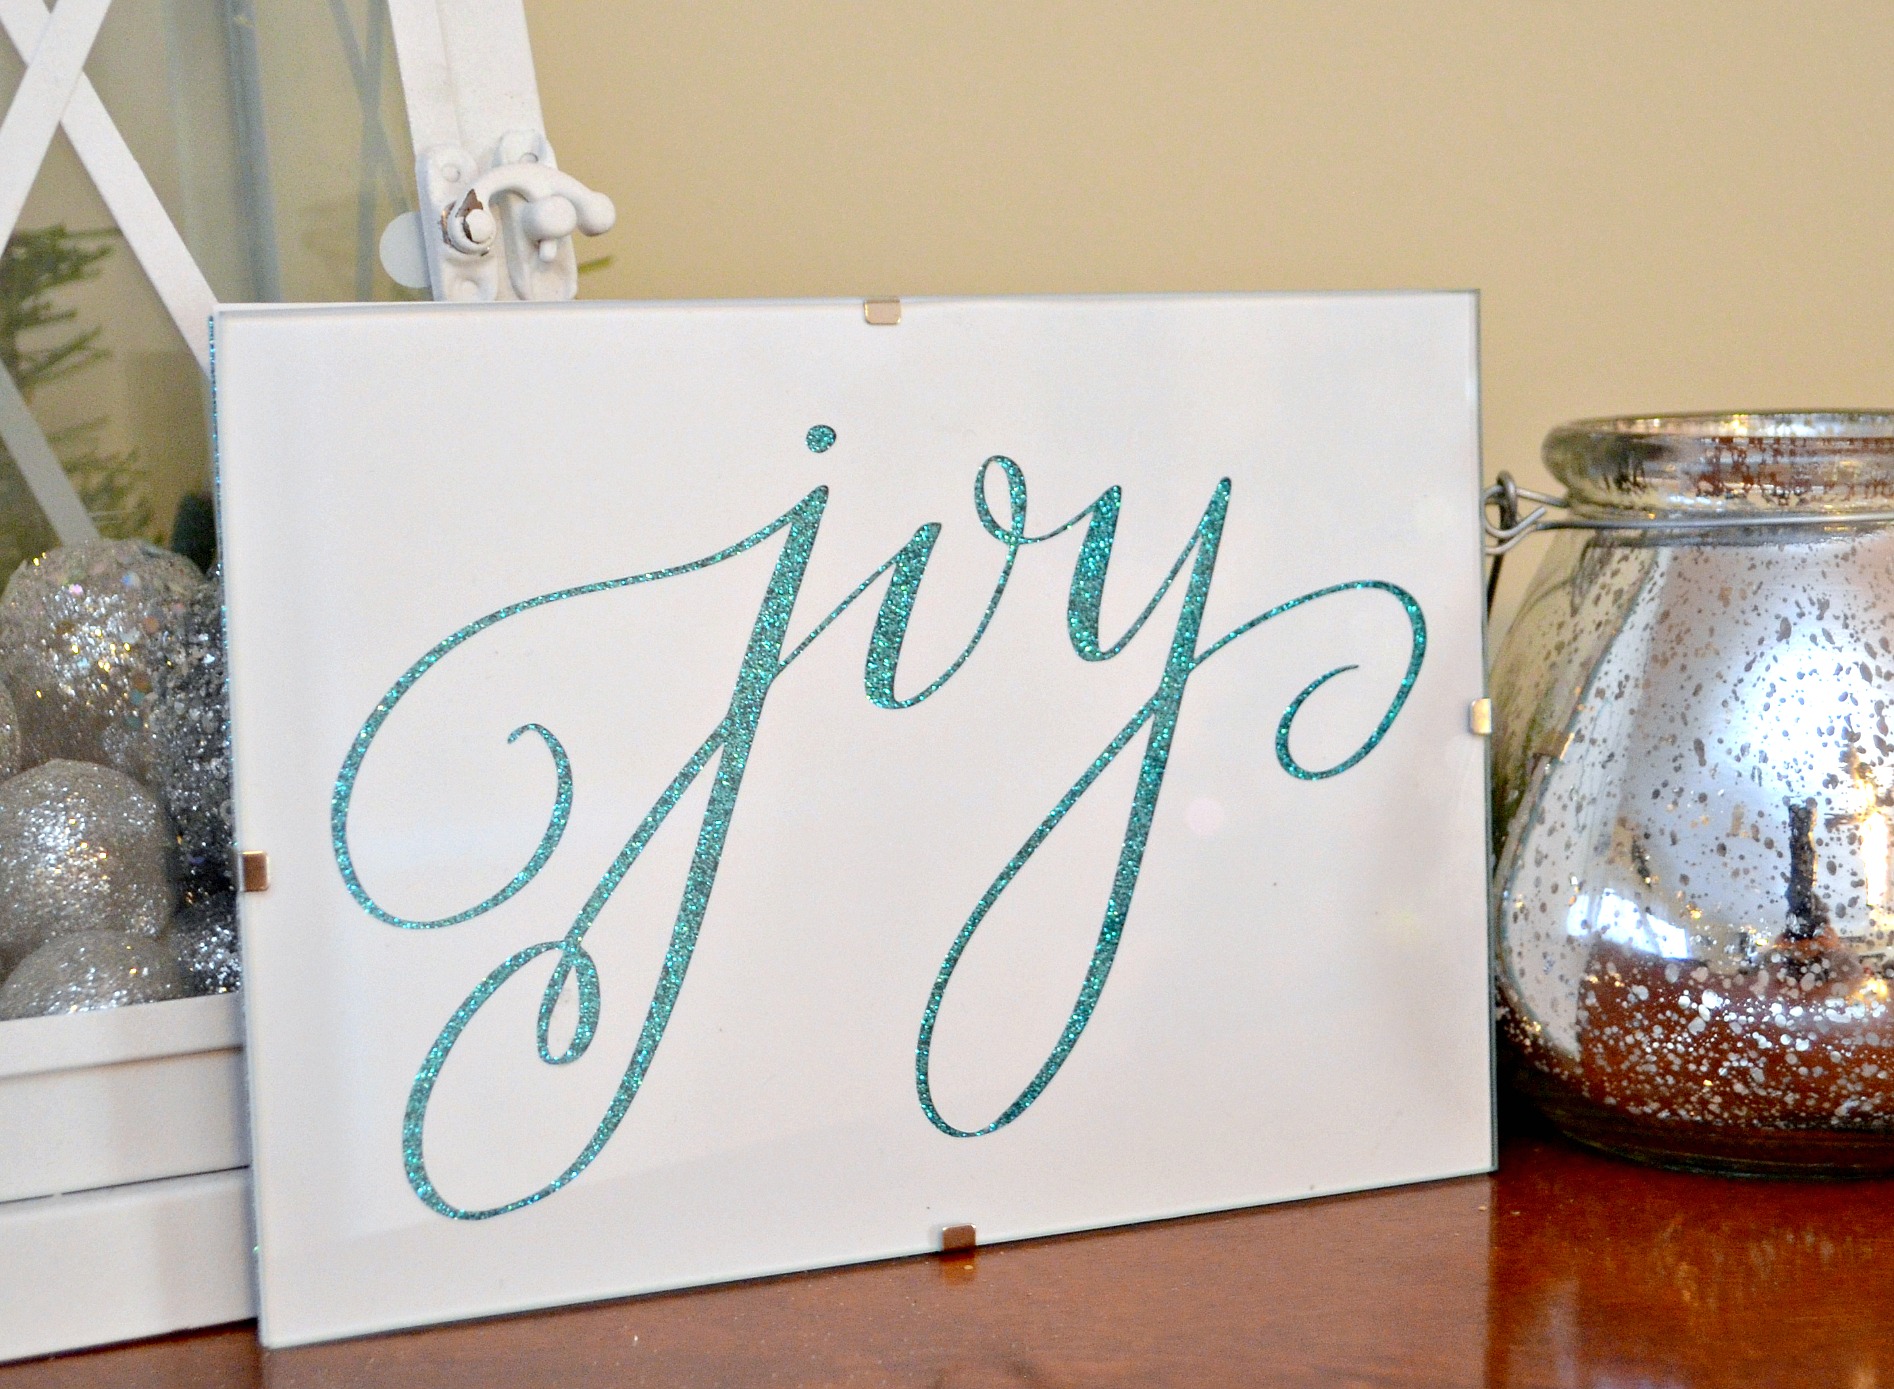
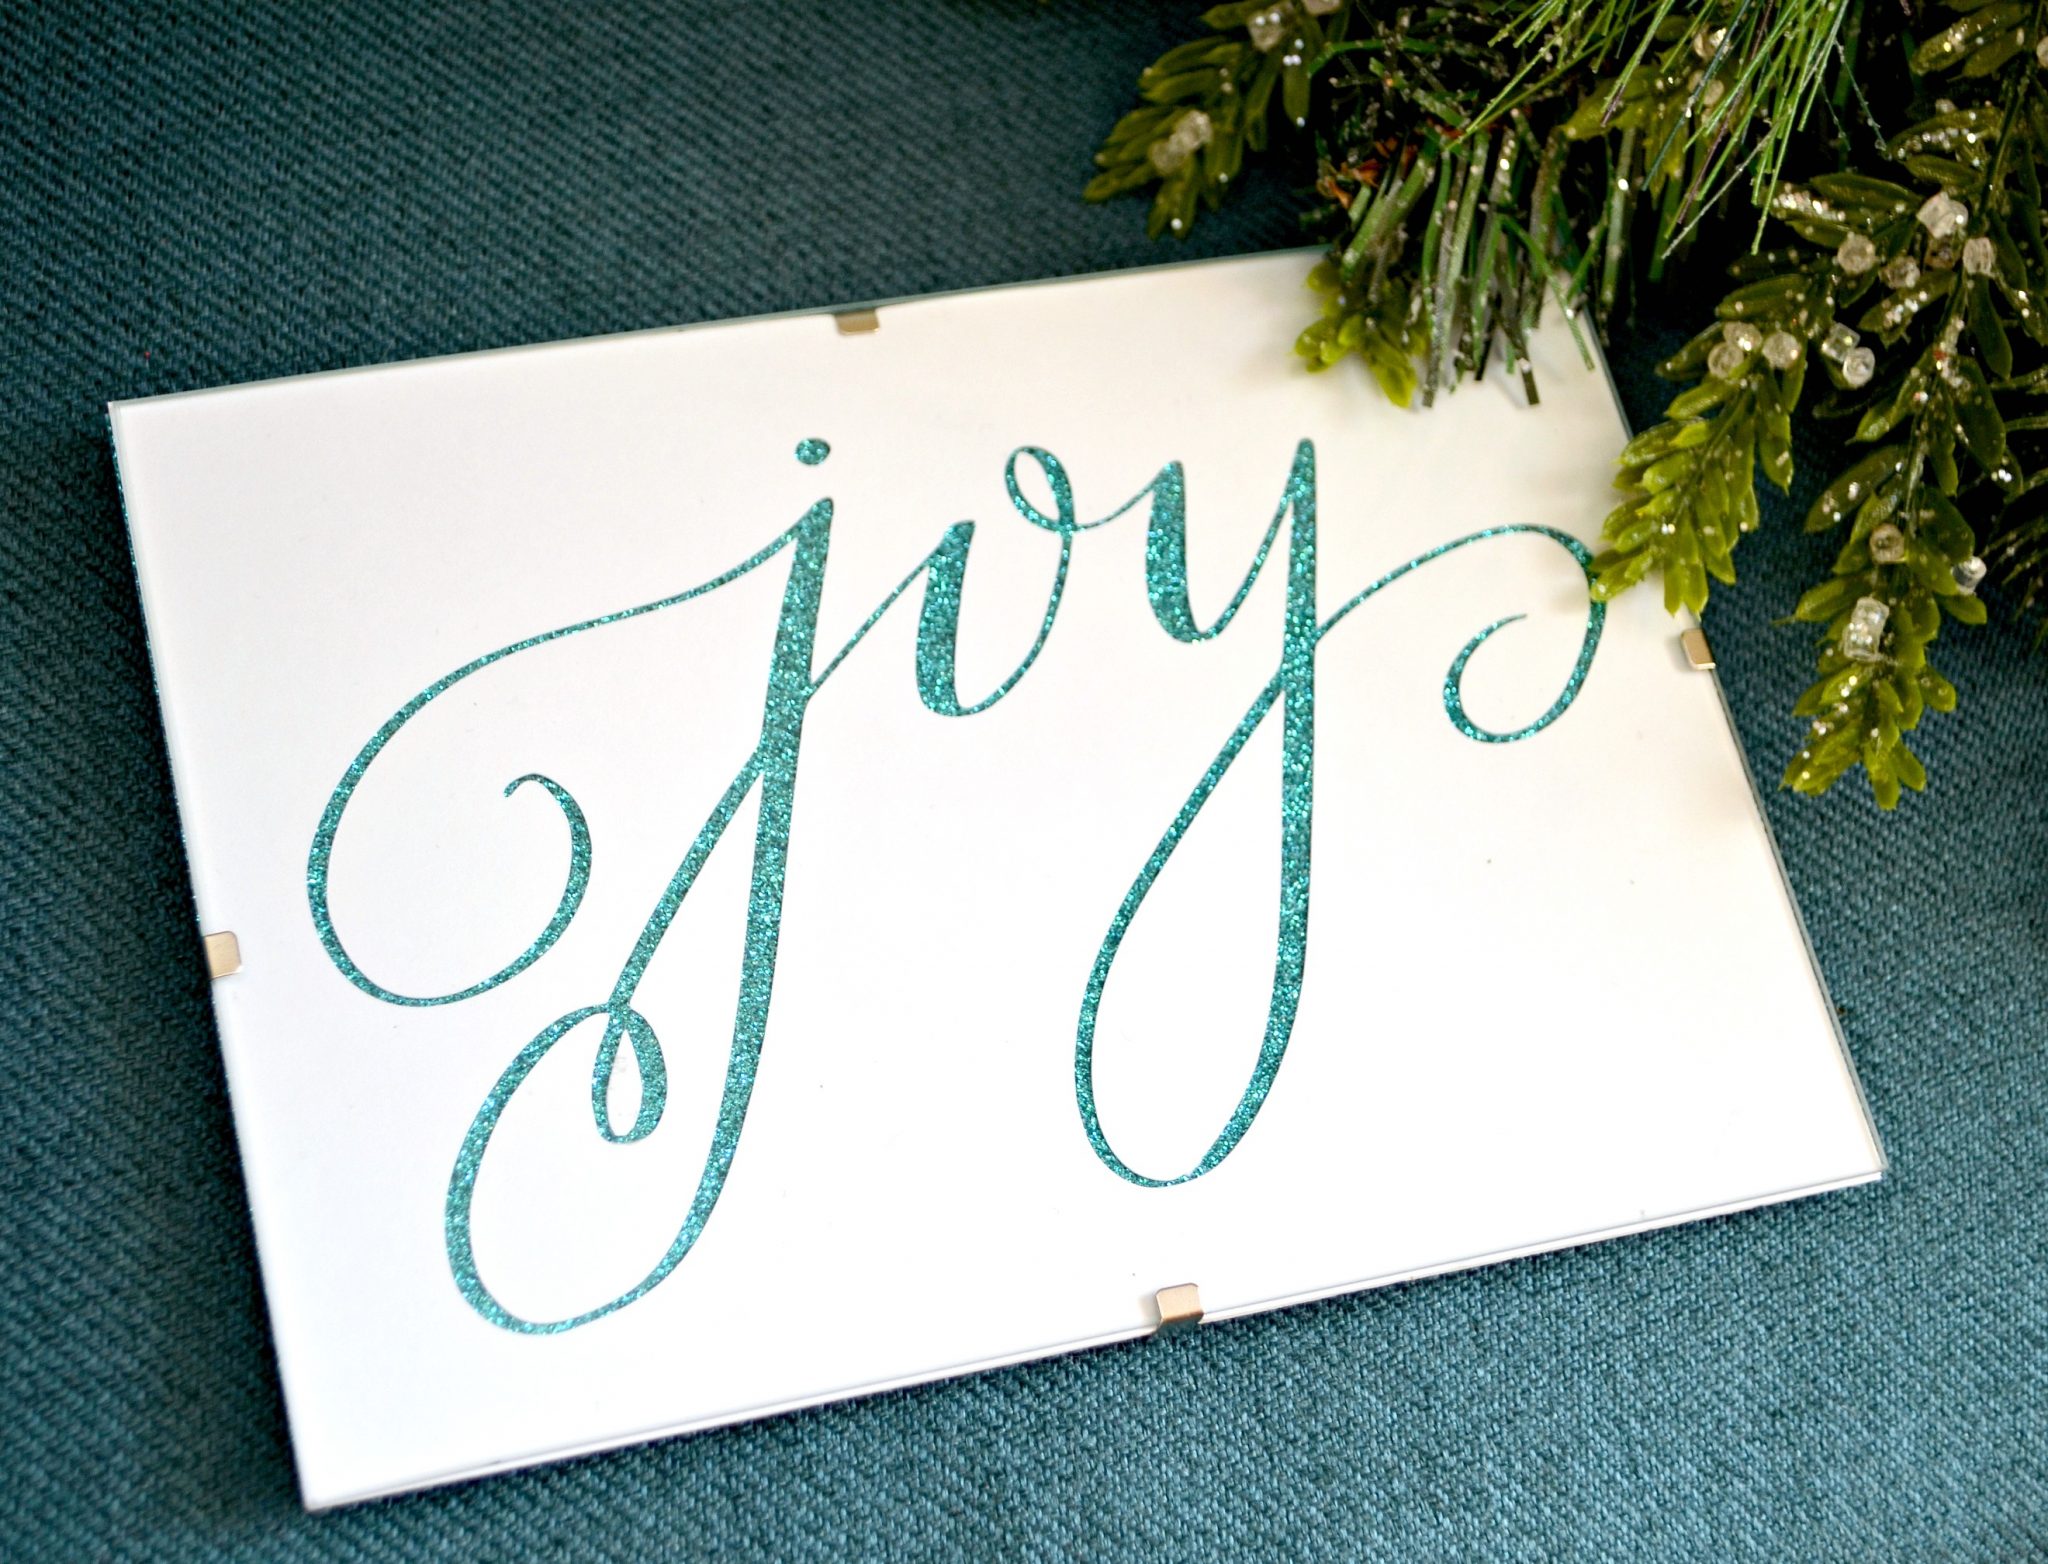
Glittered “JOY” Art
Friends, you know I love me some glitter! And this time of year, it’s perfectly appropriate to decorate with it everywhere! Yesterday, I made a festive little piece of glittered “JOY” art to display as part of my holiday decor, and I loved it so much I just had to share it with you. It’s super simple to create, and takes very little time or skill. Take a look…
You’ll need:
Glitter Cardstock
White Cardstock
Scissors or Paper Cutter
Photo Frame
Cutting Machine and Software {I have the Silhouette Cameo and Silhouette Studio.}
“Joy” art or your own holiday image {This ‘joy’ is from my Hand Lettered Holiday Clip Art bundle.}
Step 1: Cut a piece of glitter cardstock the size of your frame.
Mine was 5×7, but you can use any size and shape you like! Also, there are lots of glitter papers to choose from; I used teal because it’s what I had on hand, but gold, silver, or red would be gorgeous too.
Step 2: Cut a piece of white cardstock the same size.
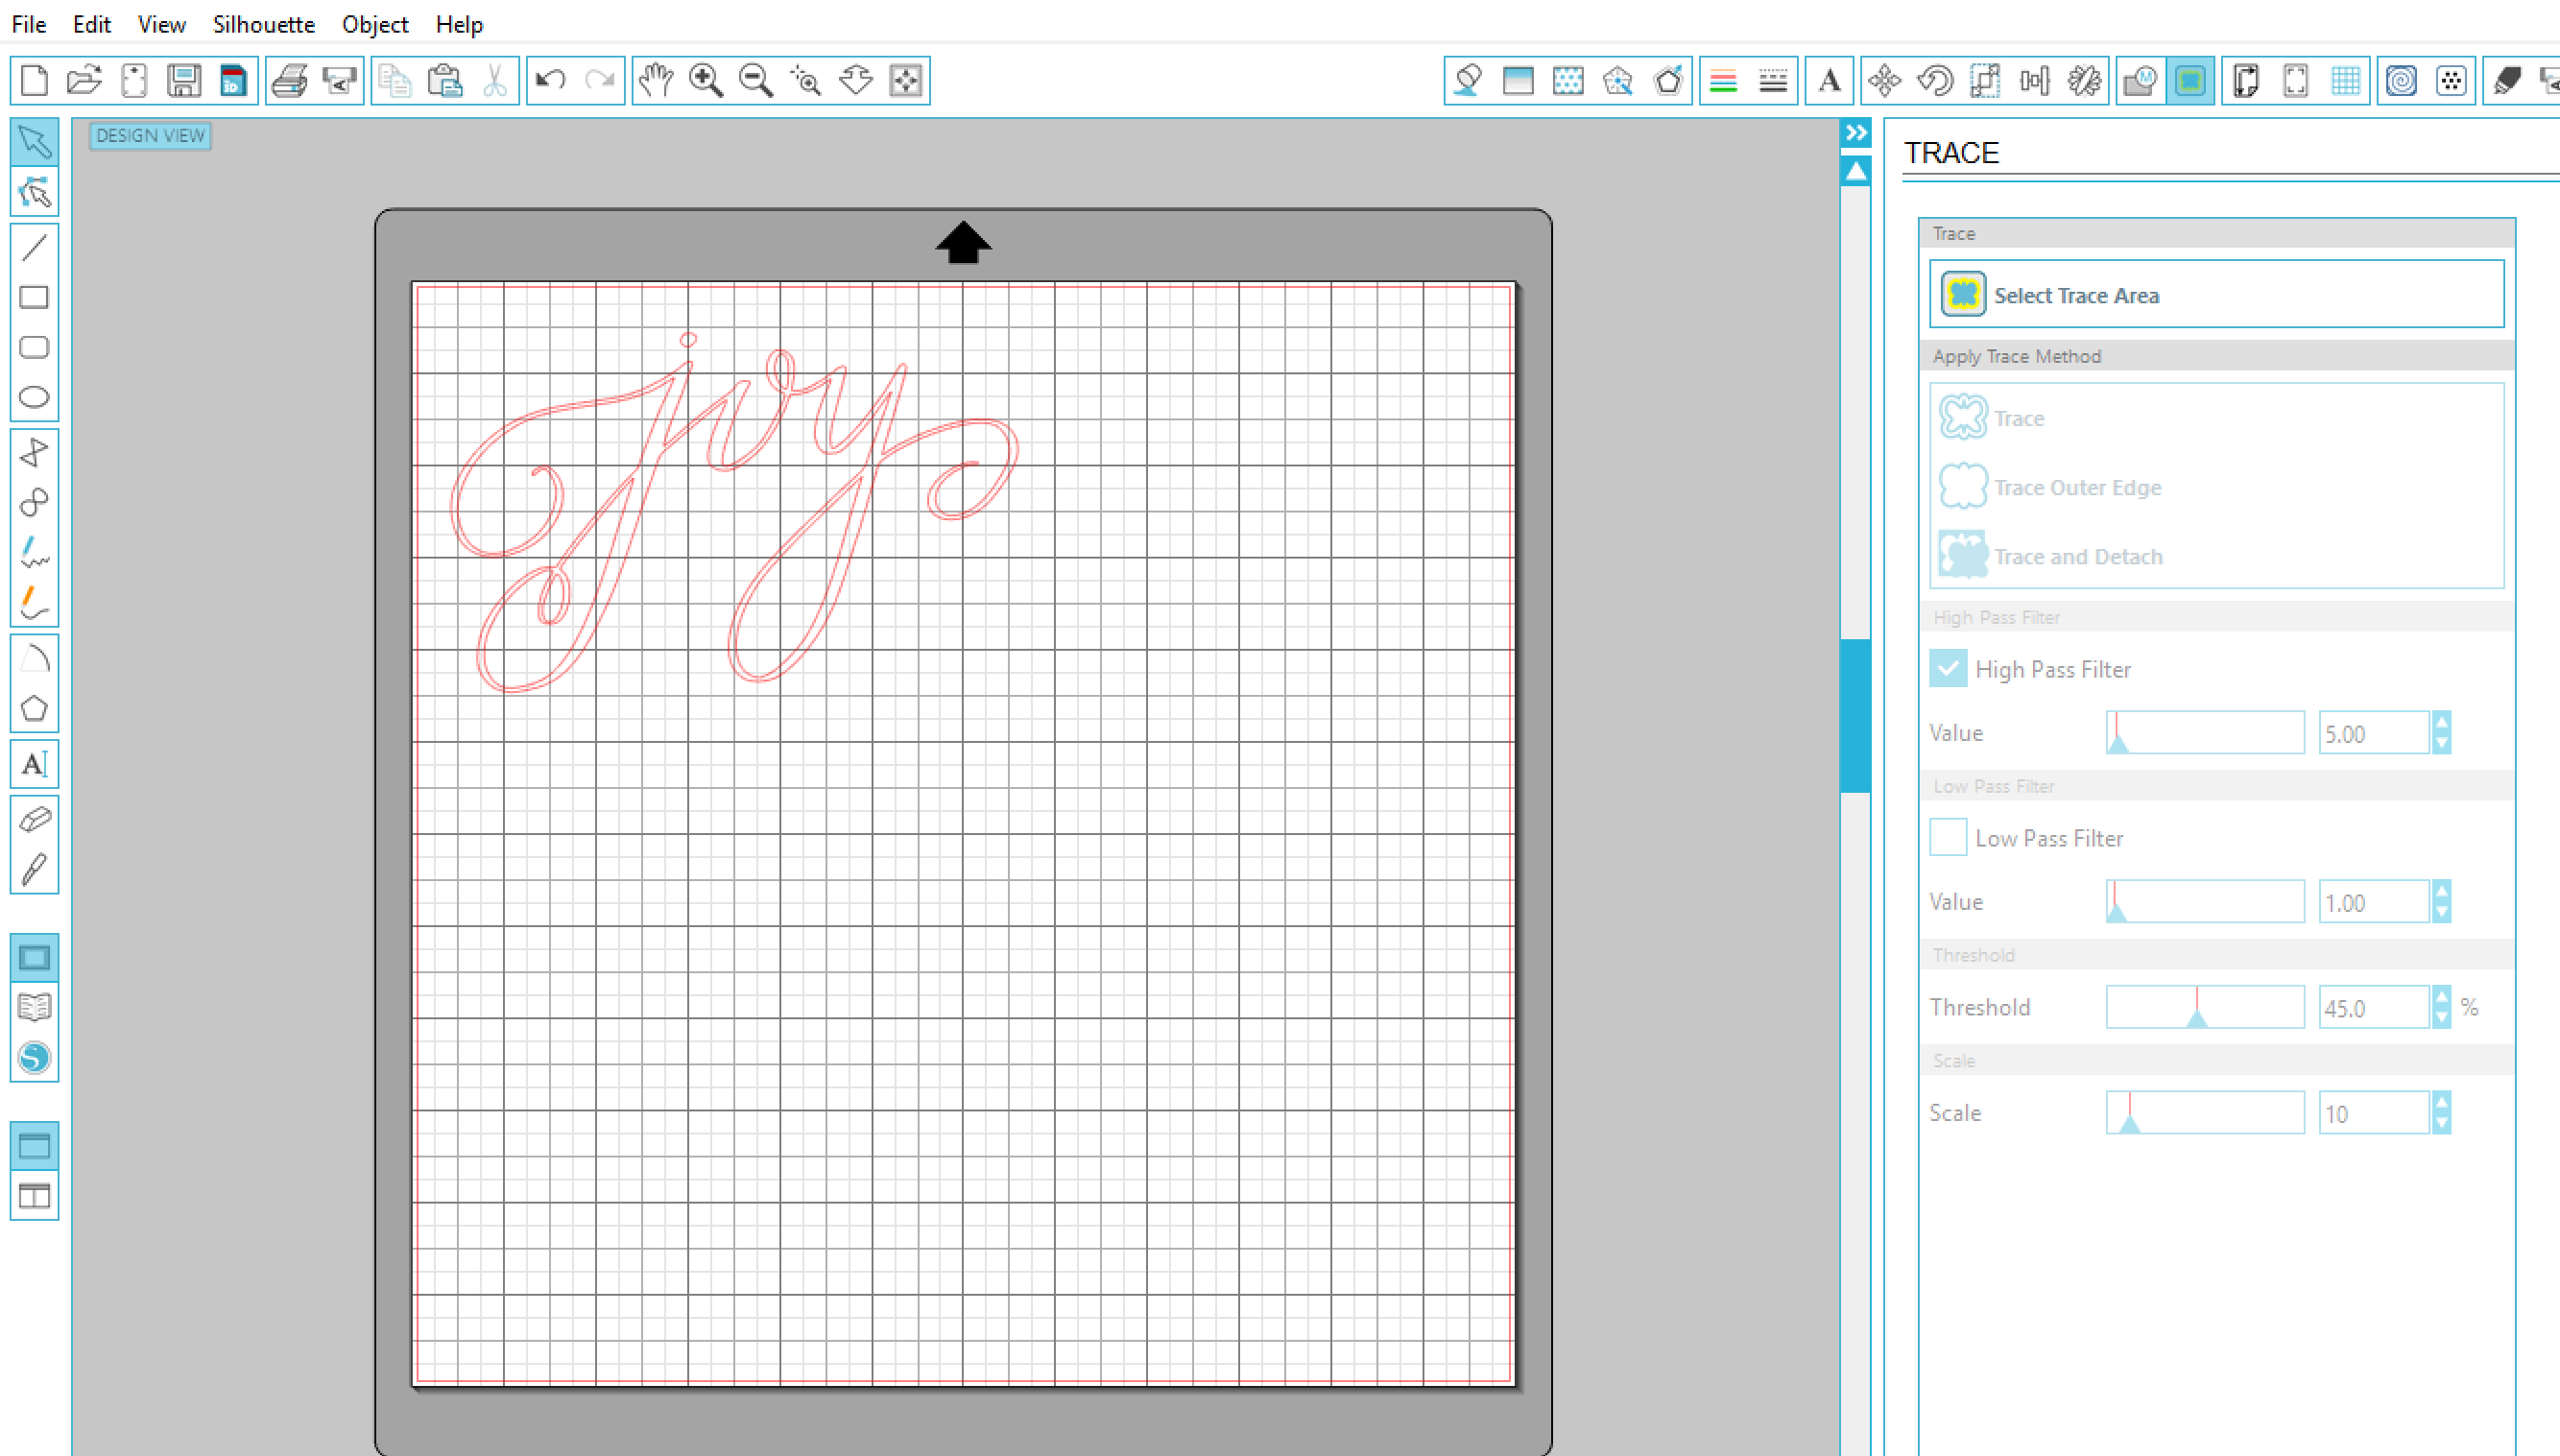
Step 3: Load your desired image into your cutting machine software and size it to your frame.
If it’s already a cut file, you’re good to go. If not, {mine wasn’t}, just trace it by selecting, “Object,” then, “Trace.” Click on, “Select Trace Area” and draw a box around the image, then choose “Trace.” You’ll see your image outlined in red. Remove the original image and you’re left with the red cut lines. From there, you can make it whatever size you like.
Step 4: In your software, adjust your cut settings and cut the image from your piece of white cardstock.
Step 5: Remove the cut areas from the design so that you have a negative image. Place it on top of your glitter paper.
Now you see the glitter come through, bringing your design to life with color and sparkle! Depending on what design you use, you will have some small unconnected pieces that you’ll need to place and glue to complete the image. In mine, it was the shapes inside the loop of the “o”, the “y”, and the “j.” Just put a bit of adhesive on the back of the white cardstock piece and adhere it where it needs to be.
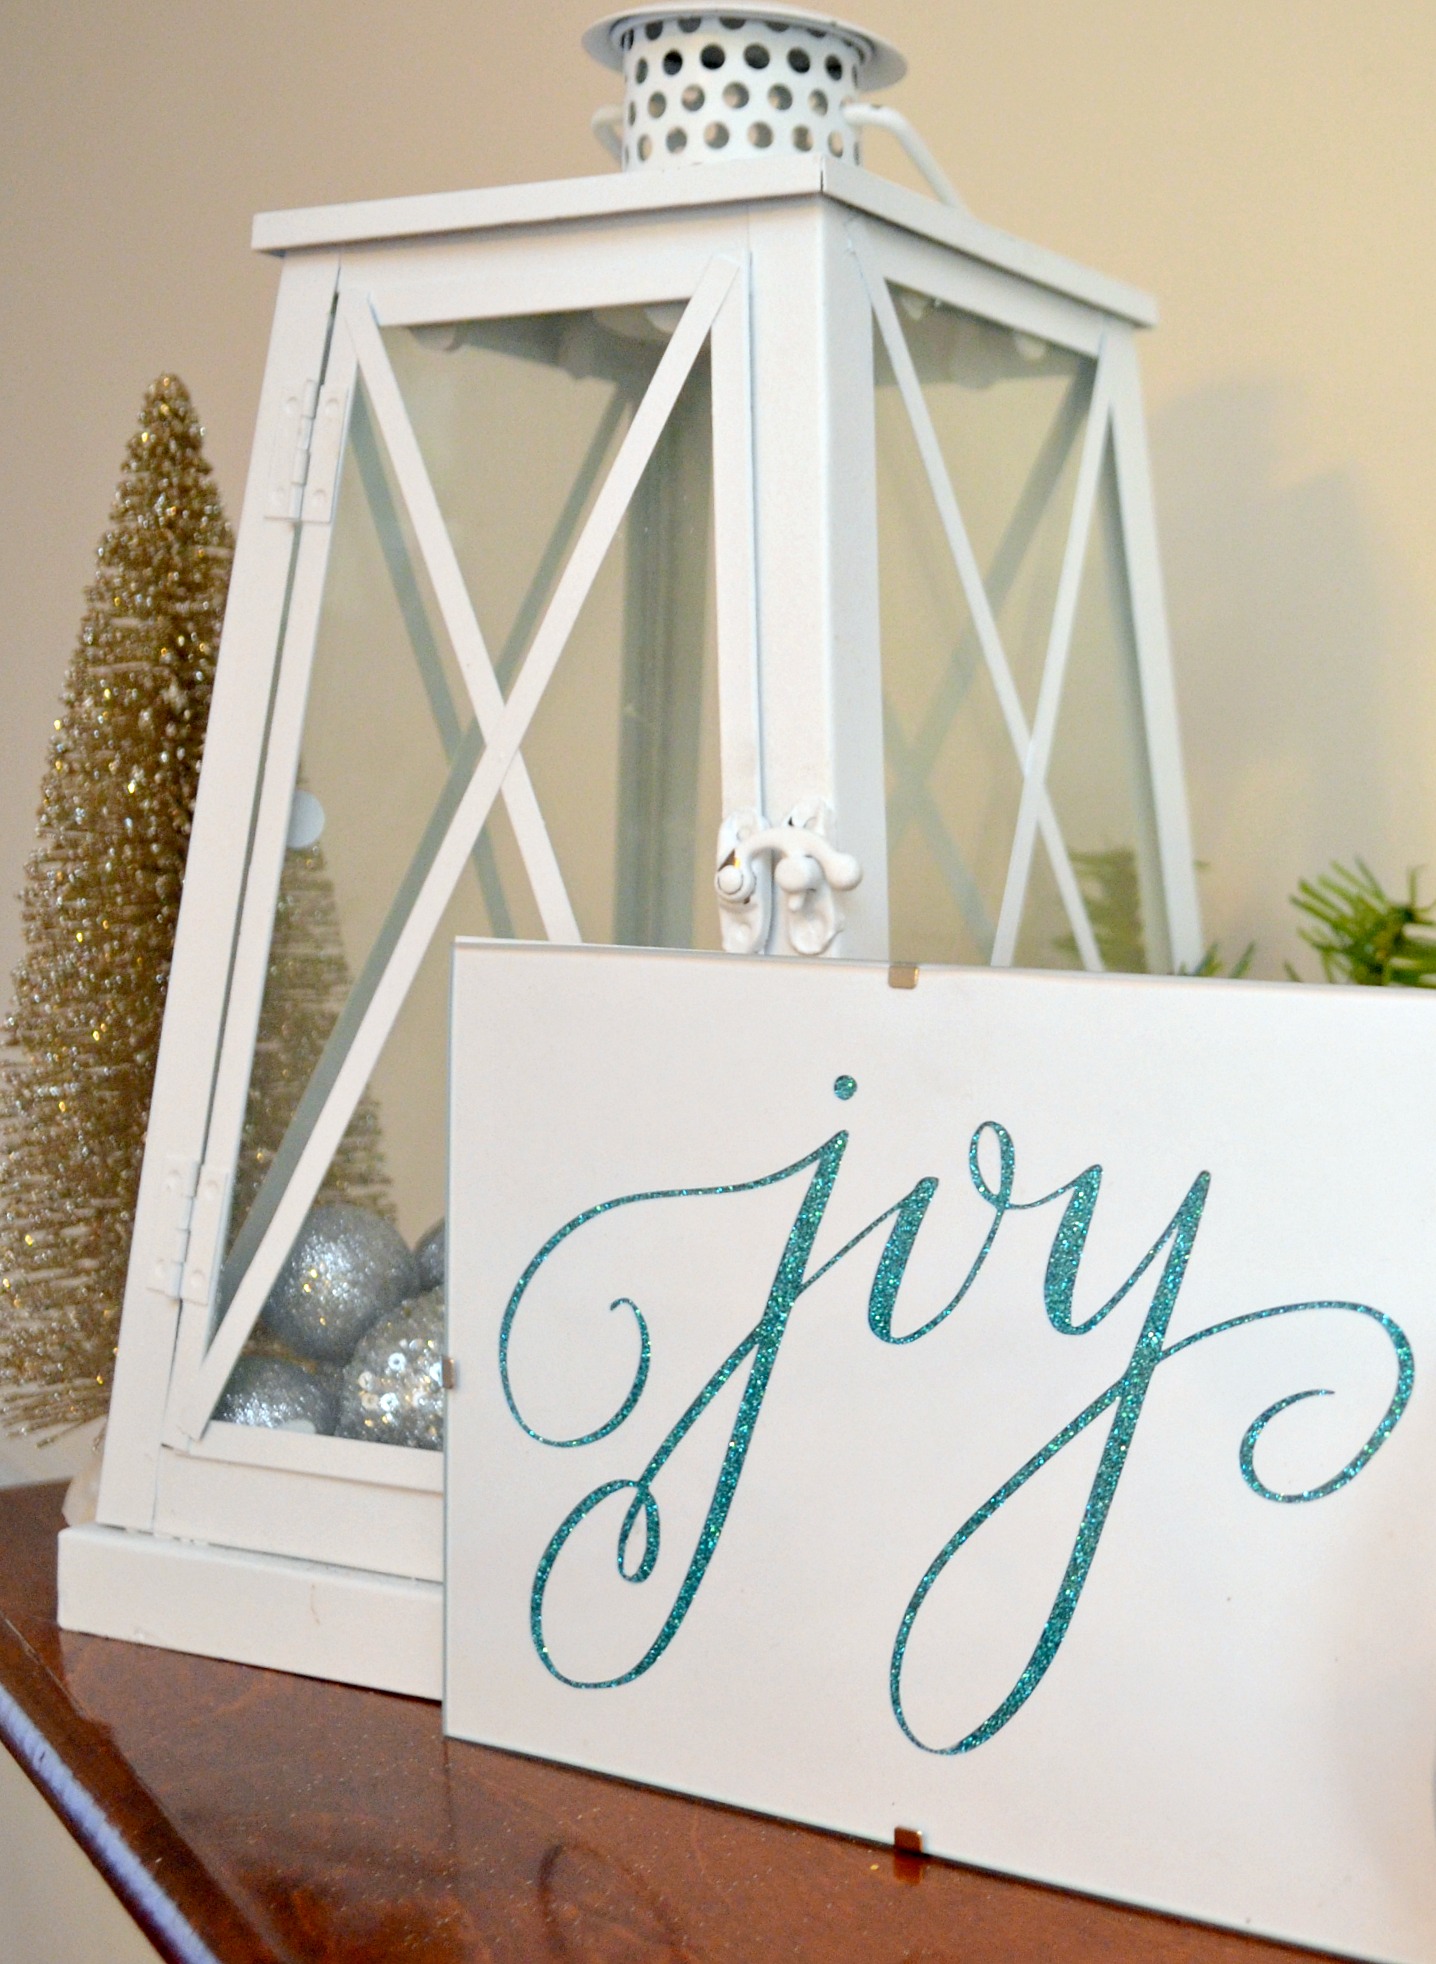
Step 6: Frame it!
I chose to use a borderless frame to really highlight the design itself. Okay, honestly, it’s because I already had one in the craft room and using it meant I didn’t have to go buy a new one at Walmart when it’s freezing outside. In any case, feel free to use whatever style, color, and type of frame you like best!
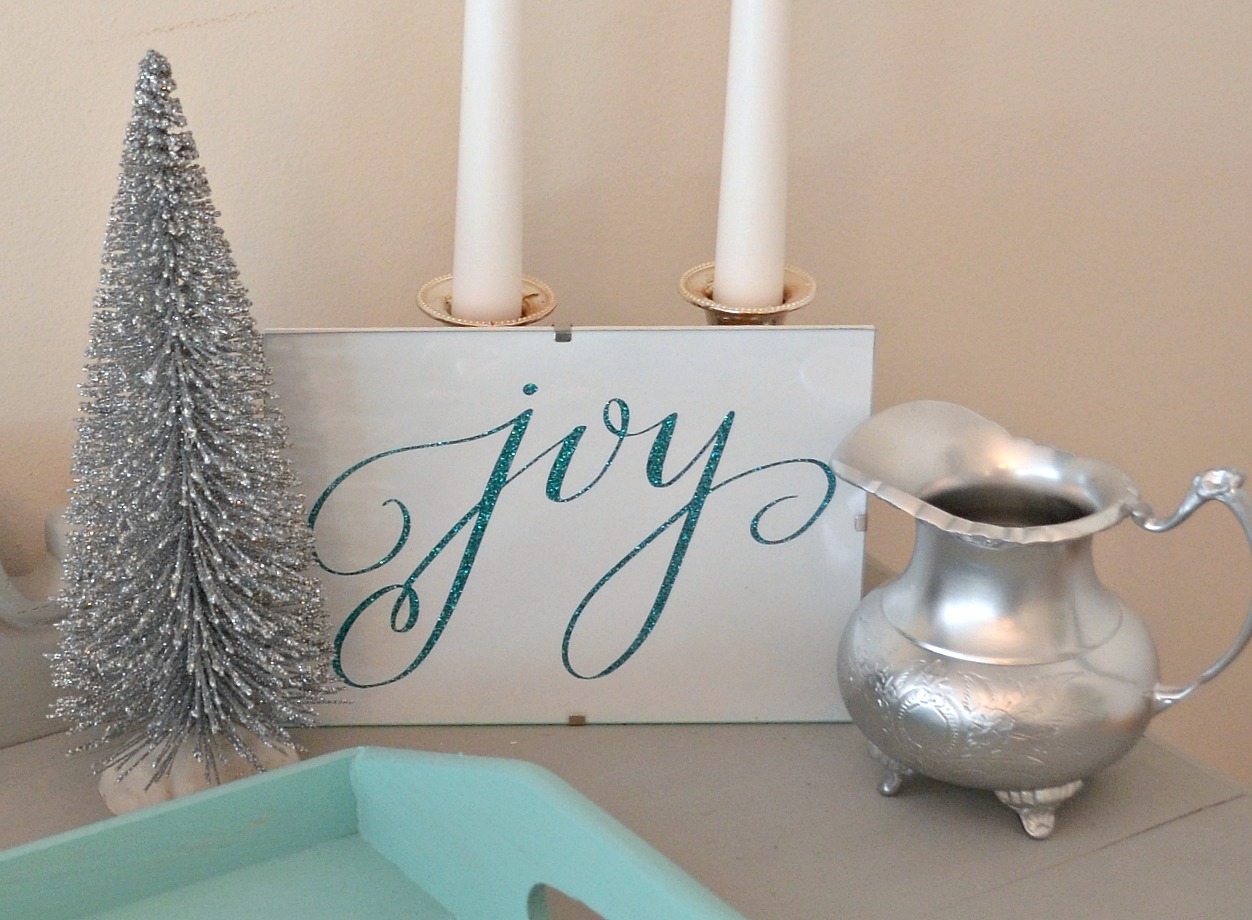
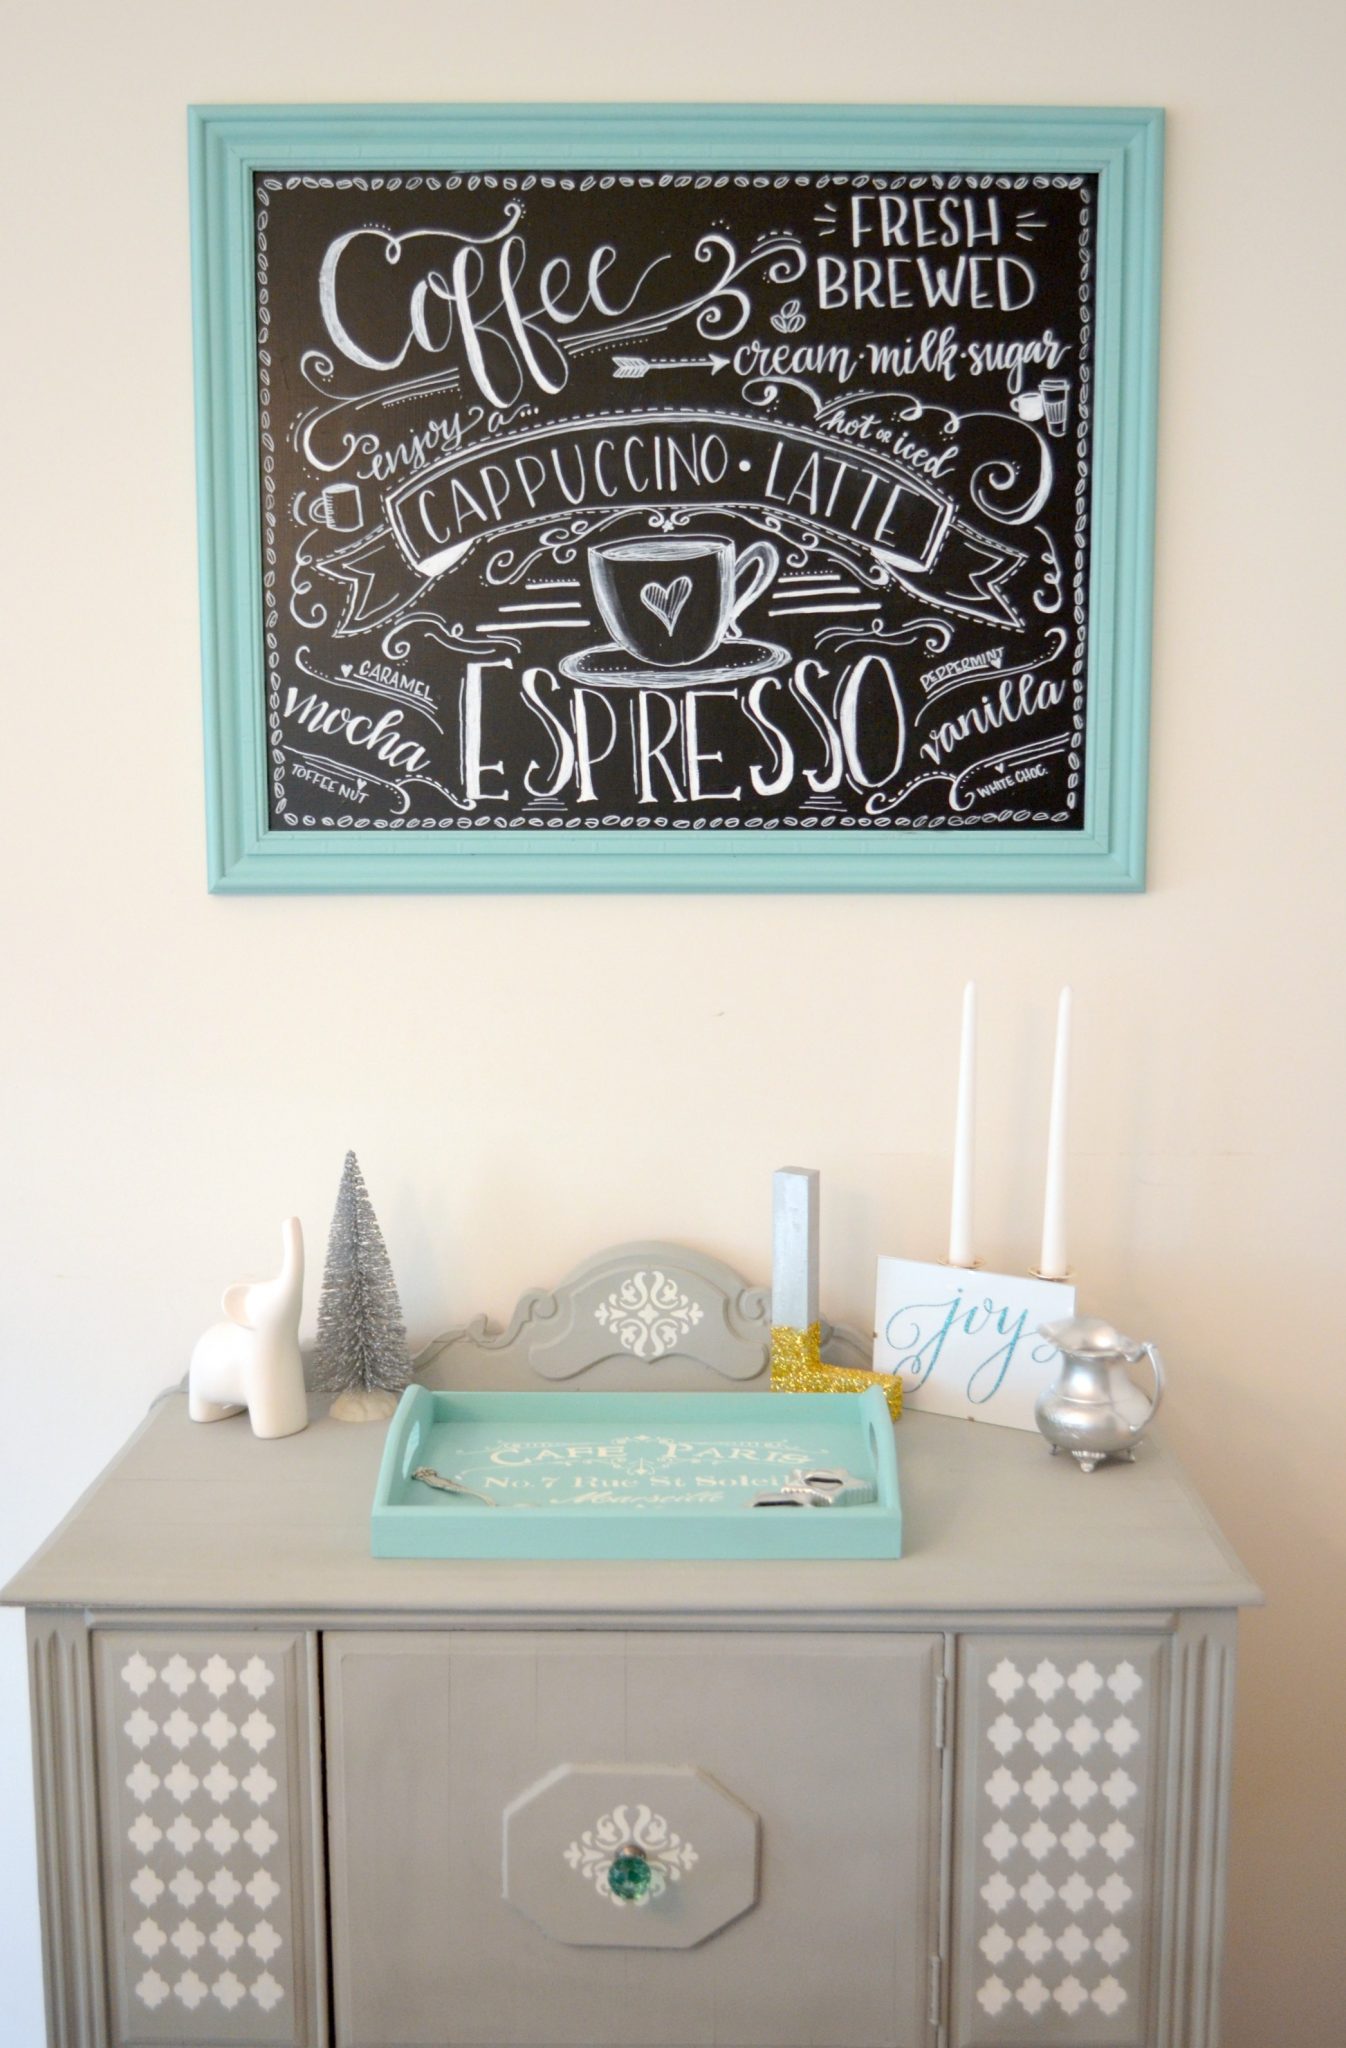
That’s all there is to it, you’re ready to put it on display. Mine is living on top of the restored buffet I shared with you all this past summer…{remember I found it by the side of the road and decided to give it a makeover?} You might remember the Chalkboard Coffee Art too, made from a reclaimed framed picture I found at Goodwill.
What about you? Where in your home would be the perfect spot for a pretty little piece of glittered holiday art? It’s so quick and simple to create, and you only need a few supplies! If you decide to check out my Hand Lettered Holiday Clip Art, use the code “hollyjolly” to save $1 on your purchase. Then, be sure to show me what you make by sharing it in our One Artsy and Friends Facebook group! See you there!