
Basic Hand Lettering: Creating Round Designs
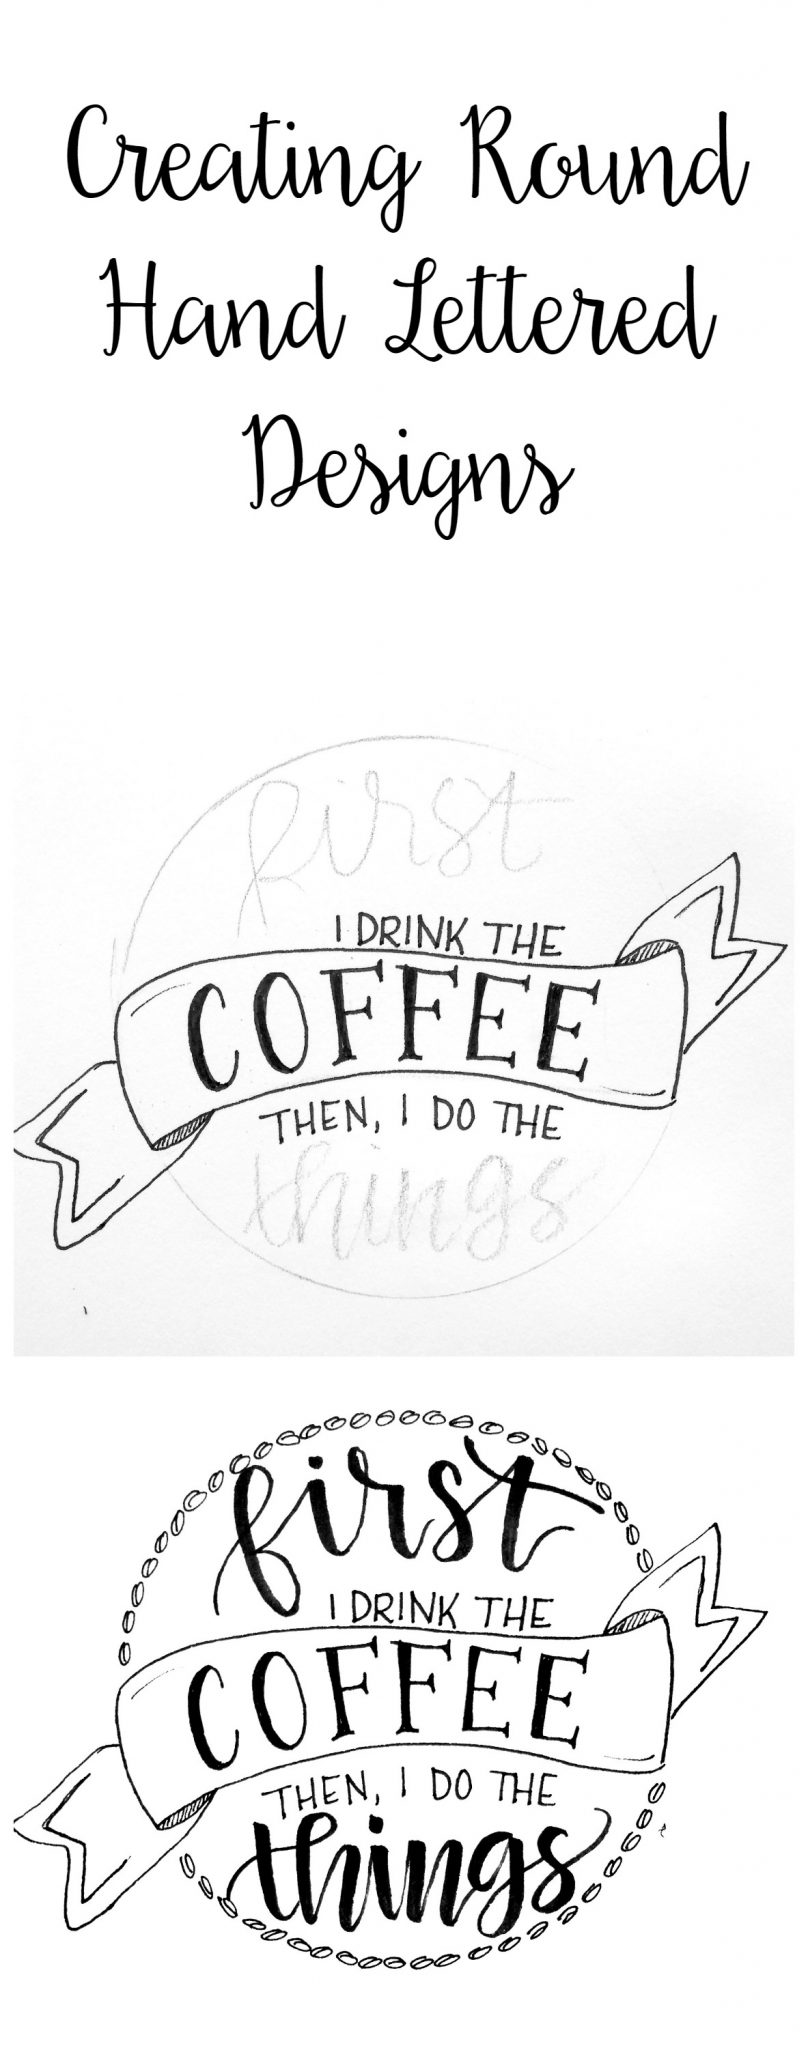
One of the most common questions I get about hand lettering is how to put together a great, visually appealing design. There are tons of ways to do this, some of which I’ll be sharing in my upcoming book, but today, I want to give you one quick, easy design template you can use for just about any phrase you want to letter. All you have to do is start with a simple circle. Take a look…
Creating Round Designs
You’ll need:
{some of these are affiliate links}
sketch paper
a pencil
a fine tip marker {I use the Pigma Micron pens in sizes 01, 03, & 05}
a brush pen {I always use the Tombow Fudenosuke Soft Tip}
a good eraser
a coffee mug or other round object
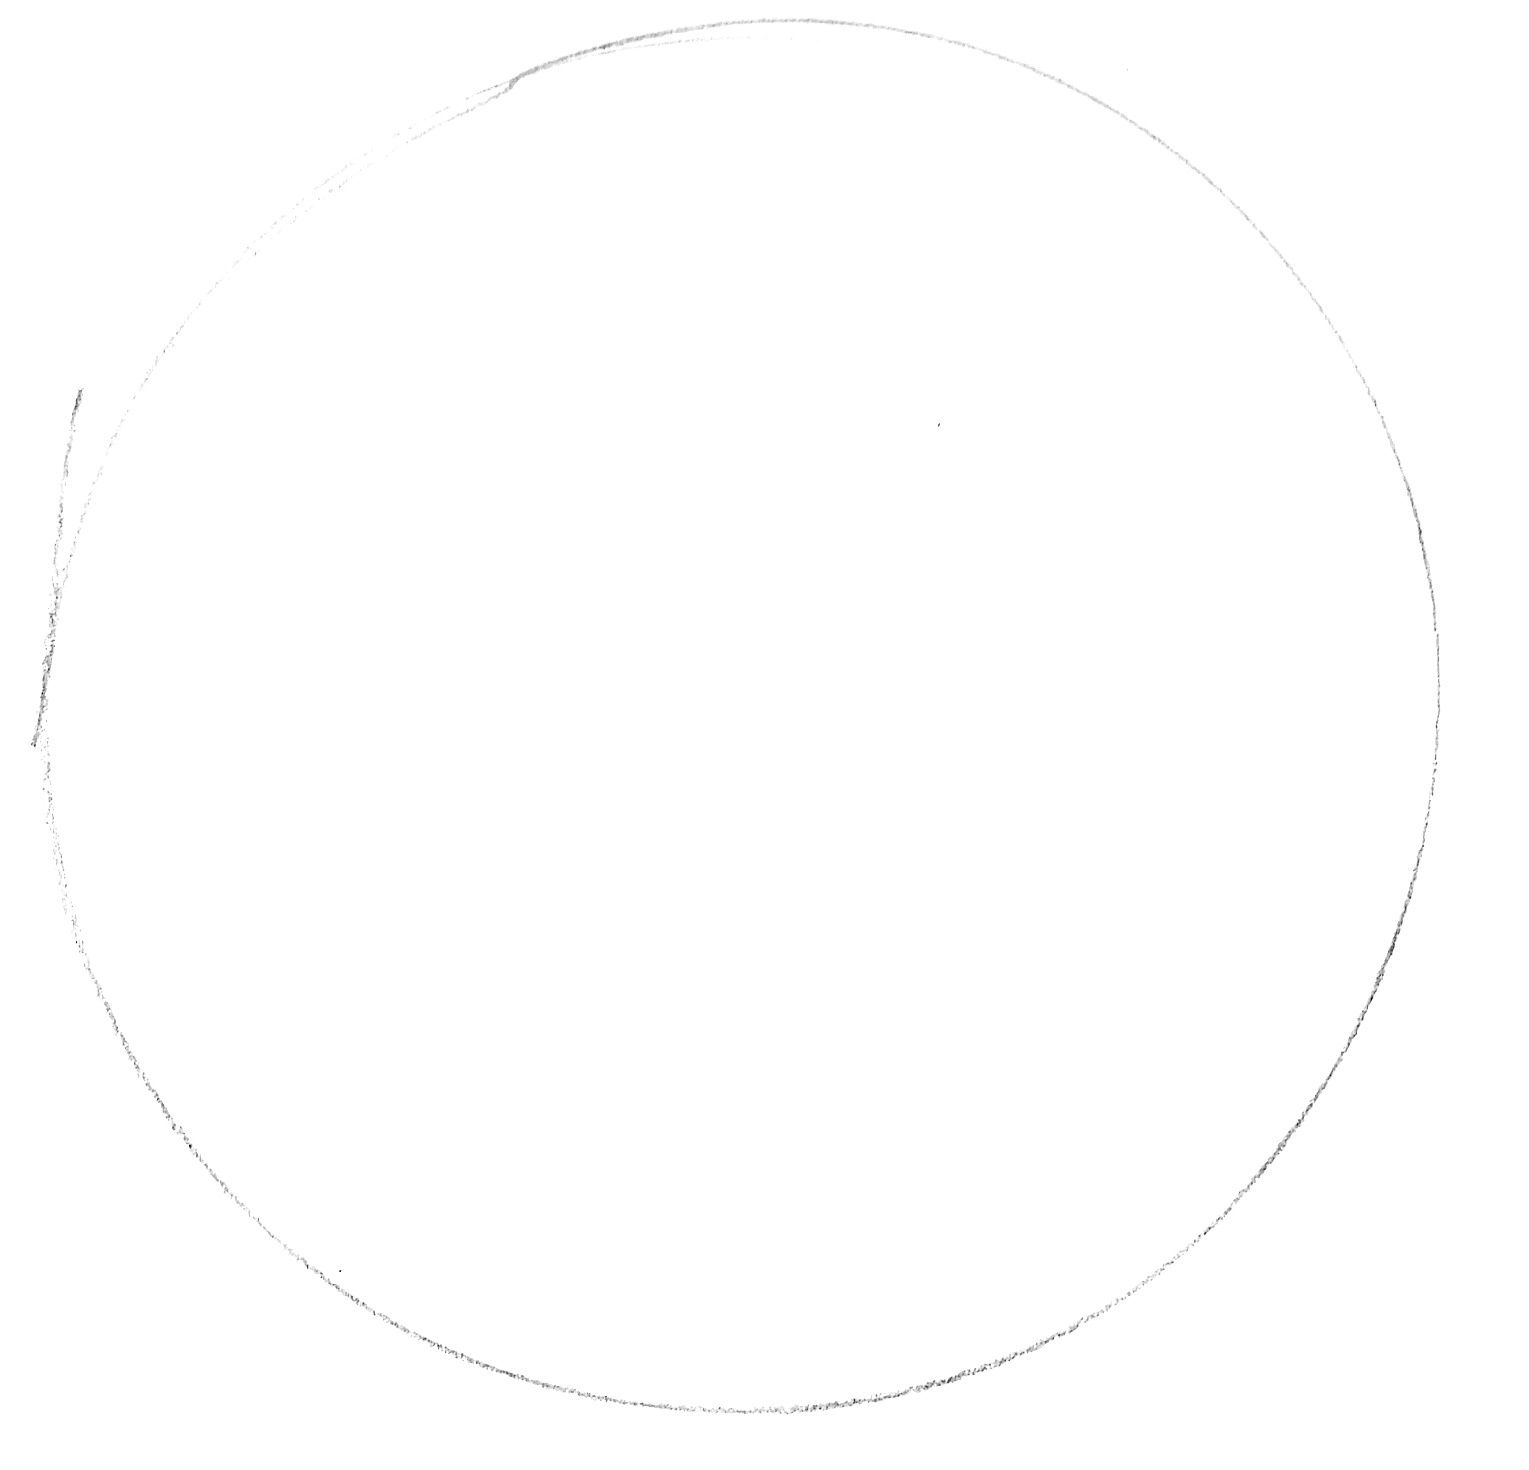
Step 1: Trace your round object with a pencil.
I love to use a coffee mug and there are certainly plenty around the house to choose from! I’ve also used the lid to a potato chip container and various other things I can find that are the sizes I want for my design.
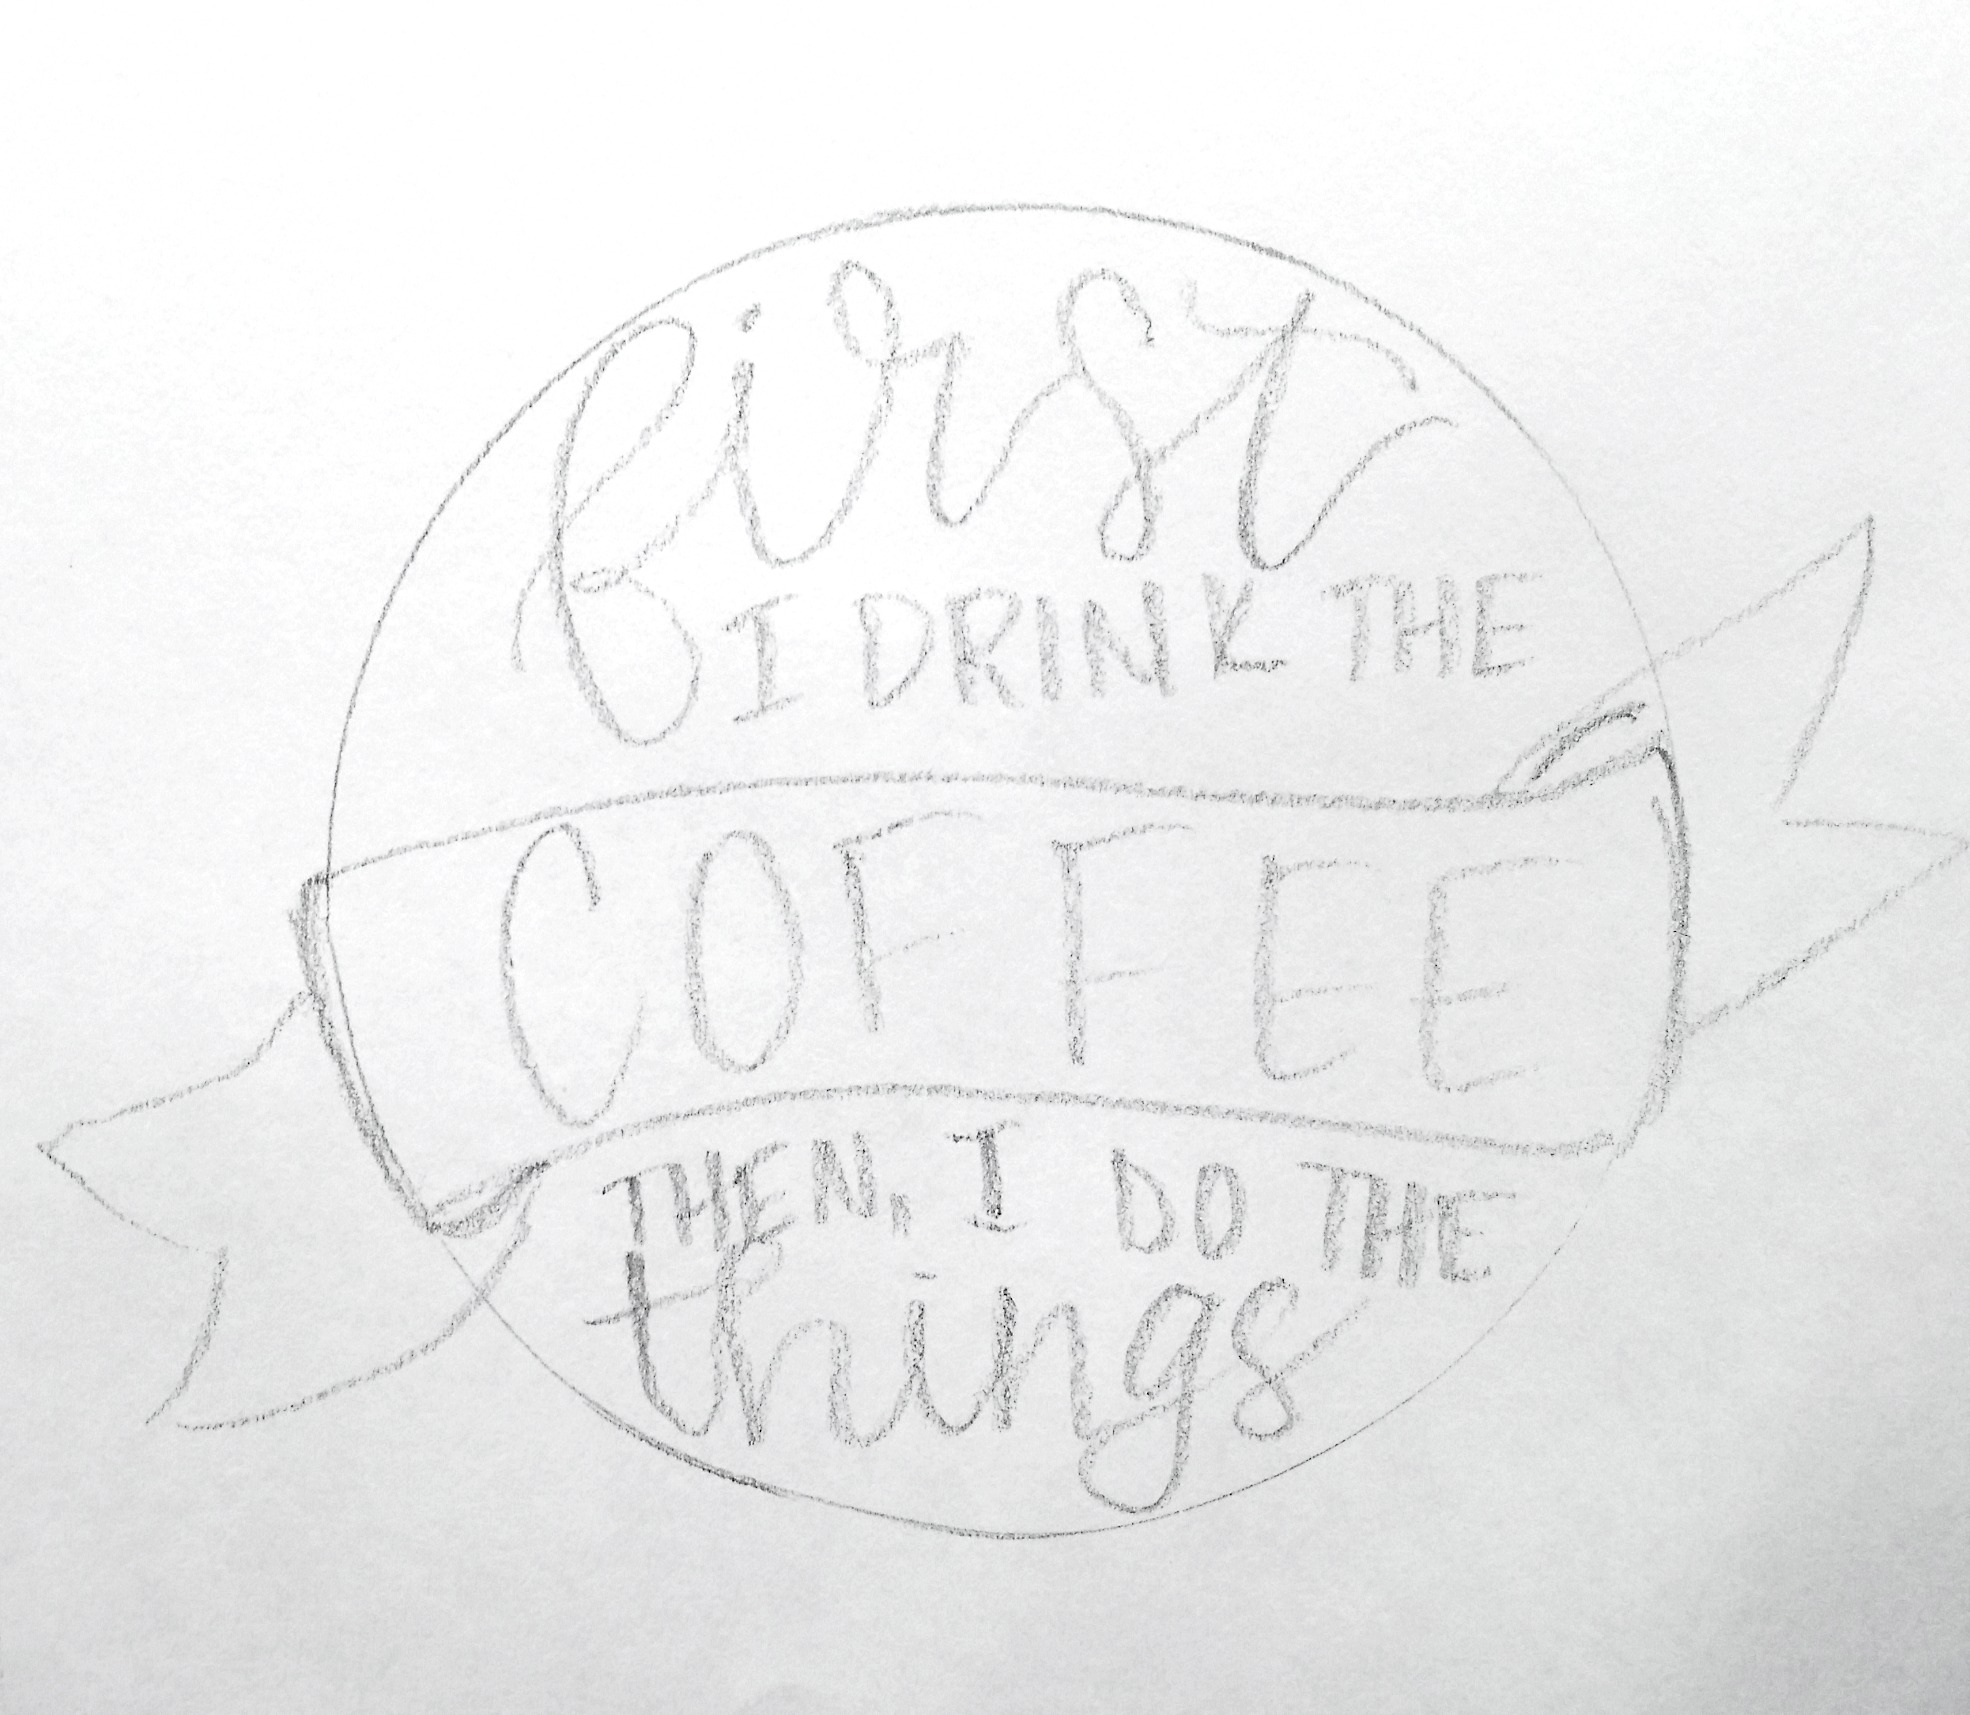
Step 2: Sketch in your design.
I like to start by choosing what words I want to emphasize in my phrase. For this one, I chose the words, “first,” “coffee,” and “things.” Each quote you letter will obviously have different words you want to treat with special attention. I typically like to use brush script or large serif caps for my main words, then use a small print for the others. So, that’s how I lettered this particular phrase. Since “coffee” is the focus of the quote, I also sketched a quick banner around it.
When I sketch, I don’t worry about the exact styling of the letters, just spacing and positioning. This is the time to erase, try again, and get your design exactly how you want it to be.
Step 3: Start filling in your sketch with the fine tip marker.
For me, this part included the banner, the small print, and the word “COFFEE.”
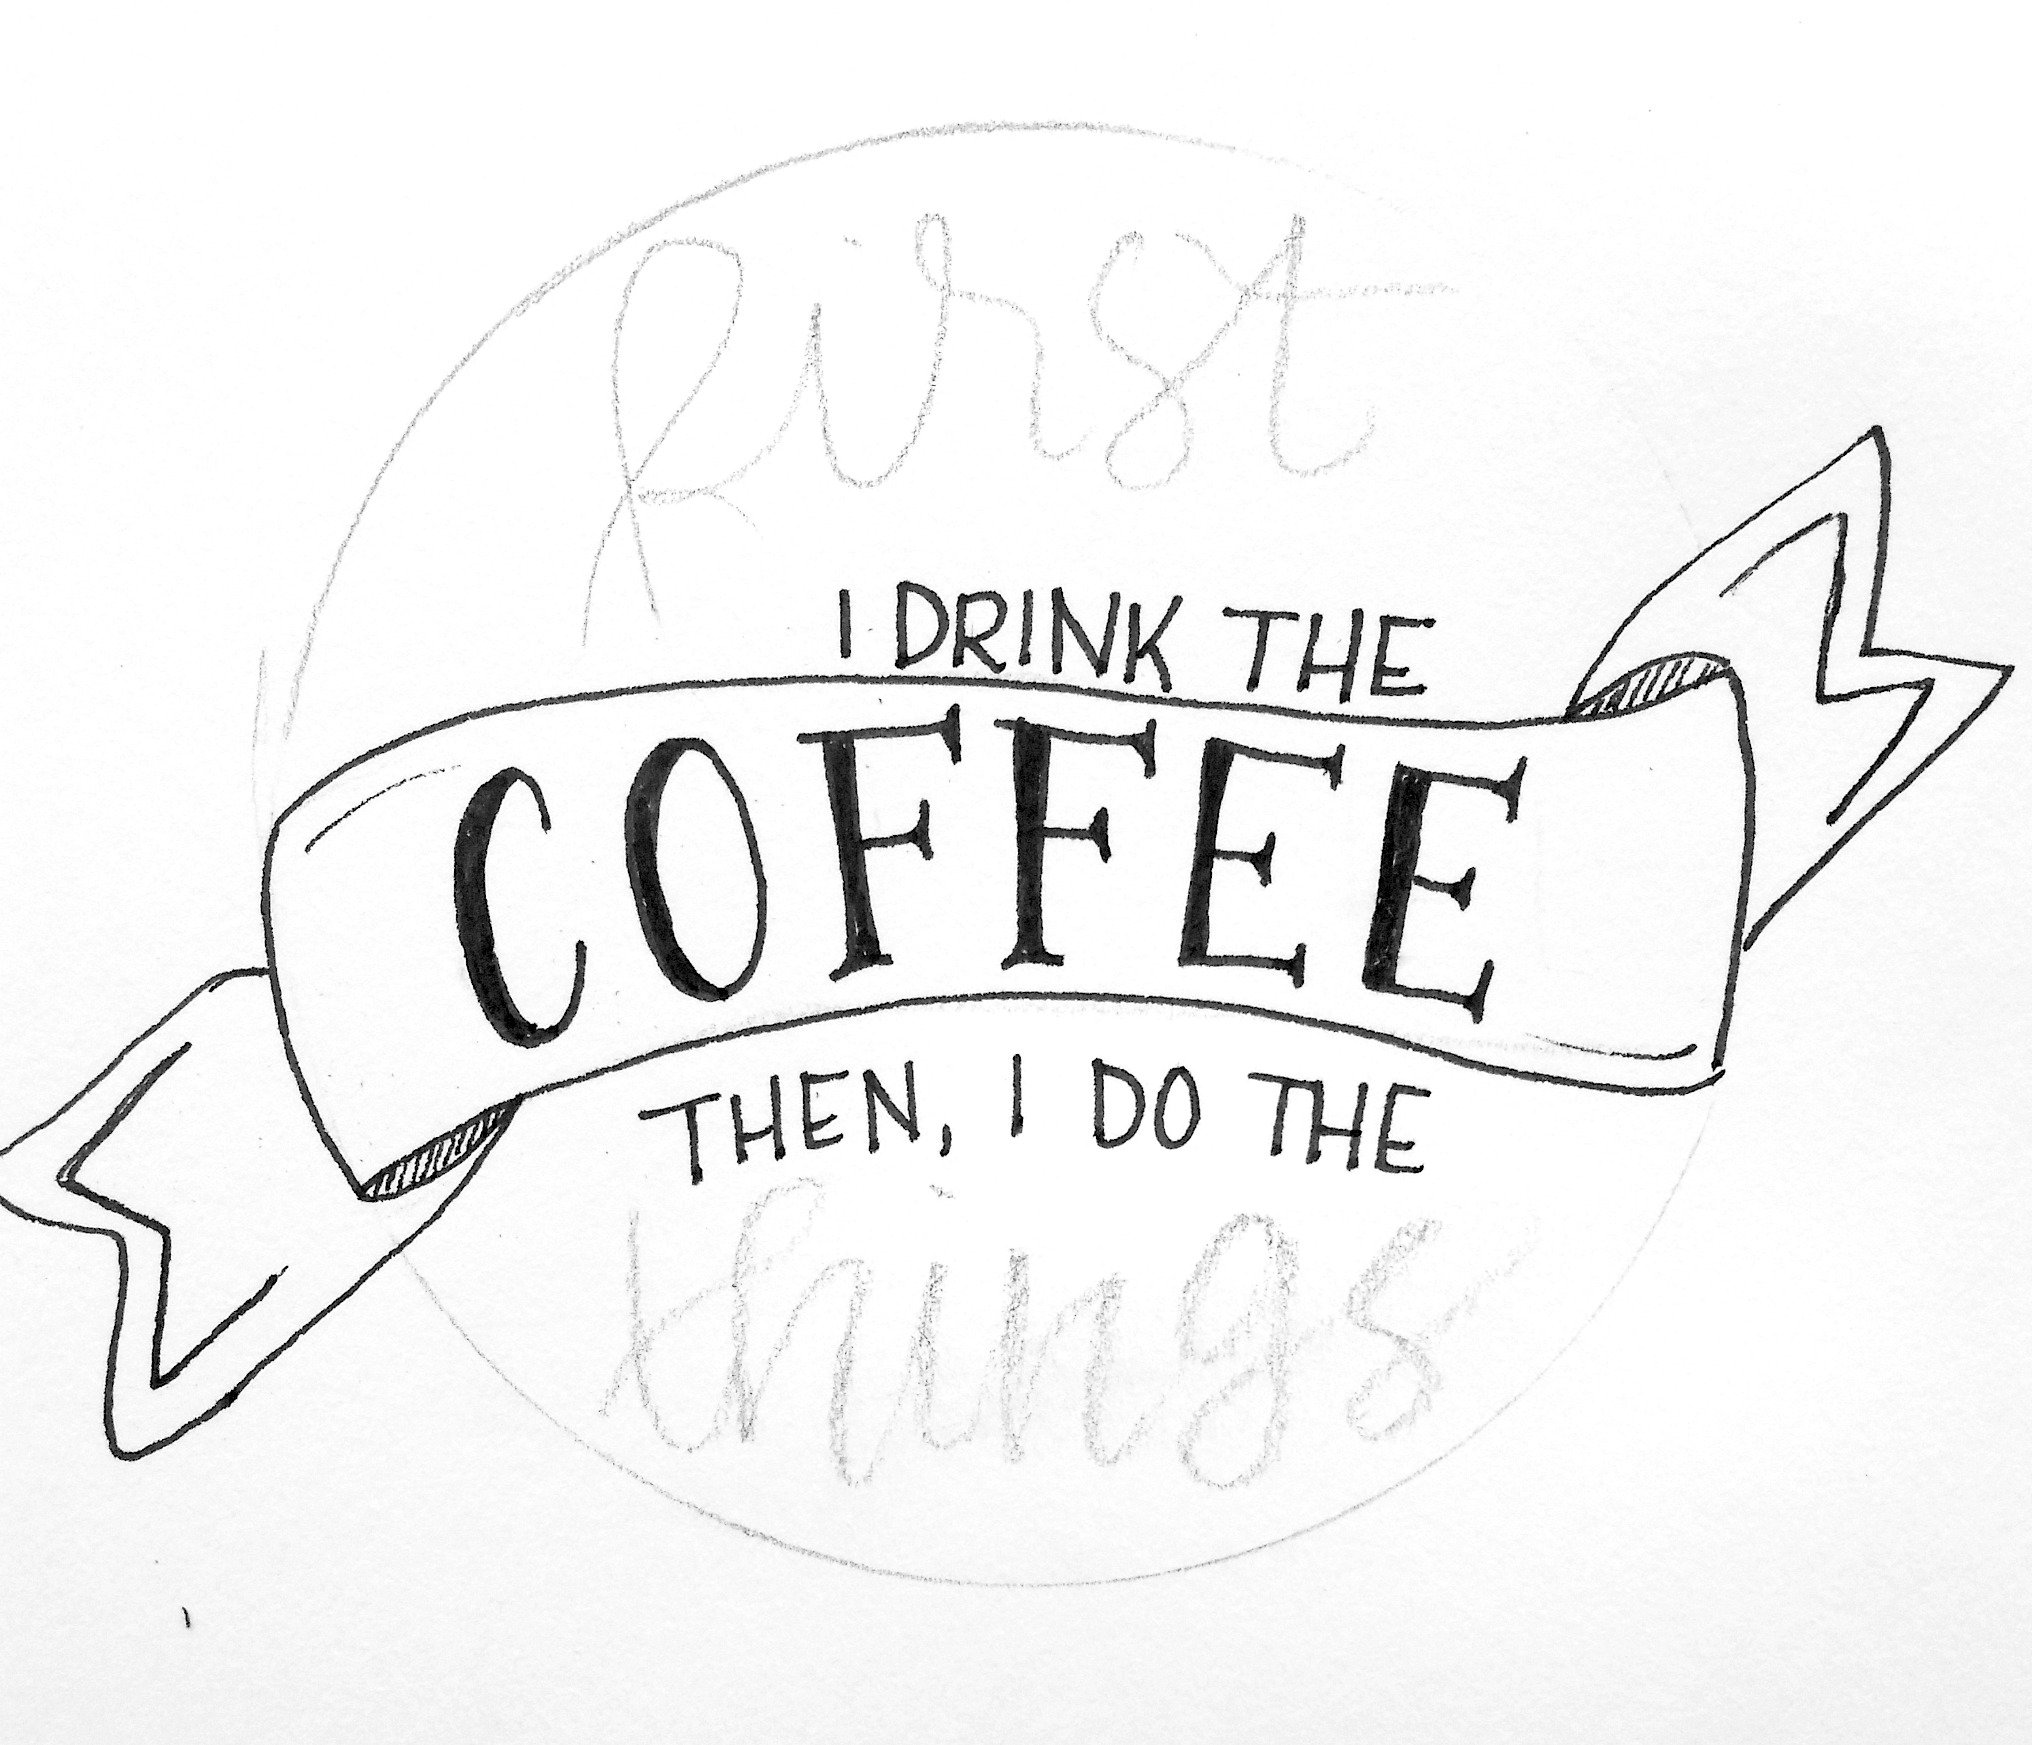
Step 4: Switch to your brush pen and fill in the rest of your text.
If you’re new to lettering and want a quick faux calligraphy technique, be sure to check out my basic hand lettering tutorial. If you’re up for mastering the real technique, check out the brush lettering how-to here.
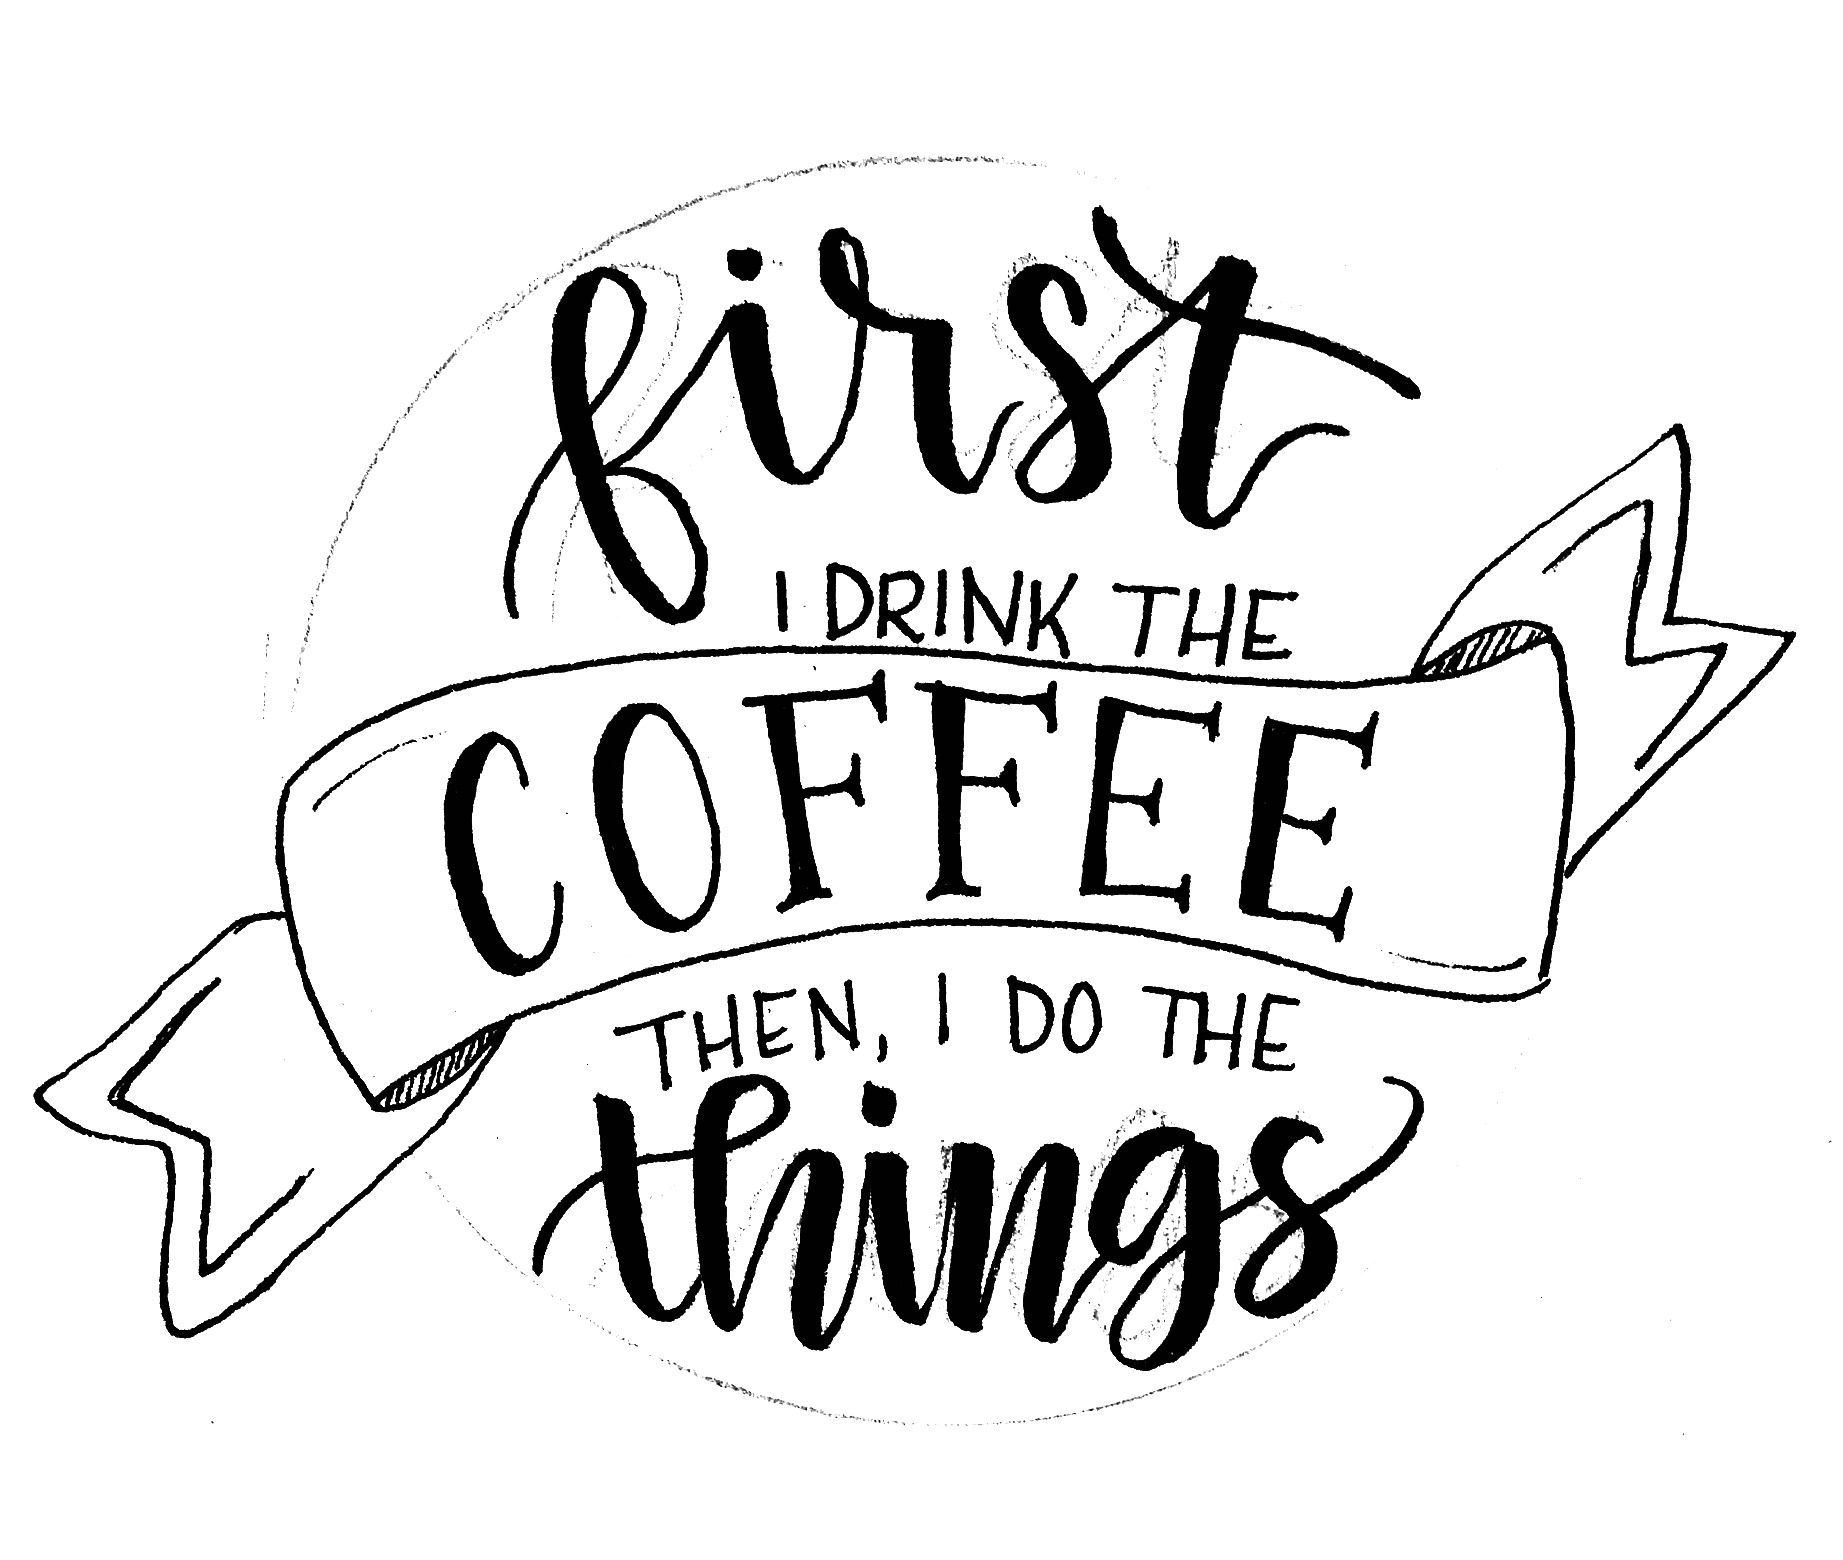
At this point, if you like the look of your design as is, you can erase your pencil lines and call it completed! Here’s how it would appear: 
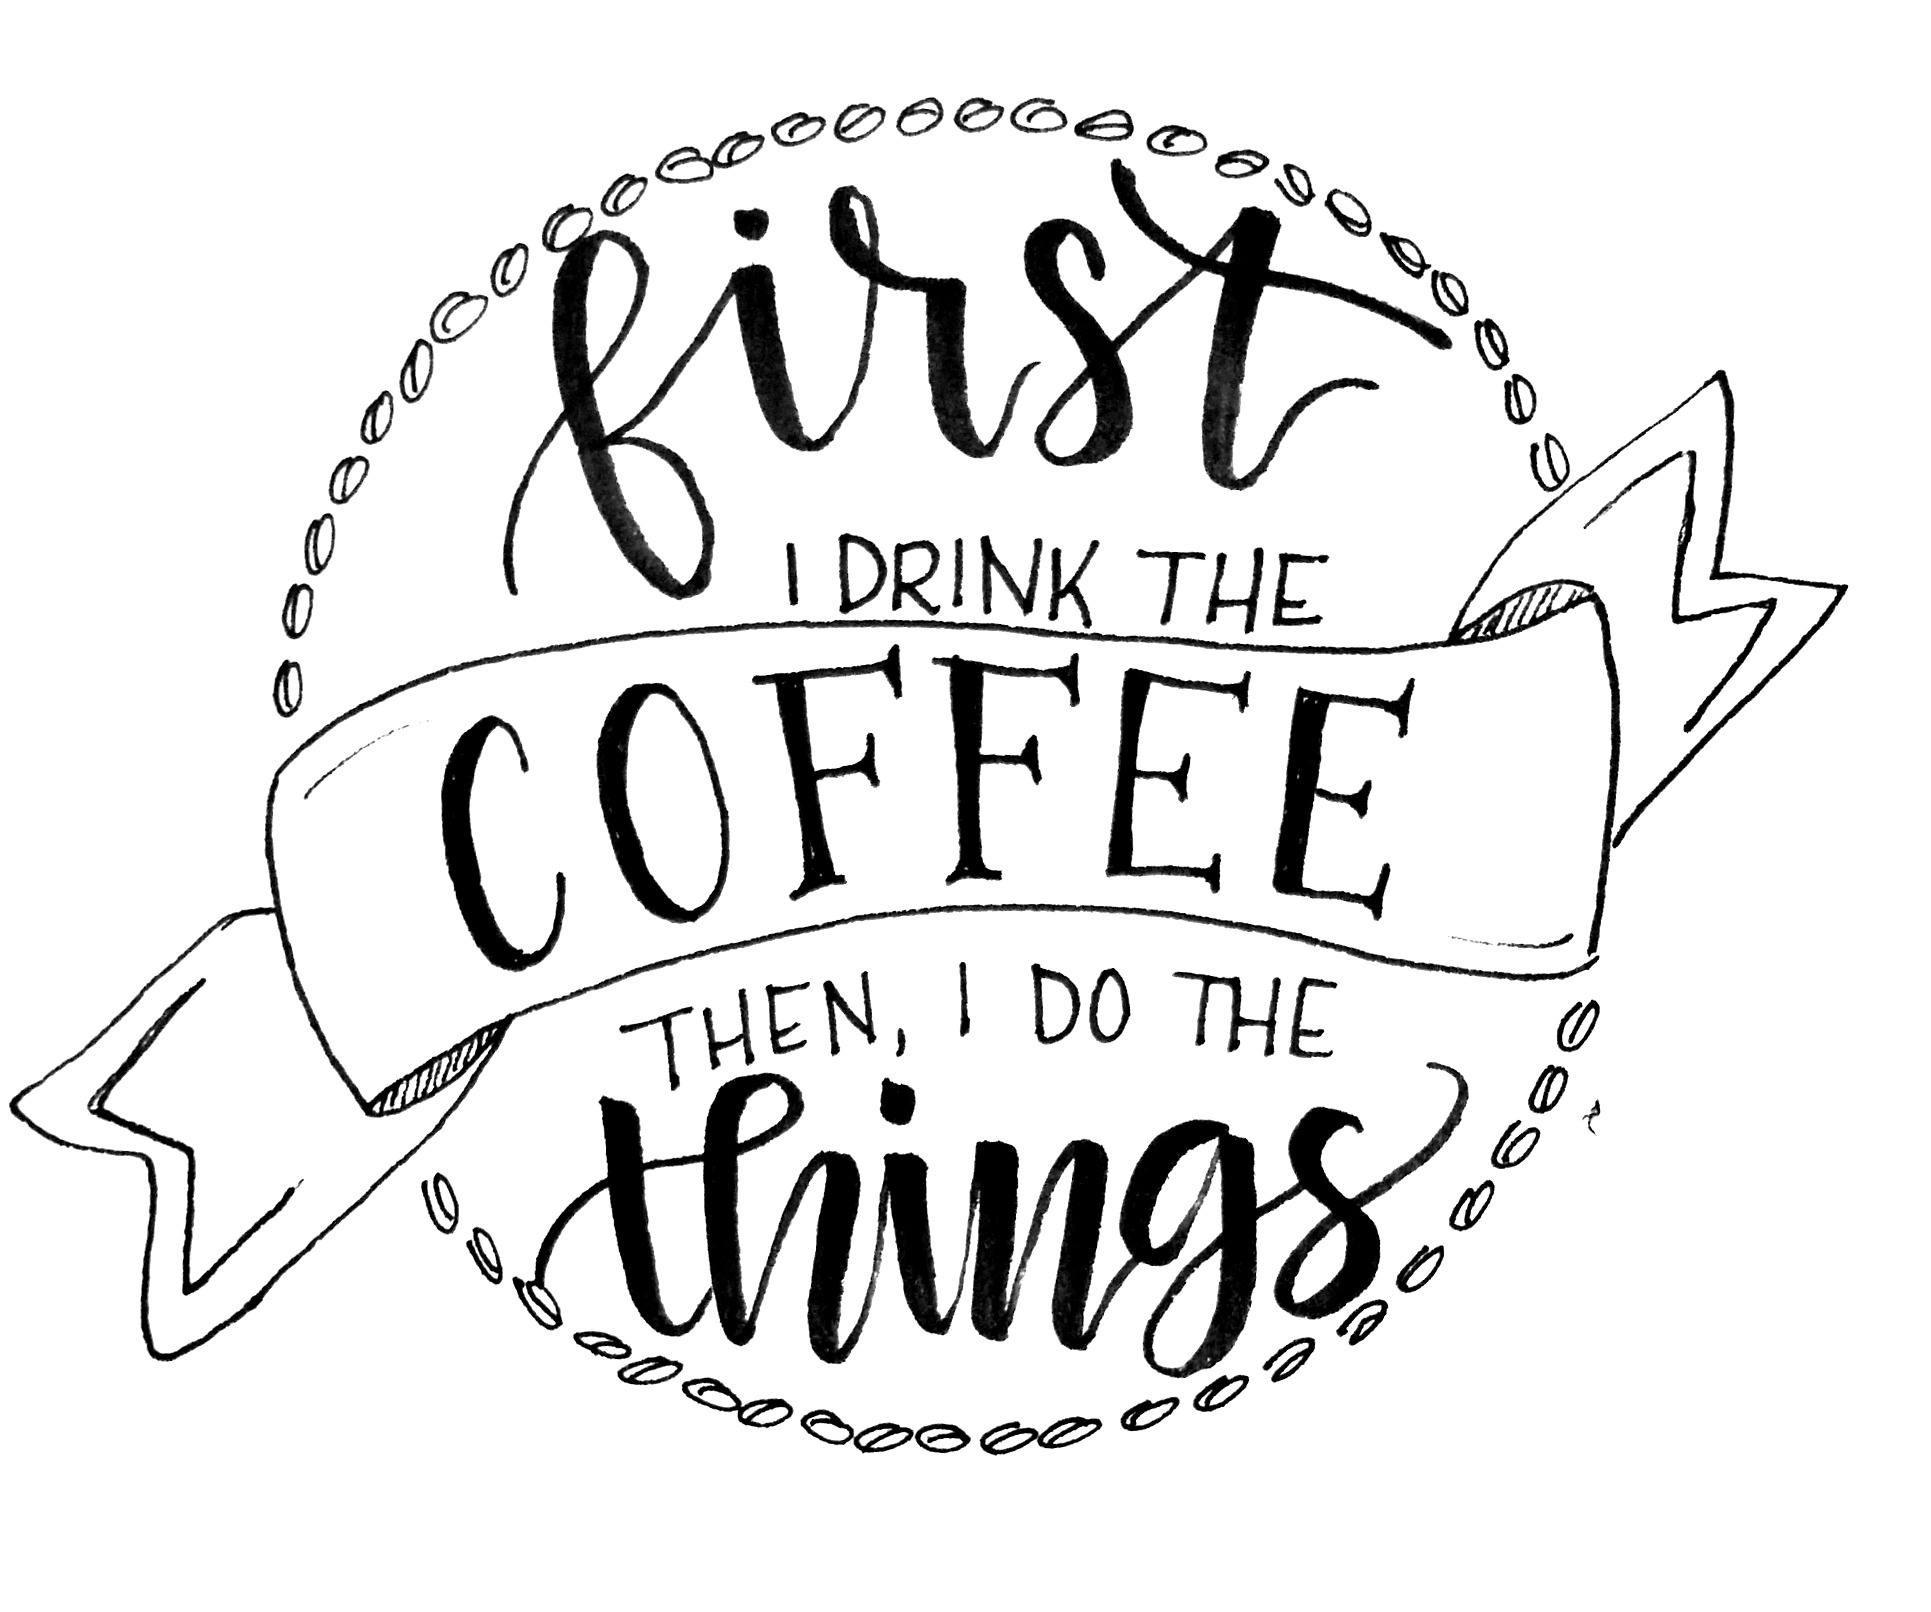
Step 5: {optional} If you want to finish up by emphasizing the circle shape, you can add a border.
One of my favorites is a border of little coffee beans! You can also do circles, tiny dots, solid lines, or anything else you like! Here is my completed design.
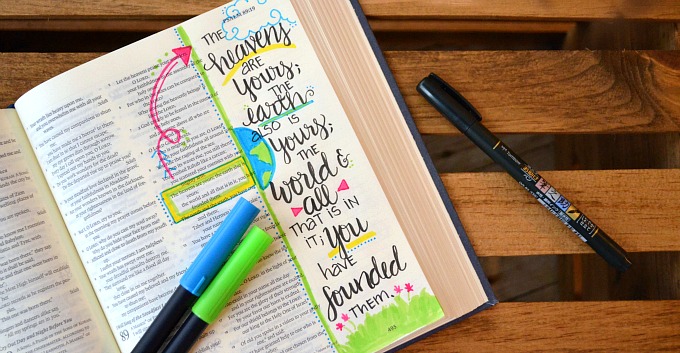
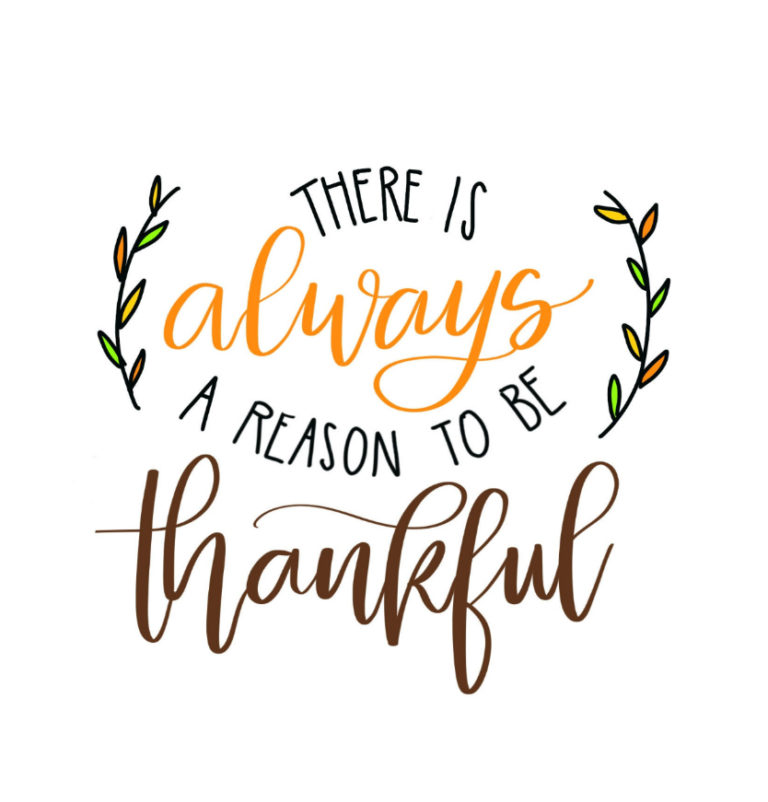
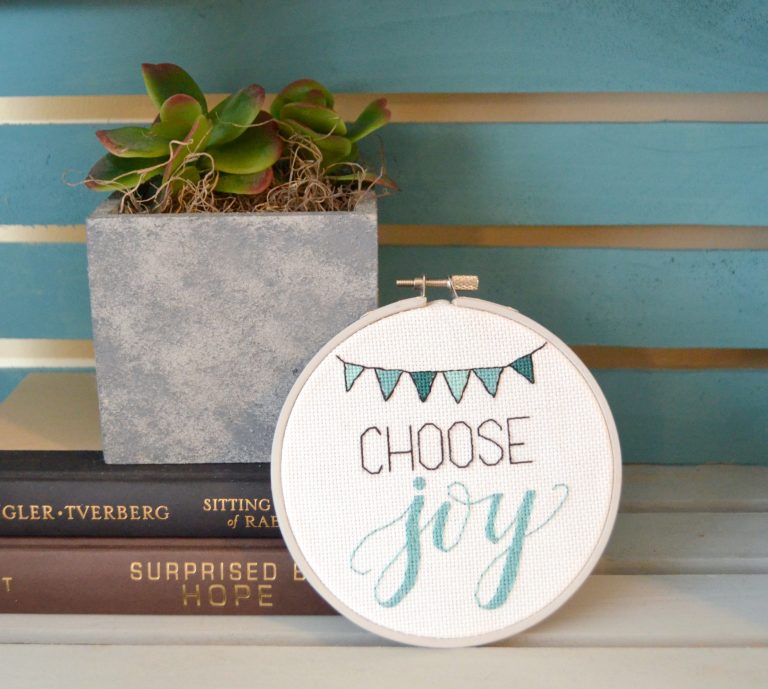
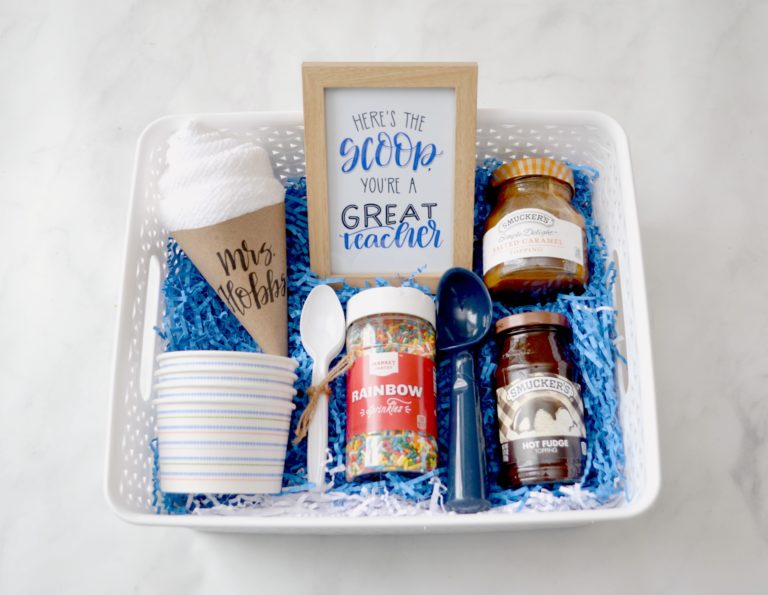
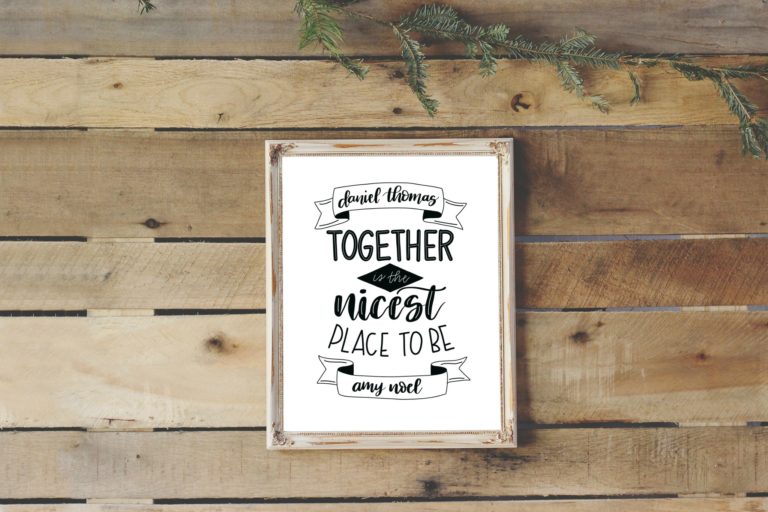
Here are a few other examples to get your creative juices going…

What do you think? Have you tried this type of shaped design before? I’d love to see what you create! Share your latest projects with us in the One Artsy Mama & Friends Facebook group!


Amy, this is fabulous tutorial! THANKS!!!
I do that on my own, it was perfect and funny thanks so much! 🙂
Thank you so much for this helpful tutorial.
You’re so welcome! Glad it helped you!