
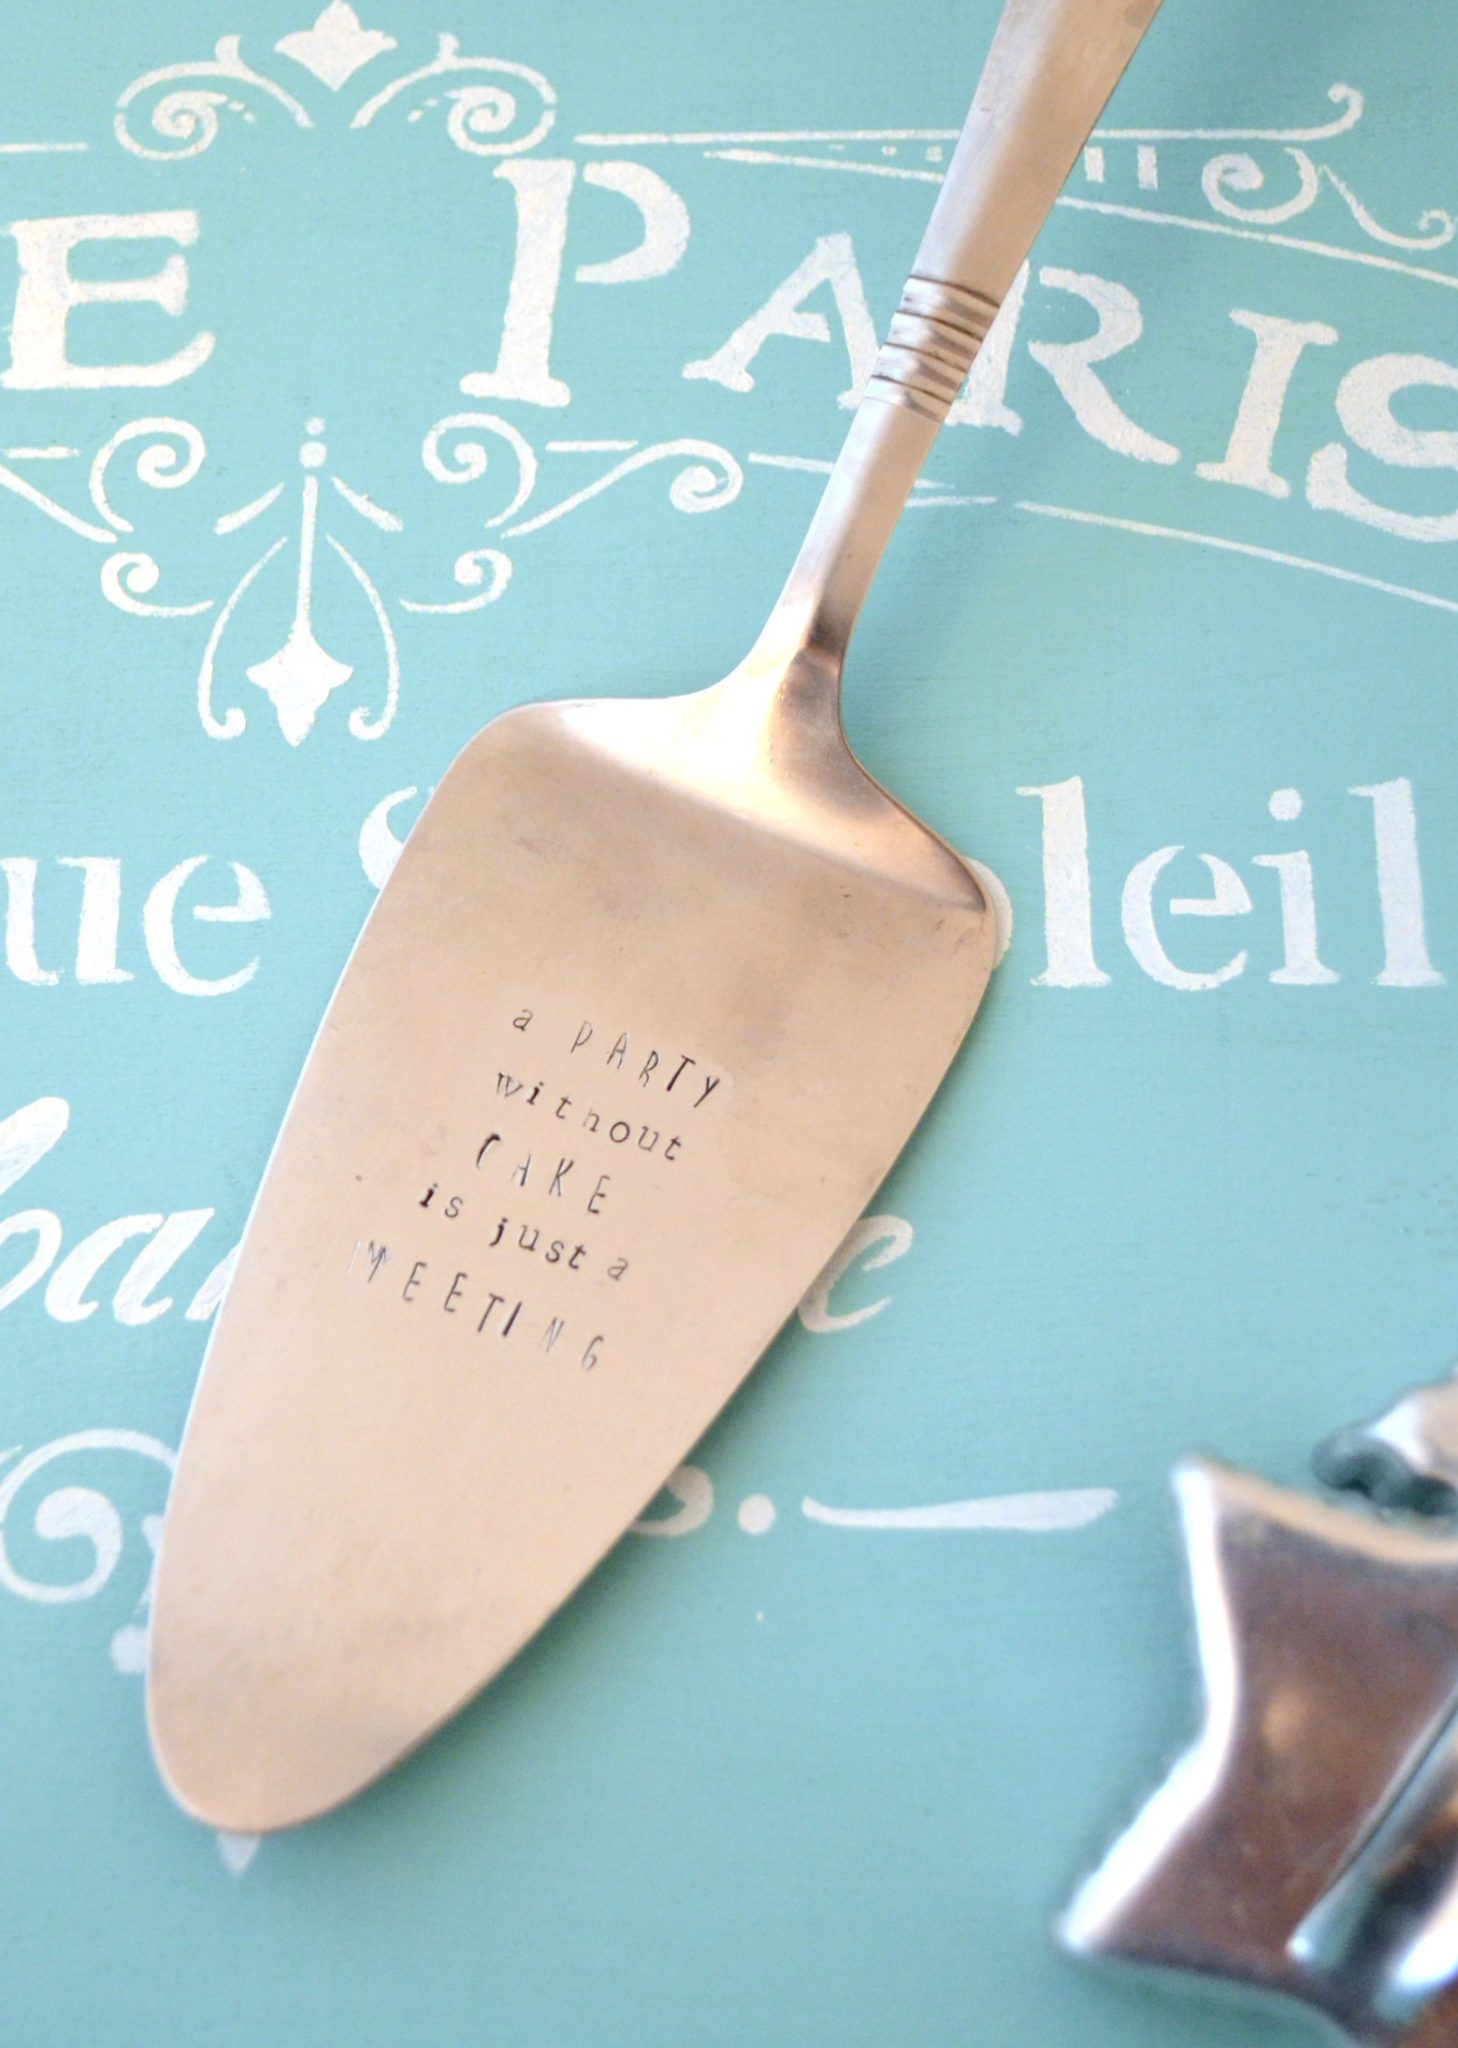
Metal Stamped Cake Server
Thanks to ImpressArt for sponsoring today’s post. All opinions are, as always, honestly my own.
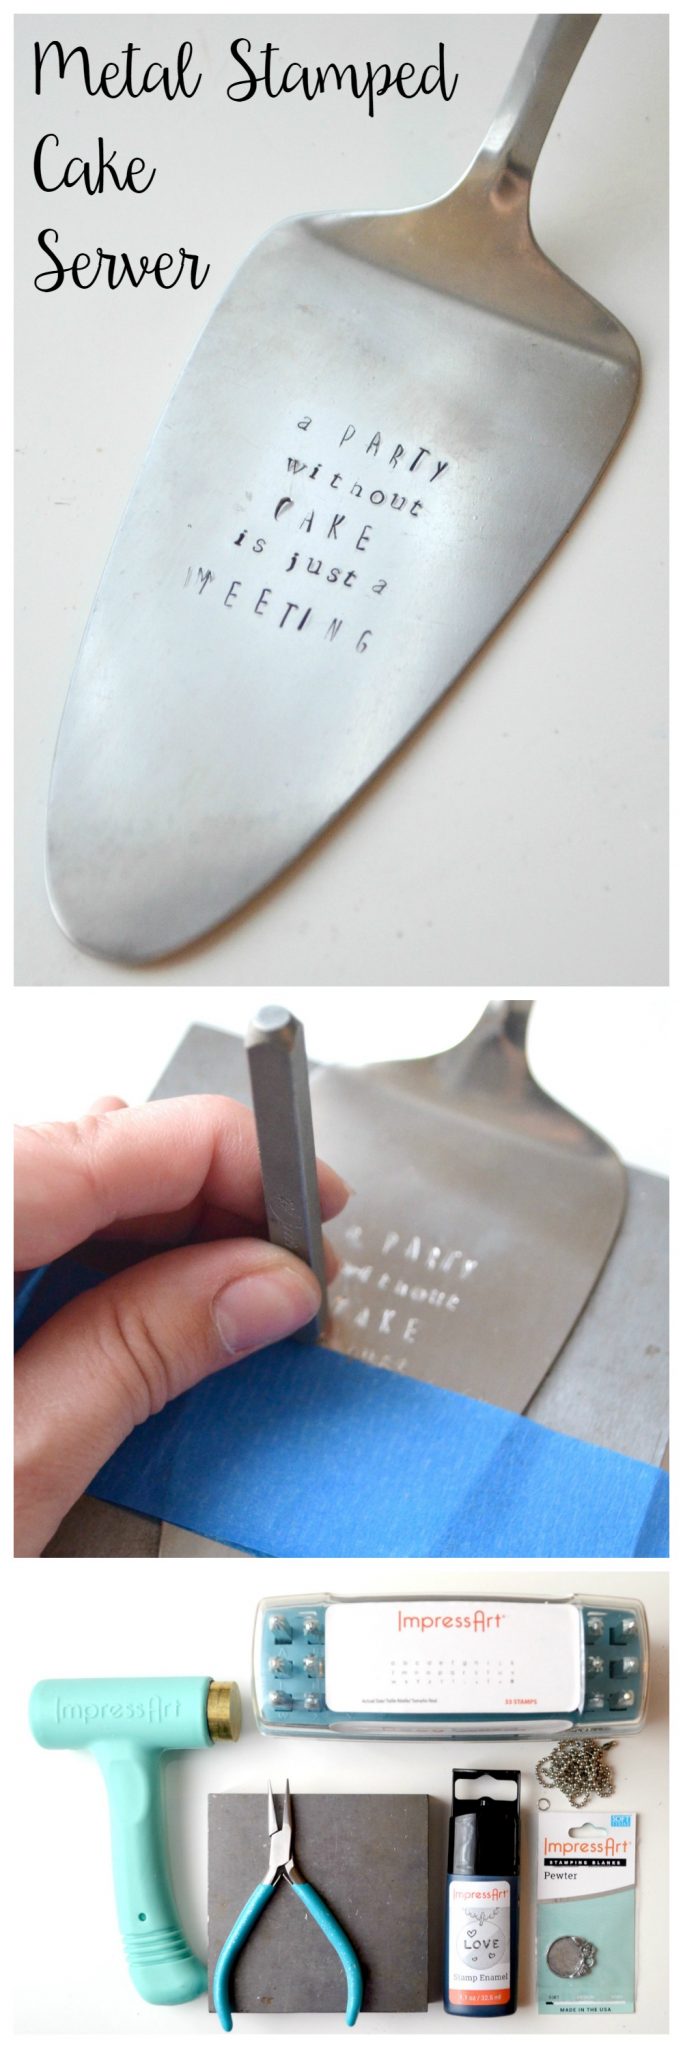
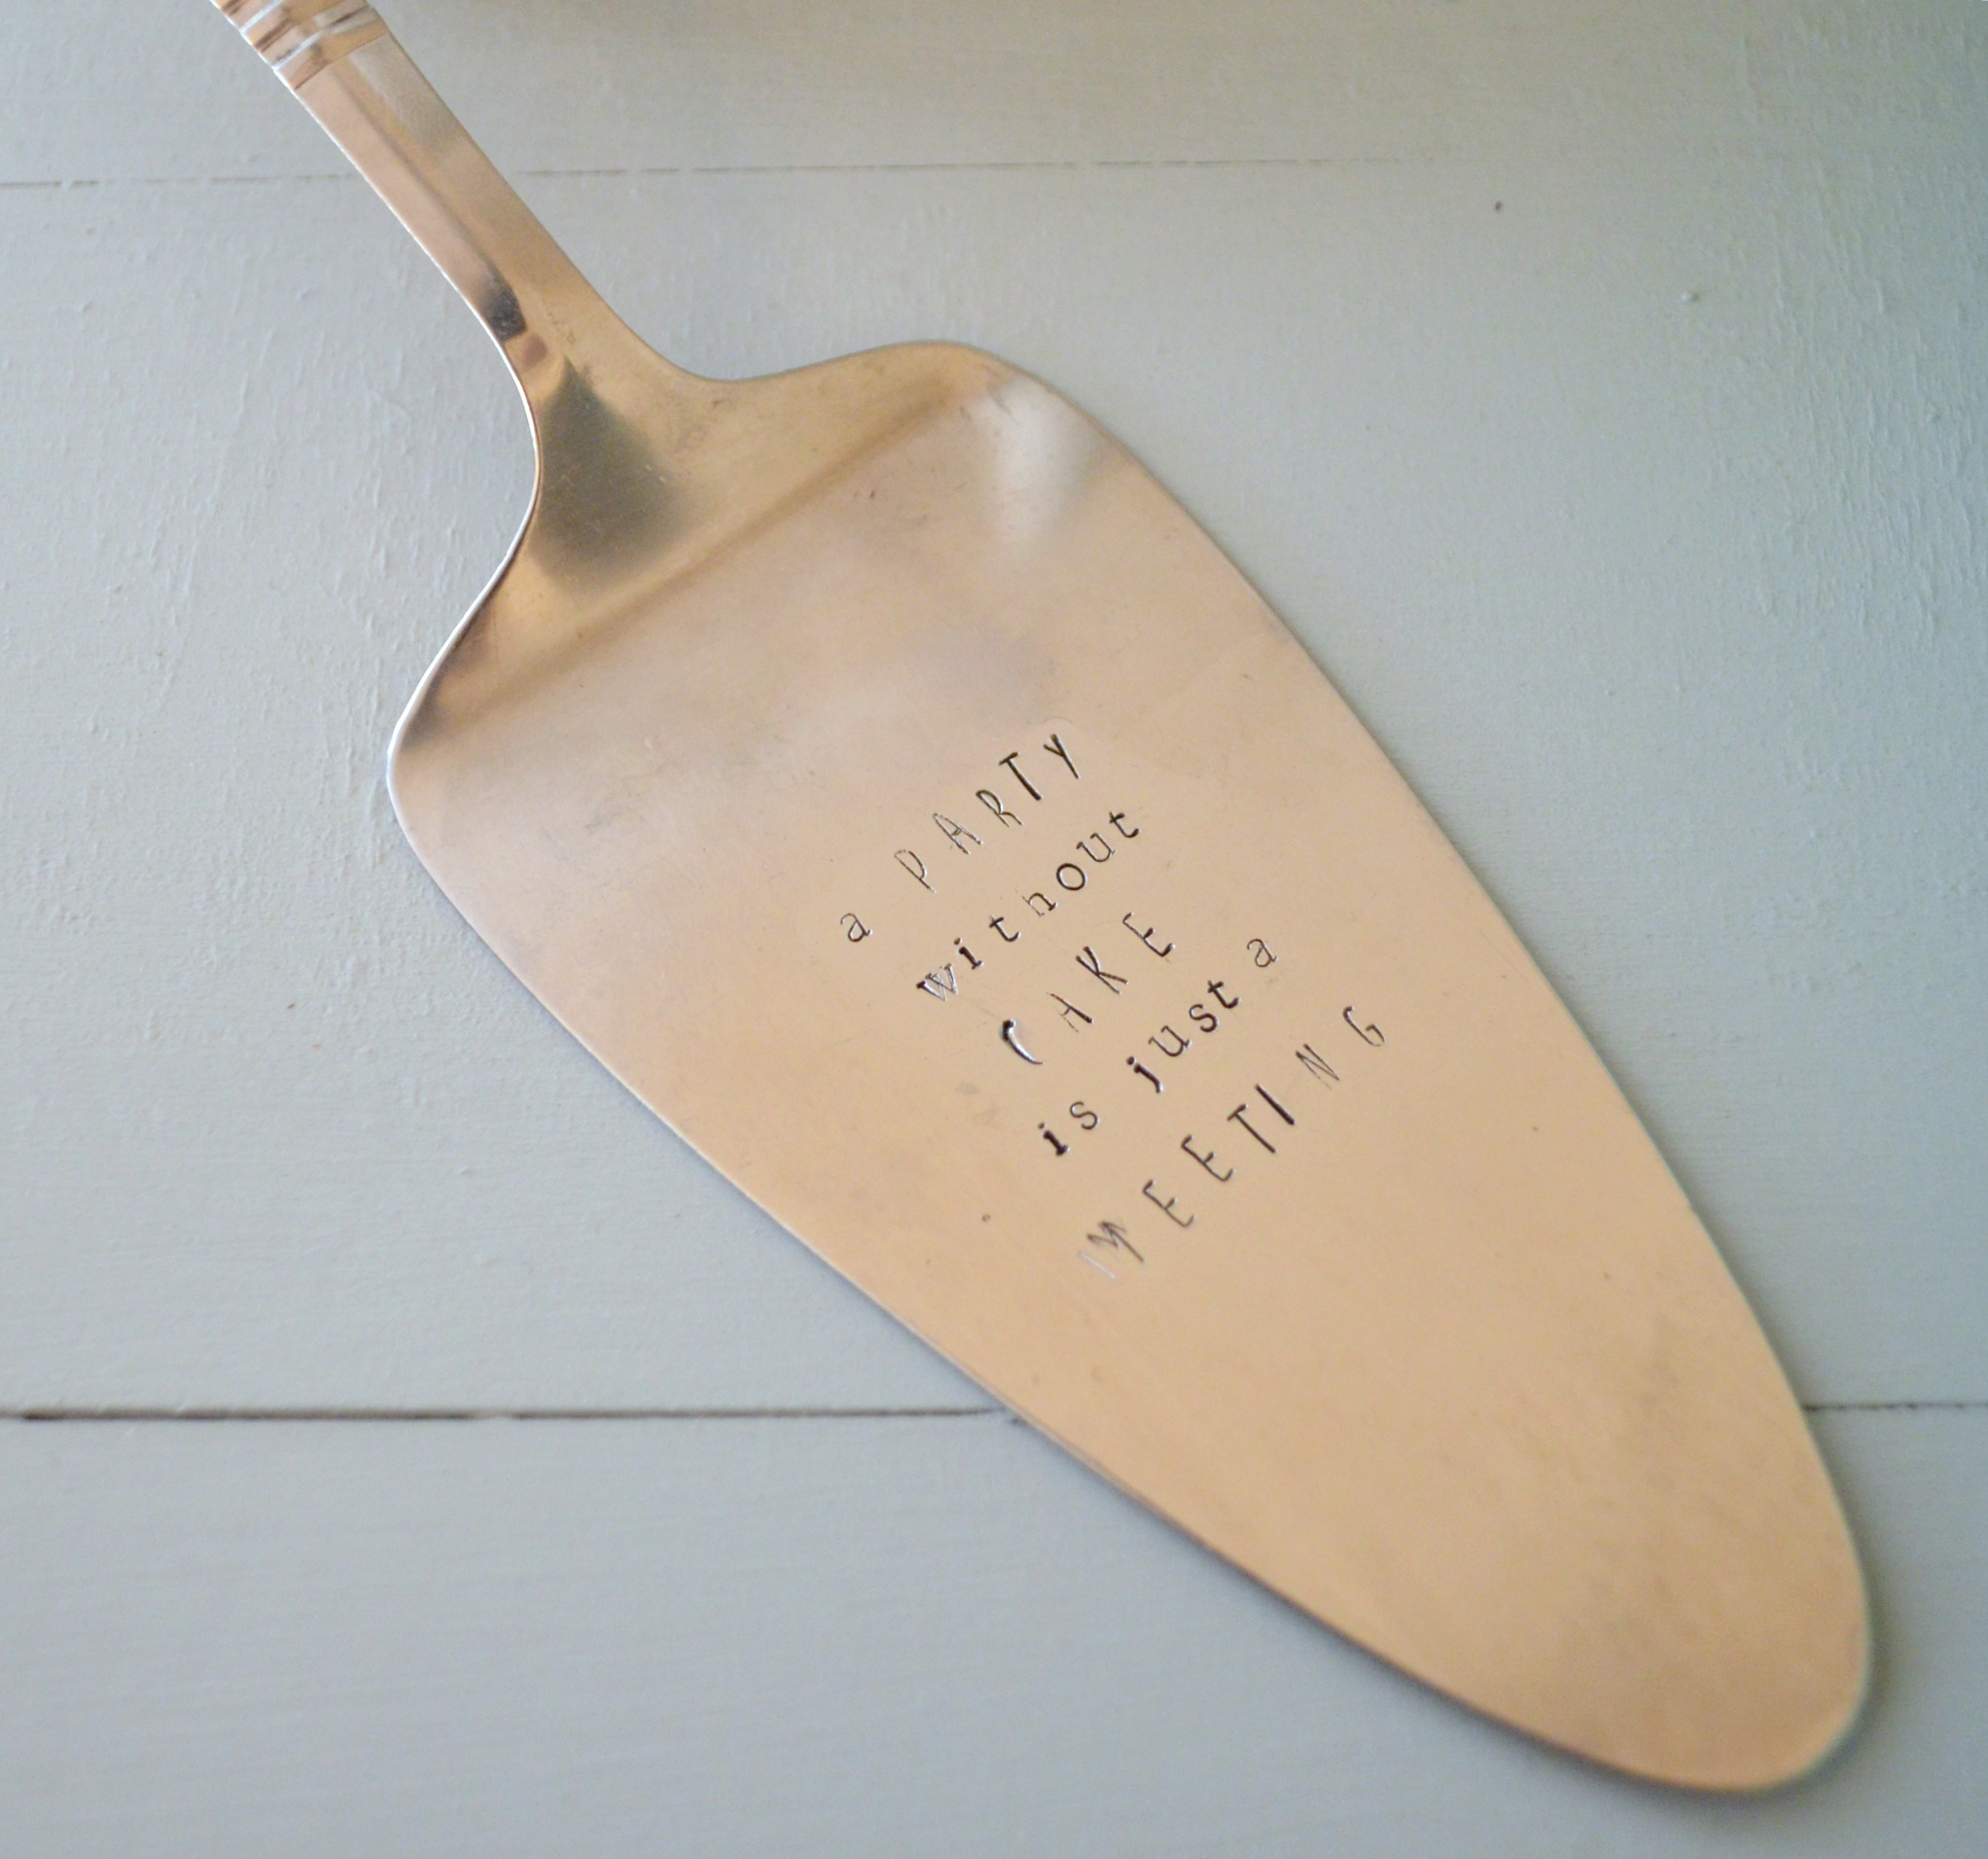
I don’t know about you, friend, but my favorite “meal” of the day is definitely dessert! Cakes, pies, and baked goods of all kinds are always welcome in our house. Of course, as any hostess knows, you need to have a good cake server on hand for when the occasion arises. Here is a fun little stamped cake server I made that makes a great hostess gift {or something to keep for yourself}.
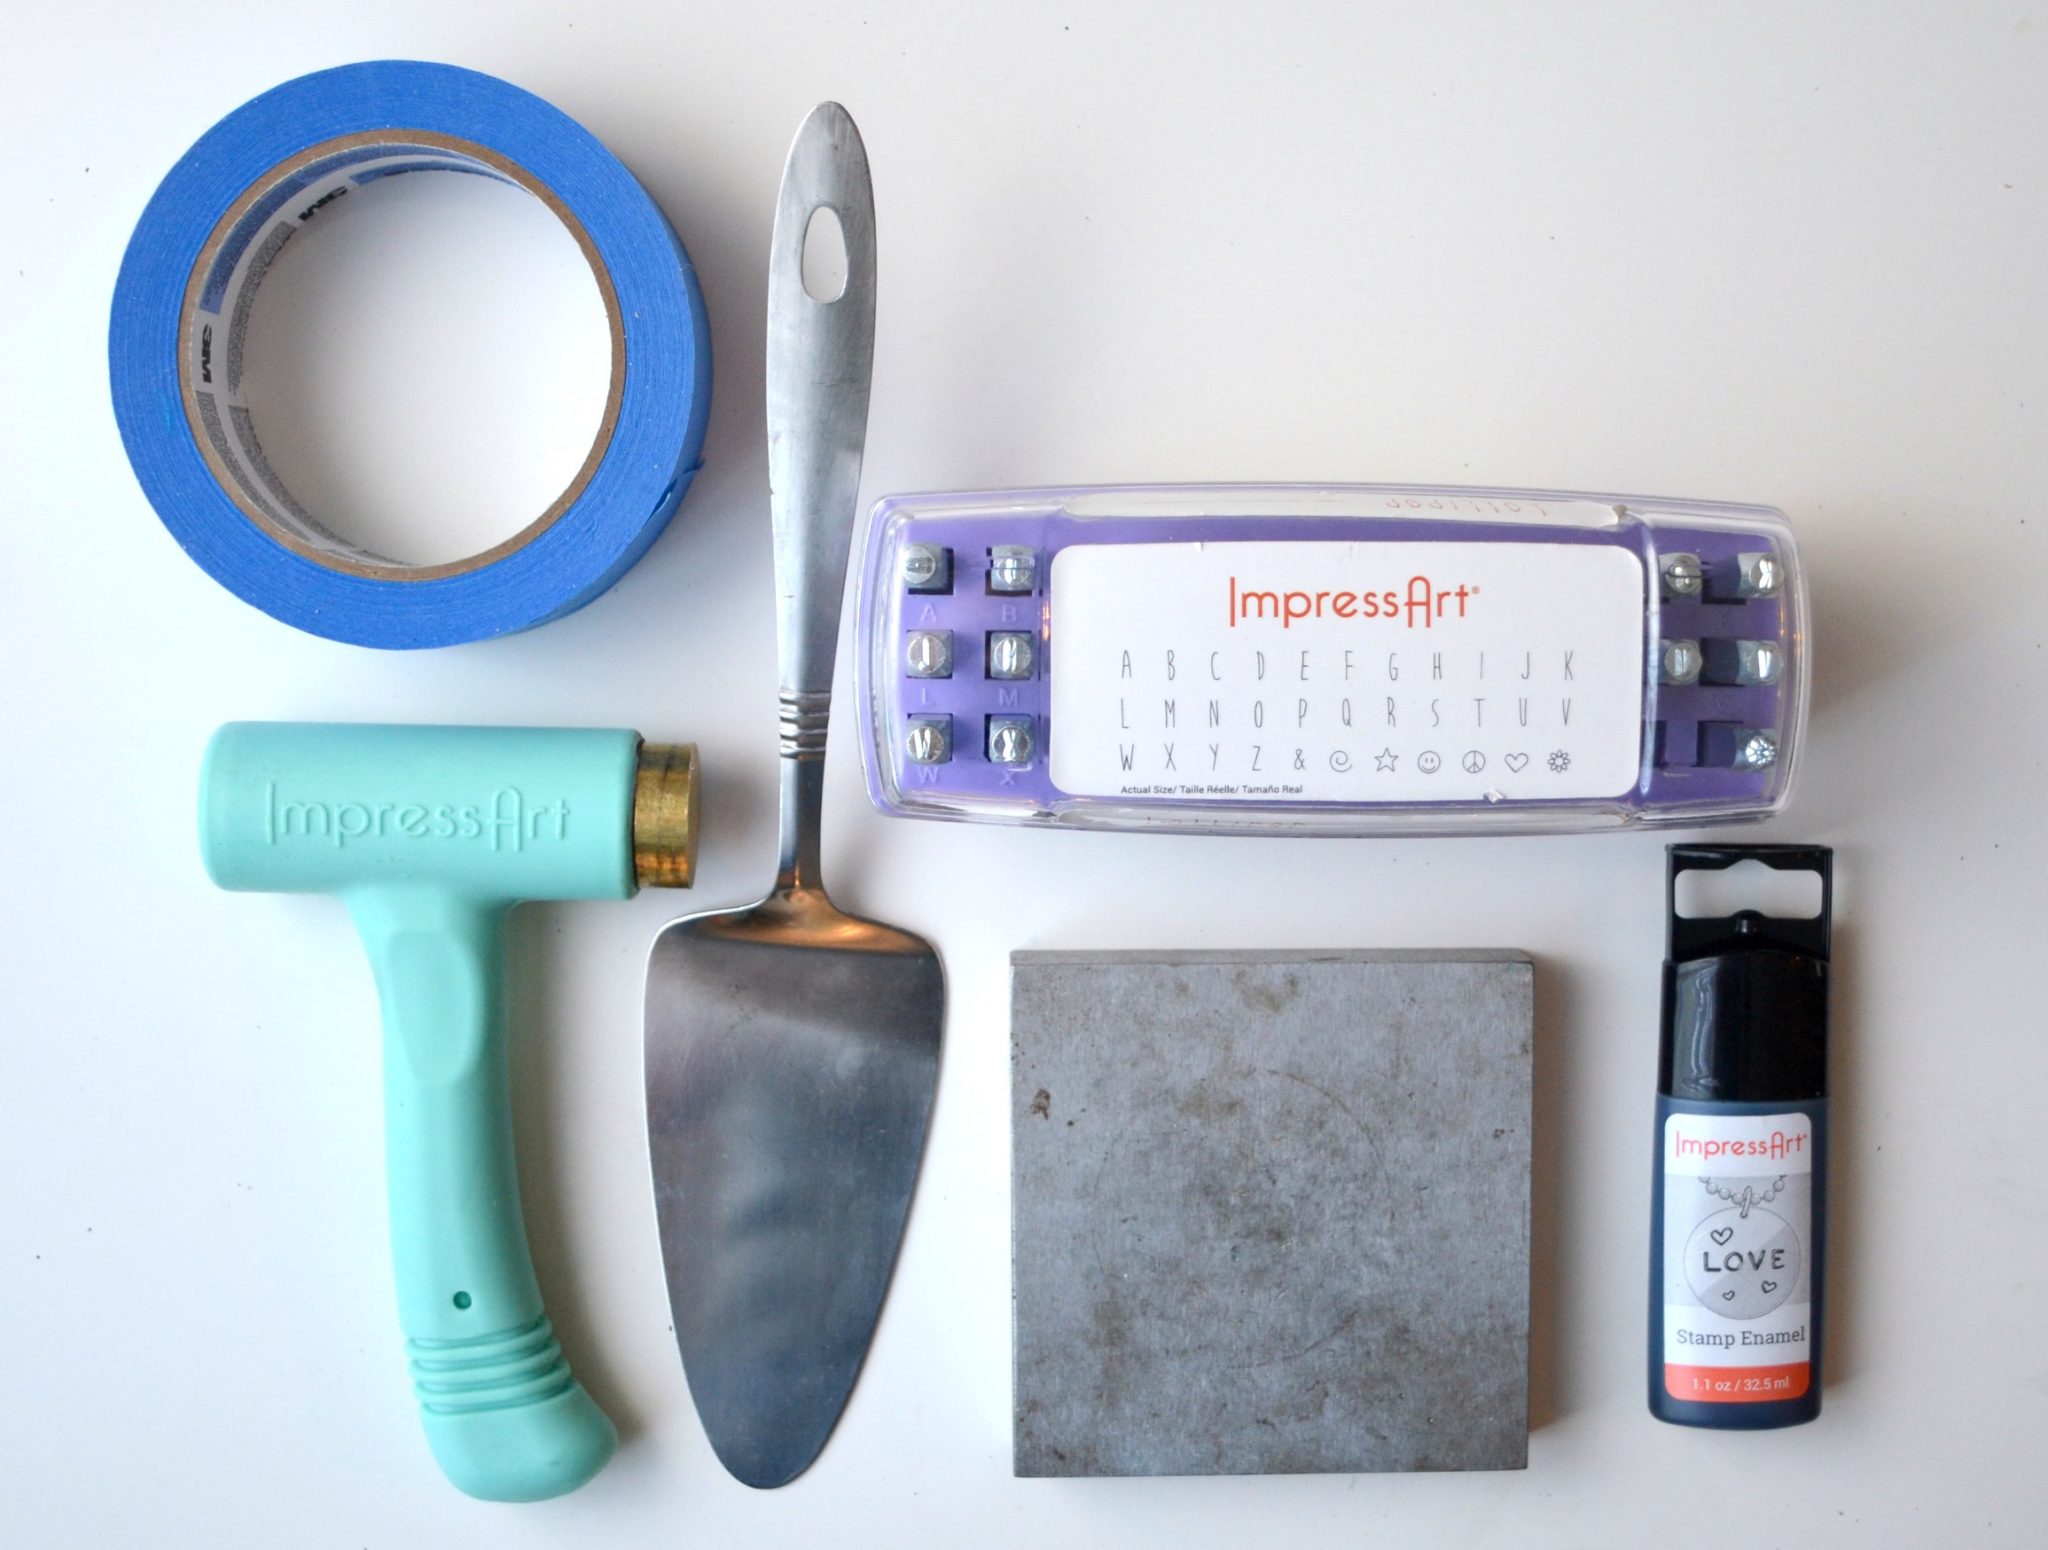
You’ll need:
ImpressArt Lollipop Uppercase Alphabet Stamp Set
ImpressArt Premium Newsprint Lowercase Alphabet Stamp Set
Metal Stamping Hammer
Steel Stamping Block
Stamp Straight or Painters’ Tape
ImpressArt Stamp Enamel
Paper Towel or soft cloth
Metal Cake Server {I got this one for a great deal at Goodwill}
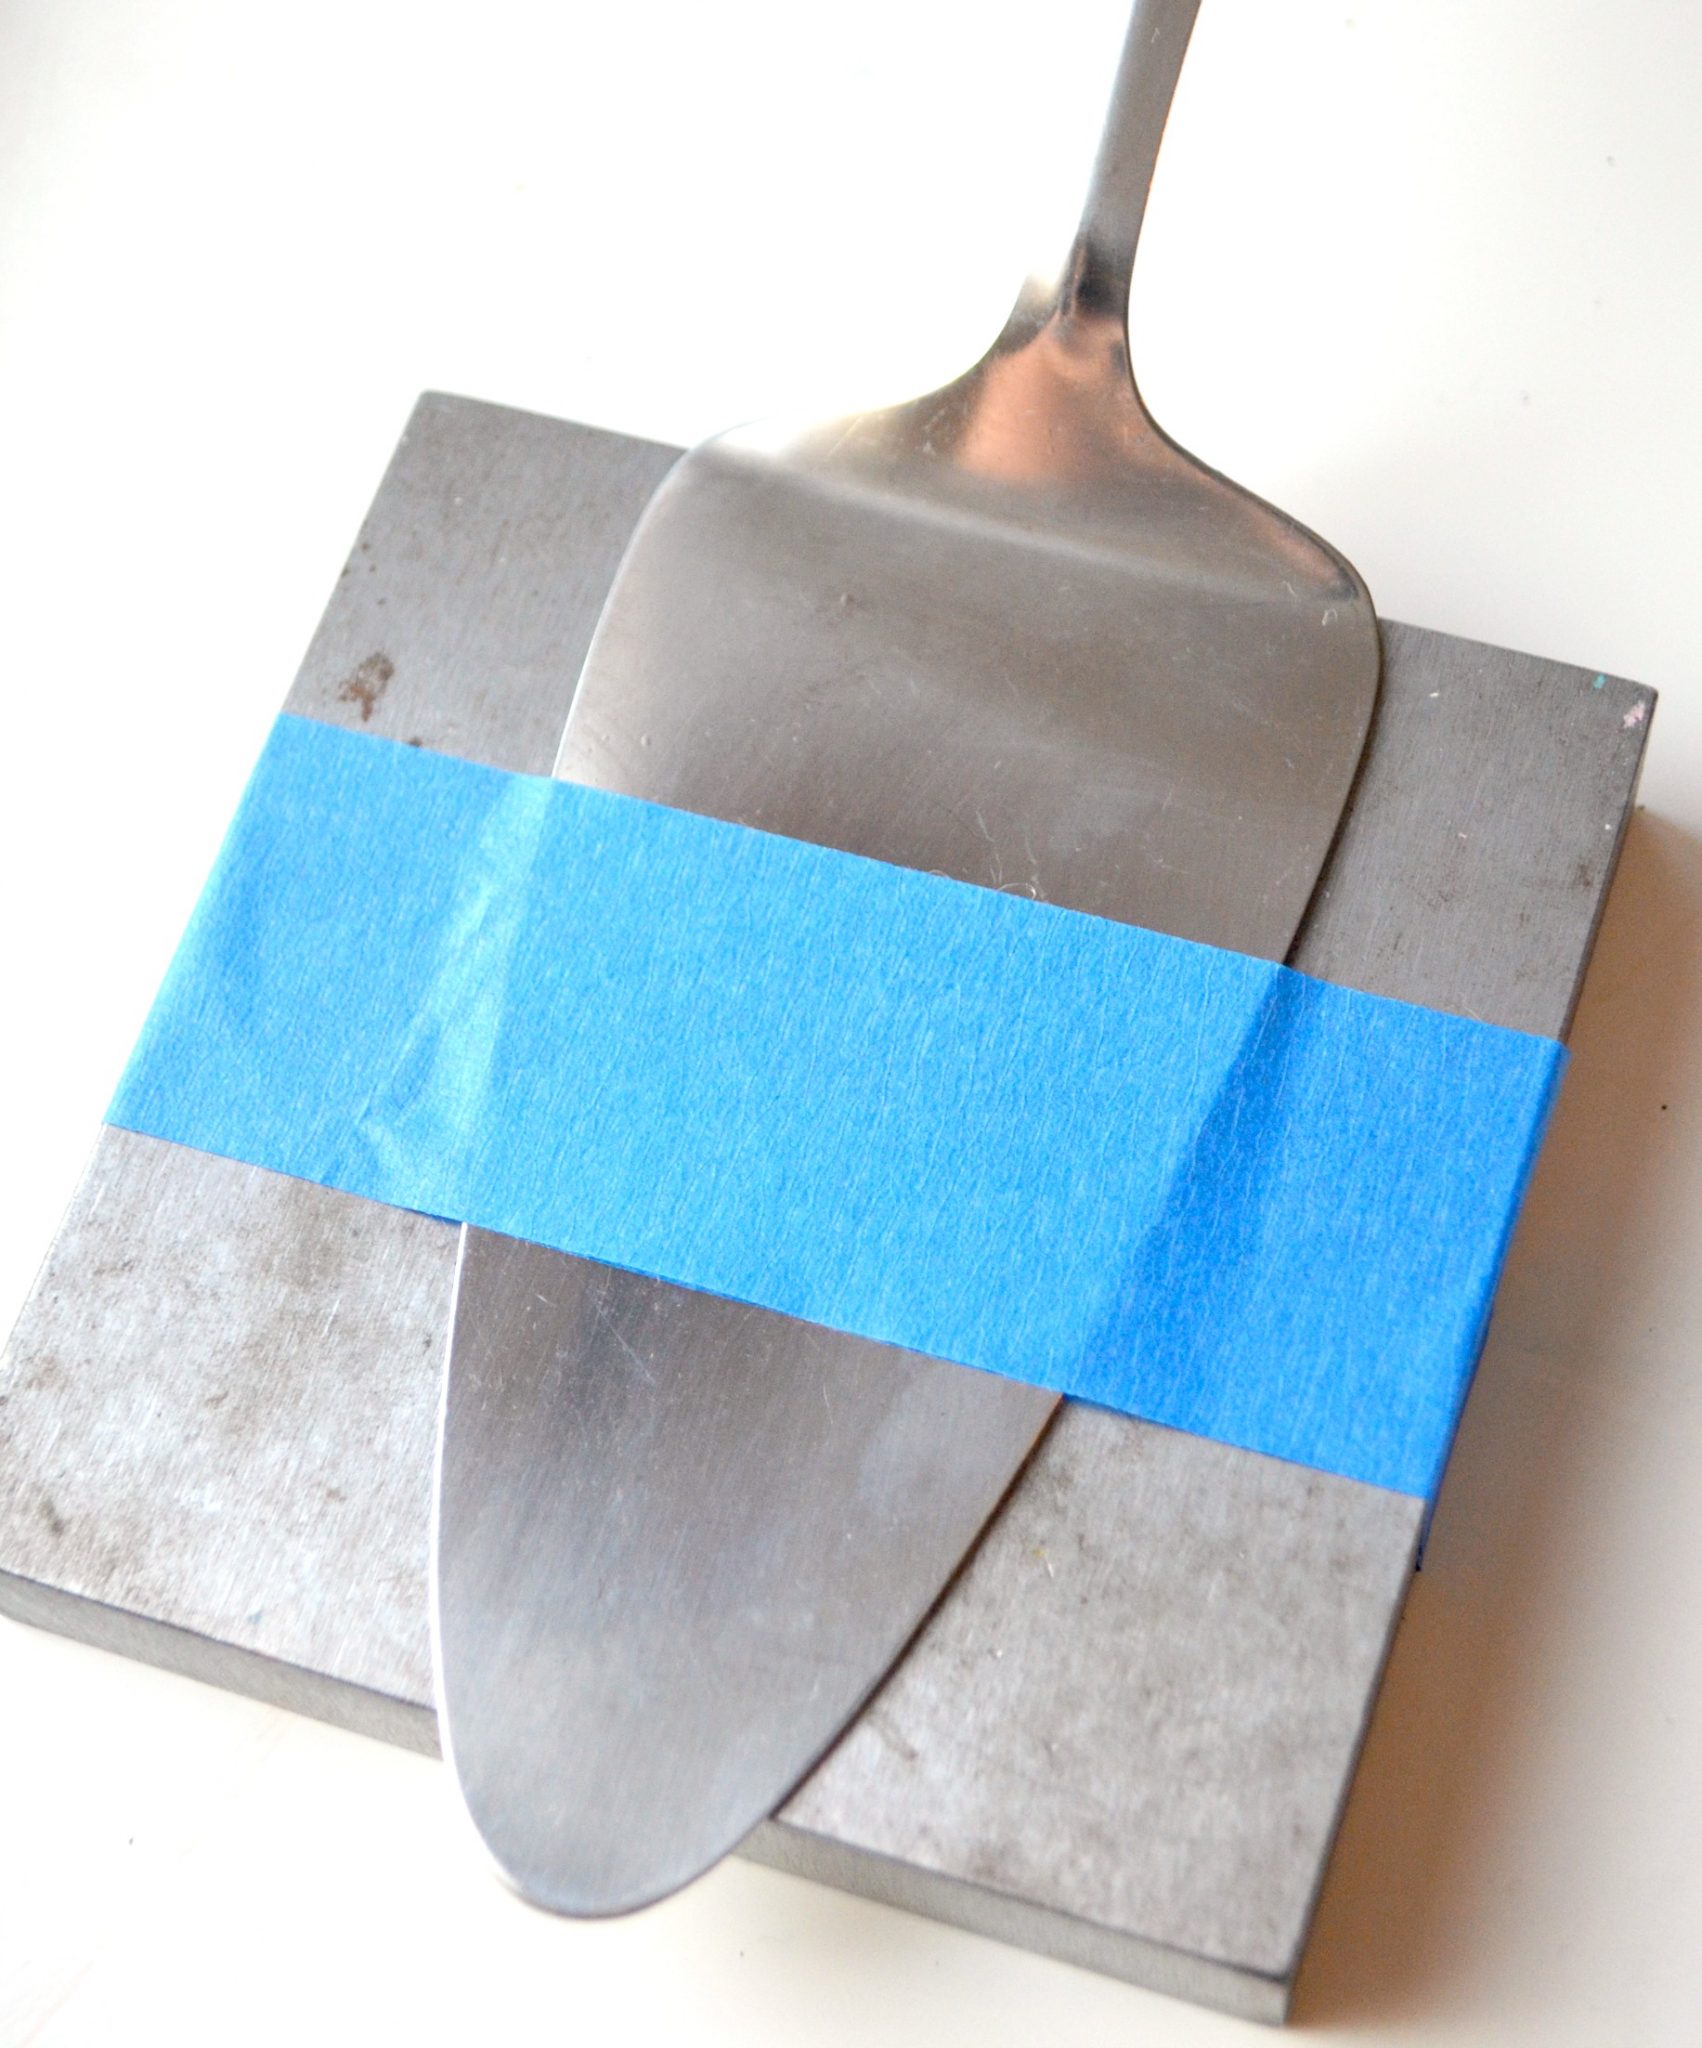
Step 1: Tape your cake server to the stamping block.
Run your tape horizontally across so that it not only holds your server in place, it serves as a guide to keep your letters straight. Position it where you want your first line to be.
Step 2: Write out your design on scrap paper to make sure you know how you want to organize your words. Find the center of each line.
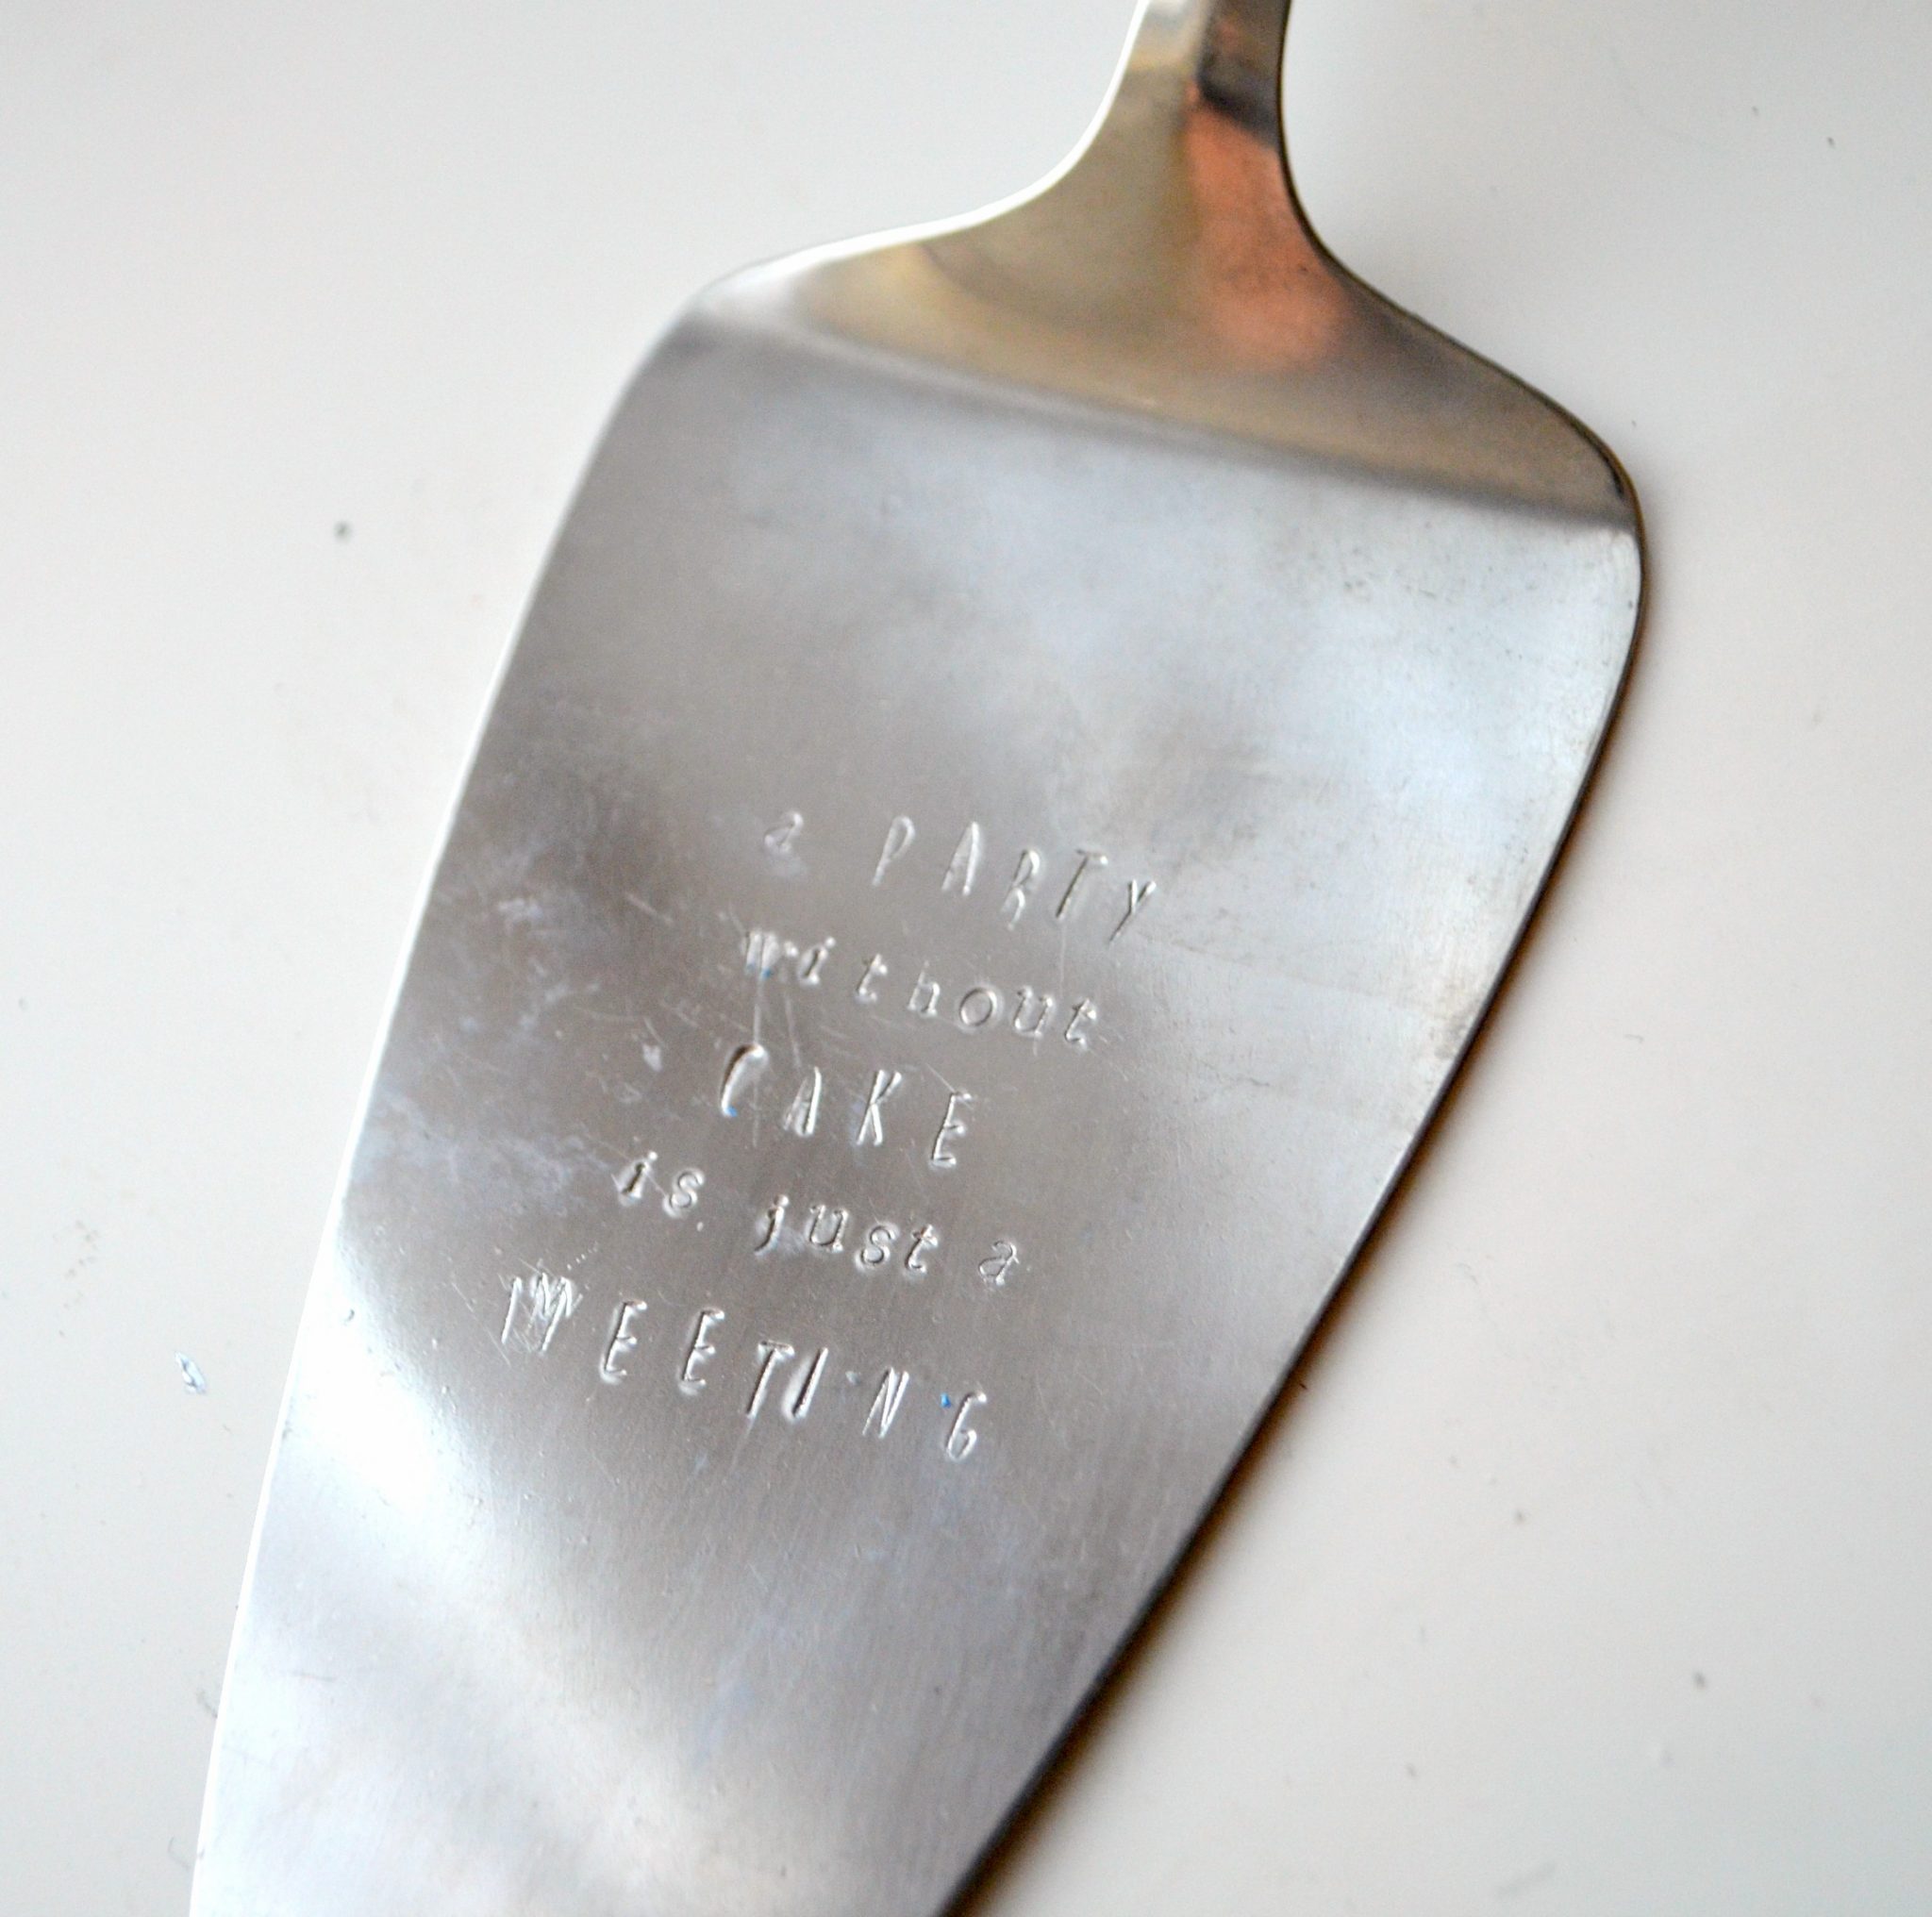
The quote I decided to stamp is, “A party without cake is just a meeting,” by Julia Child.
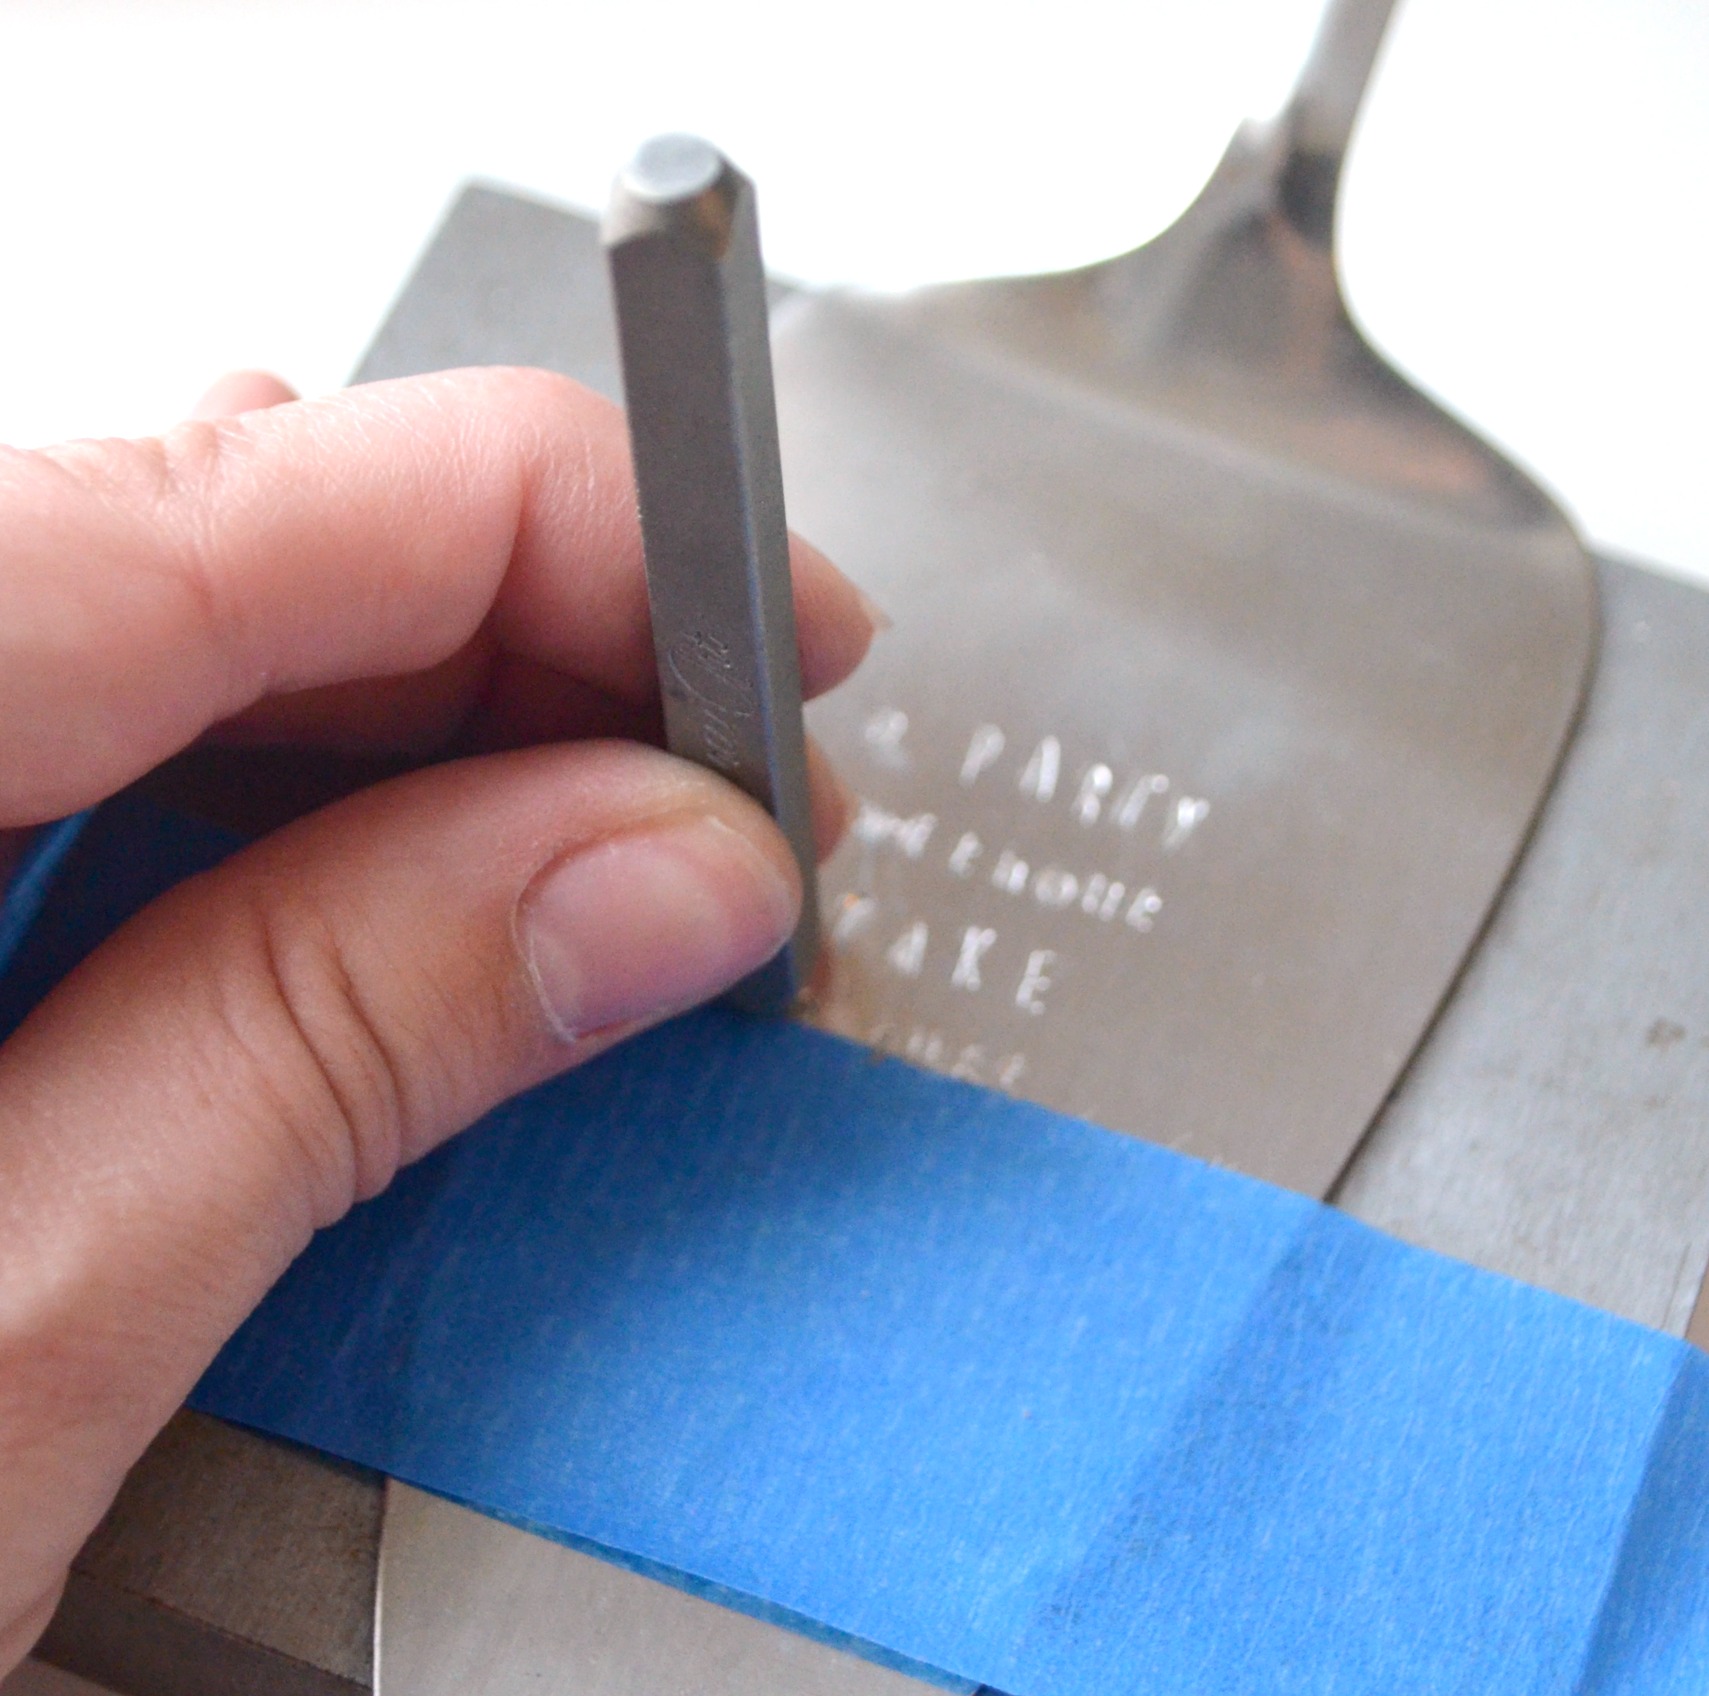
Step 3: Starting with the center of the first line, begin stamping your letters, working your way outward.
If you’ve never done metal stamping before, check out this beginner photo tutorial. Because of the thickness and type of metal, this was more difficult to stamp than the soft strike blanks I typically use. It’s still totally doable, I just had to use more force when striking the hammer, so keep that in mind. I chose to use two different alphabet stamp sets so that the change in font could help emphasize the important words in my quote. You can use any set or combination of sets you like.
Step 4: Continue stamping, moving your tape down for each new line until your quote is complete.
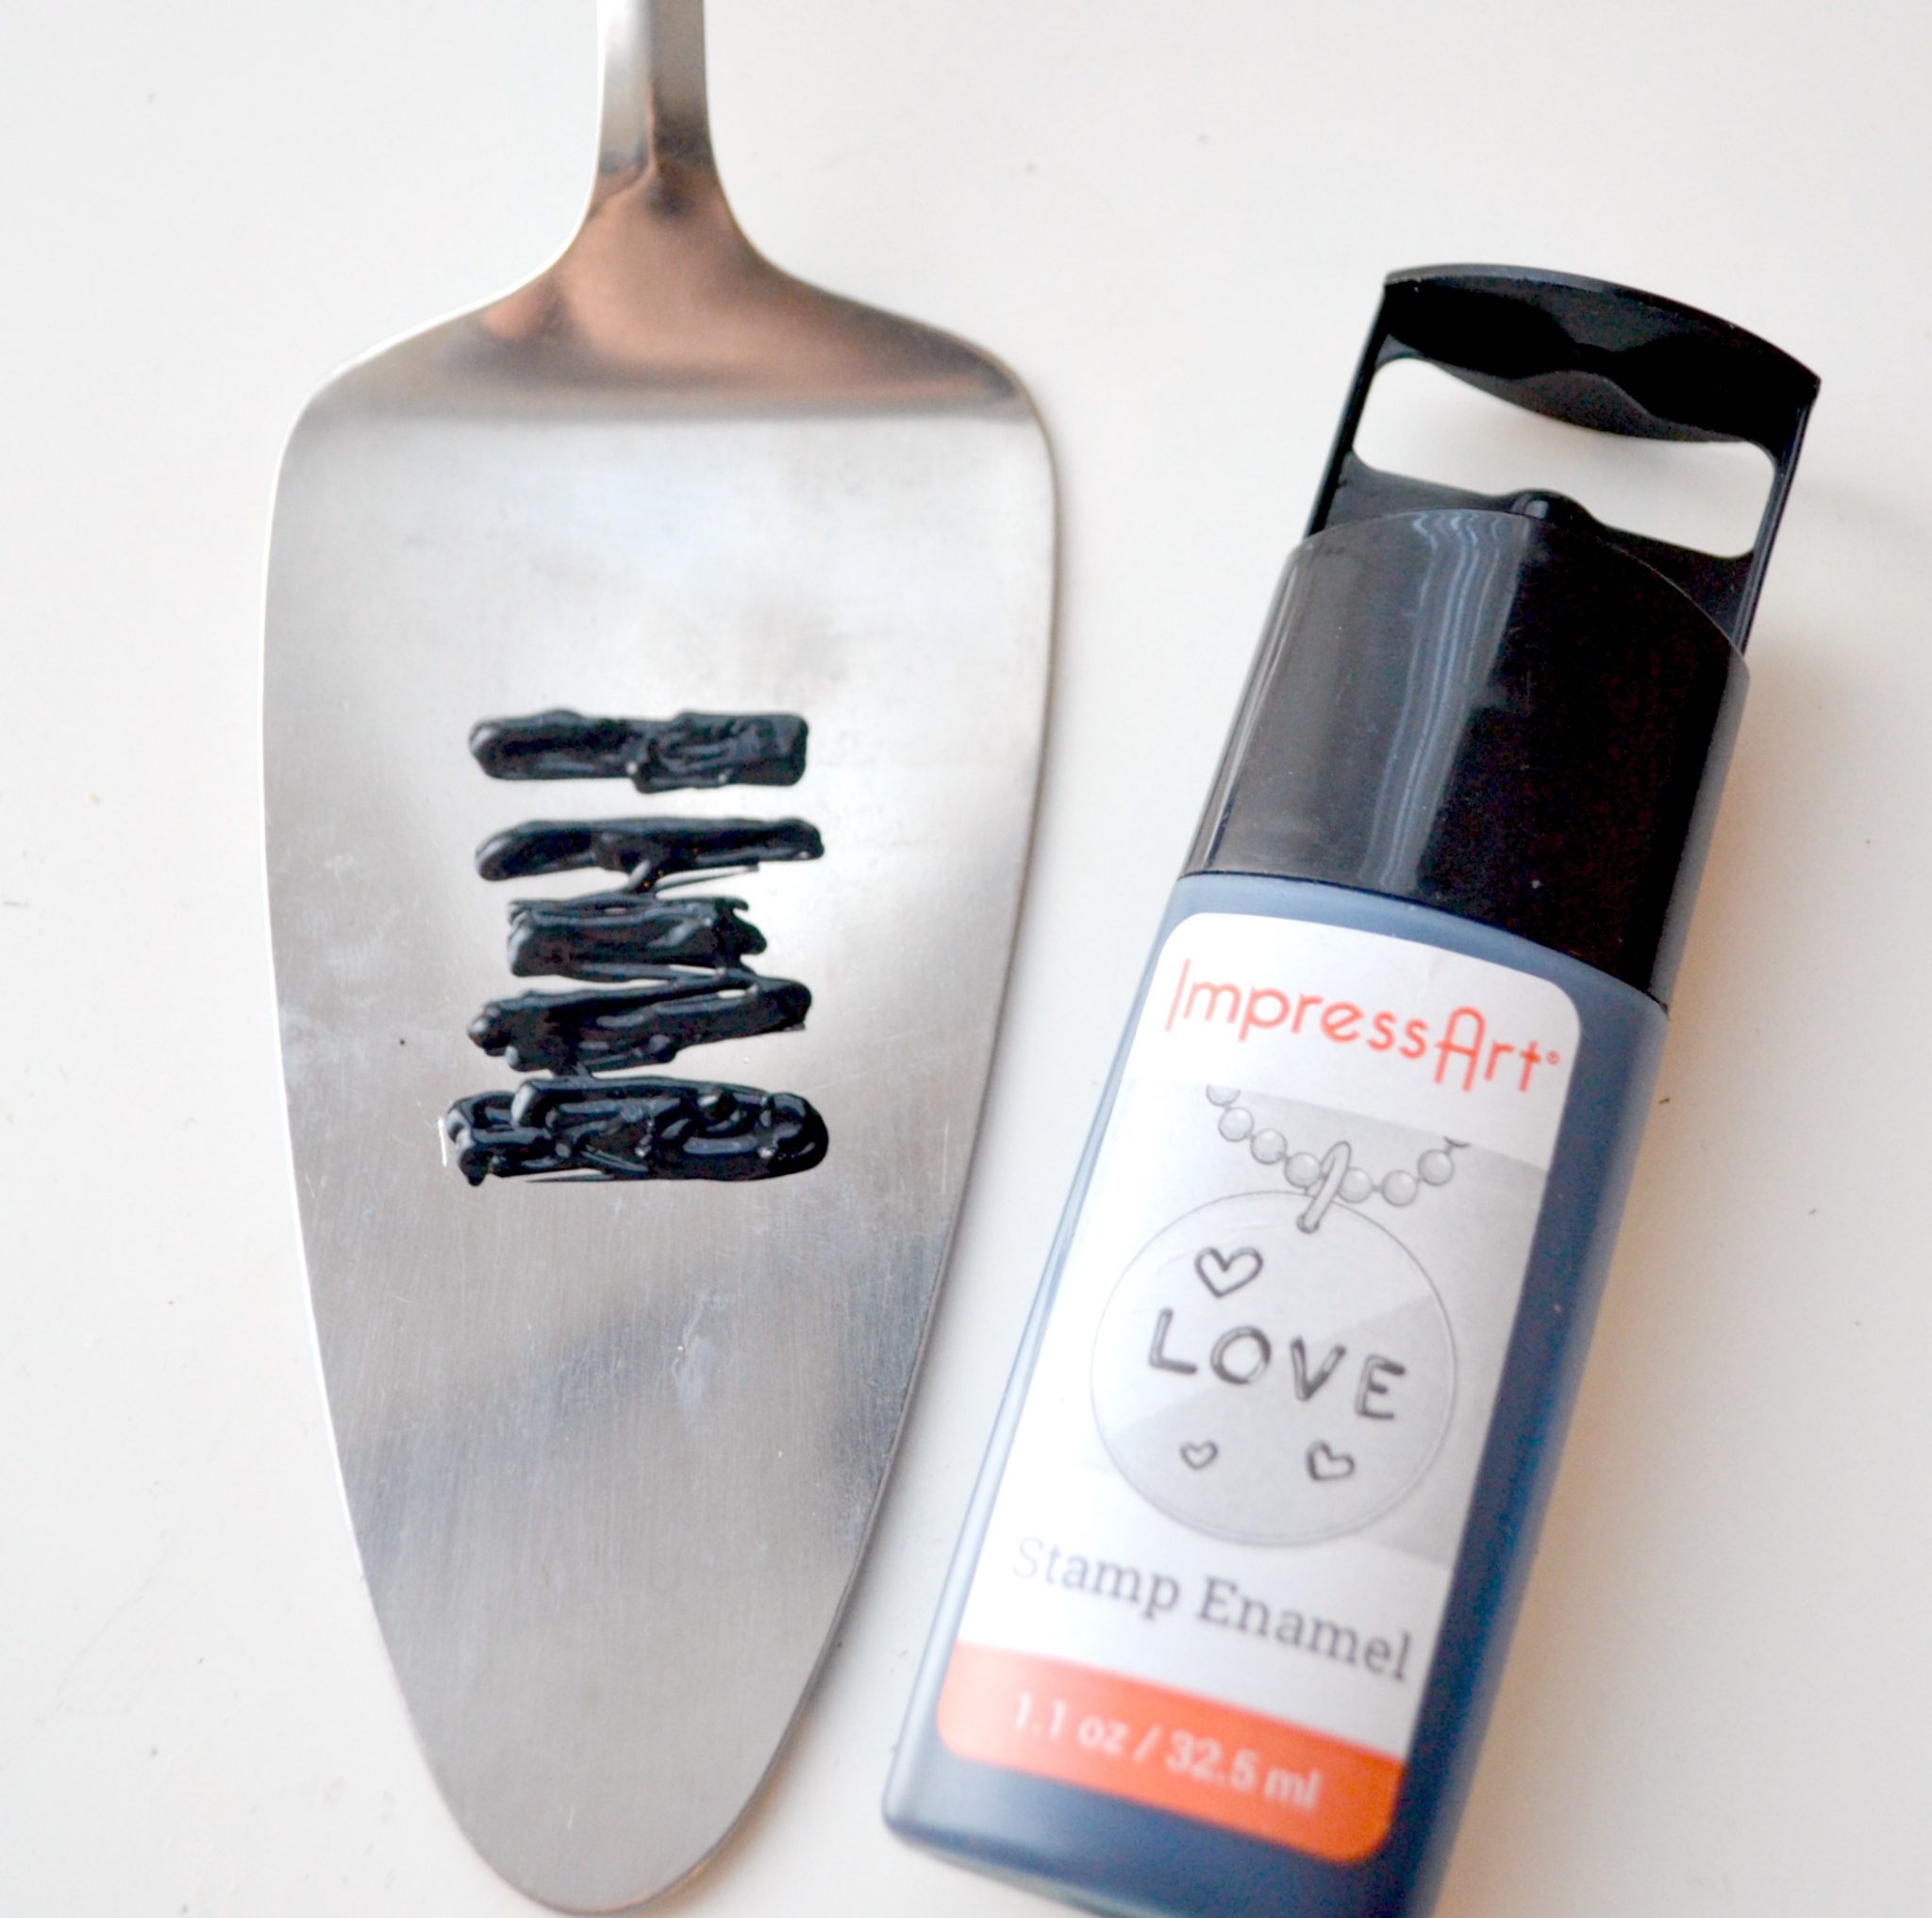
Step 5: Apply ImpressArt Stamp Enamel to the stamped areas of your cake server.
Allow it to sit for 10-30 seconds, then wipe off the excess with a paper towel or other soft cloth. The enamel on the surface will easily rub off, while the enamel down inside the stamped impressions will stay.
That’s all there is to it…now you have a fun, personalized cake server that’s all ready to give the hostess of your next event.
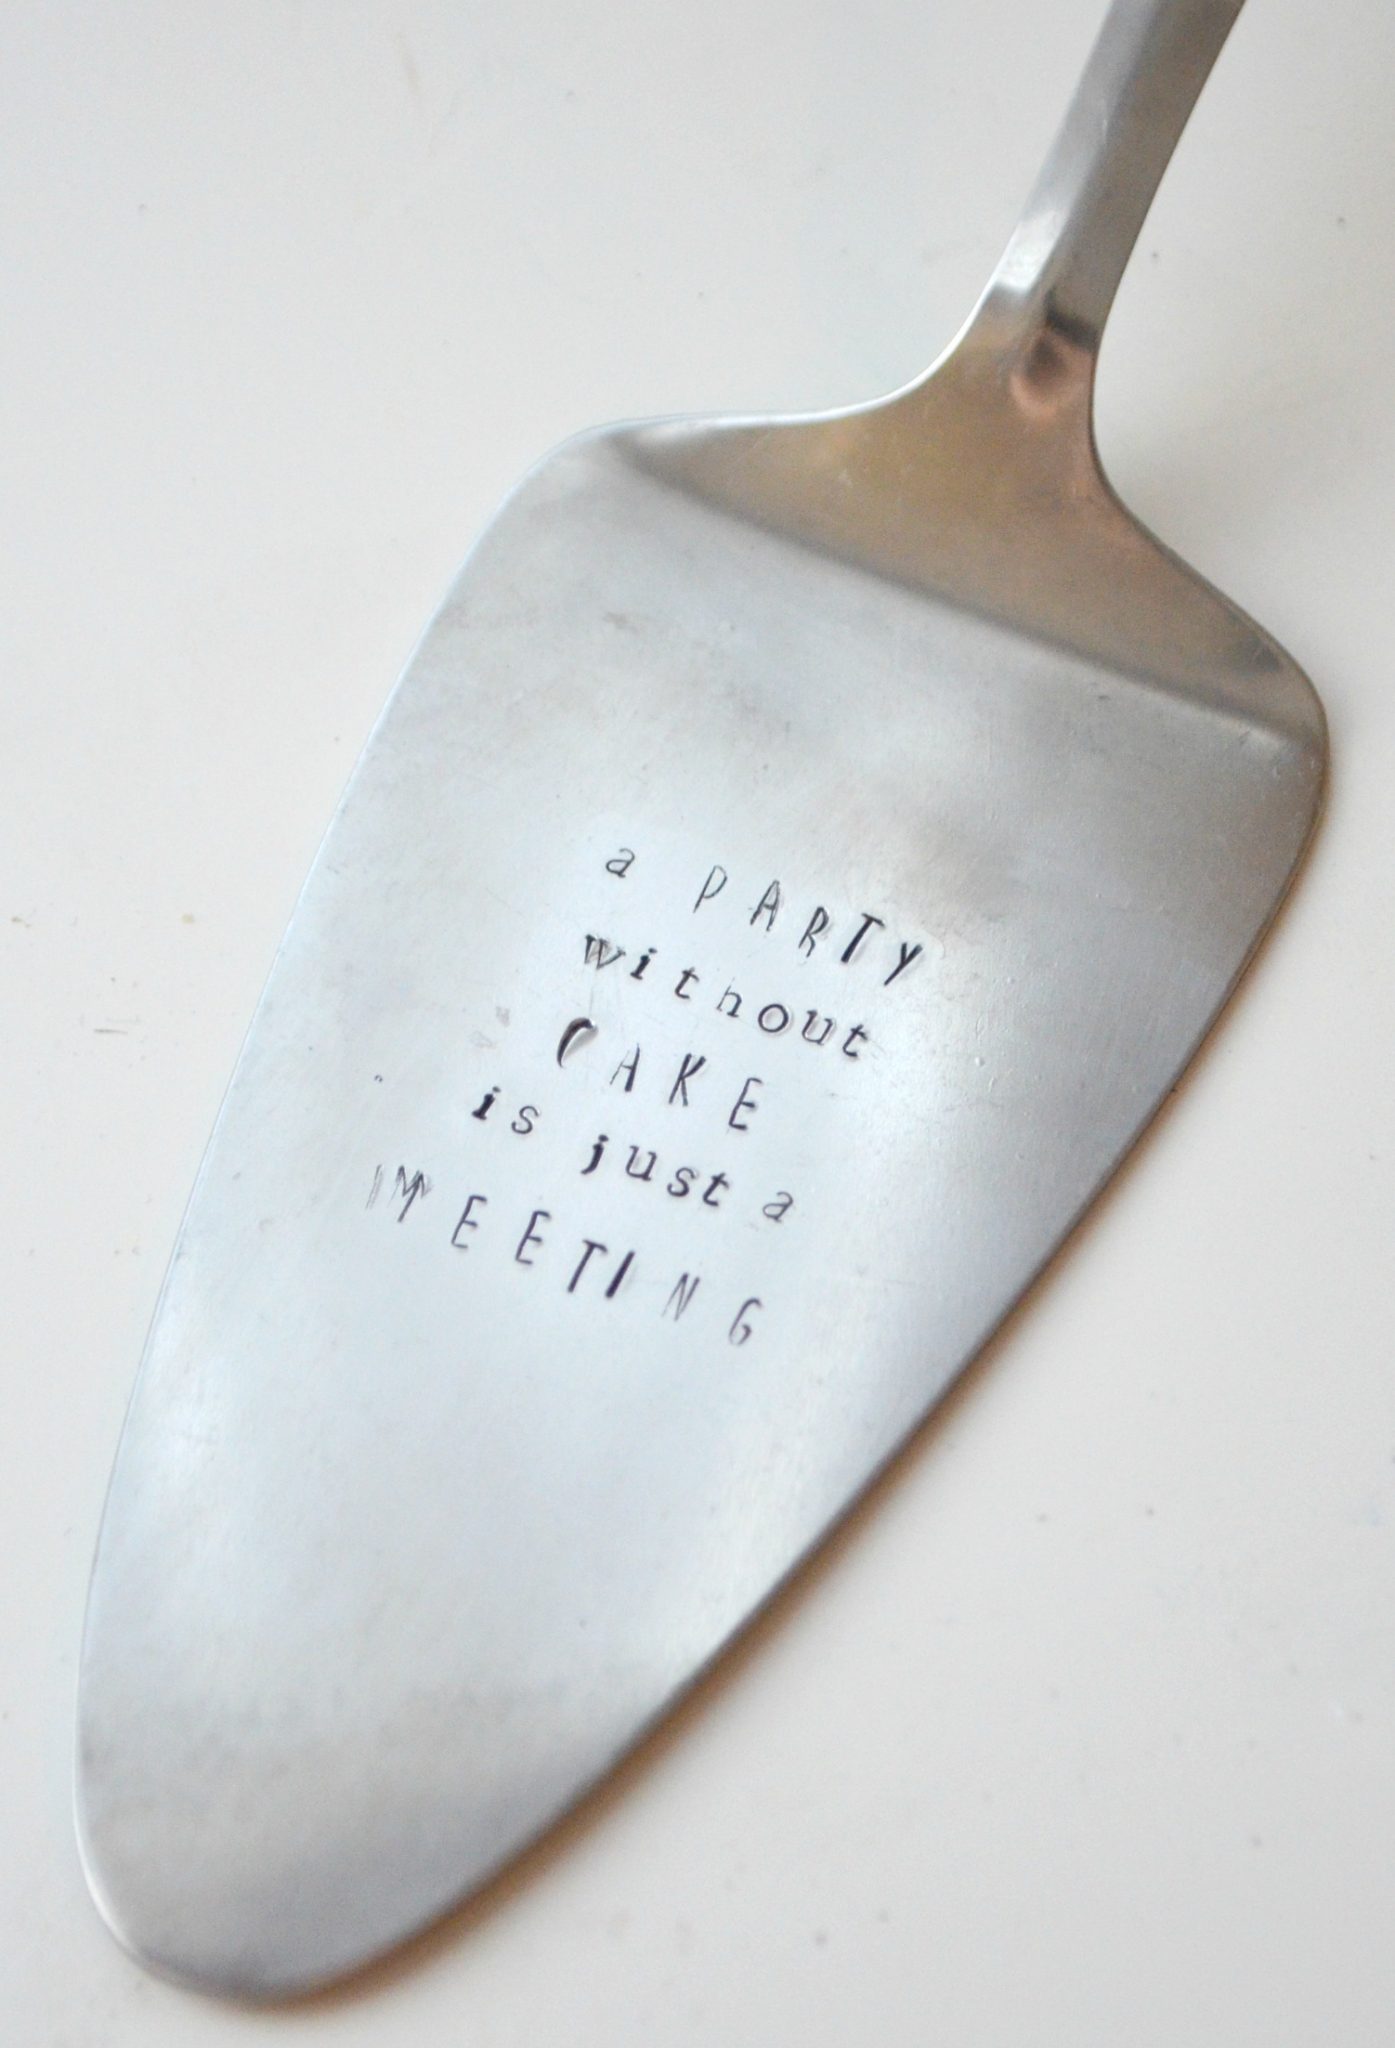
You could easily turn this into a personal wedding gift by stamping the bride and groom’s name and wedding date. Or, use any meaningful quote you like!
What do you think? Is this a project you’d enjoy making? Happy stamping!


So cute!!! I have not tried stamping metal, but it looks fairly easy and makes some of the cutest stuff.