
DIY Crate Bookcase
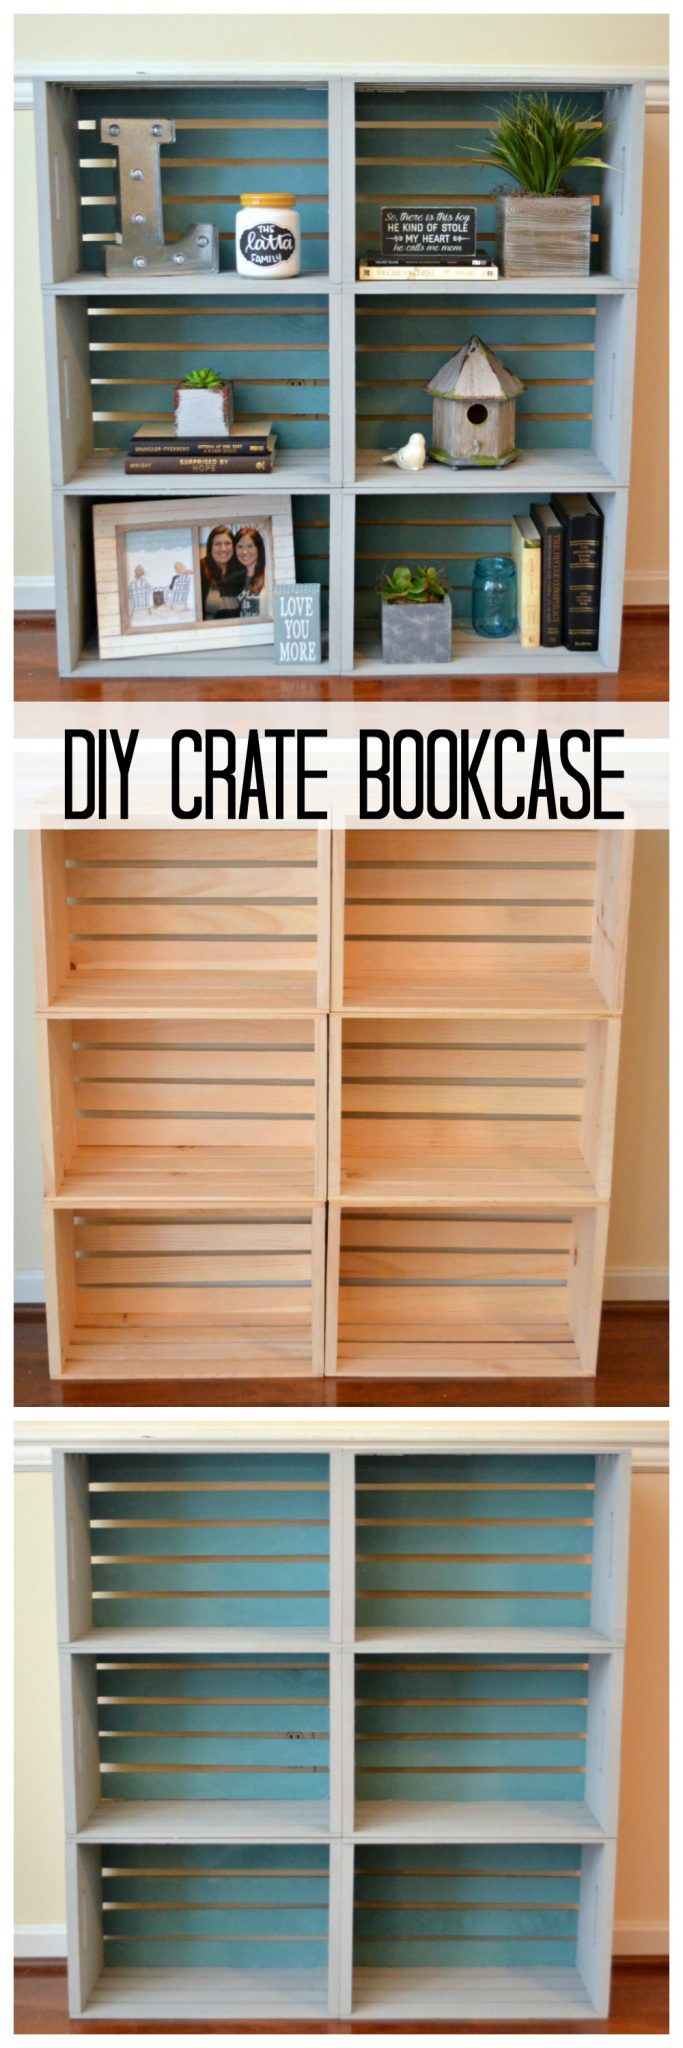
Hey, friends! Things have been all kinds of busy around the Artsy House lately when it comes to DIY projects. I’ve been working hard outside, creating our Rose Garden and Outdoor Patio Space, and inside I’ve been painting all the things, including a total makeover for our dining room set. While I was at it, we have been in need of a bookshelf for our family room ever since we moved in, so I figured it was a great excuse to make one! I have been seeing a ton of cute furniture on Pinterest made from crates lately, so I decided to try my hand at a Crate Bookshelf. It was so easy to do, and I’m thrilled with how it turned out! Take a look…
DIY Crate Bookcase Supplies:
{my materials were supplied by Crates & Pallet, Plaid Enterprises, & RYOBI. All opinions are my own.}
Six Large Unfinished Wood Crates
Chalk Paint: I used Delta Ceramcoat Chalk in Cadet Grey and FolkArt Home Decor Chalk in Cascade
Paintbrushes
Sand paper or RYOBI ONE+ 18-Volt Corner Cat Sander
RYOBI ONE+ 18-Volt Airstrike Brad Nailer
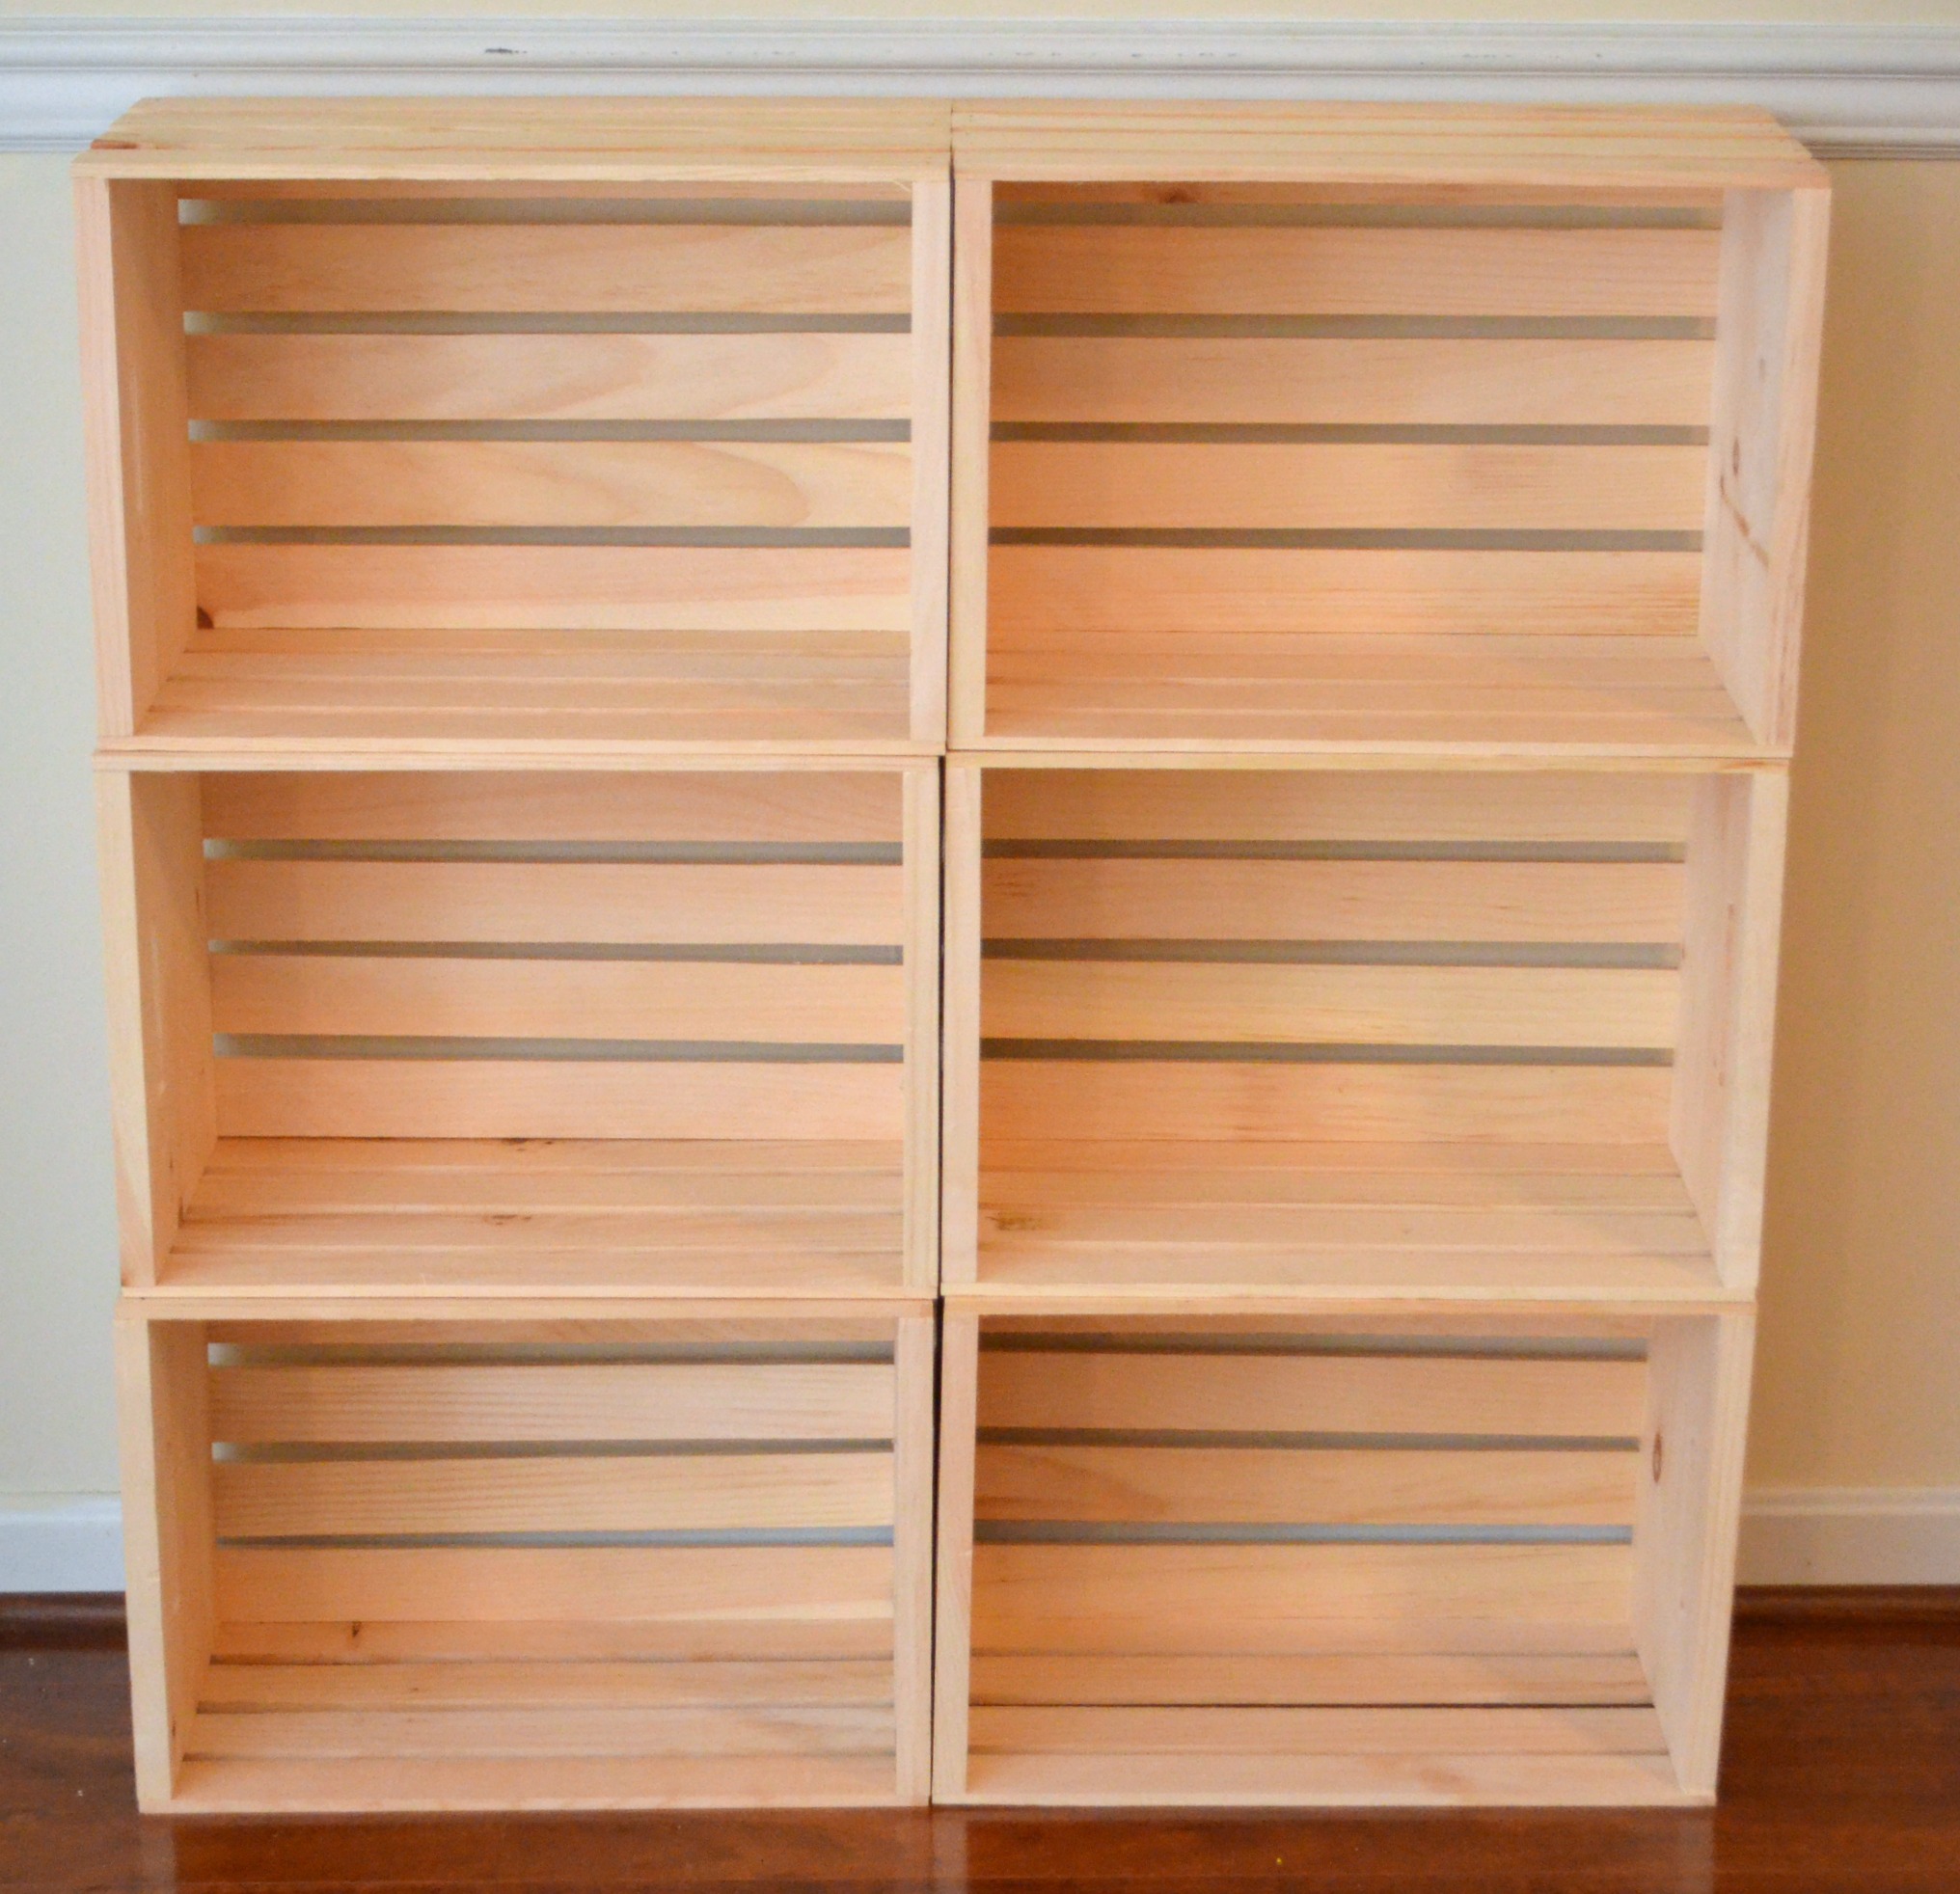
Step 1: Sand your crates.
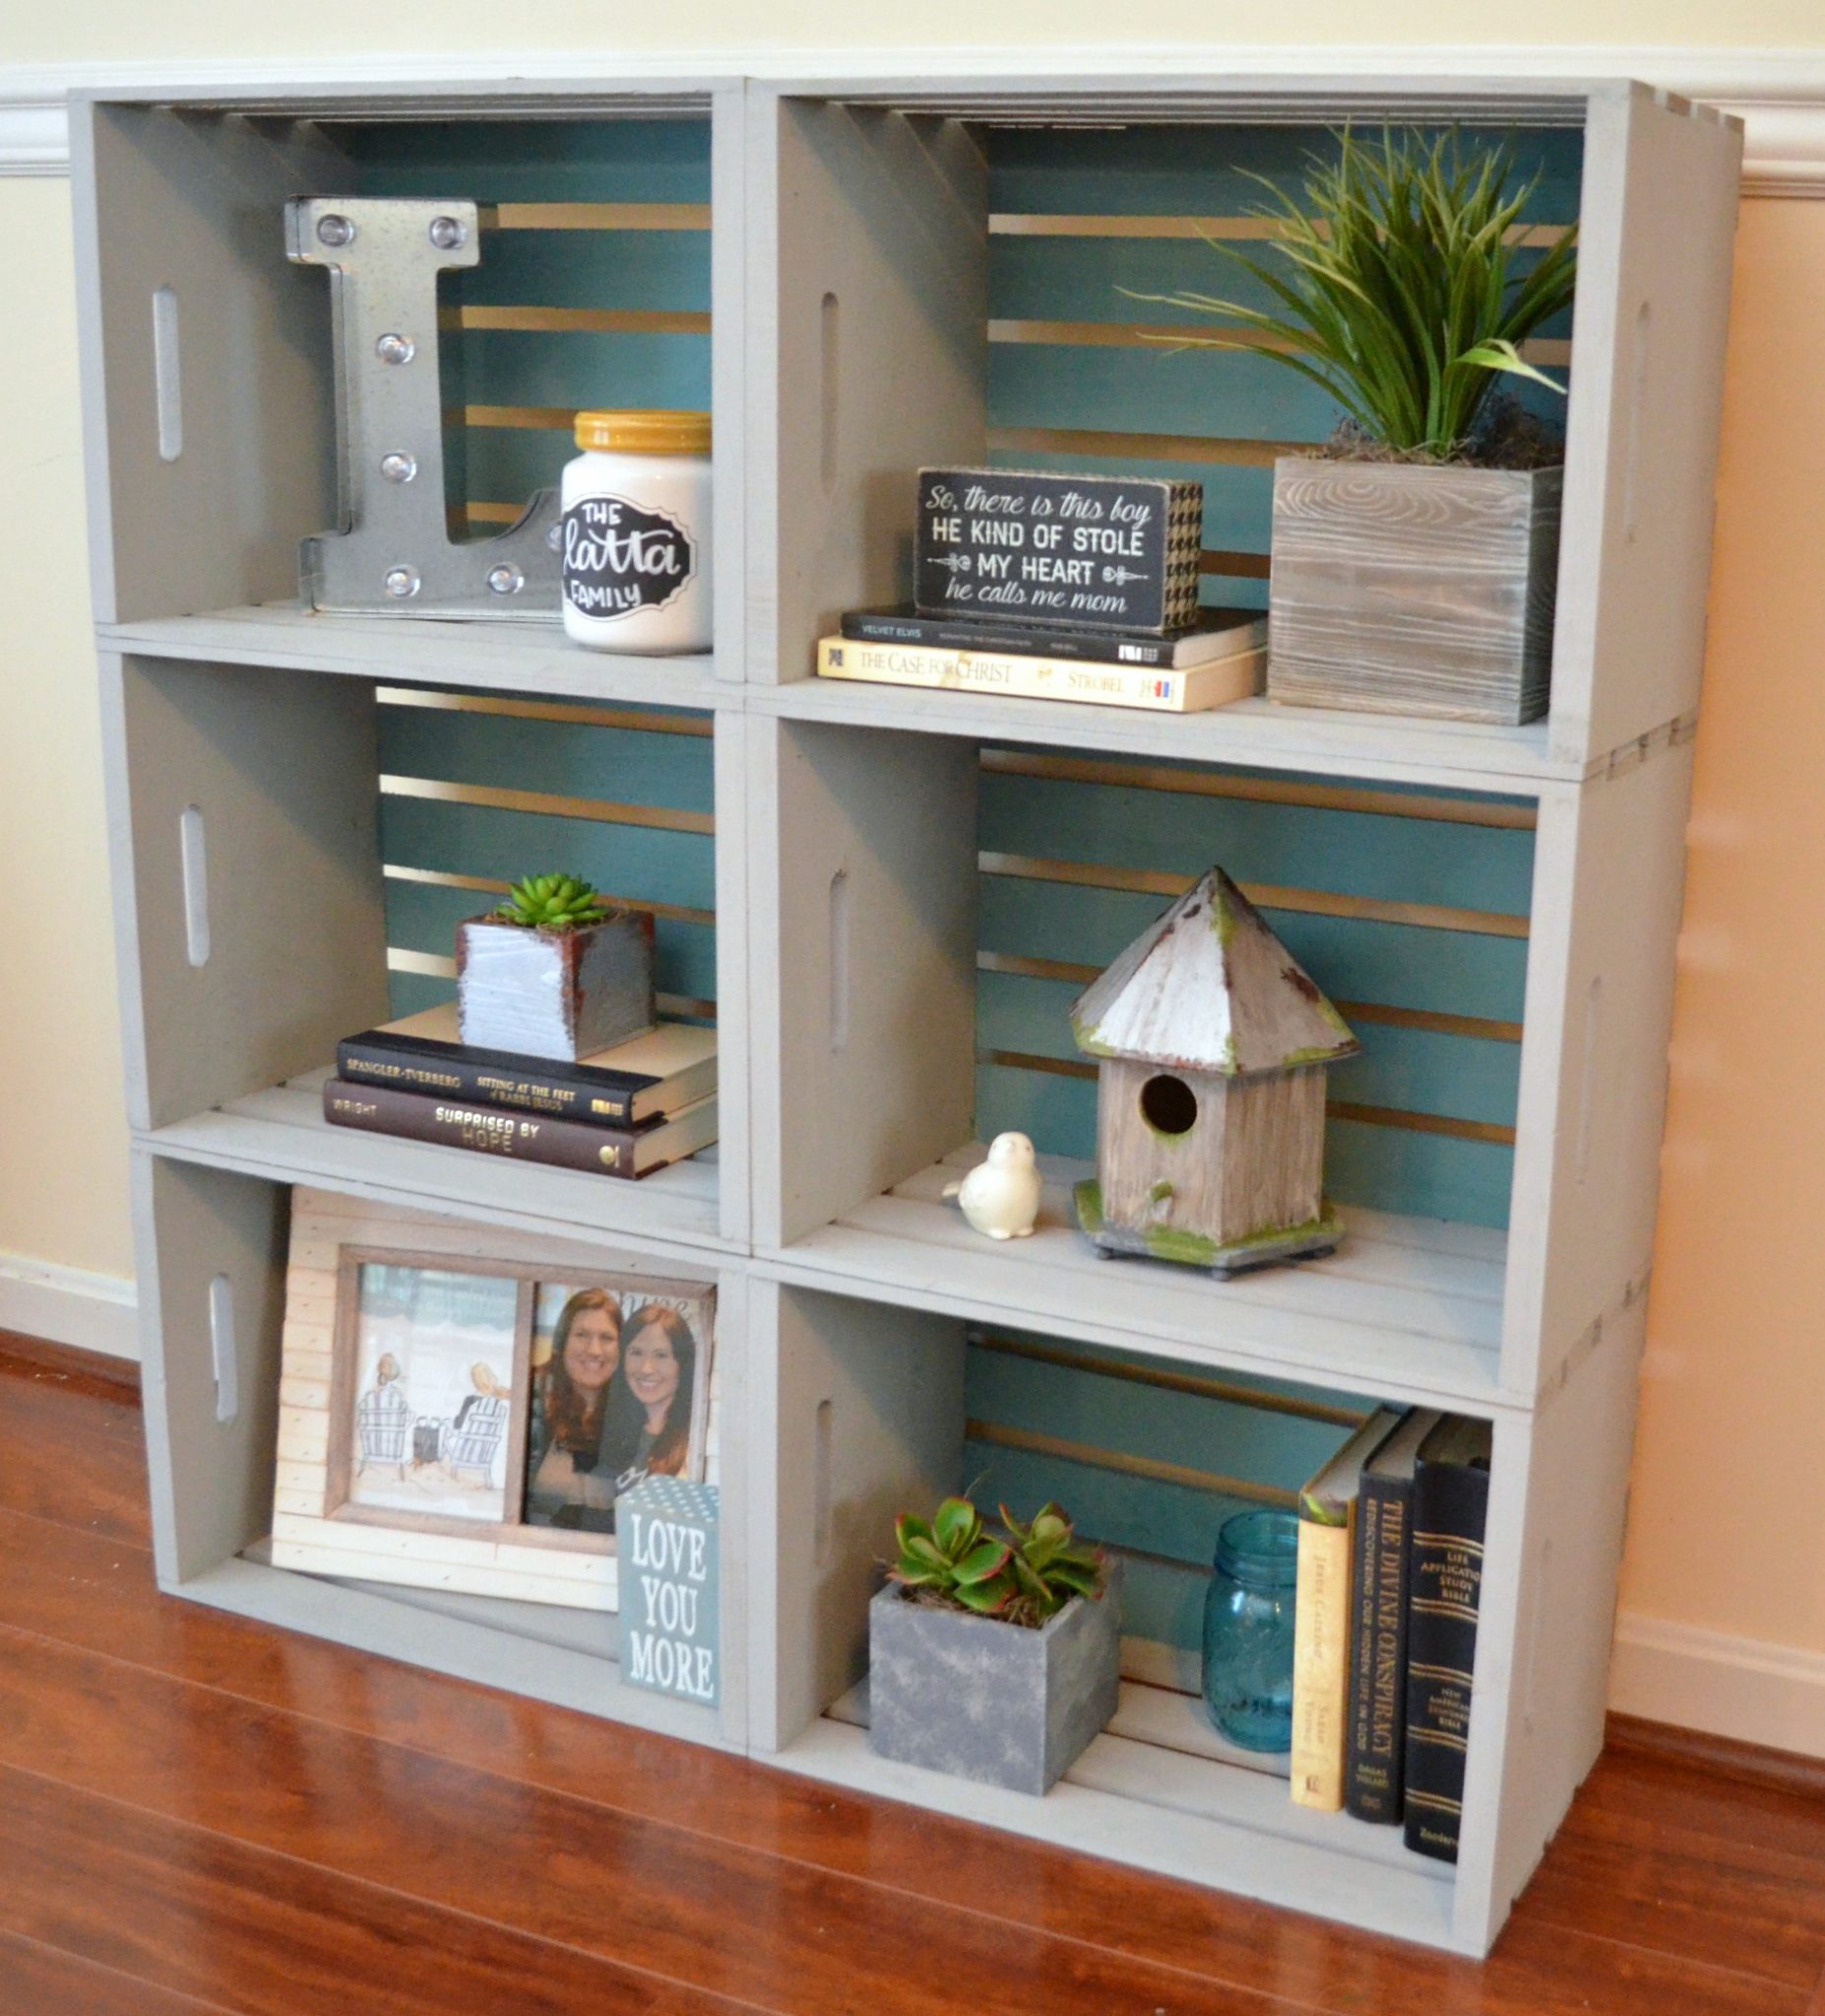
Step 2: Arrange the crates in the formation you like.
I chose to make my bookcase three crates high and two crates wide, but you can do any arrangement you like. You’re not actually going to nail them together yet, but pay attention to which crates are in which positions. Sometimes one side of a crate will have a sticker that doesn’t want to come off, so you can position that facing inward toward another crate to hide it.
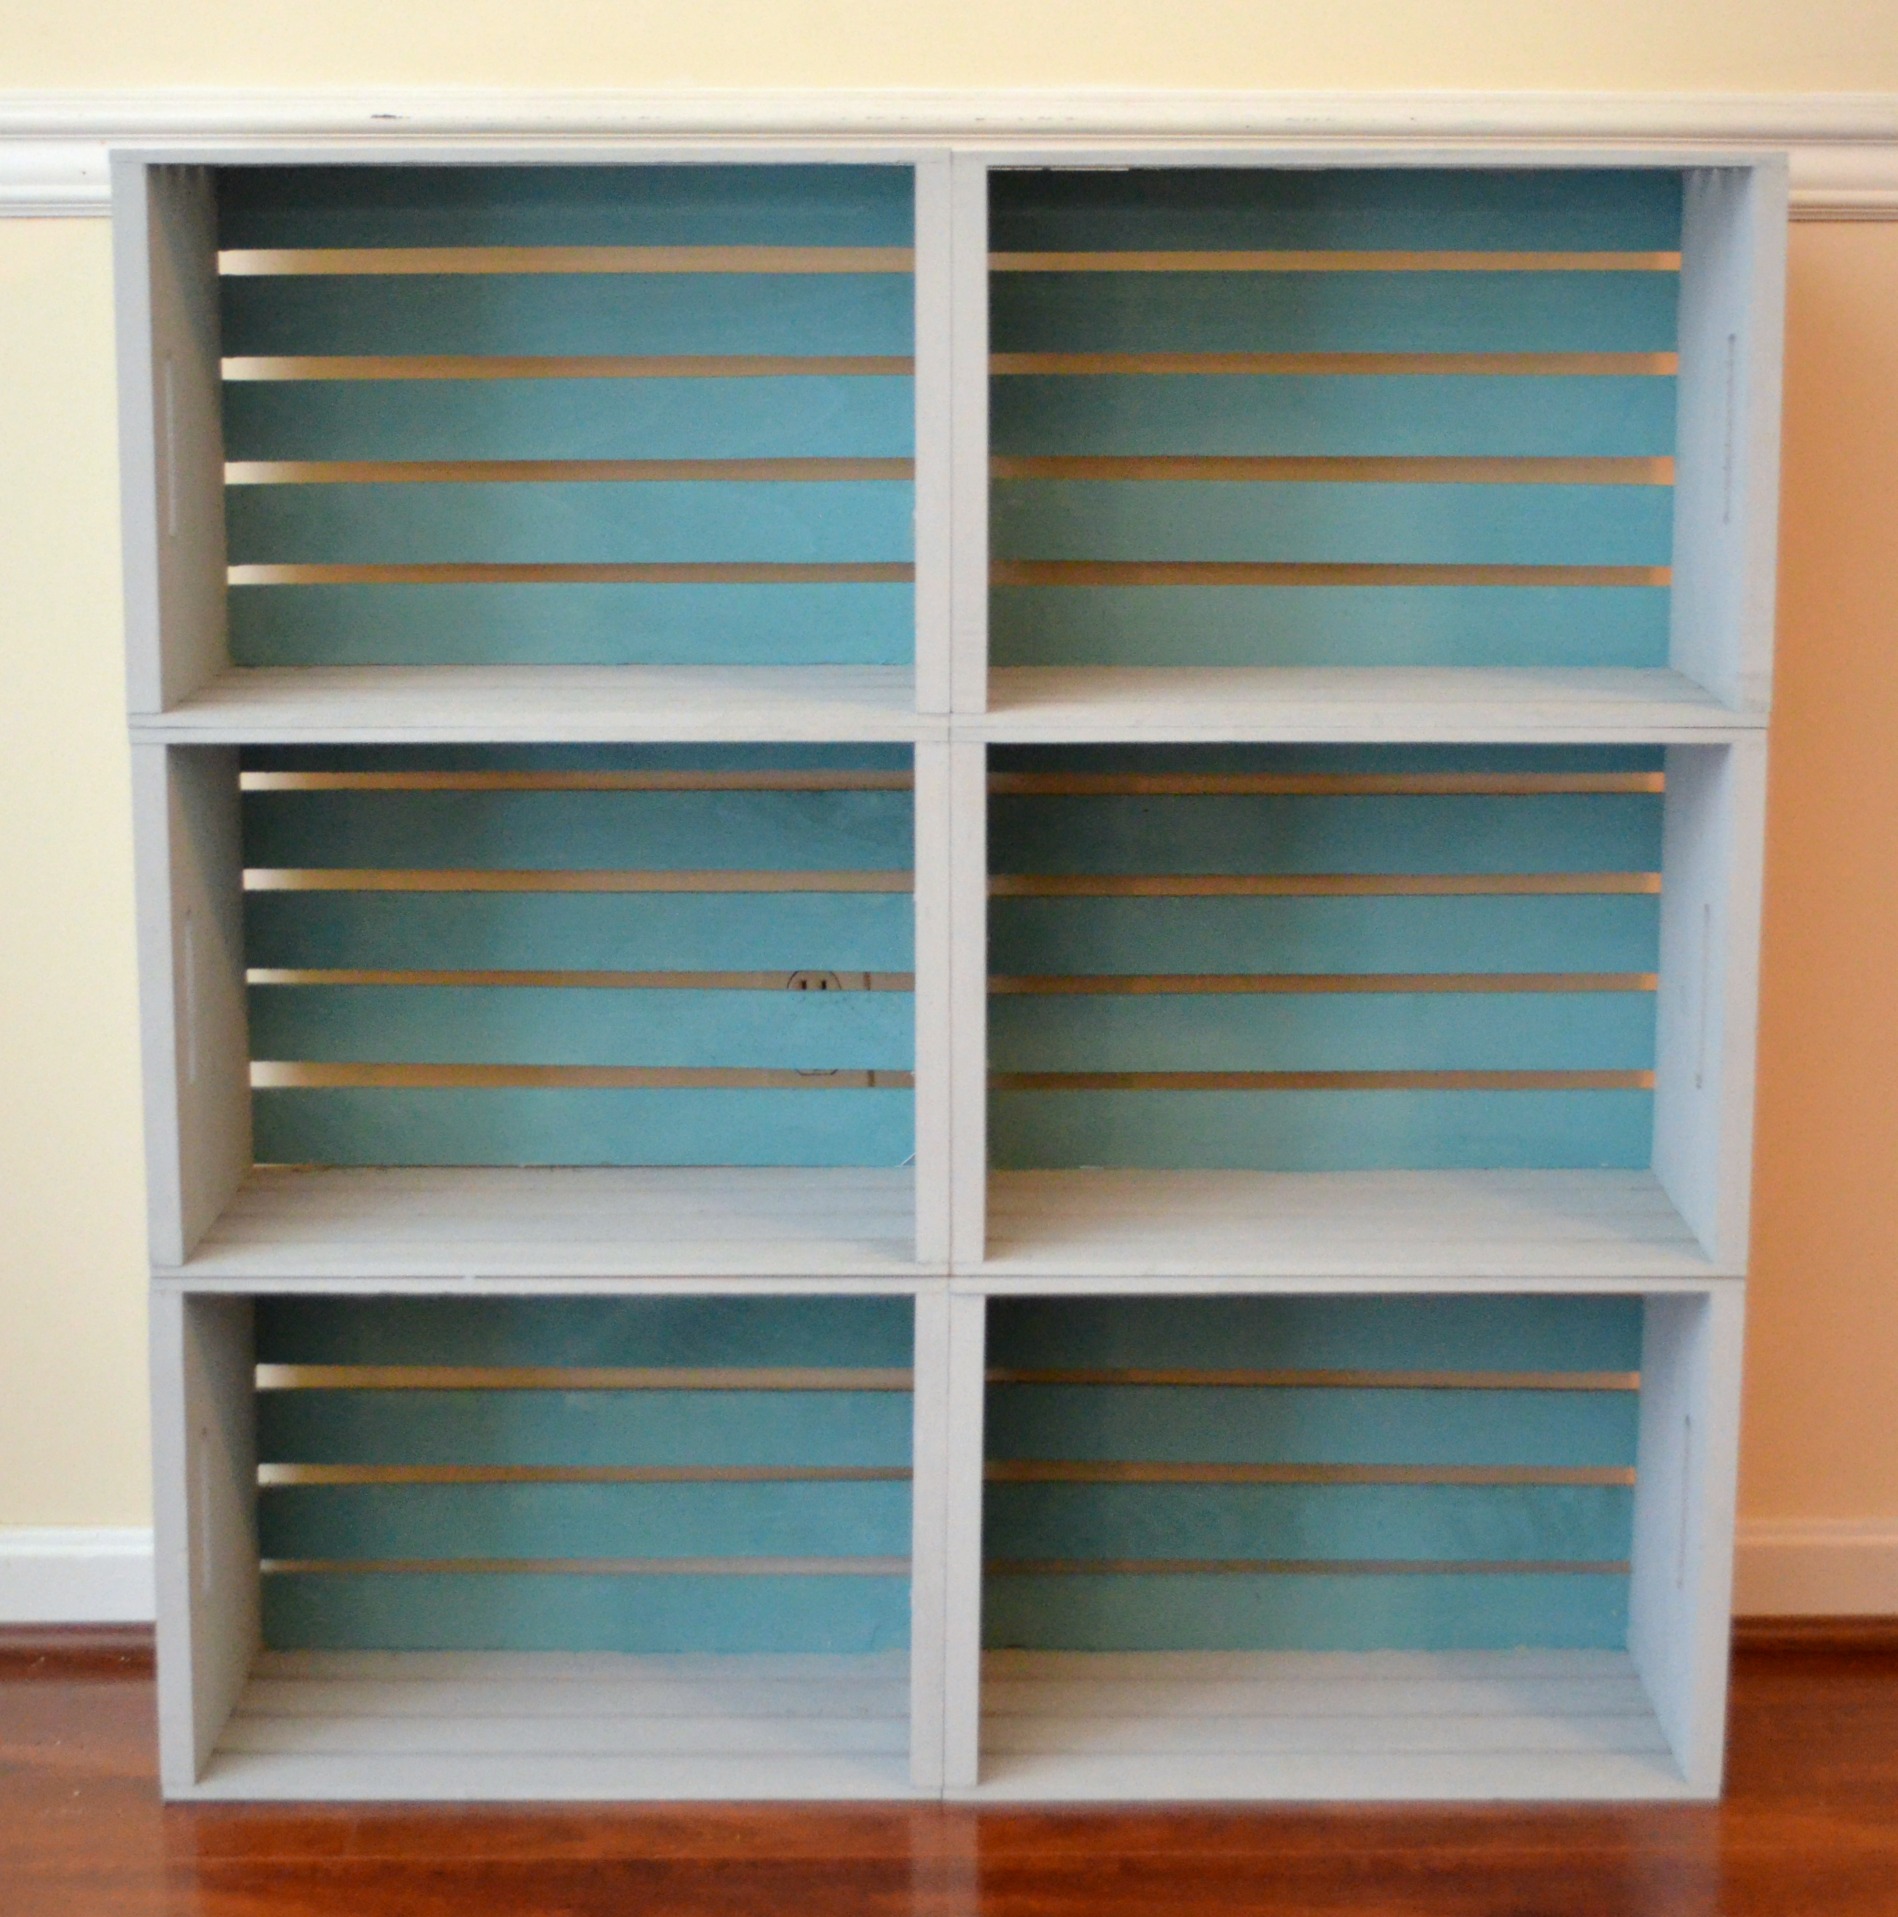
Step 3: Paint your crates.
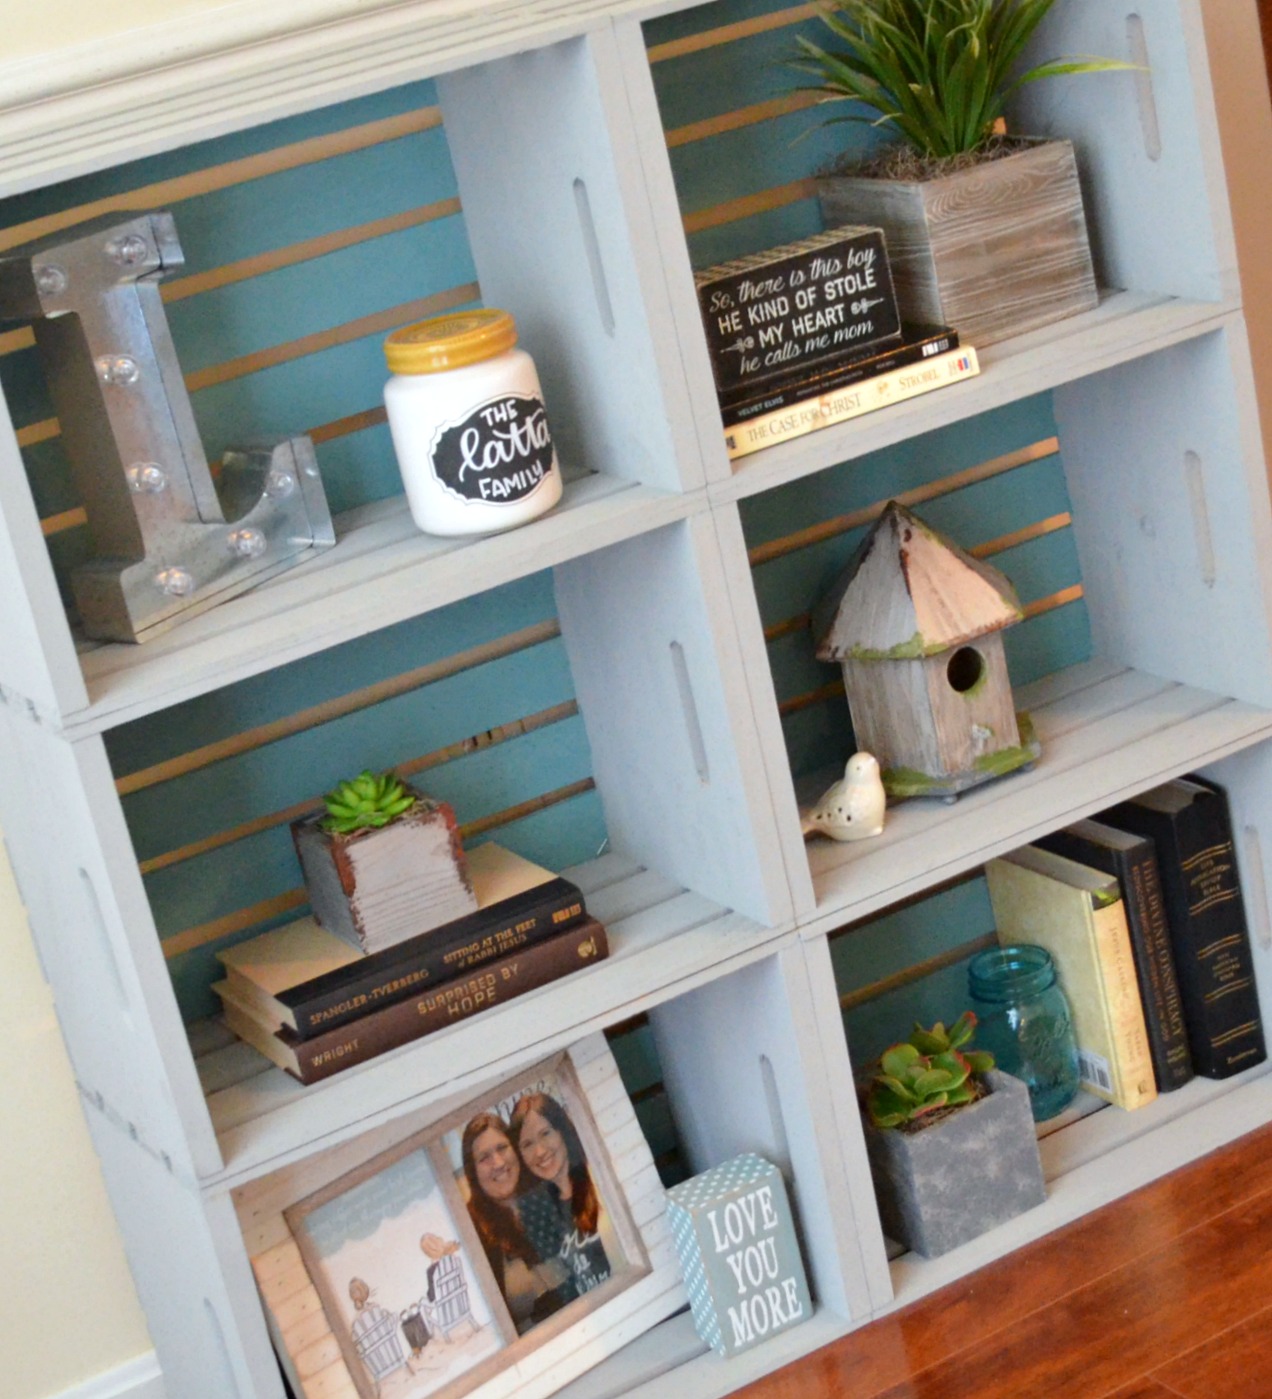
All of the crates will need to be painted on the insides. I chose to use Cascade, the teal color, on the bottom of each crate, which becomes the backing of the bookcase. Make sure you get the edges of the slats too! Then, I painted the inside sides of each crate with the Cadet Grey. When it comes to the outsides, this is where knowing which crate is which will save you some work! The top crates will need to be painted on one outside side {the part you’ll see on the top} and one outside end {the part on each side}. The other crates only need outside paint on one end! Everything else will be flush against another crate and totally hidden! If you want to be super thorough, you can go ahead and paint everything, but if you’re like me, you can take this little shortcut and save yourself some time and paint!
Step 4: Assemble your crates and nail them together.
Once the crates are totally dry, place them back into their original arrangement and use your AirStrike to nail them in place.
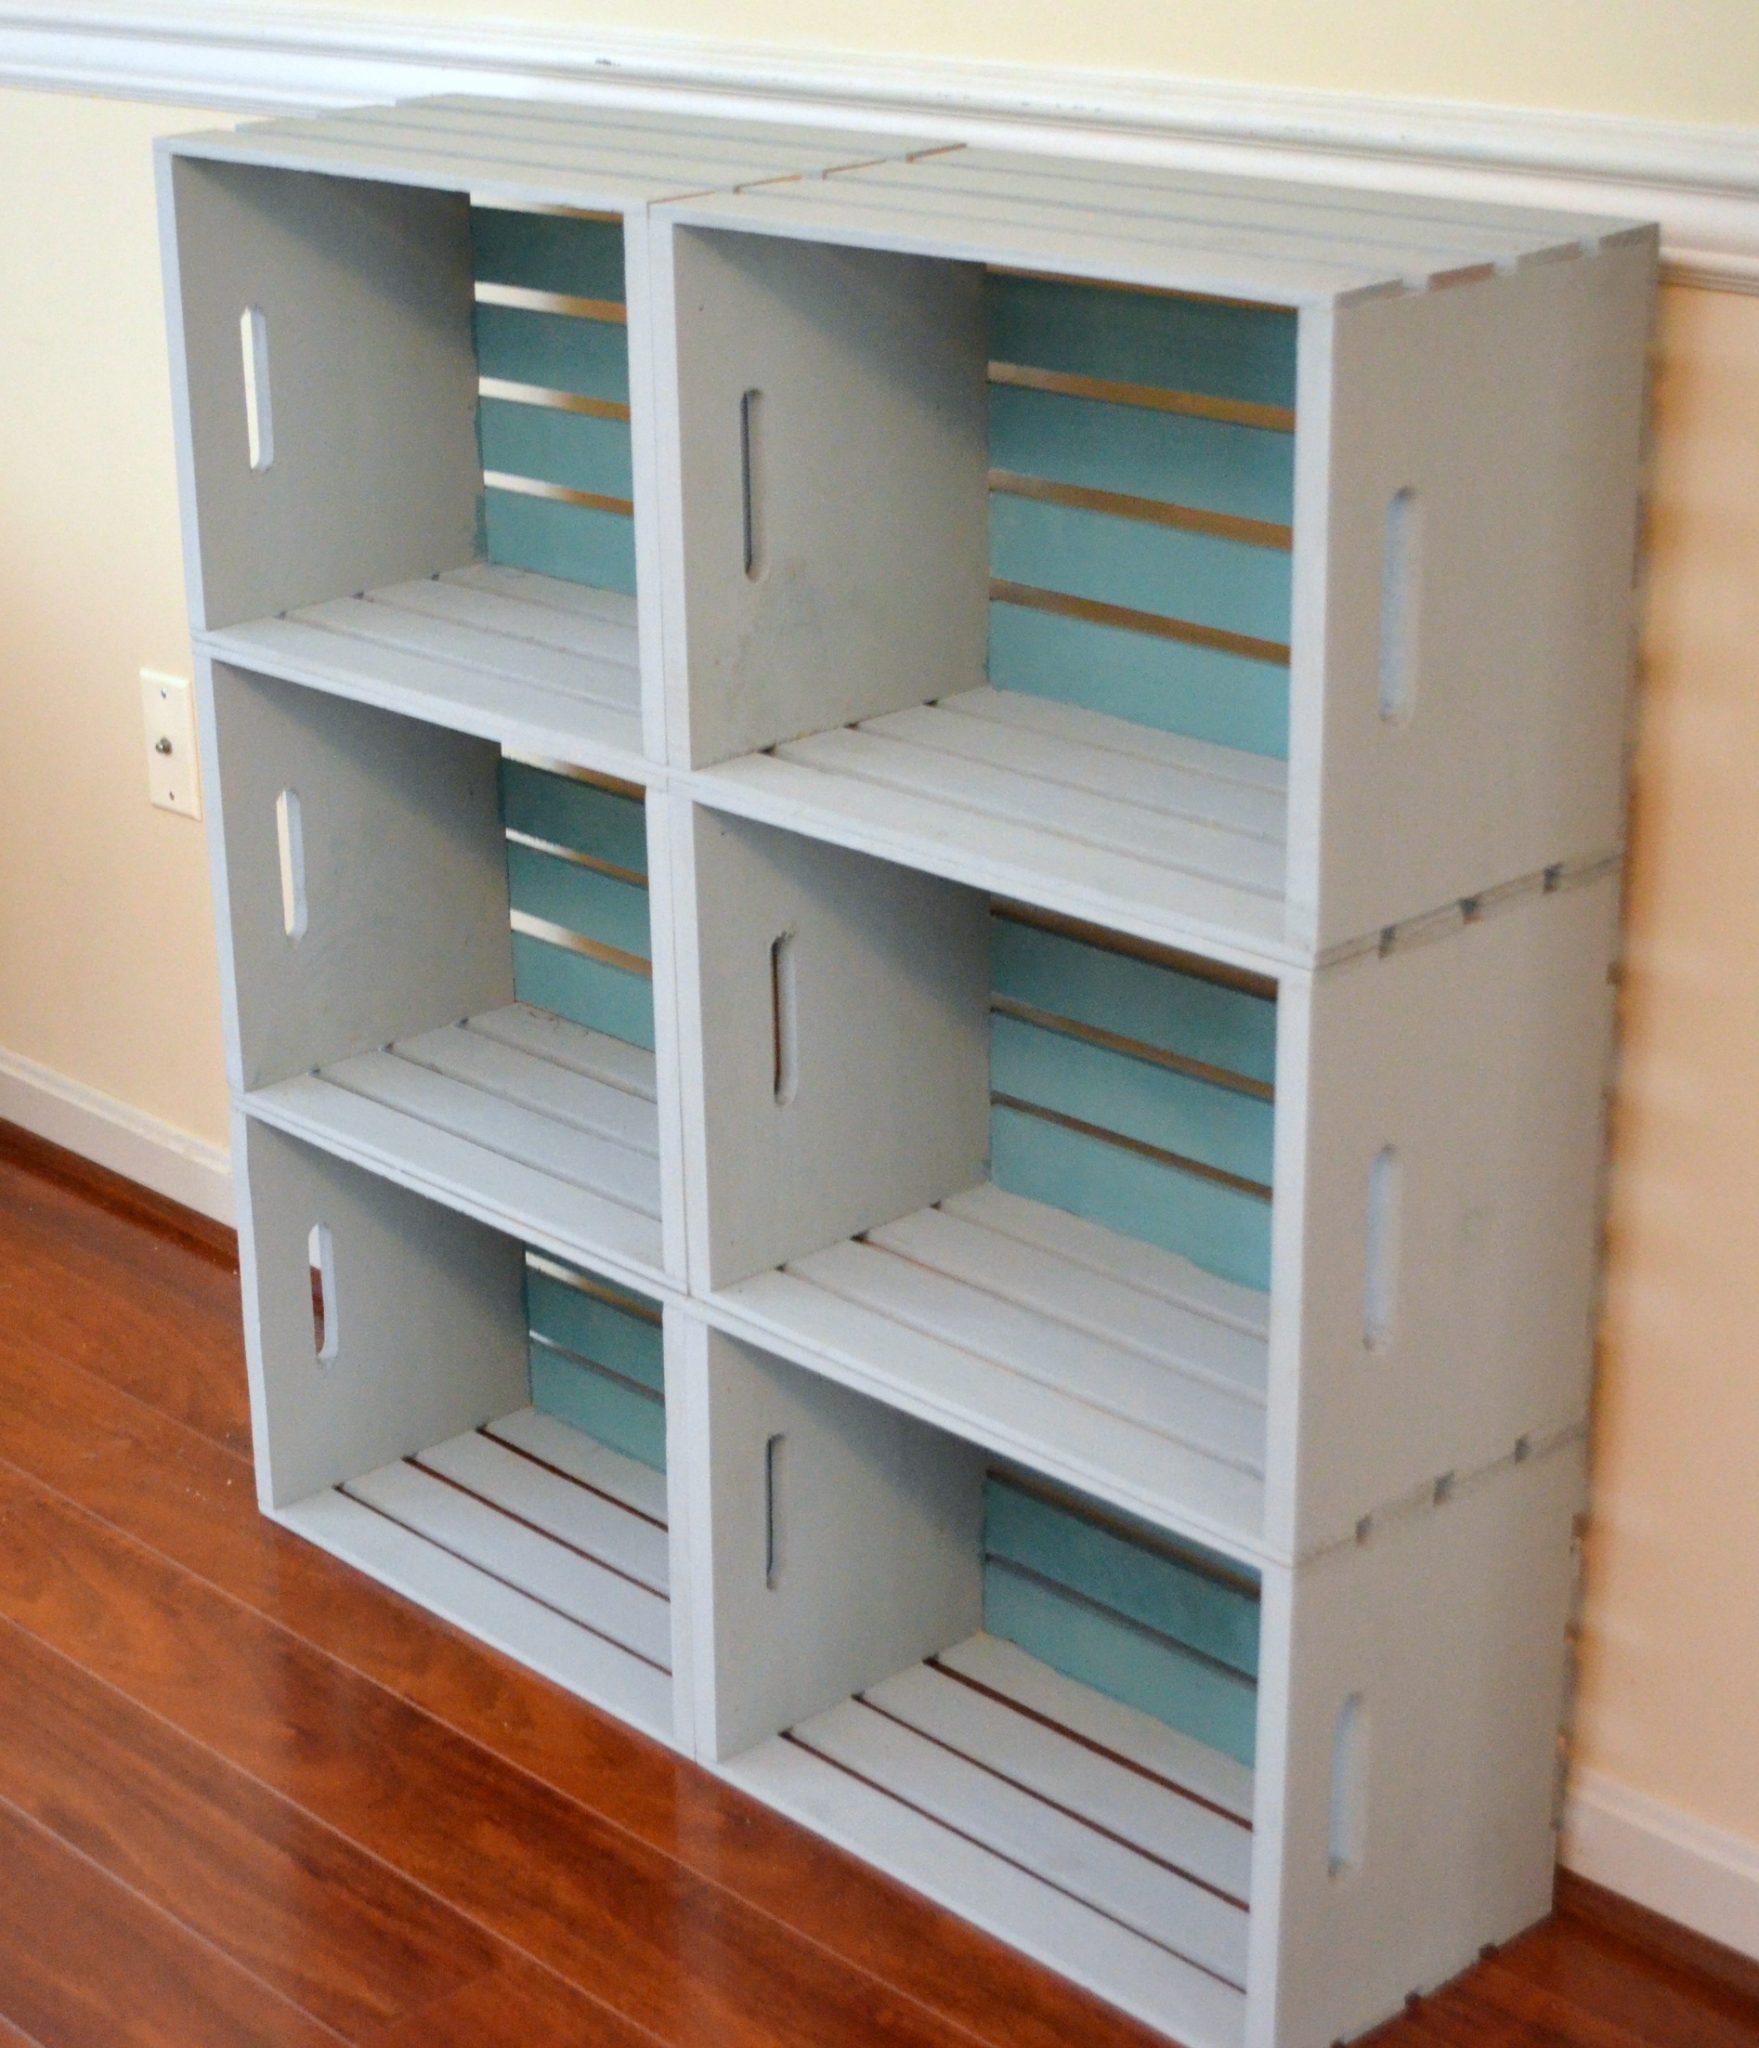
Step 5 {optional}: Wax and/or distress
This is actually a step I skipped. I loved the bookshelf the way it is, with the very matte finish and fully painted. If you want to give yours a distressed look, you certainly can by doing a little sanding. If you want to finish it with clear wax, this is the time to do it. I figured it’s a decorative piece that’s not going to be handled or “used” the way something like a table would, so I left mine as is.
Step 6: Style!
The only thing left to do is personalize it with books, knick knacks, plants, and more.
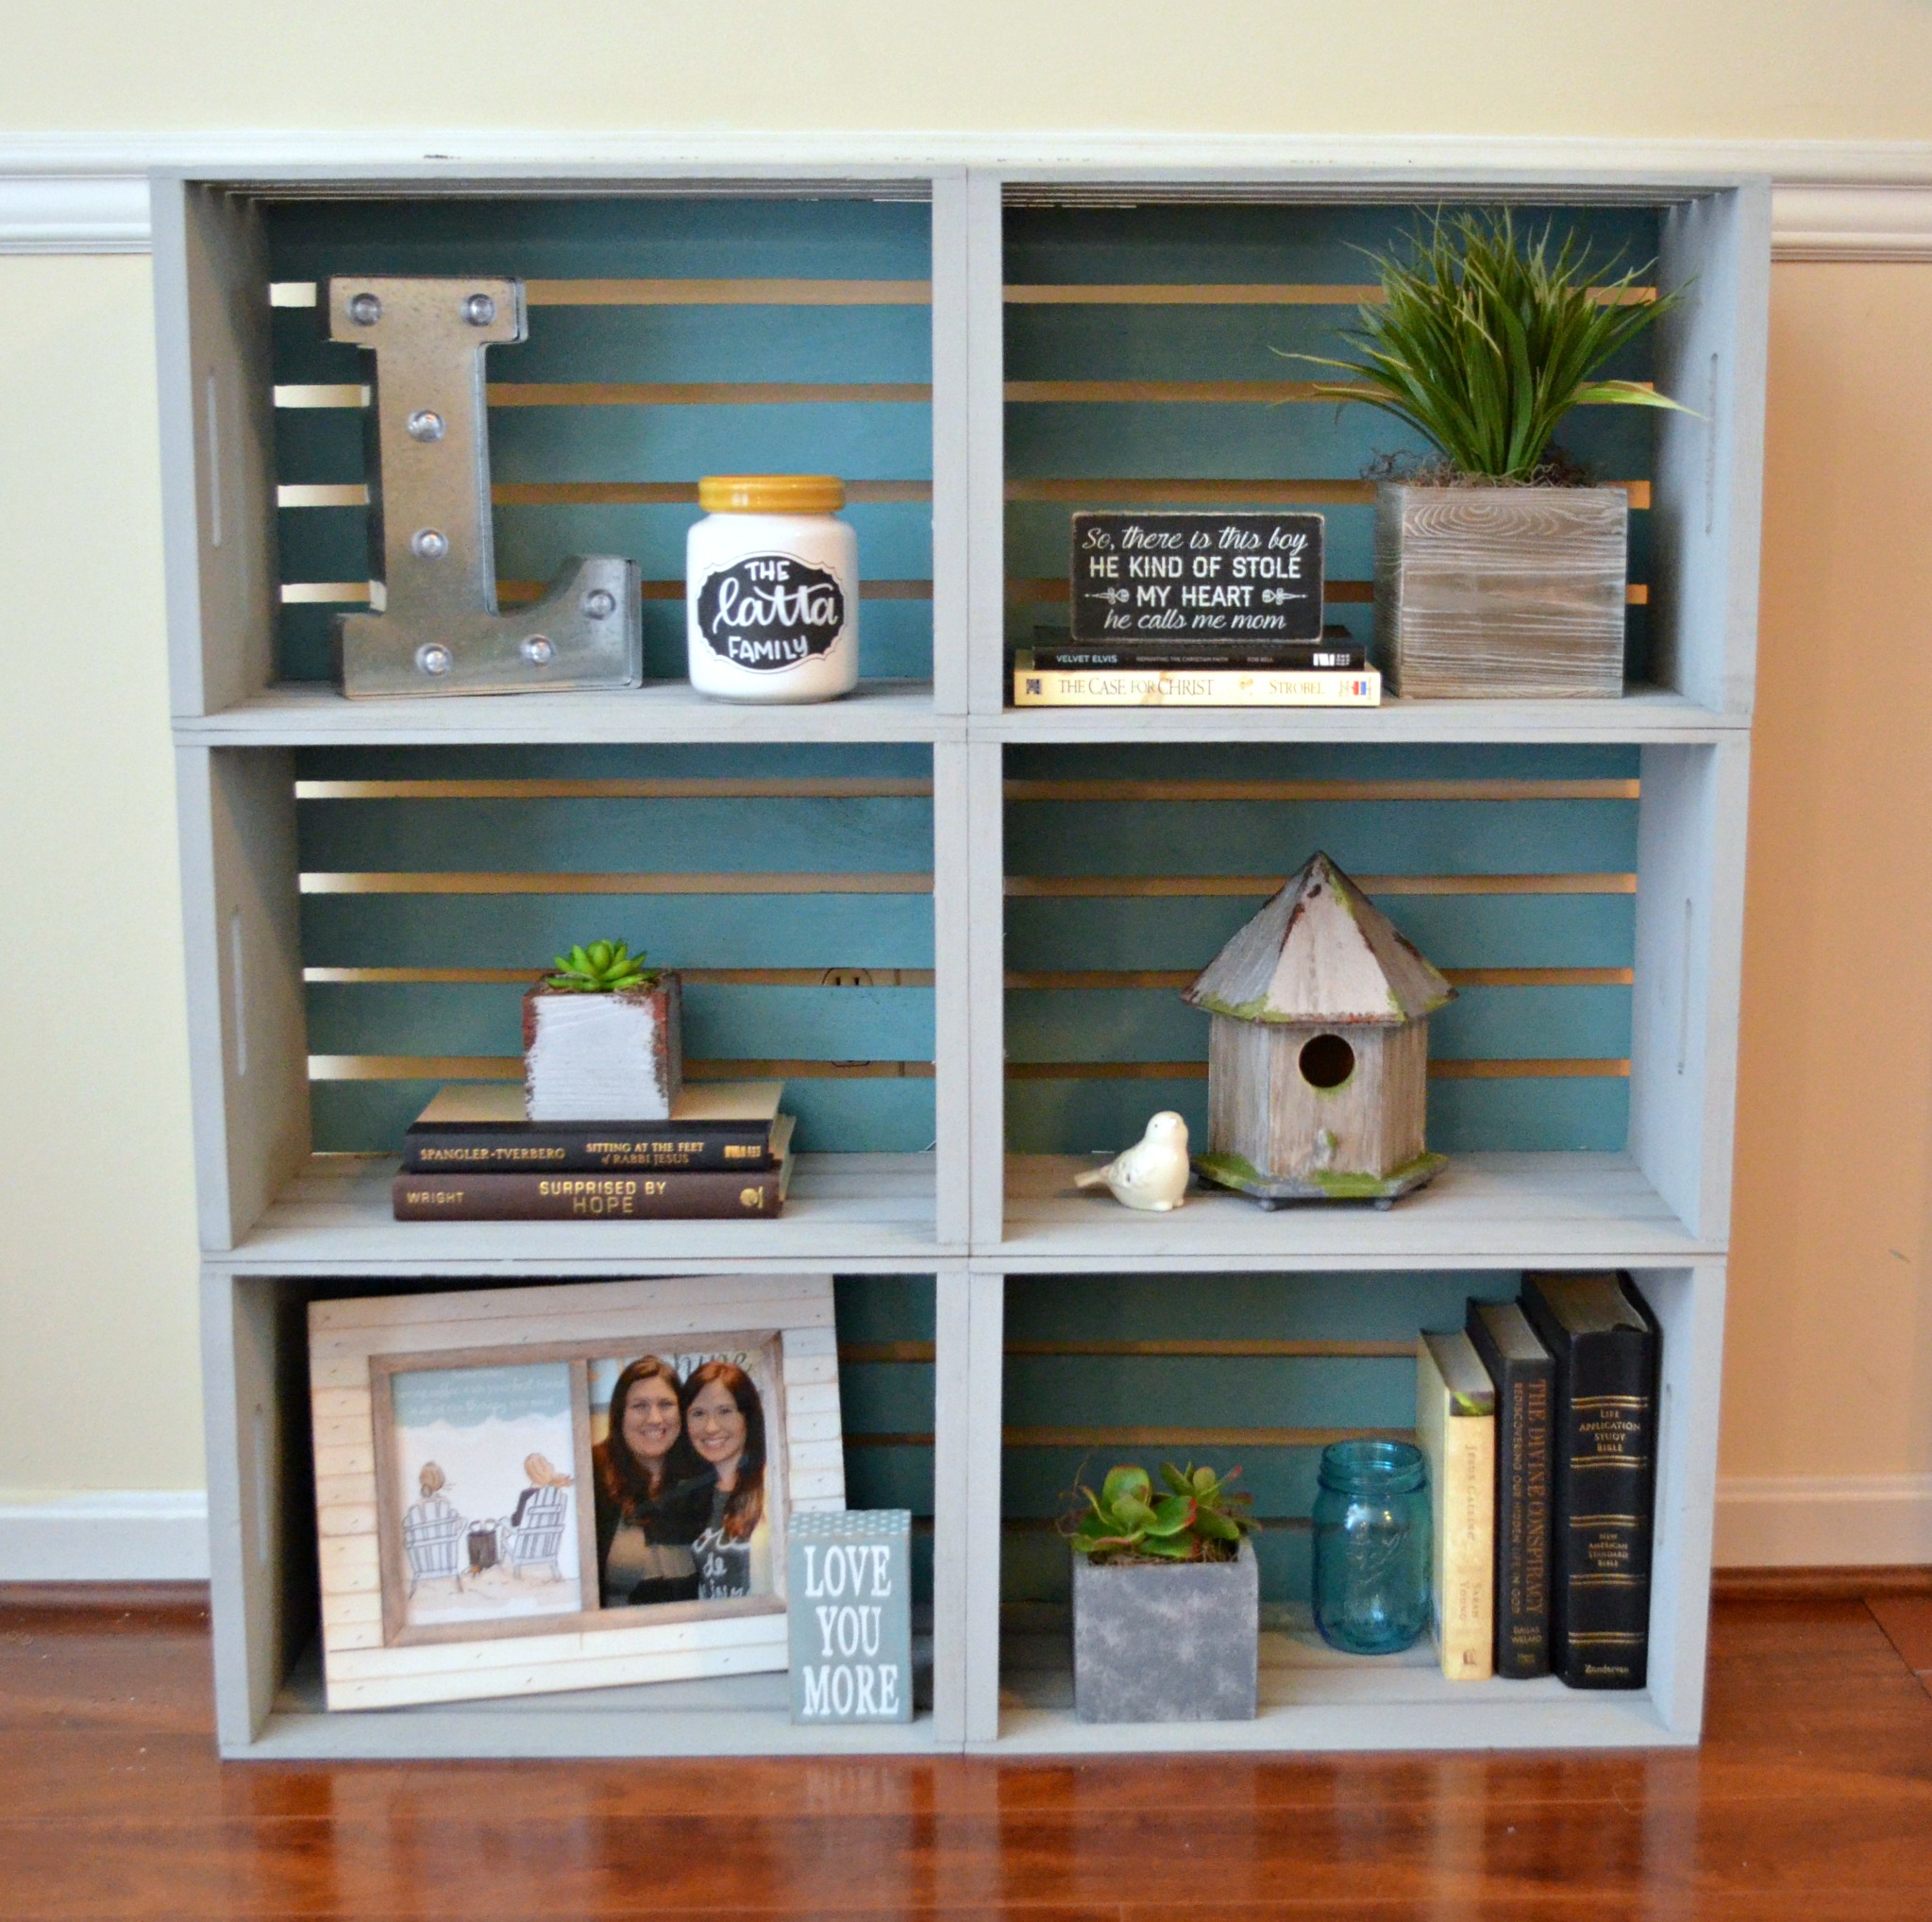
Styling shelves is really a balancing game. You want just enough on each shelf; not so much that it’s too busy and not so little that it looks bare. You want to stick to a general color scheme {mine is grey, teal, yellow, and neutrals}, as well as incorporate some thematic elements to tie everything together. For example, I have books on several shelves, several different succulent plants, and repeated shapes, like squares and rectangles.
I am thrilled with how it turned out, and it is exactly right for the space in our family room! What do you think? Is this something you would like to try? It’s a great project to build, especially for beginners, because it doesn’t require cutting or measuring any wood. All you have to do is nail the crates together and you’ve got yourself a shelf!


Oh I wish I do not have toddler at home so I could do this project 😀
Great idea of using crates, Amy!
Same problem. Toddler is all over the place.
I’ve been meaning to make one of these for ages for my entry way! I love the two paint shades you chose, great DIY!
Thanks so much!!
Can I use wood glue instead of nails?
You sure could!
What size nails you used and how many did you put in each side? I got my crates and stain them so i know it will take 24 hours to dry. But I want to make sure that I have the right nail size! Thanks
I actually used a power nailer, so it’s whatever the nails are that go in it…I have the RYOBI ONE+ AirStrike.
What size are the crates and what if you don’t have a nail gun?
TY
My crates were 18 in. x 12.5 in. x 9.5 in. If you don’t have a nail gun, you can certainly use a “regular” hammer and nails or even a heavy duty stapler.
How much weight do you think it holds on top? I’m looking to put a fish aquarium on top?
Hmm, good question! I don’t have anything on the top of mine, but my cat likes to jump up and sit on it, LOL! I think he’s about 14 lbs…and he hasn’t toppled it over yet! 😉
Due to the fact that I had several 1 x 2 lengths of wood left over, I attempted to make my own crates. Not too pretty, but functional. Made a wonderful gift.
such a very cute project…with the open handles on the sides, it would be easy to move around also…turned out so nice and love the colors…
Thank you so much! And yes, it is pretty easy to move!
Amazing idea. i want to try it thanks for sharing.