
Basic Hand Lettering: Happy New Year Exercise
Happy almost-New Year, friends! Today, I thought it would be fun to walk you through a quick and easy hand lettered piece you can create to help ring in 2016. You can make this and frame it to display in your home, create it on card stock to make a card for a friend, or use it in any other way you like! Are you ready?
 Here’s what you need:
Markers {I used Tombow Dual Brush Pens}
White paper or card stock {I used medium weight drawing paper}
Ruler and pencil {optional}
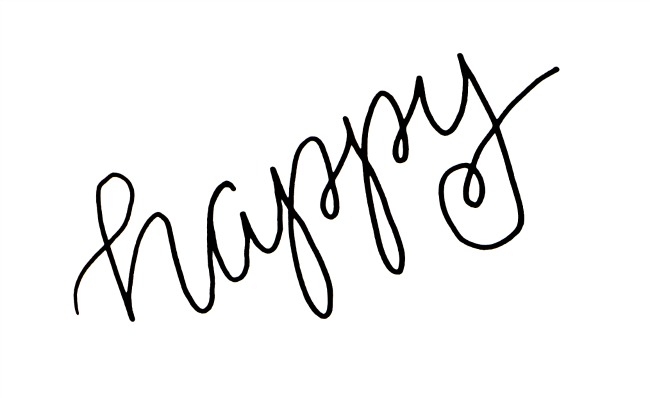
Step 1: Write “happy” in cursive on a diagonal.
I just freehanded mine, but if you want, you can use your ruler and pencil to sketch a line for your letters to follow.
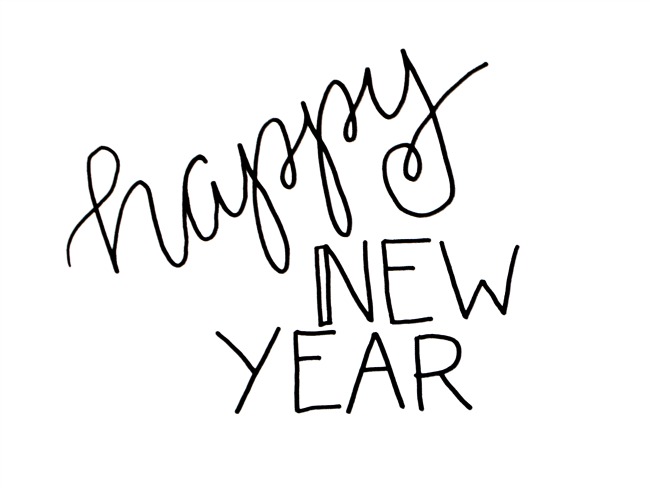
Step 2: Print the words “New Year” underneath and to the right of your “happy.”
Once again, if you like, you can sketch some guide lines for yourself. Ignore the double line on my “N,” I got a little ahead of myself!
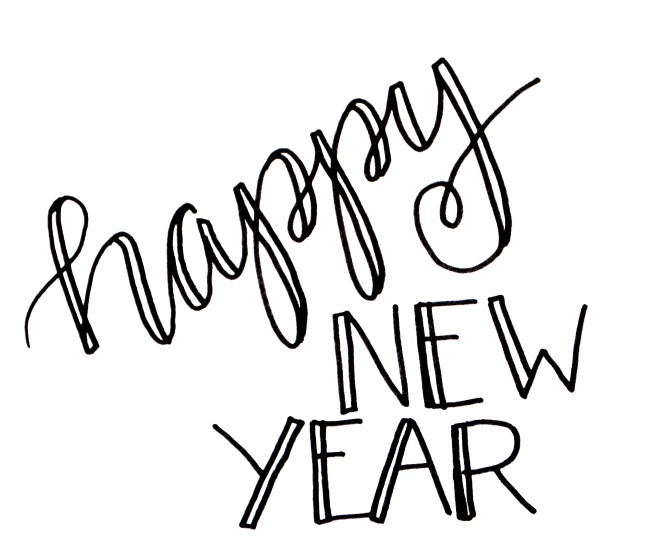
Step 3: Go back and add your double lines.
For the script, these go everywhere you have a down stroke. For the print, they go on the left side of every letter.
{You can refer to the script alphabet and print alphabet pages for specific placement on all letters, but since we’re all making the same project here, you can copy what I have here}.
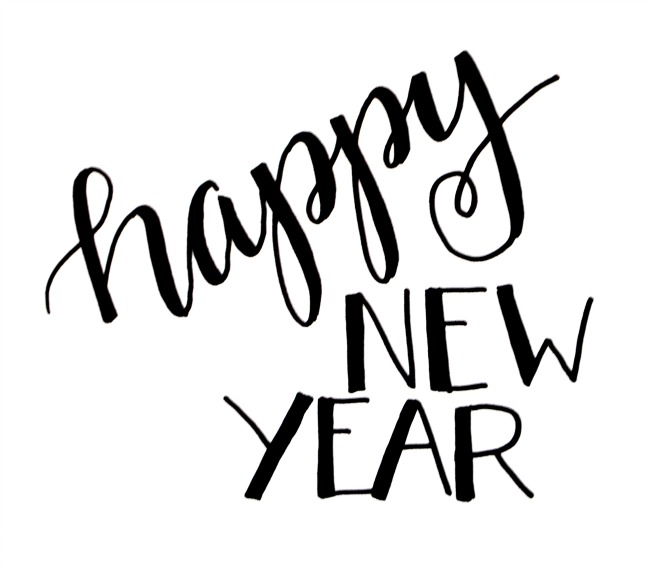
Step 4: Fill in your lines.
I used black for mine, but feel free to use other colors if you like.
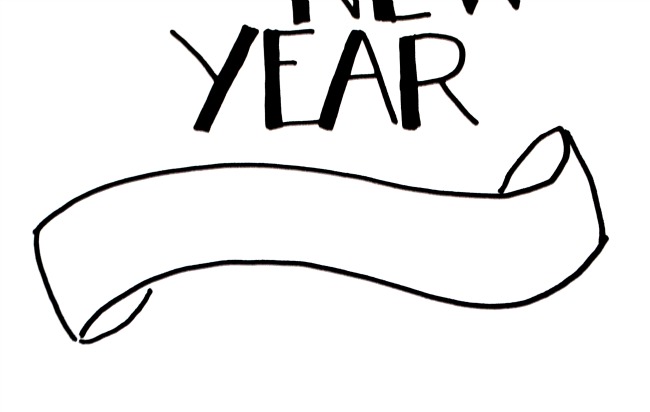
Step 5: Start your banner by drawing a curving line underneath your words.
If you’re most comfortable with the basic banner, you can go with that style, or you can do this simple modification. Make your line curve up, then down, and back up again.

Step 6: Draw another line that follows the same curving pattern below the first one. This will be the base of your banner.

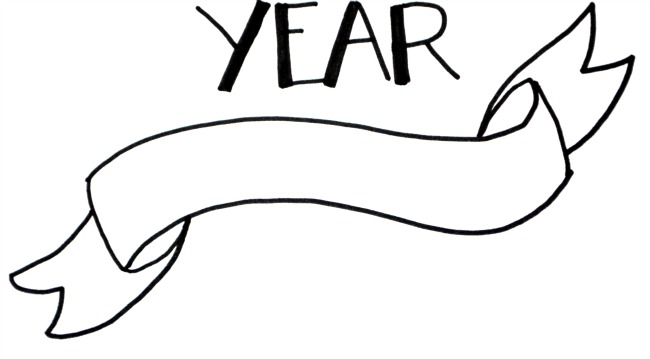
Step 7: Draw vertical lines connecting your two horizontal ones, then add short curving lines to make the banner look like it’s folding.
Make the fold appear on the bottom of the left side, and the top of the right.
Step 8: Add tails to your banner.
To do this, just make a “V” shape, then connect one end about halfway up or down the side of your banner and the other end to the “fold.”
Step 9: Add a few short lines for embellishment if you’d like. Then, write “2016” inside the banner.
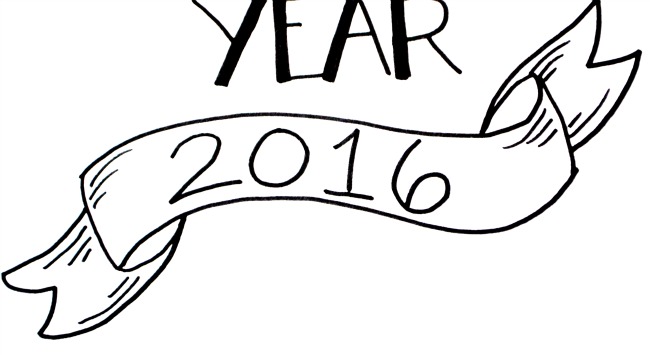
Step 10: Go back and thicken your numbers to make them stand out more.
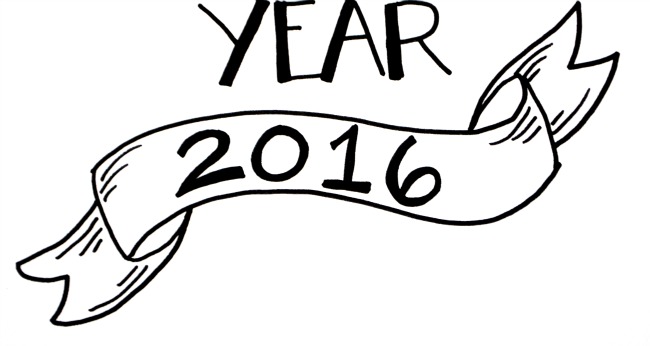
Step 11: Add embellishments.
To create these, just draw three elongated teardrop shapes with the largest one in the center. Then, make lines of dots in between them.
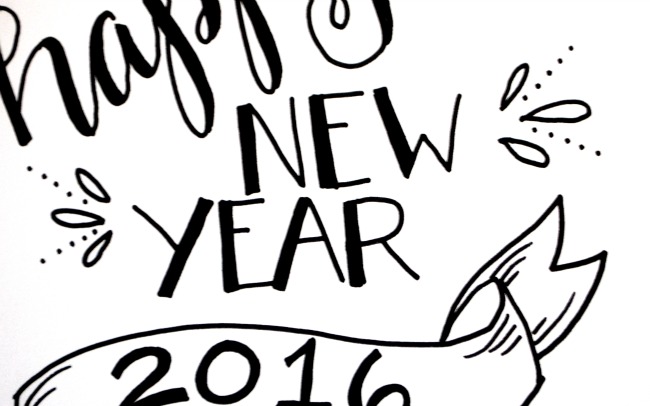
You can also add dots around the curved parts of the “h” and “y” in “happy” and just above and below your banner.

If you like, you can leave your design as is, or you can proceed to the final step, adding color.
Step 12: Color in your embellishments and banner.
I used the brush tip ends of the Tombow Dual Brush Markers for this, but you can use any marker you have. You can use watercolors too.
That’s it! A fun and festive hand-lettered design just in time for New Year’s Eve! Hope you enjoy it and have the best New Year’s ever.


Loved your post. Already put it in practice.
https://www.facebook.com/photo.php?fbid=10209013077710938&set=a.4556906047504.2191191.1437073684&type=3
So glad to hear that!!
Thanks for an awesome design Amy!! Happy New Years to your family!!