
Basic Hand Lettering: Drawing a Banner
Hey, friends! It’s time for some more tips and tricks to make your hand lettering projects extra-fabulous! Many of you have recently asked me about how to draw a simple banner as an embellishment for your lettered phrases. So, today, let’s focus on…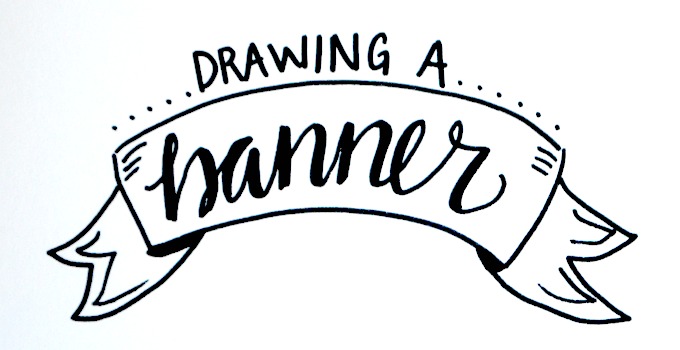
Drawing a Banner Materials:
paper & a marker {that’s really it}!
My particular marker is the Tombow Dual Brush Pen in black
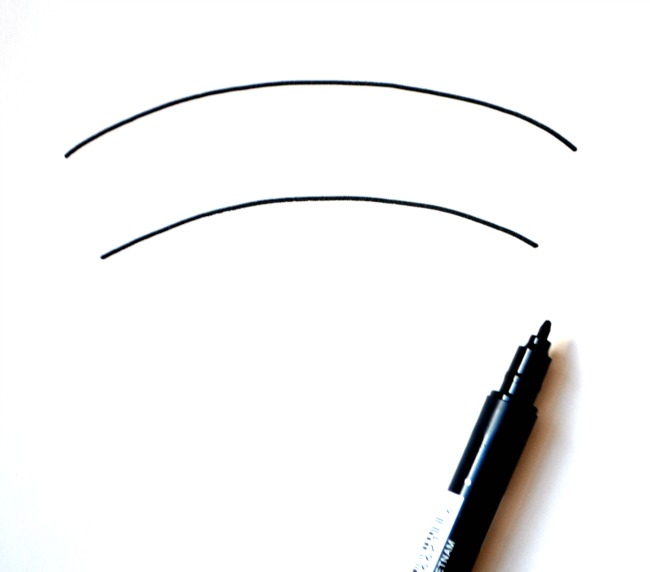
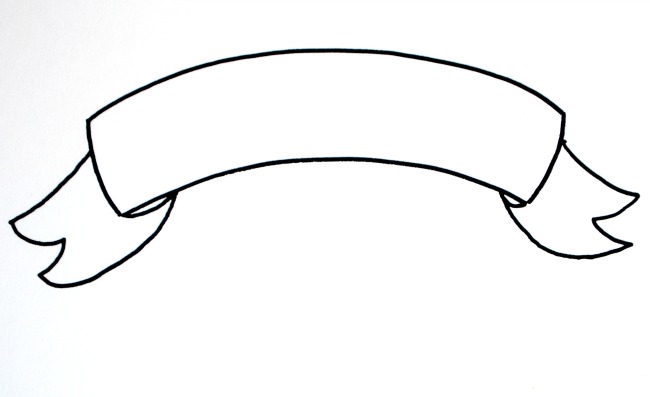
Step 1: Draw a curving line.
This will be the top of your banner. You can make it as long or as short as you like…think about what you’re going to write inside and use that to gauge how big your banner needs to be. If you want, you can even pencil in your word first and then work around it to make sure it’s the right size.

Step 2: Draw a matching curved line for the bottom of your banner.
This line should be slightly shorter than the one on the top. Don’t worry if it’s not absolutely perfect…remember, this is art!
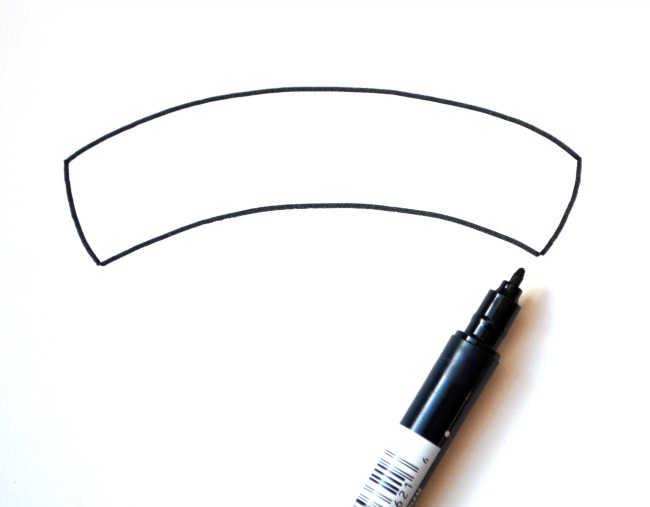
Step 3: Connect your top and bottom lines with two short vertical ones.
I like to make mine curve outward just slightly.
Step 4: Draw a line a little more than halfway up each side of your banner to create the top of the “tails.”
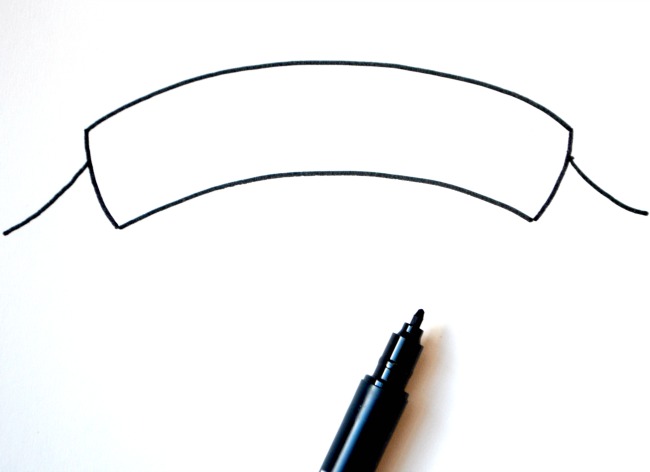
Step 5: Finish off your tails. To do this, make a sideways “v” shape, then connect back to the bottom of your banner.
Again, don’t worry about perfection here. The sides don’t have to be identical…they wouldn’t be on a real banner either.
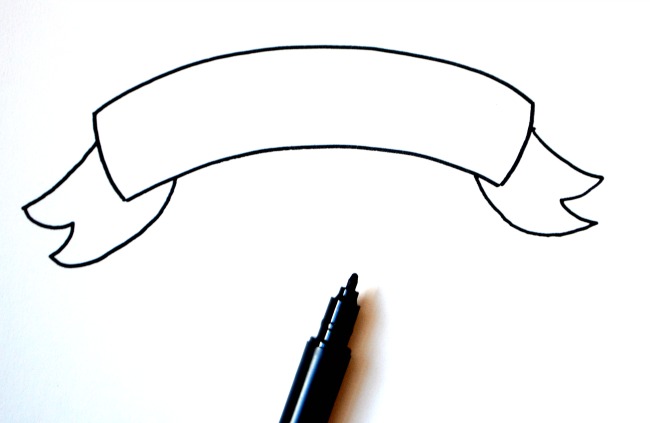
Step 6: Make a small curving line connecting the bottom corner of your banner to the place where the tail connects to it.
This creates the appearance that the banner is folded.
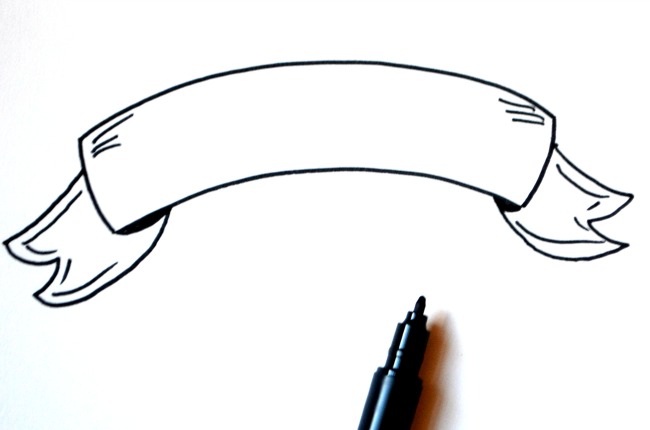
Step 7: Add details if you like.
This part is totally optional, but if you want to get fancy, you can do things like adding short lines to highlight particular spots and coloring in that “folded” area you just drew.
Now you’re ready to add your word! For this one, I went with the word, “Celebrate,” written in all caps. Then, I went back and thickened the left side of each letter. Easy peasy!

The banner is a really fun little embellishment to use in all kinds of lettering projects. Just choose a word you want to emphasize and place it inside, while arranging your other text around it. Check it out…

Now it’s your turn! Break out that marker {any kind will do!} and let’s see your banners! Be sure to share them in the Facebook group so we can all encourage each other! And, don’t miss the other posts in the Basic Hand Lettering Series!
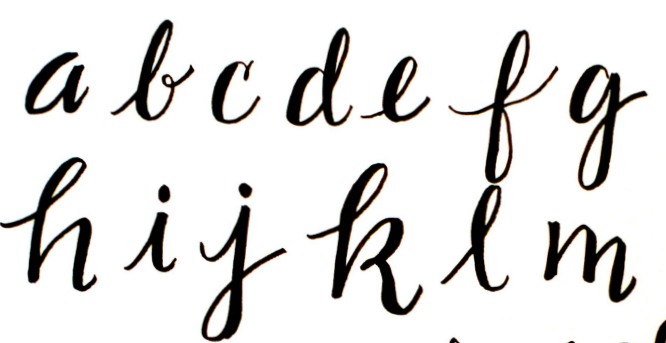
Hand Lettering Alphabet Practice
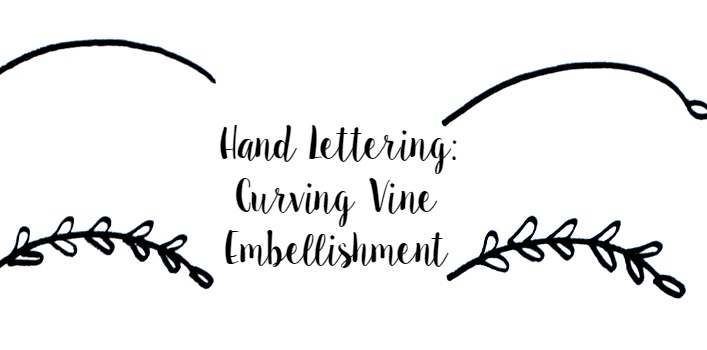
Curving Vine Embellishments
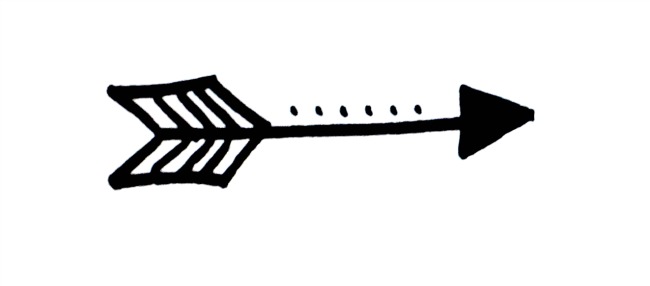
Arrow Embellishments


You make it look so easy and beautiful. I can’t even draw a stick figure…lol!!
How do you get you word balanced in the banner?
Good question! One idea is to sketch in pencil first and place your letters, then go back over them with the marker. Sometimes, I also write the word first, then draw the banner around it, because then I know for sure that it fits!
Thanks for sharing, these are great tips to draw a banner!
You are a wonderful instructor. I just started getting interested in lettering and journaling and am not a good artist, but how you explain everything step by step is so helpful! Thanks!!
Thank you so much! I’m really glad you find the instructions easy to understand and follow!