
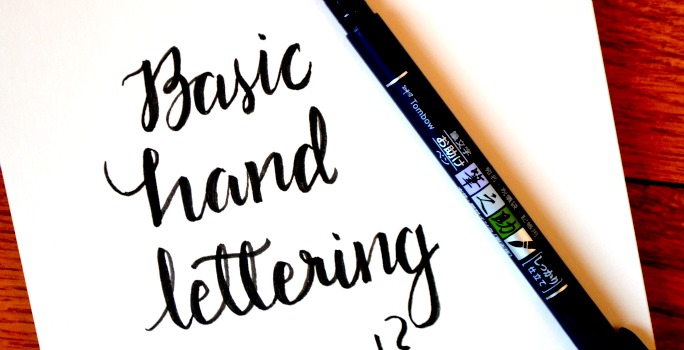
Basic Hand Lettering: Curving Vine Embellishment
Friends, I am SO excited about how many of you are using the tips I shared about basic hand lettering and are trying it for yourselves! Today, I want to take it one step further and show you how to create a very simple embellishment that will add a little pizzazz to your next project. I’ll be sharing several more easy embellishments soon, so be sure to stay tuned and keep practicing your skills! First, we’re going to look at the curving vine.
Curving Vine/Branch
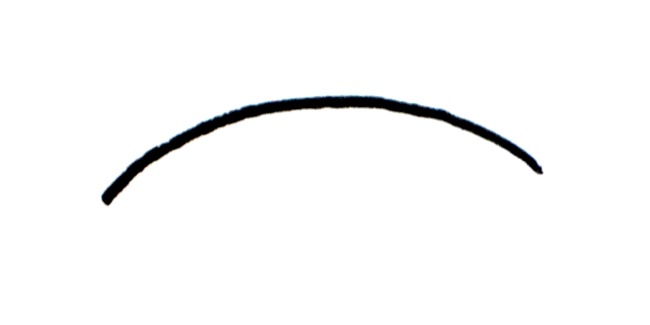
First, draw a curved line with your black marker.
Draw an upside down teardrop shape on one end.

Then, create heart shapes going down the curved line, like this.
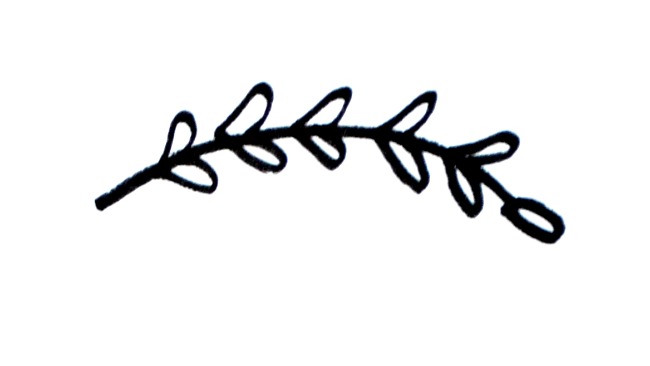
You can make them all similar in size, as shown above, or for a variation you can start small and make them gradually bigger as you get closer to the bottom of the stem.
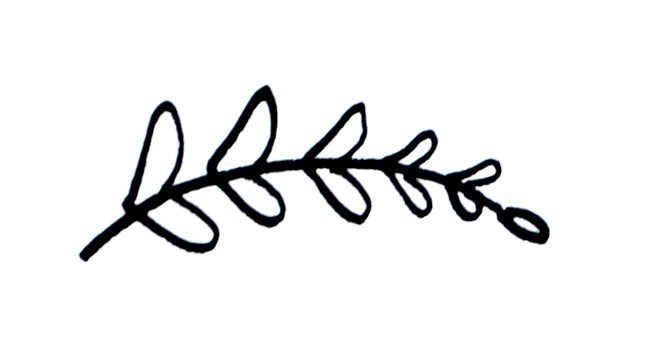
Feel free to color in the leaves with your black marker, a colored marker, or leave them open. This particular embellishment is great to use above or below a word…or both! Here it is creating a sort of wreath around the word “joy” {which we learned how to write in my Basic Hand Lettering post}.

Once you get the hang of it, you can even draw a circle instead of two curving lines and really create a wreath around your text.
Here are a few more examples of ways you can use this embellishment:

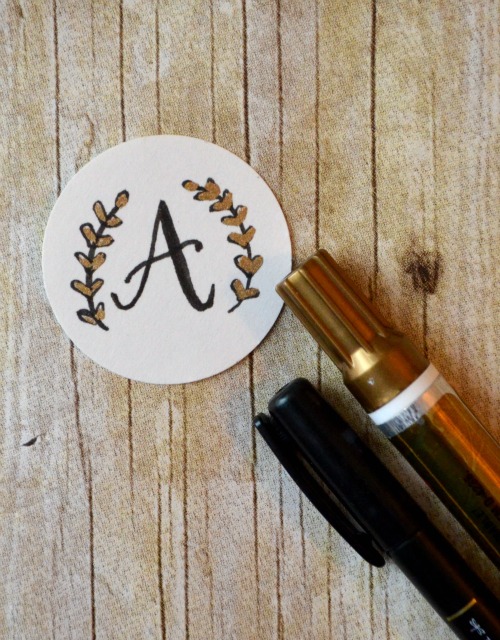
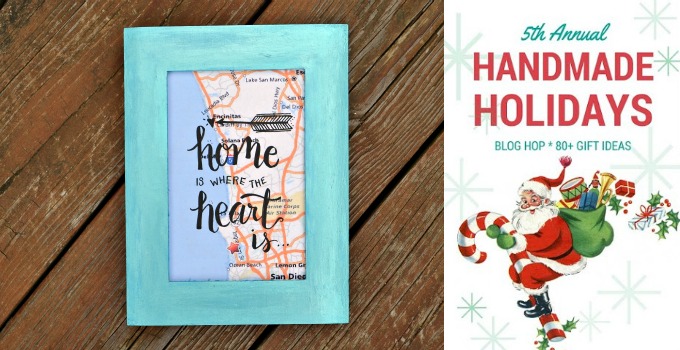
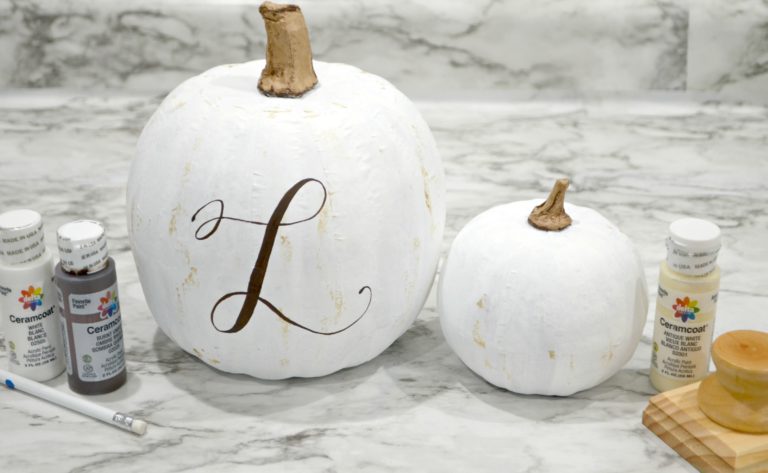
The branches make a nice way to frame a monogram. I colored these in with a gold paint pen for a metallic accent!
You can see the full project here.
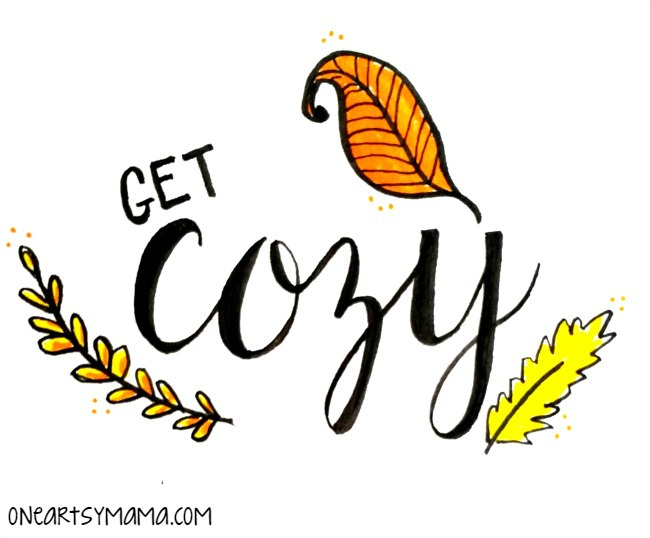
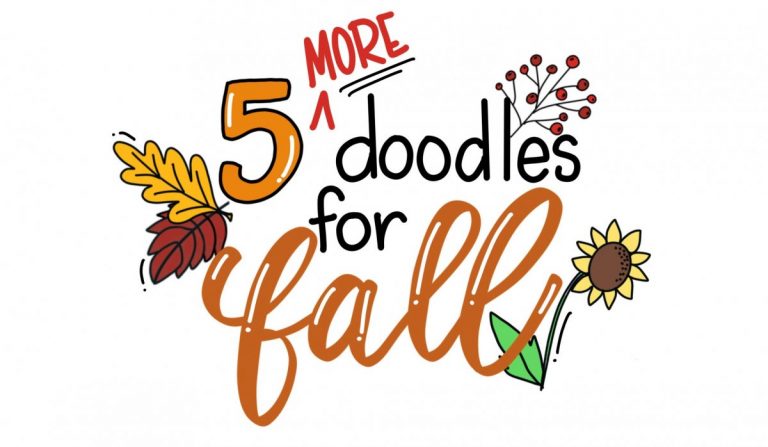
For this one, I added a few extra “leaves” and colored them in using my orange and yellow Tombow Dual Brush Pens.
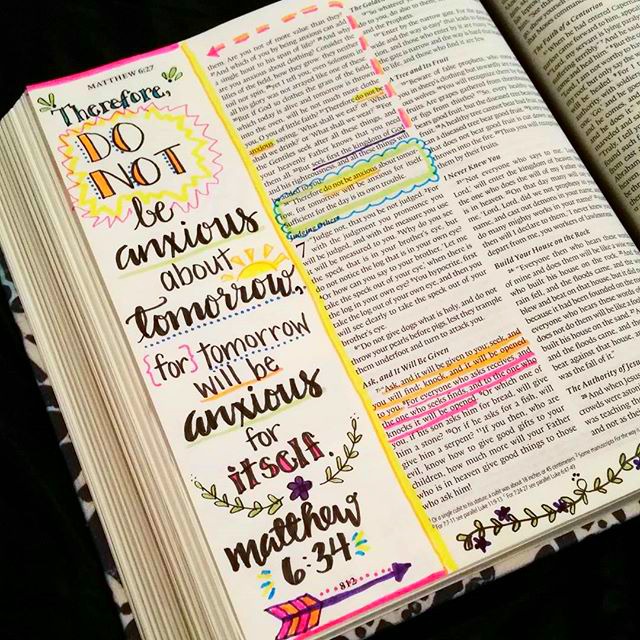
Another fun variation is to add little flowers, either in between your vines or on them, like I did when illustrating this Bible verse.
Easy, right? Are you ready to try your hand at these? I can’t wait to see what you create. Be sure to share your progress in the One Artsy Mama and Friends Facebook group where we’re all encouraging each other, or to email me pics at dancers4life {at} gmail {dot} com.
Come back soon for step by step instructions on more embellishments you can add to your projects. If you missed them, be sure to check out the other posts to get you started with Hand Lettering.
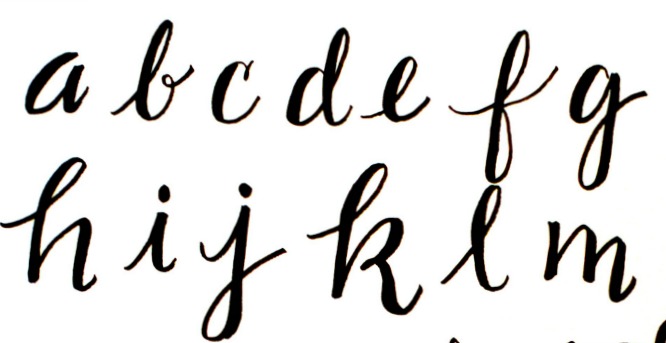
Hand Lettering Alphabets: Upper and Lower Case


I love all the ideas…Thanks so much for sharing…
You make it look so easy…
Amy, Once again, I love this too!! Great job!
Love it!!! Thanks so much for the great ideas!!