
DIY Toothbrush Holder plus Oral Hygiene Tips
Thanks to Trident and the Mom it Forward Network for sponsoring today’s post; all opinions are honestly my own.
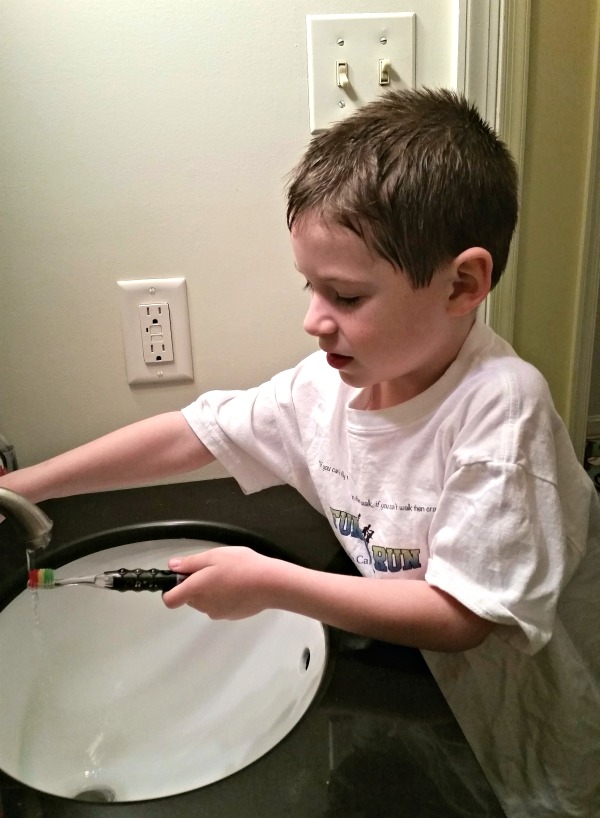
Did you know that the way you care for your teeth and gums actually affects your overall health and well-being? We’ve been trying to teach Little Crafter awesome oral hygiene habits that will keep him from getting cavities and help him stay healthy from his smile all the way to his toes. Now that he’s losing his baby teeth and the adult ones are growing in, it’s more important than ever for him to know how to care for them. We try to model those good habits ourselves too, so that all of us have healthy, happy smiles.
Here are four simple oral care tips for the whole family.
1. Brush your teeth twice a day, for at least two minutes each time.
To help ensure that you’re brushing for the right length of time, consider setting a timer or investing in a toothbrush that does the work for you. I have an electric toothbrush that pulses every 60 seconds and Little Crafter has one with color changing lights to let him know when he’s brushed long enough.
2. Floss daily.
No, it’s not fun. Yes, it’s important. And if you do it, you won’t have to lie to your hygienist anymore. Which brings us to the next tip…
3. Visit a dentist regularly – every six months.
Getting your regular cleanings helps maintain healthy teeth and gums and also allows your hygienist and dentist to check for cavities and other dental problems that need to be addressed. If any problems exist, taking care of things quickly will keep you from experiencing pain and complications later.
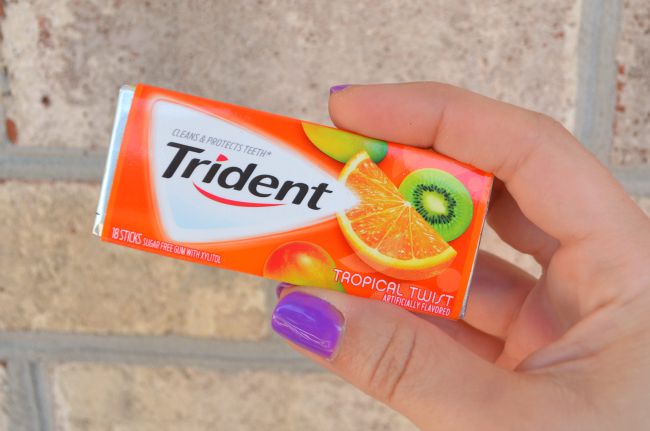
4. Chewing Trident for 20 minutes after eating and drinking helps to clean and protect teeth.
In fact, 4 out of 5 Dentists surveyed would recommend Trident to their patients. Whether you’re in the mood for a refreshing mint flavor like Spearmint or a fruity taste like Tropical Twist, Trident has you covered and helps fight cavities.
Here’s the best part, though…Trident has supported Oral Health America’s non-profit program Smiles Across America for the past 11 years, donating over $2,500,000 toward helping more than two million under-served children get preventative dental care. During the week of September 20th, for every pack of Trident gum purchased, the company will make a $0.05 donation to Smiles Across America, up to $250,000. {Void in AL, MA, and SC}. So, while you’re protecting your own smile, you can help underprivileged children get the dental care they desperately need.
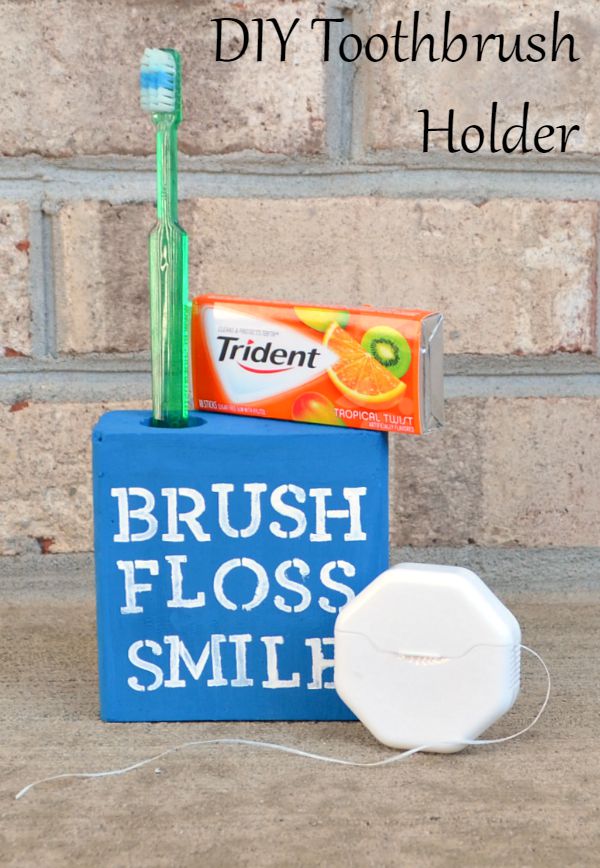
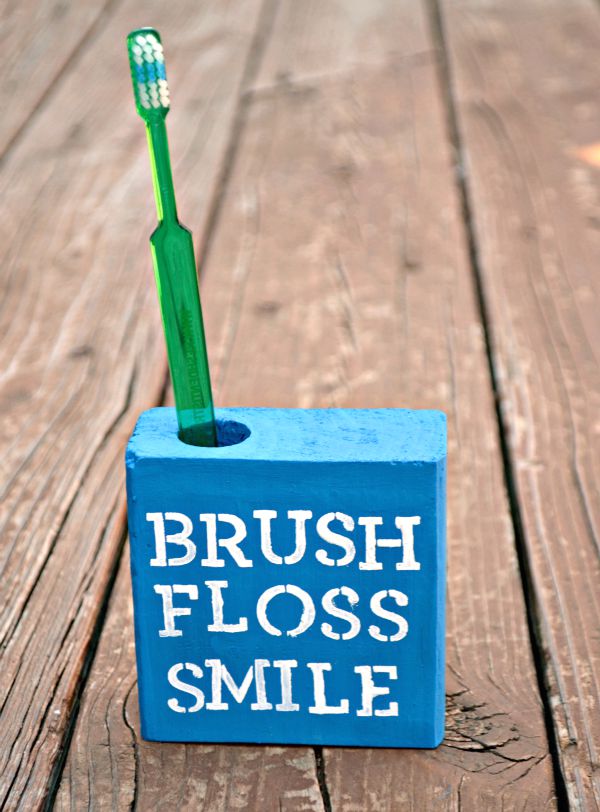
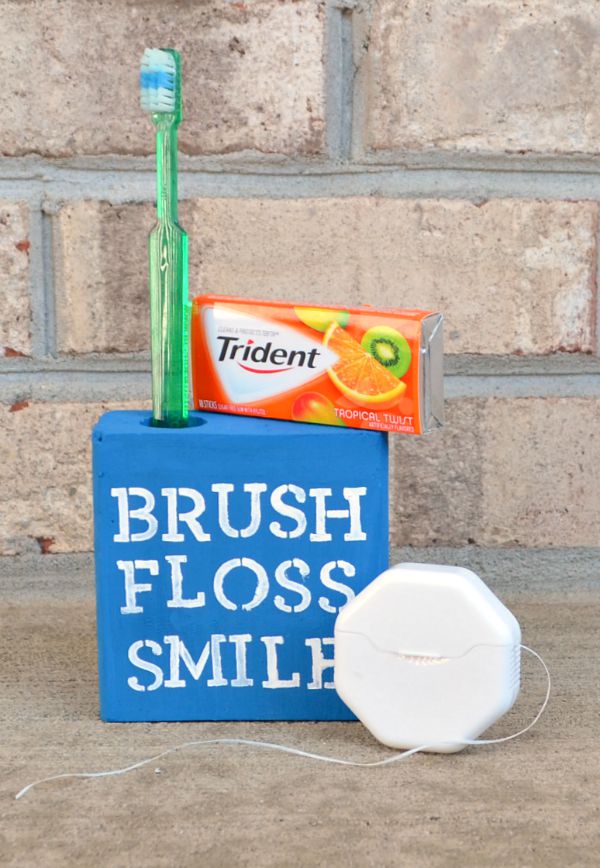
To help emphasize to Little Crafter the importance of proper oral hygiene and remind him of what he needs to do, I decided to create this simple DIY Toothbrush Holder. Here’s how I made it and you can too…you can easily create and personalize these for each person in your family!
Materials:
– Block of wood from a 2×4 board
– Power drill, 3/4″ bit
– Sand paper
– Paint and paintbrush
– Alphabet stencils {or stickers}
– Clear waterproof sealer
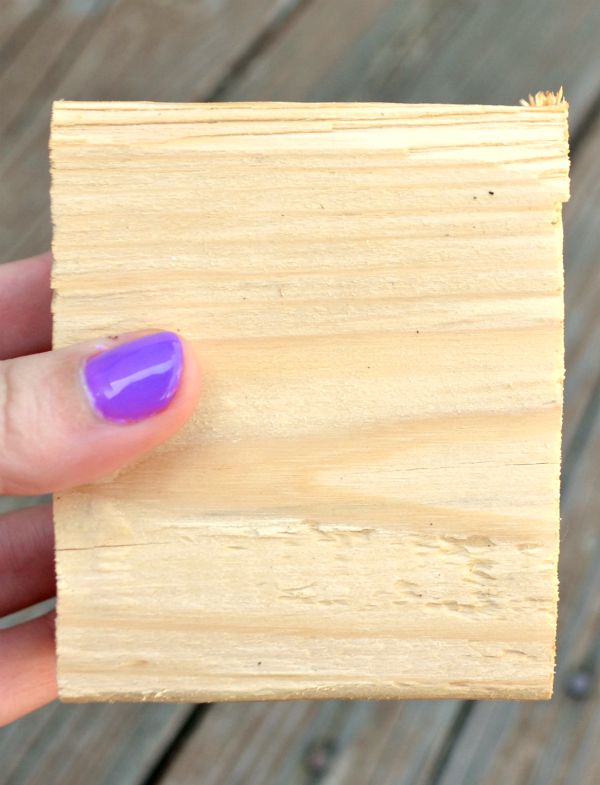
Step 1: Cut and sand your piece of wood.
Mine was actually already cut; it was a scrap of 2×4 I had left over from making my DIY Pallet Bench! You can make it any height you want. Be sure to sand all the edges and rough spots until they’re nice and smooth.
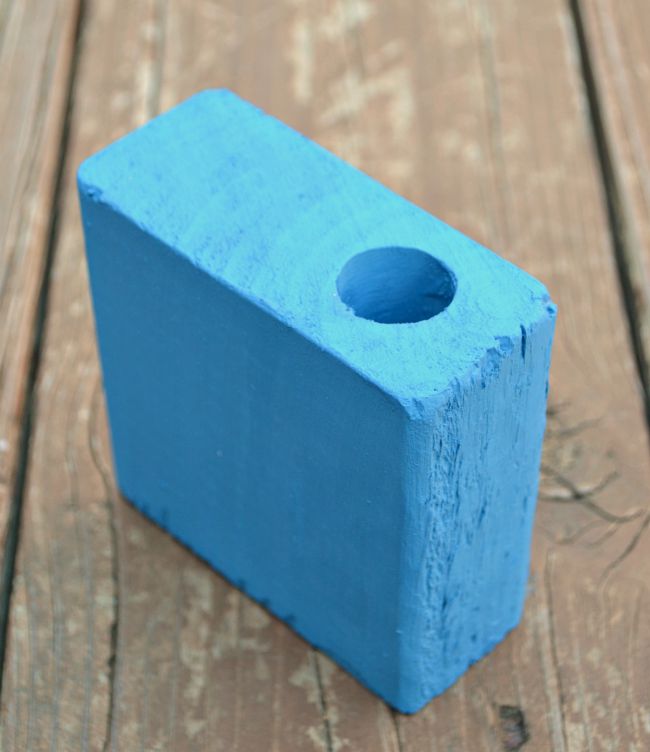
Step 2: Drill a hole for your toothbrush.
This is a great DIH {Do it Herself} project, ladies…take out those power tools and use them! Just find yourself a drill, like the RYOBI 18-Volt ONE+ 1/2 in. Cordless Lithium-Ion Drill/Driver, and carefully make a 3/4″ hole straight down through your block. Test the depth every now and then by inserting a toothbrush into the hold, then stop drilling when your brush is at a height you like. Be sure to wear safety goggles or glasses, tie your hair back, and wear closed toe shoes for your protection. If you want, you can drill multiple holes so that your block holds more than one brush.
Step 3: Paint your block.
I used Americana Decor Chalky Finish in Legacy to match our bathroom, but you can use any color and type of paint you like. One coat did the trick for me {part of why I love this paint} but depending on what you use, you may need to let it dry and go over it again with a second coat. Let it dry completely before you move to the next step.
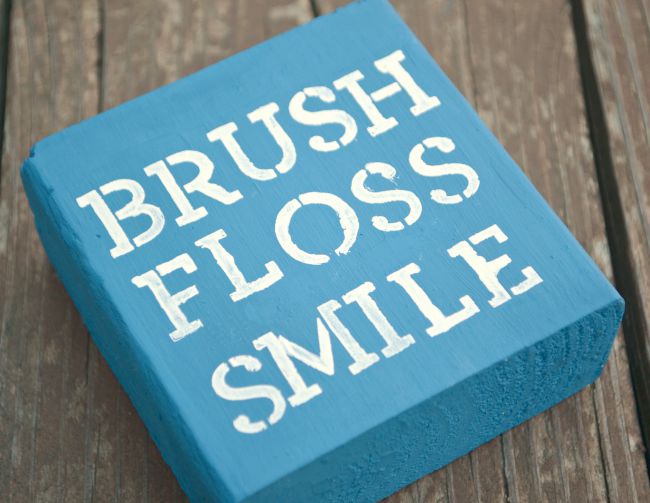
Step 4: Stencil your words.
I used adhesive alphabet stencils from Martha Stewart for mine, but you can use any stencils you find that are a good fit. I started by stenciling the center letter of each word, then worked my way out to the sides. When you stencil, be sure not to overload the dauber with paint or it will bleed and not give you a clean image. If you prefer not to stencil, you can pick up some alphabet stickers instead and place them on your block…easy peasy!
Step 5: Seal with a clear, waterproof coating.
Choose any clear sealer you like and give your block a coat of it to protect it from the water it’s sure to contact when it’s in use in your bathroom.
Now it’s ready to use!
 What do you think? Do you have a spot for a toothbrush holder like this one in your home? Which of these four tips are you and your family already putting into practice regularly?


This is so adorable! Making fun things like this will definitely alter the way your child treats oral hygiene. It’s really important that kids get the hang of taking care of their teeth at a young age in order to ensure they have healthy teeth throughout their lives! Great post! Thanks so much for sharing!