
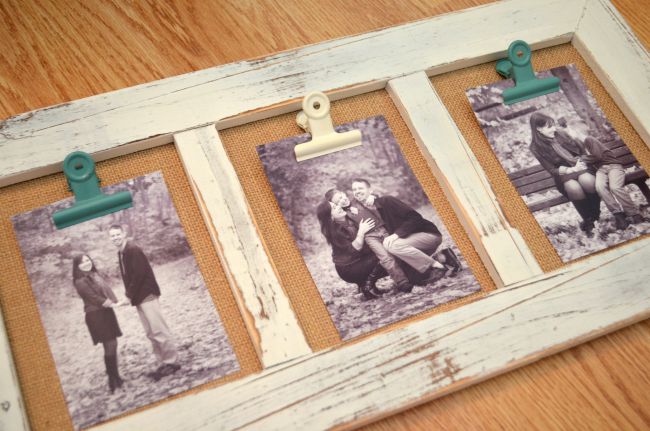
Wood and Burlap Photo Holder
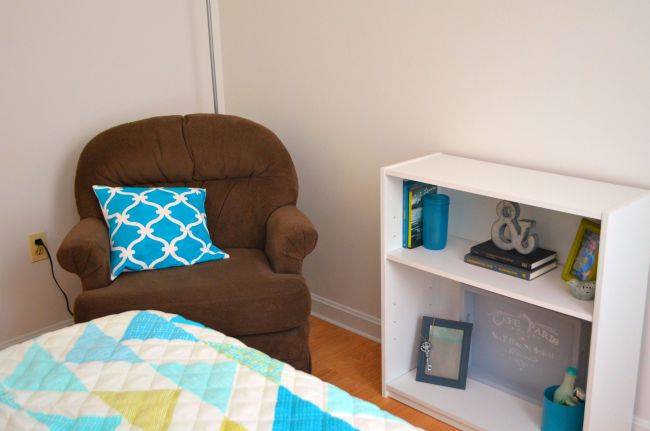
Friends, as many of you know, I’ve been working on fixing up a guest room in our new house, and one of the things I needed was some art for the walls. I wanted to find a fun way to display a few photos that still worked with the color scheme and the vintage/rustic feel of the room. Here’s what I came up with…it’s so easy to make and cost me less than $15!

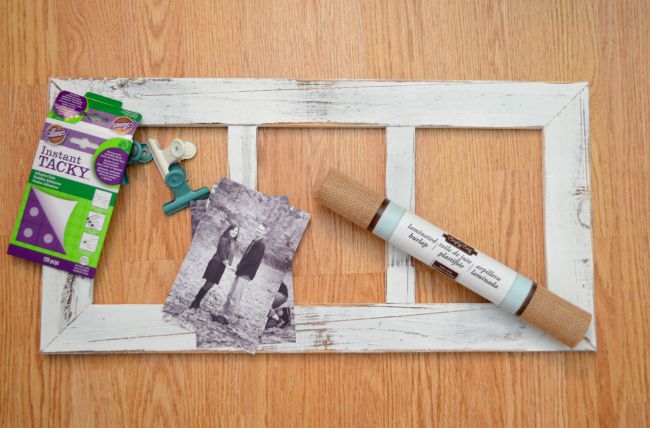
Materials:
– three hole wooden frame {I got this one at Michaels}
– metal clips
– burlap
– Aleene’s Instant Tacky Adhesive Dots
– Super Glue
– scissors
– printed 4×6″ photos
Before we get started, I want to talk for a second about the wooden frame. I picked this up at Michaels for less than $10, and it was already painted white and distressed, which saved me the work of doing that part myself! If you can’t find the exact frame, your first step will probably be to paint, distress, and wax yours to make it look fabulously rustic like this one does. Another fun thing to note is that Erin actually bought the exact same frame to use in the nursery she’s creating for Baby Girl, but she’s doing something totally different with it!
Step 1: Cut your burlap to fit the back of the frame.
The roll I bought was “laminated burlap,” so although the front looks totally normal, the back has a light clear coating on it that makes it a little more sturdy.
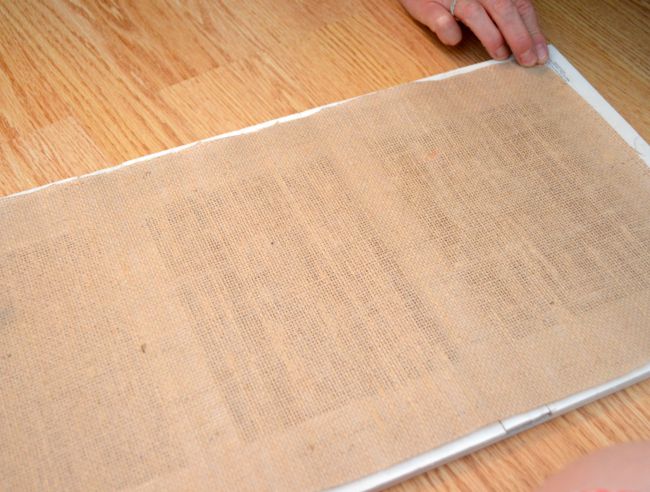
Step 2: Attach the burlap with Tacky Adhesive Dots.
I really wasn’t sure that adhesive dots would be strong enough to hold things together long term, but they absolutely are. This has been hanging up for over a week now and I haven’t had a bit of trouble with it.
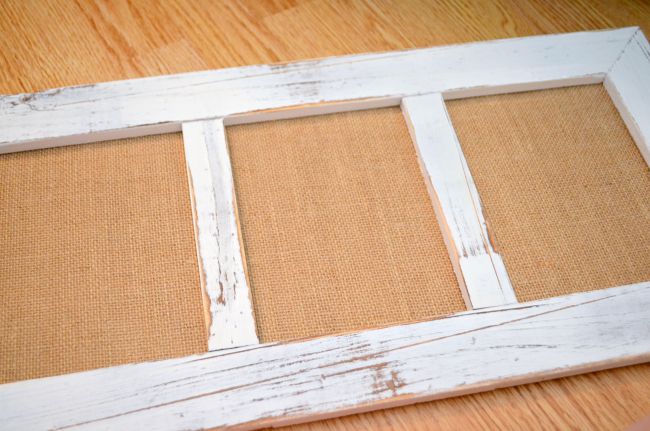
Step 3: Glue a clip to the burlap in each cutout space.
The clips I got were already colored teal and white, which happened to be perfect for the room’s decor. Any colors will work, though, or you can easily spray paint to make them whatever you like. For this part, I originally tried adhesive dots, but they didn’t hold. Super Glue did the trick, though, and has been holding strong.
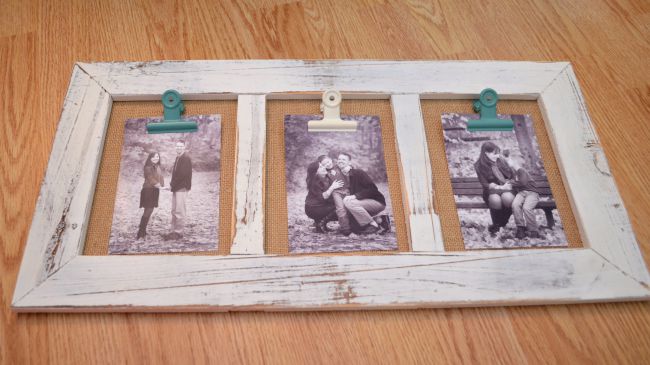
Step 4: Add your photos!
I printed out three of my favorite 4×6 photos from our family portrait session back in November. I went with black and white so that the fall colors of the pictures didn’t clash with the rest of the room’s decor. Then, I clipped them in place. They’re not glued or otherwise adhered at all, so I can easily swap them when I get new photos I want to use instead.
Step 5: Hang and enjoy!
Before I could hang the frame, I did need to make one little adjustment. There was a gold hanger screwed to the back of one of the short sides of the frame, which would have been perfect if I wanted to hang it vertically…but I didn’t. Instead, I removed it and used a screwdriver to place it in the center of what was now the top of the frame so it would hang horizontally on my wall.

I absolutely love the rustic, vintage look of this piece and what’s even better is that it cost me less than $15 to make, which is awesome for a piece of wall art. I’m thinking about making a few more for other rooms of the house and using different photos in each one. In the meantime, this one is the perfect fit for my guest room wall. Keep an eye out for another post coming soon about how I styled the guest room and tried to make it as welcoming as possible!
And be sure to look for Erin’s post about how she used the same frame for an entirely different purpose…you’re going to love it!


Looks great Amy, that’s a great idea and love that you can easily switch pics. Super cute!!!