
Memory Wire Charm Bracelet

Making your own jewelry can sound really intimidating, but it’s honestly easier than you think! Memory wire bracelets are a great place to start because they don’t require any special tools or wire skills. These bracelets, as the name suggests, retain their shape whether they’re on or off the arm and can wrap around the wrist as many times as you like.
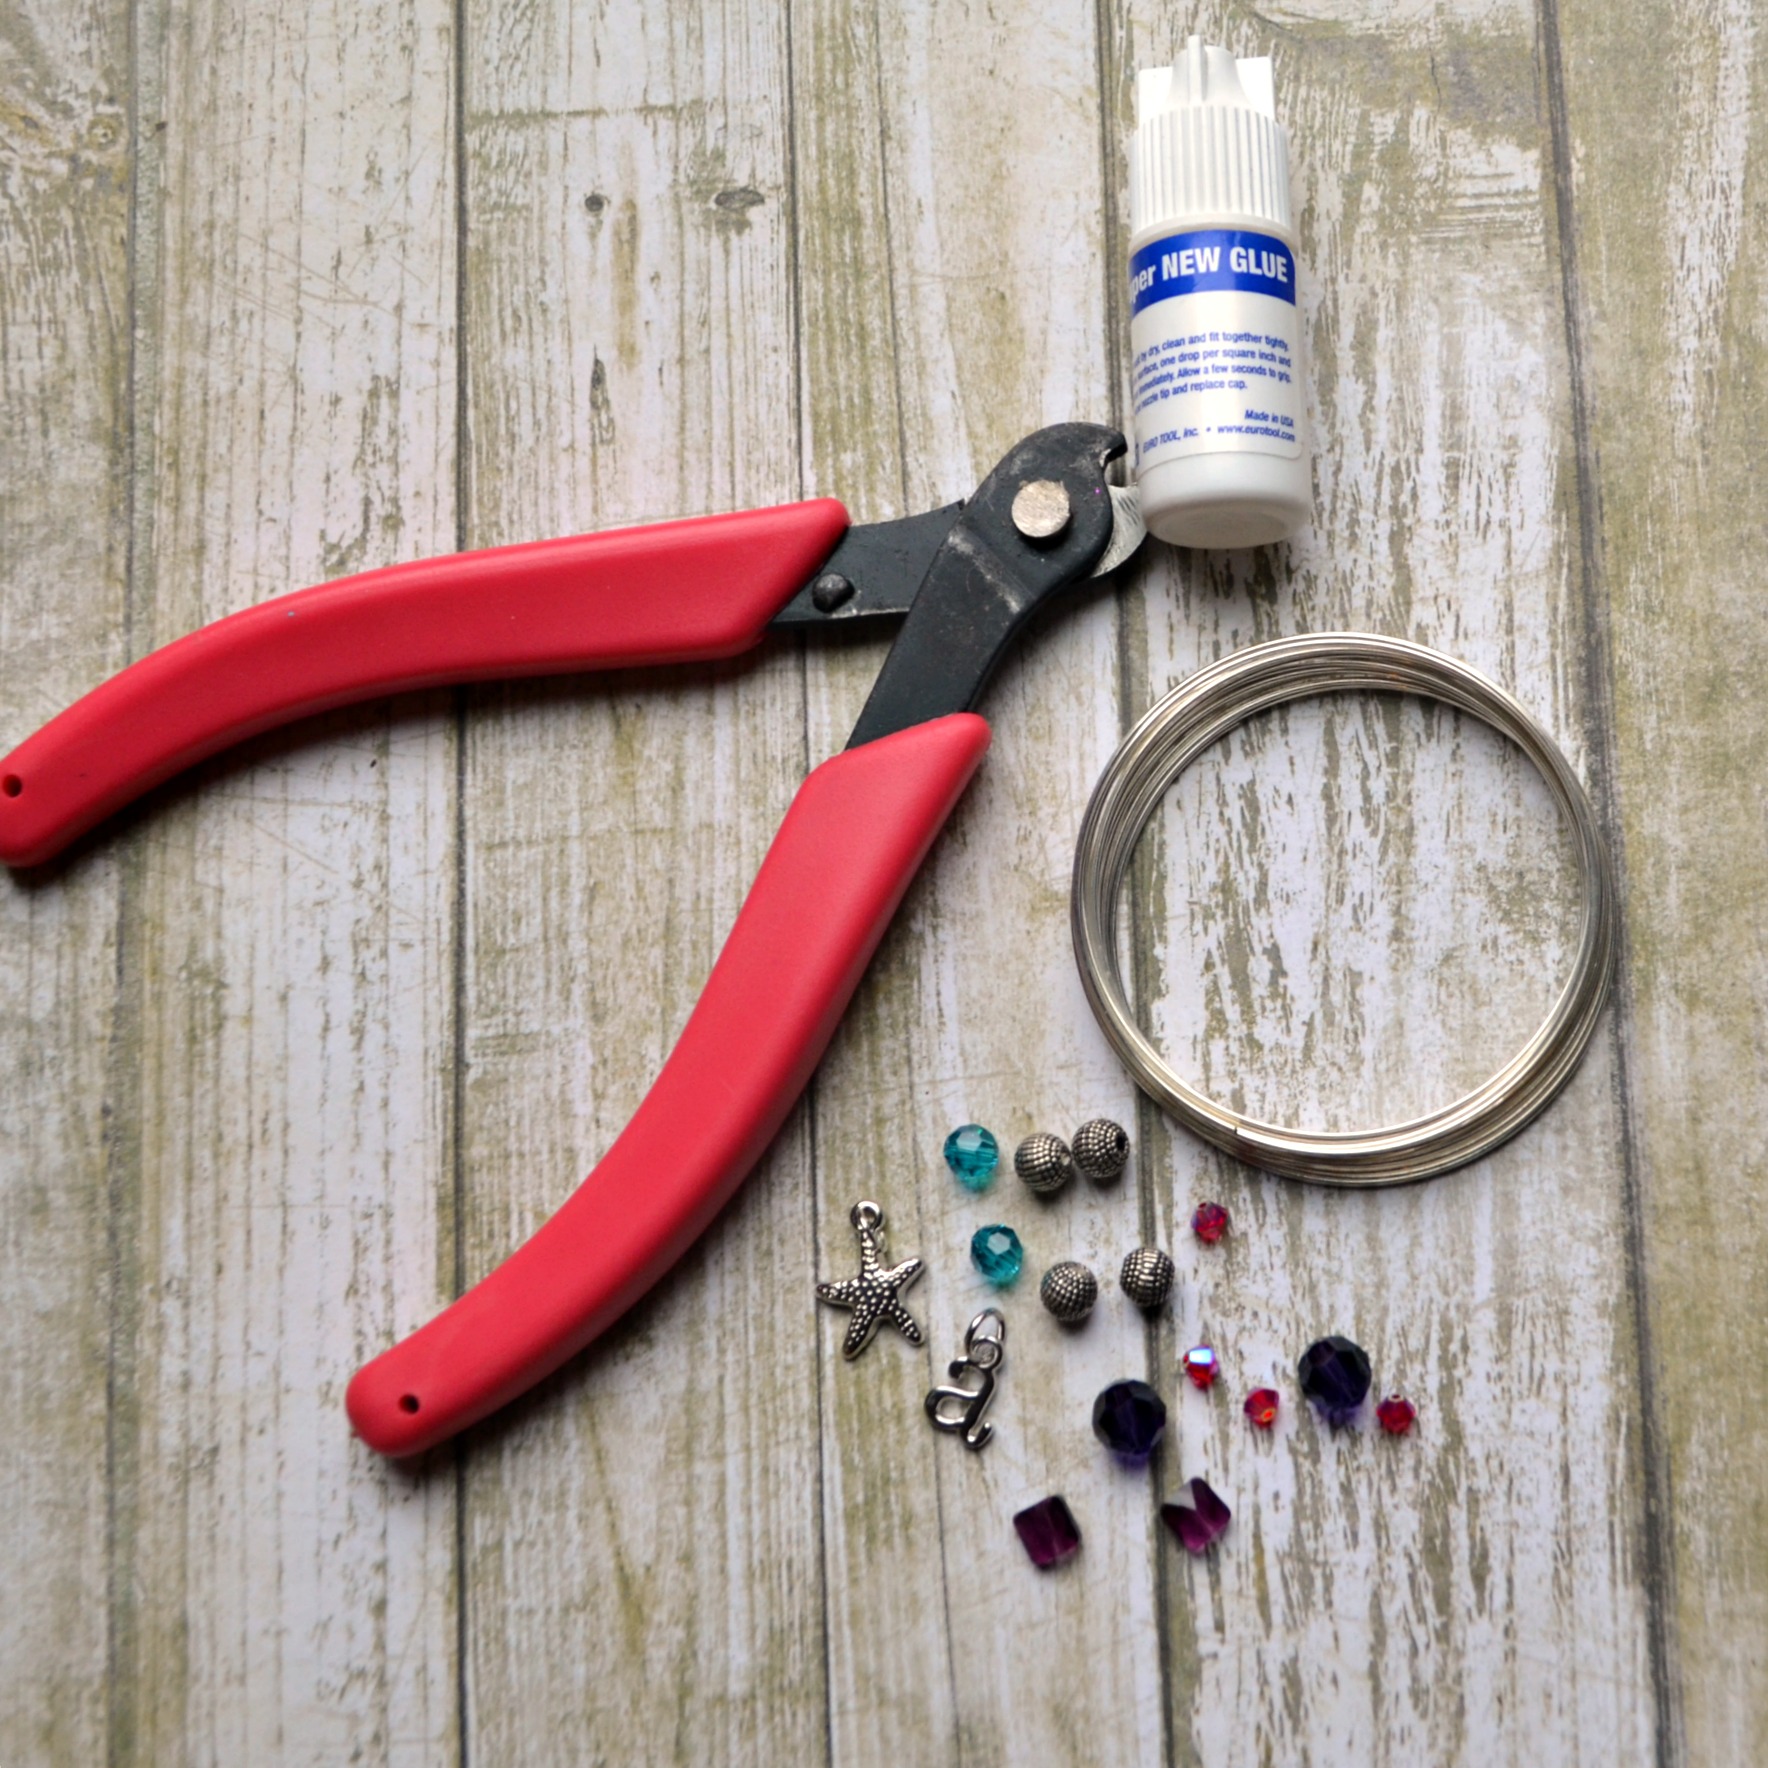
Materials:
– Memory Wire
– Assorted Beads*
– Charms
– 3mm Silver End Caps
– Jewelry Glue or Super Glue
– Wire Cutters
– Crimp Tubes {optional}
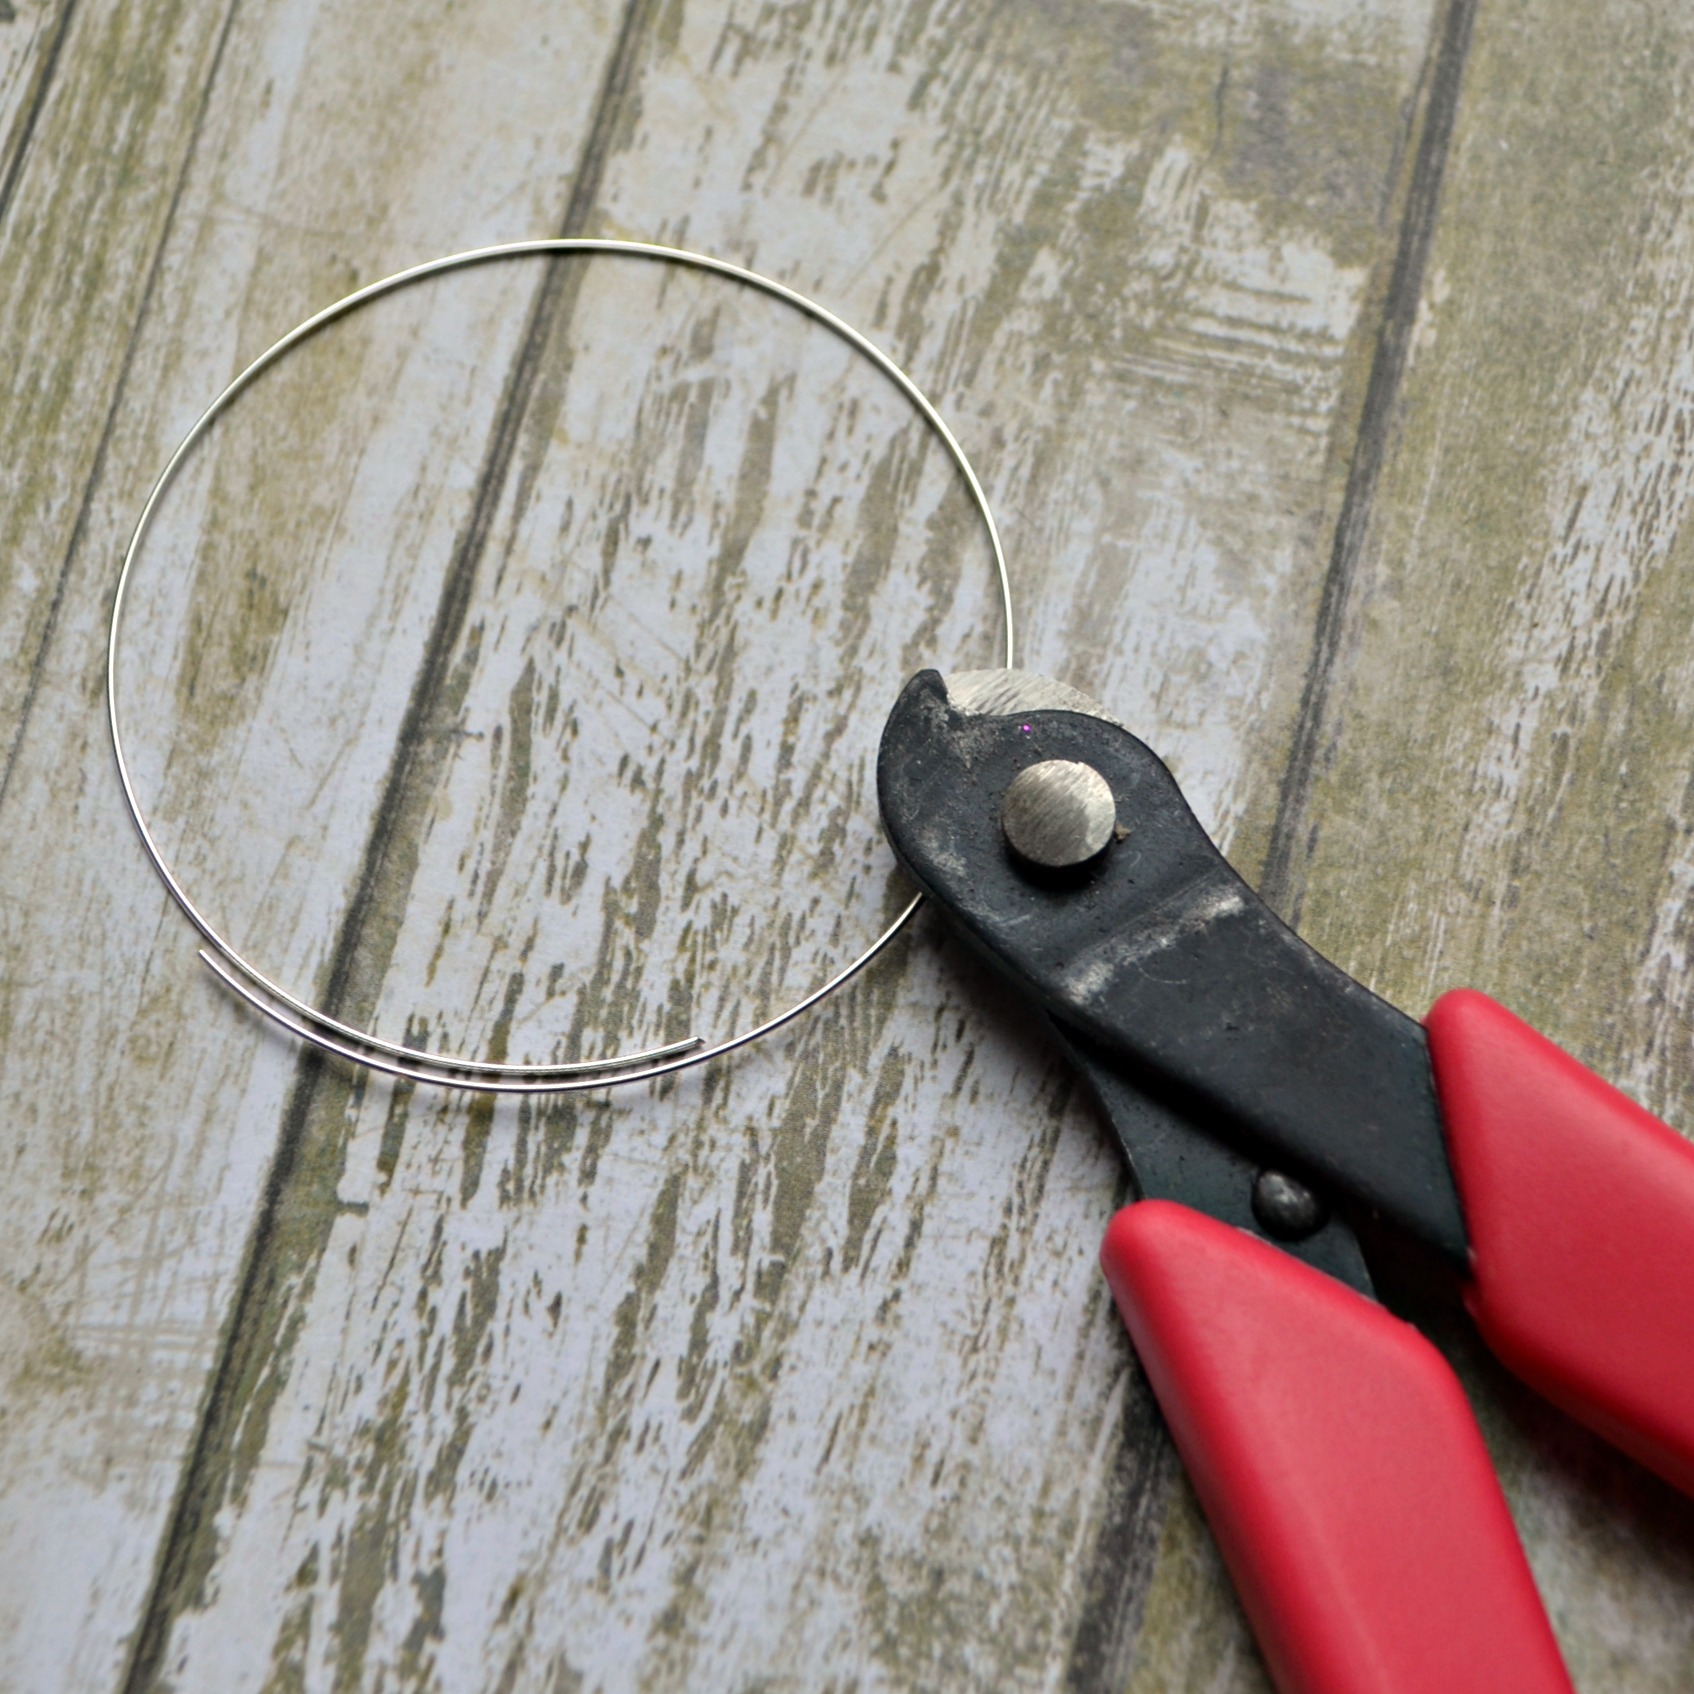
Step 1: Measure your wrist and cut a piece of memory wire that will comfortably fit. Memory wire is particularly difficult to cut, so it’s helpful if you have wire cutters specifically designed for it. If not, never fear, you can make do with regular ones or even cutters you borrow from a friend’s tool box.
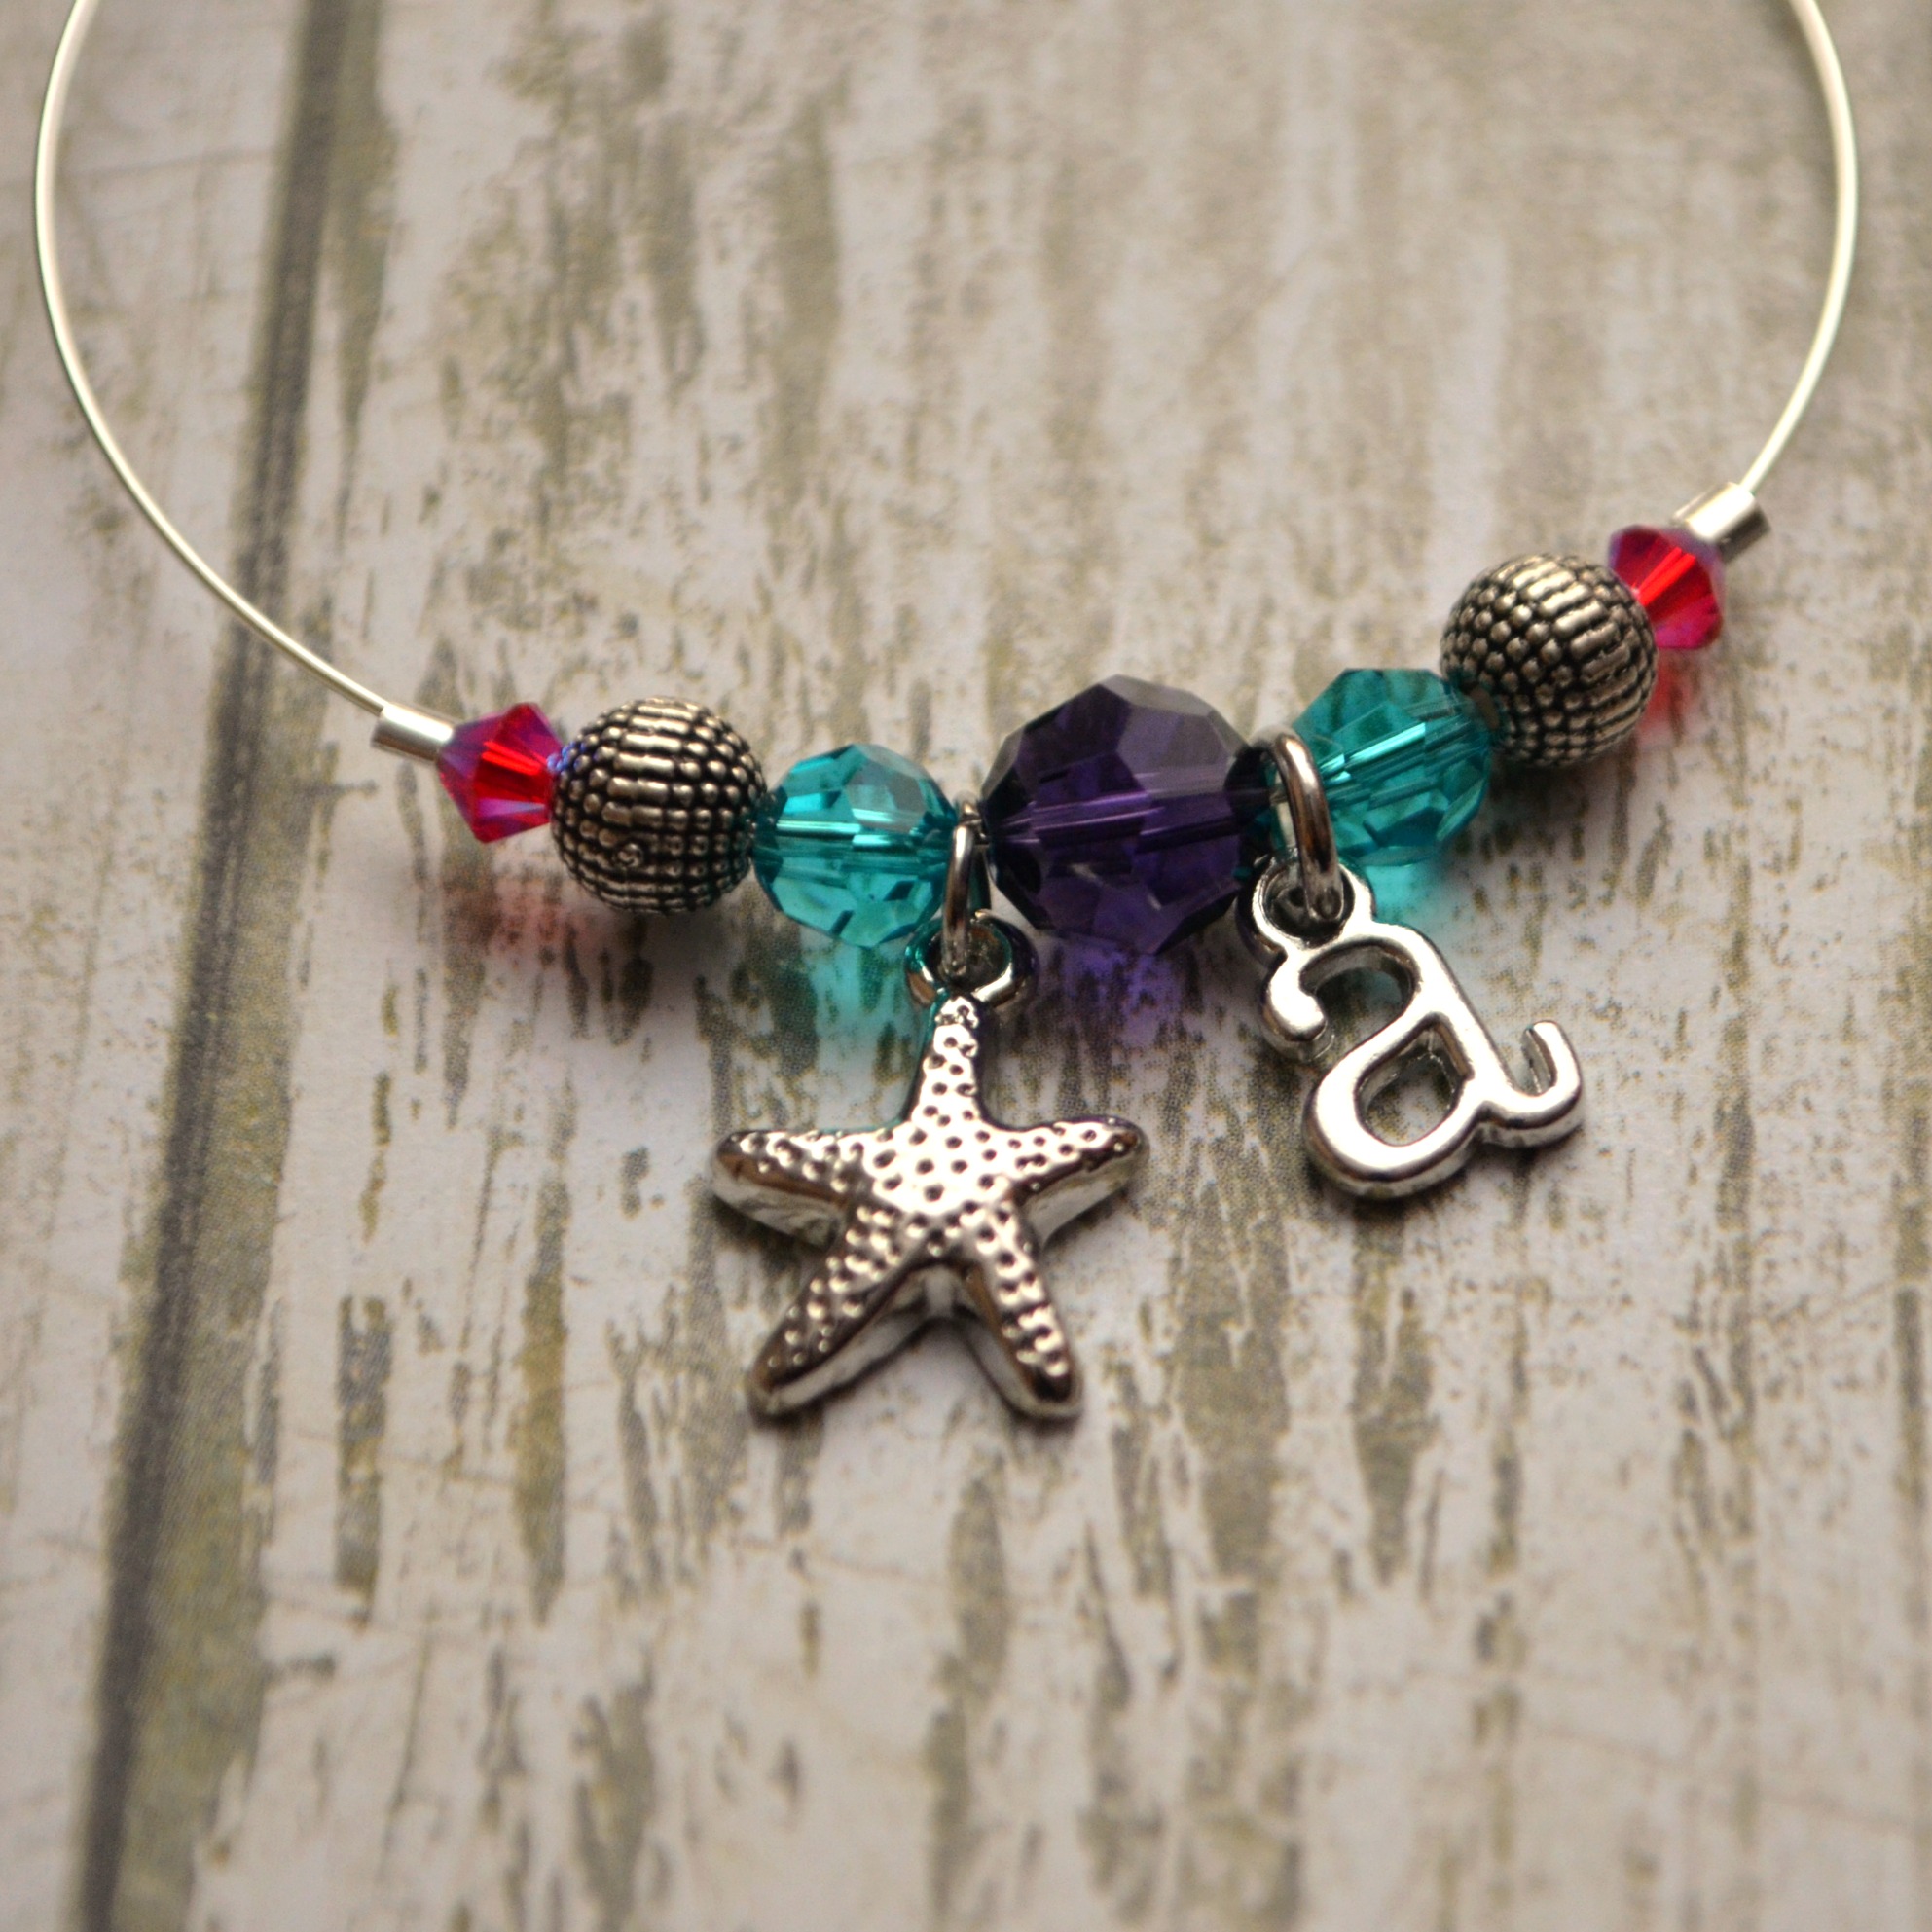
Step 2: Holding your wire with the cut ends up, thread your beads and/or charms onto the wire in any pattern you like. Jewelry is all about personal style, so you can’t go wrong! You can use any size, shape, and style beads that appeal to you and compliment your wardrobe. I like to start with the bead I want in the center, then work my way out on each side. Feel free to experiment and play around with your pattern until you find something you love.
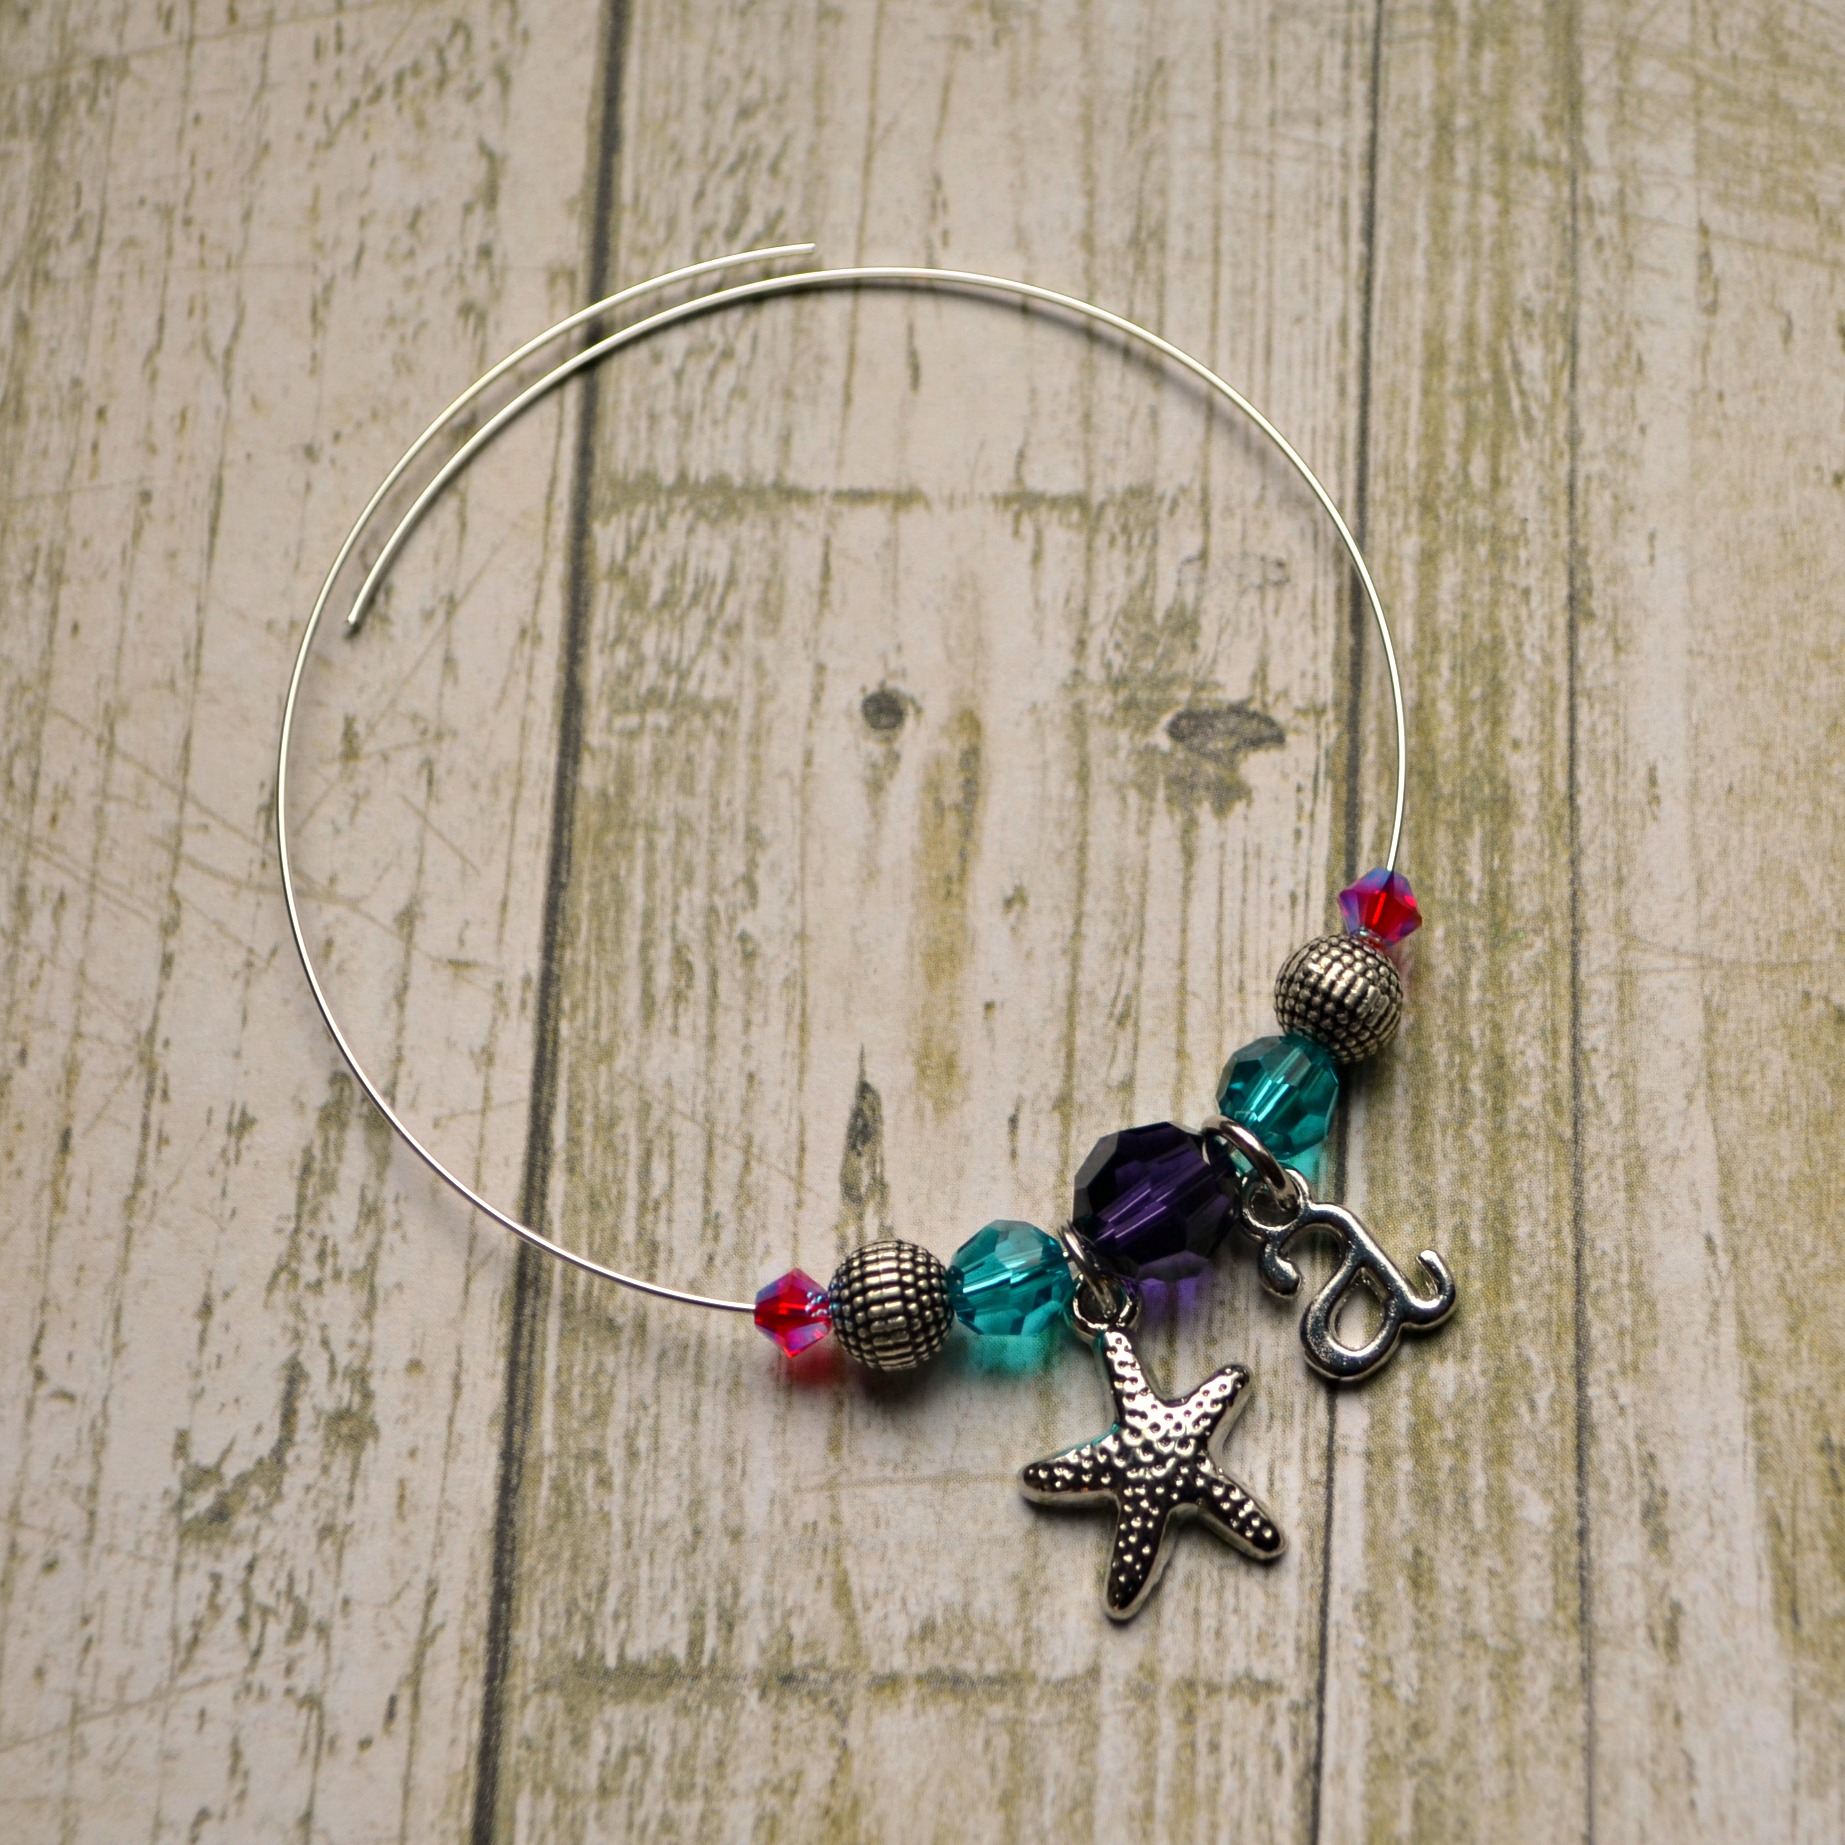
Expert Tip: If you prefer to leave some of your wire exposed instead of beading the entire bracelet, you can place a crimp tube next to your last bead on each side and squeeze it tightly to secure it in place. That will keep your beads from moving around as you wear the bracelet.
Step 3: Use Super Glue or jewelry glue to attach a silver end cap to each cut end of the wire.
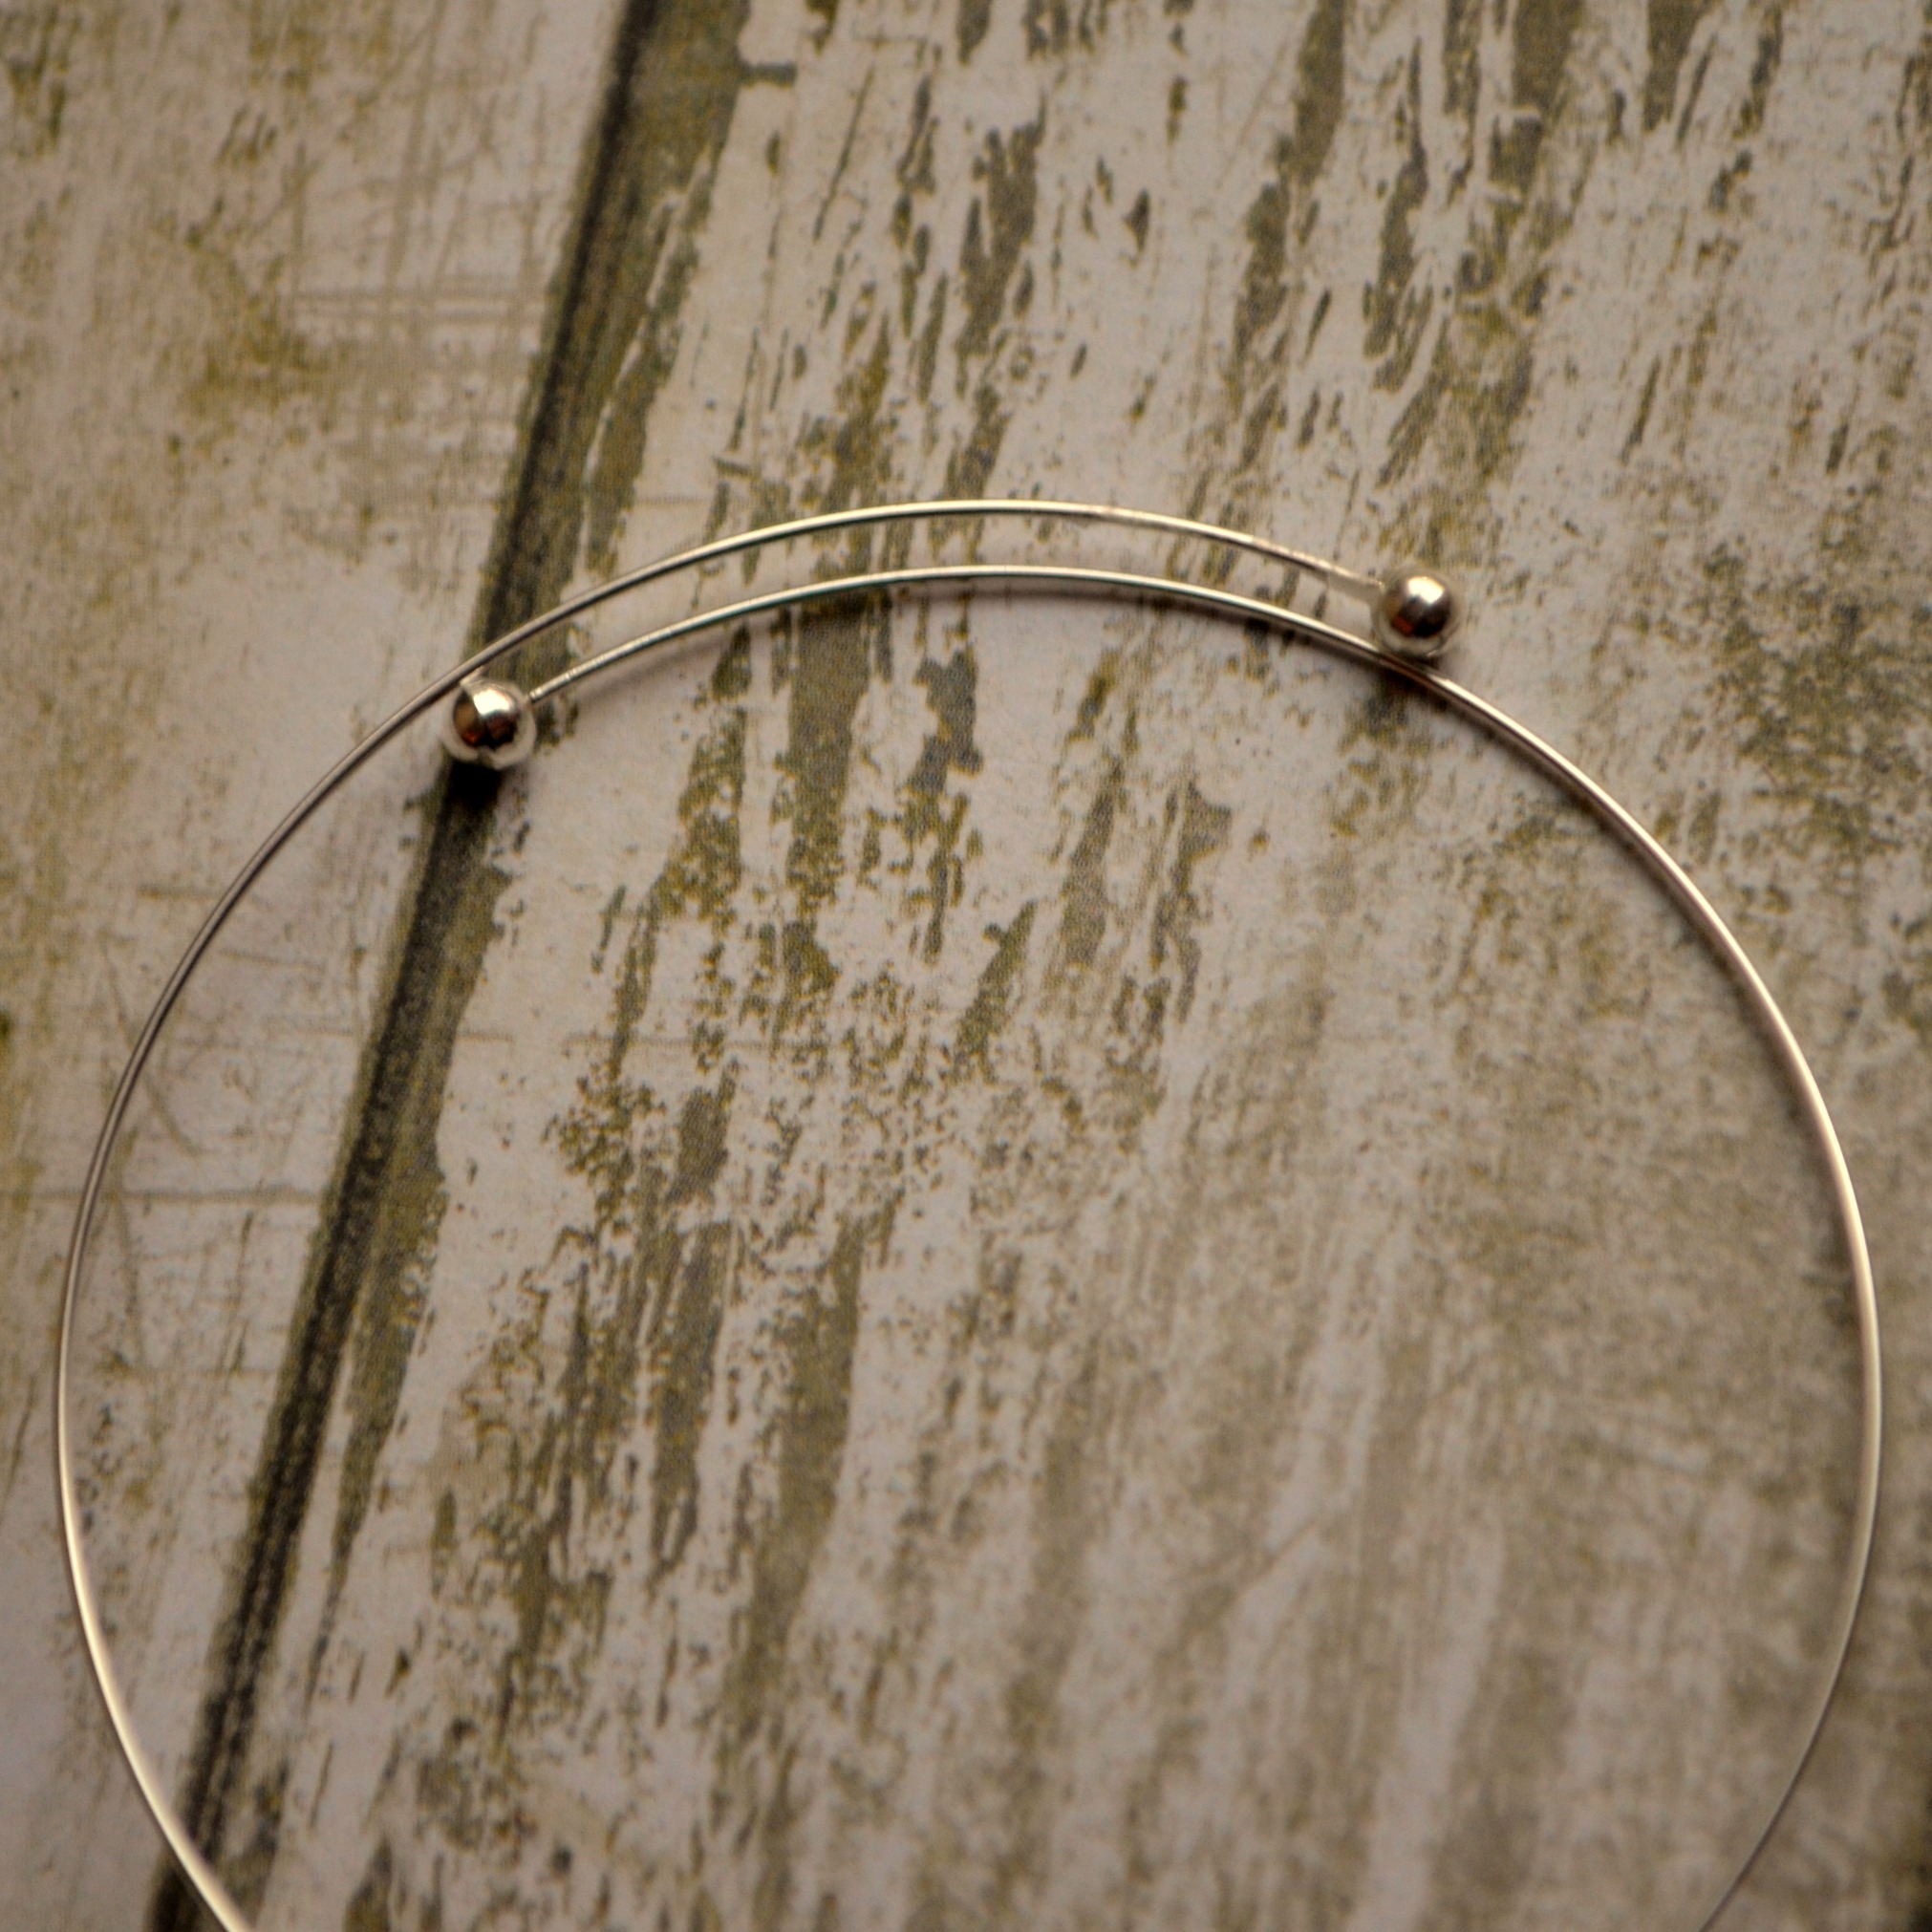
As soon as the glue is dry, your bracelet is ready to wear!
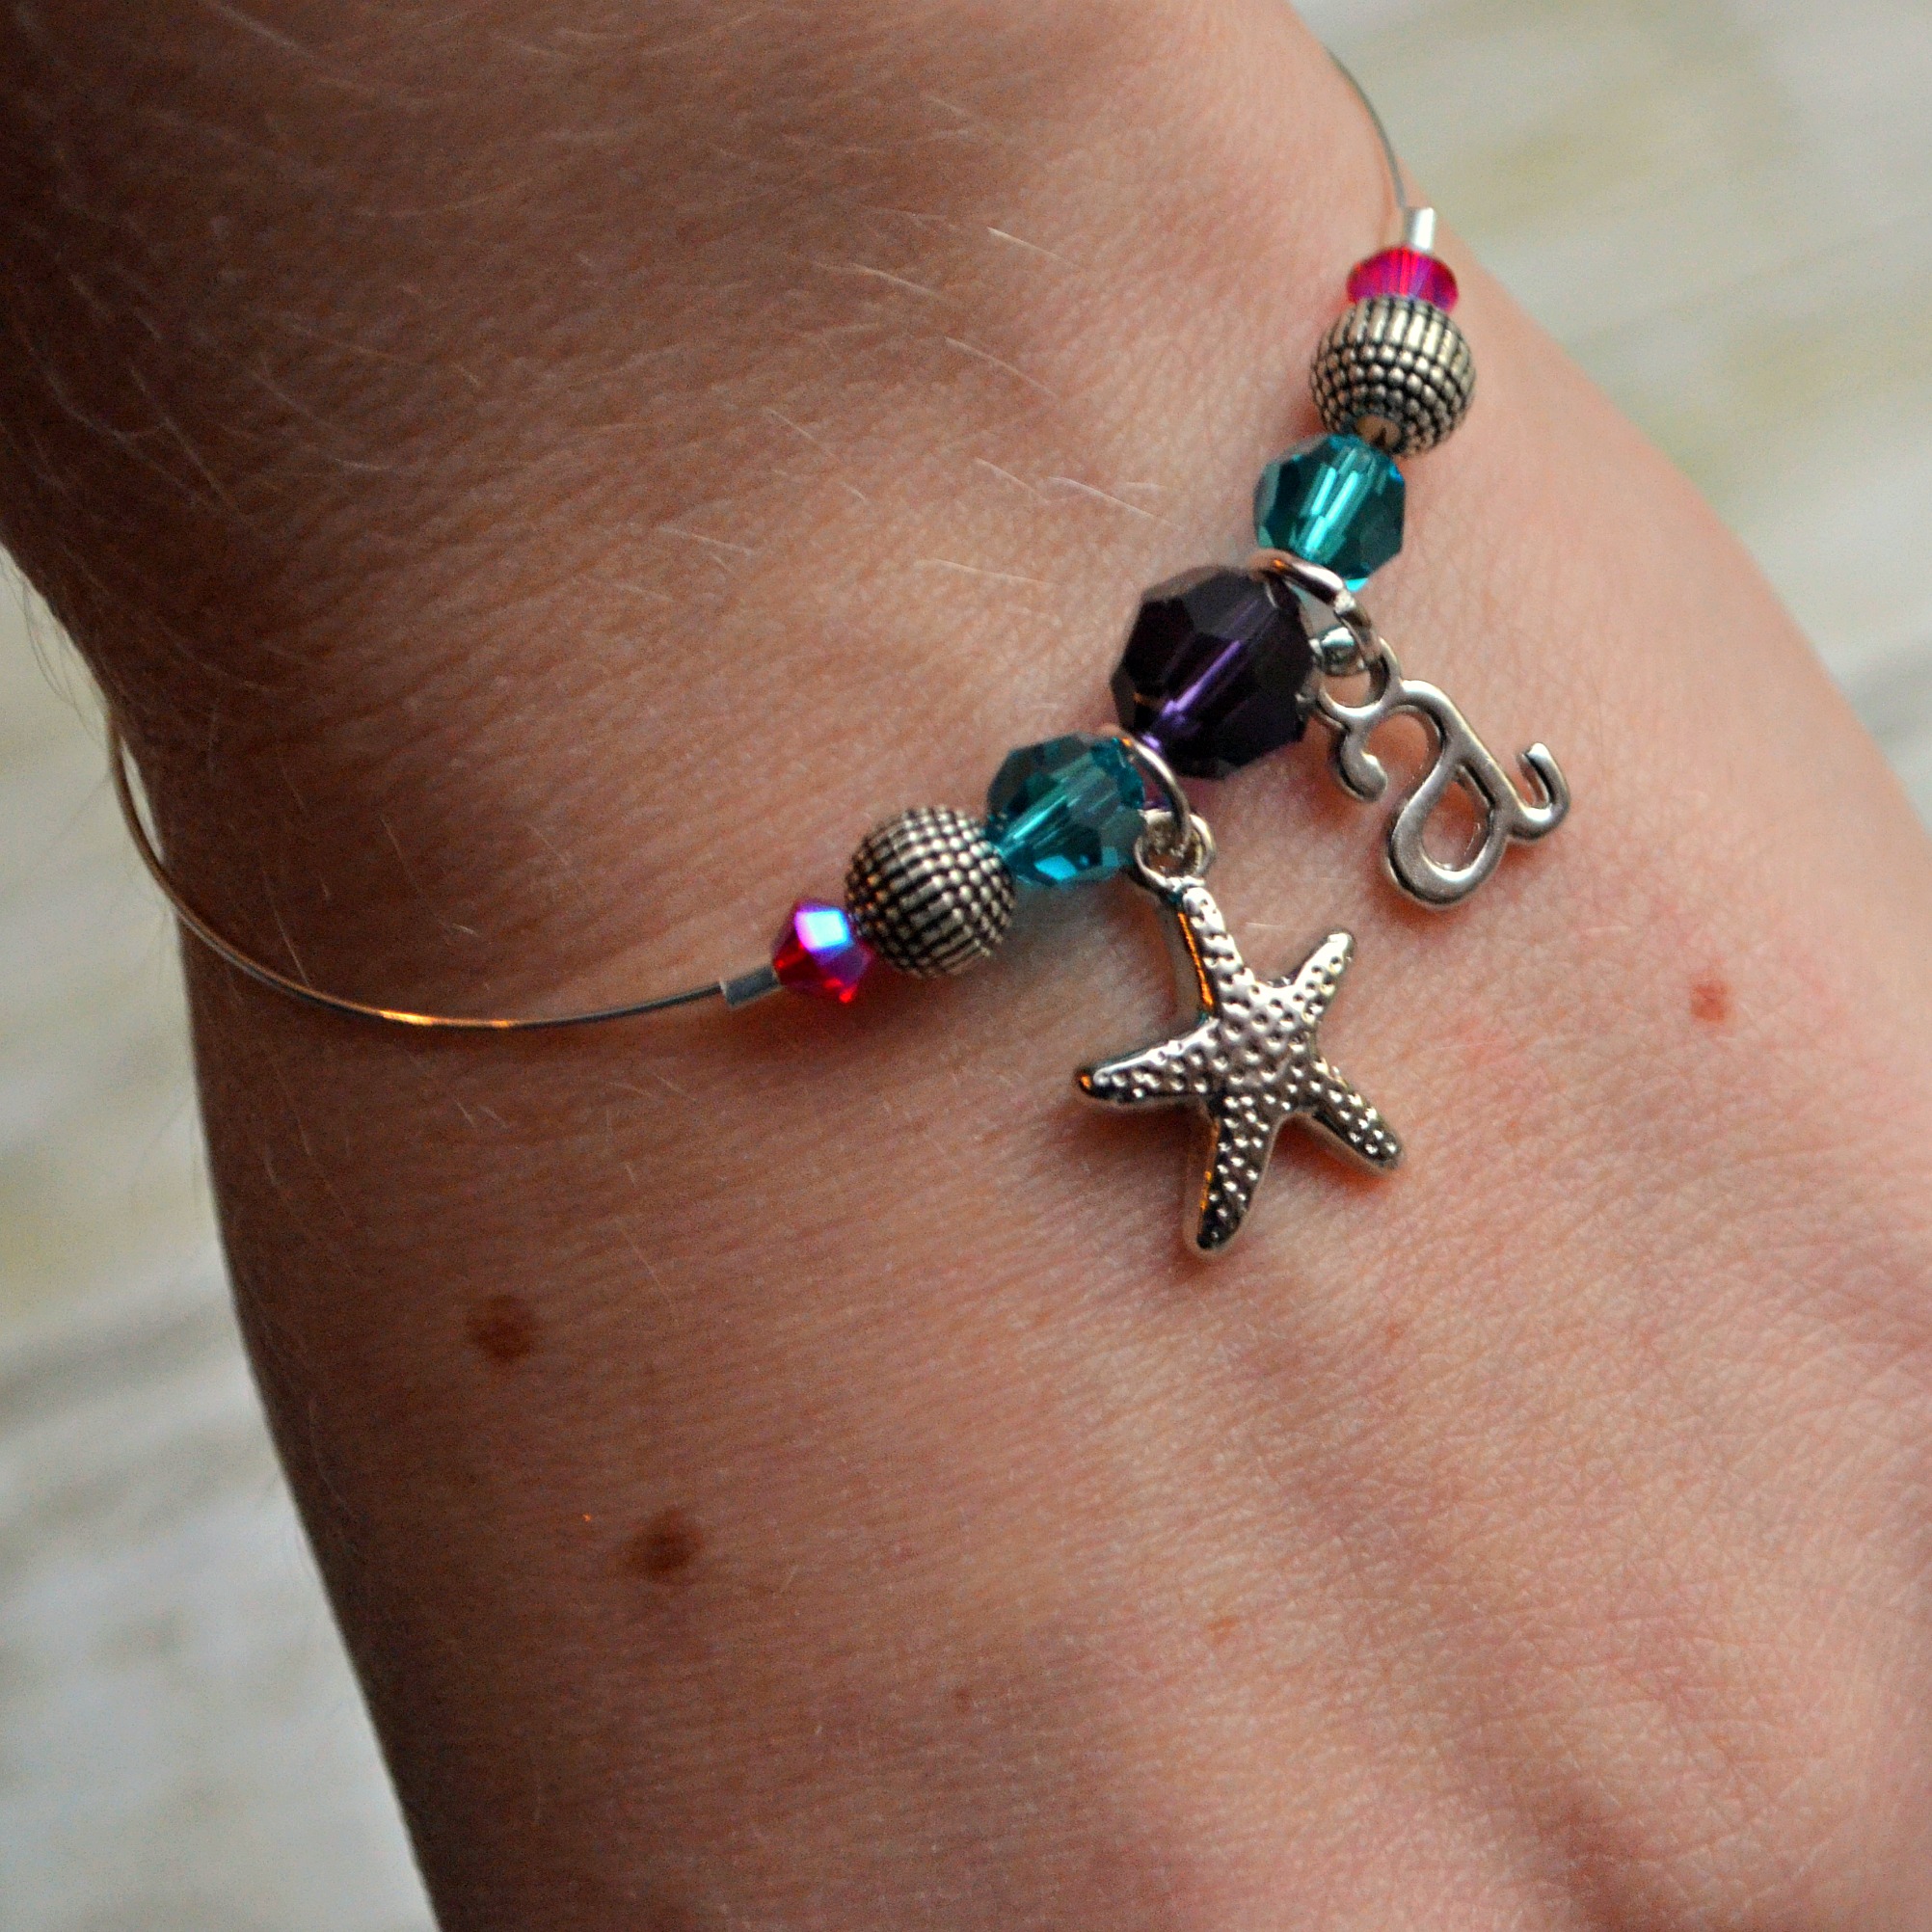
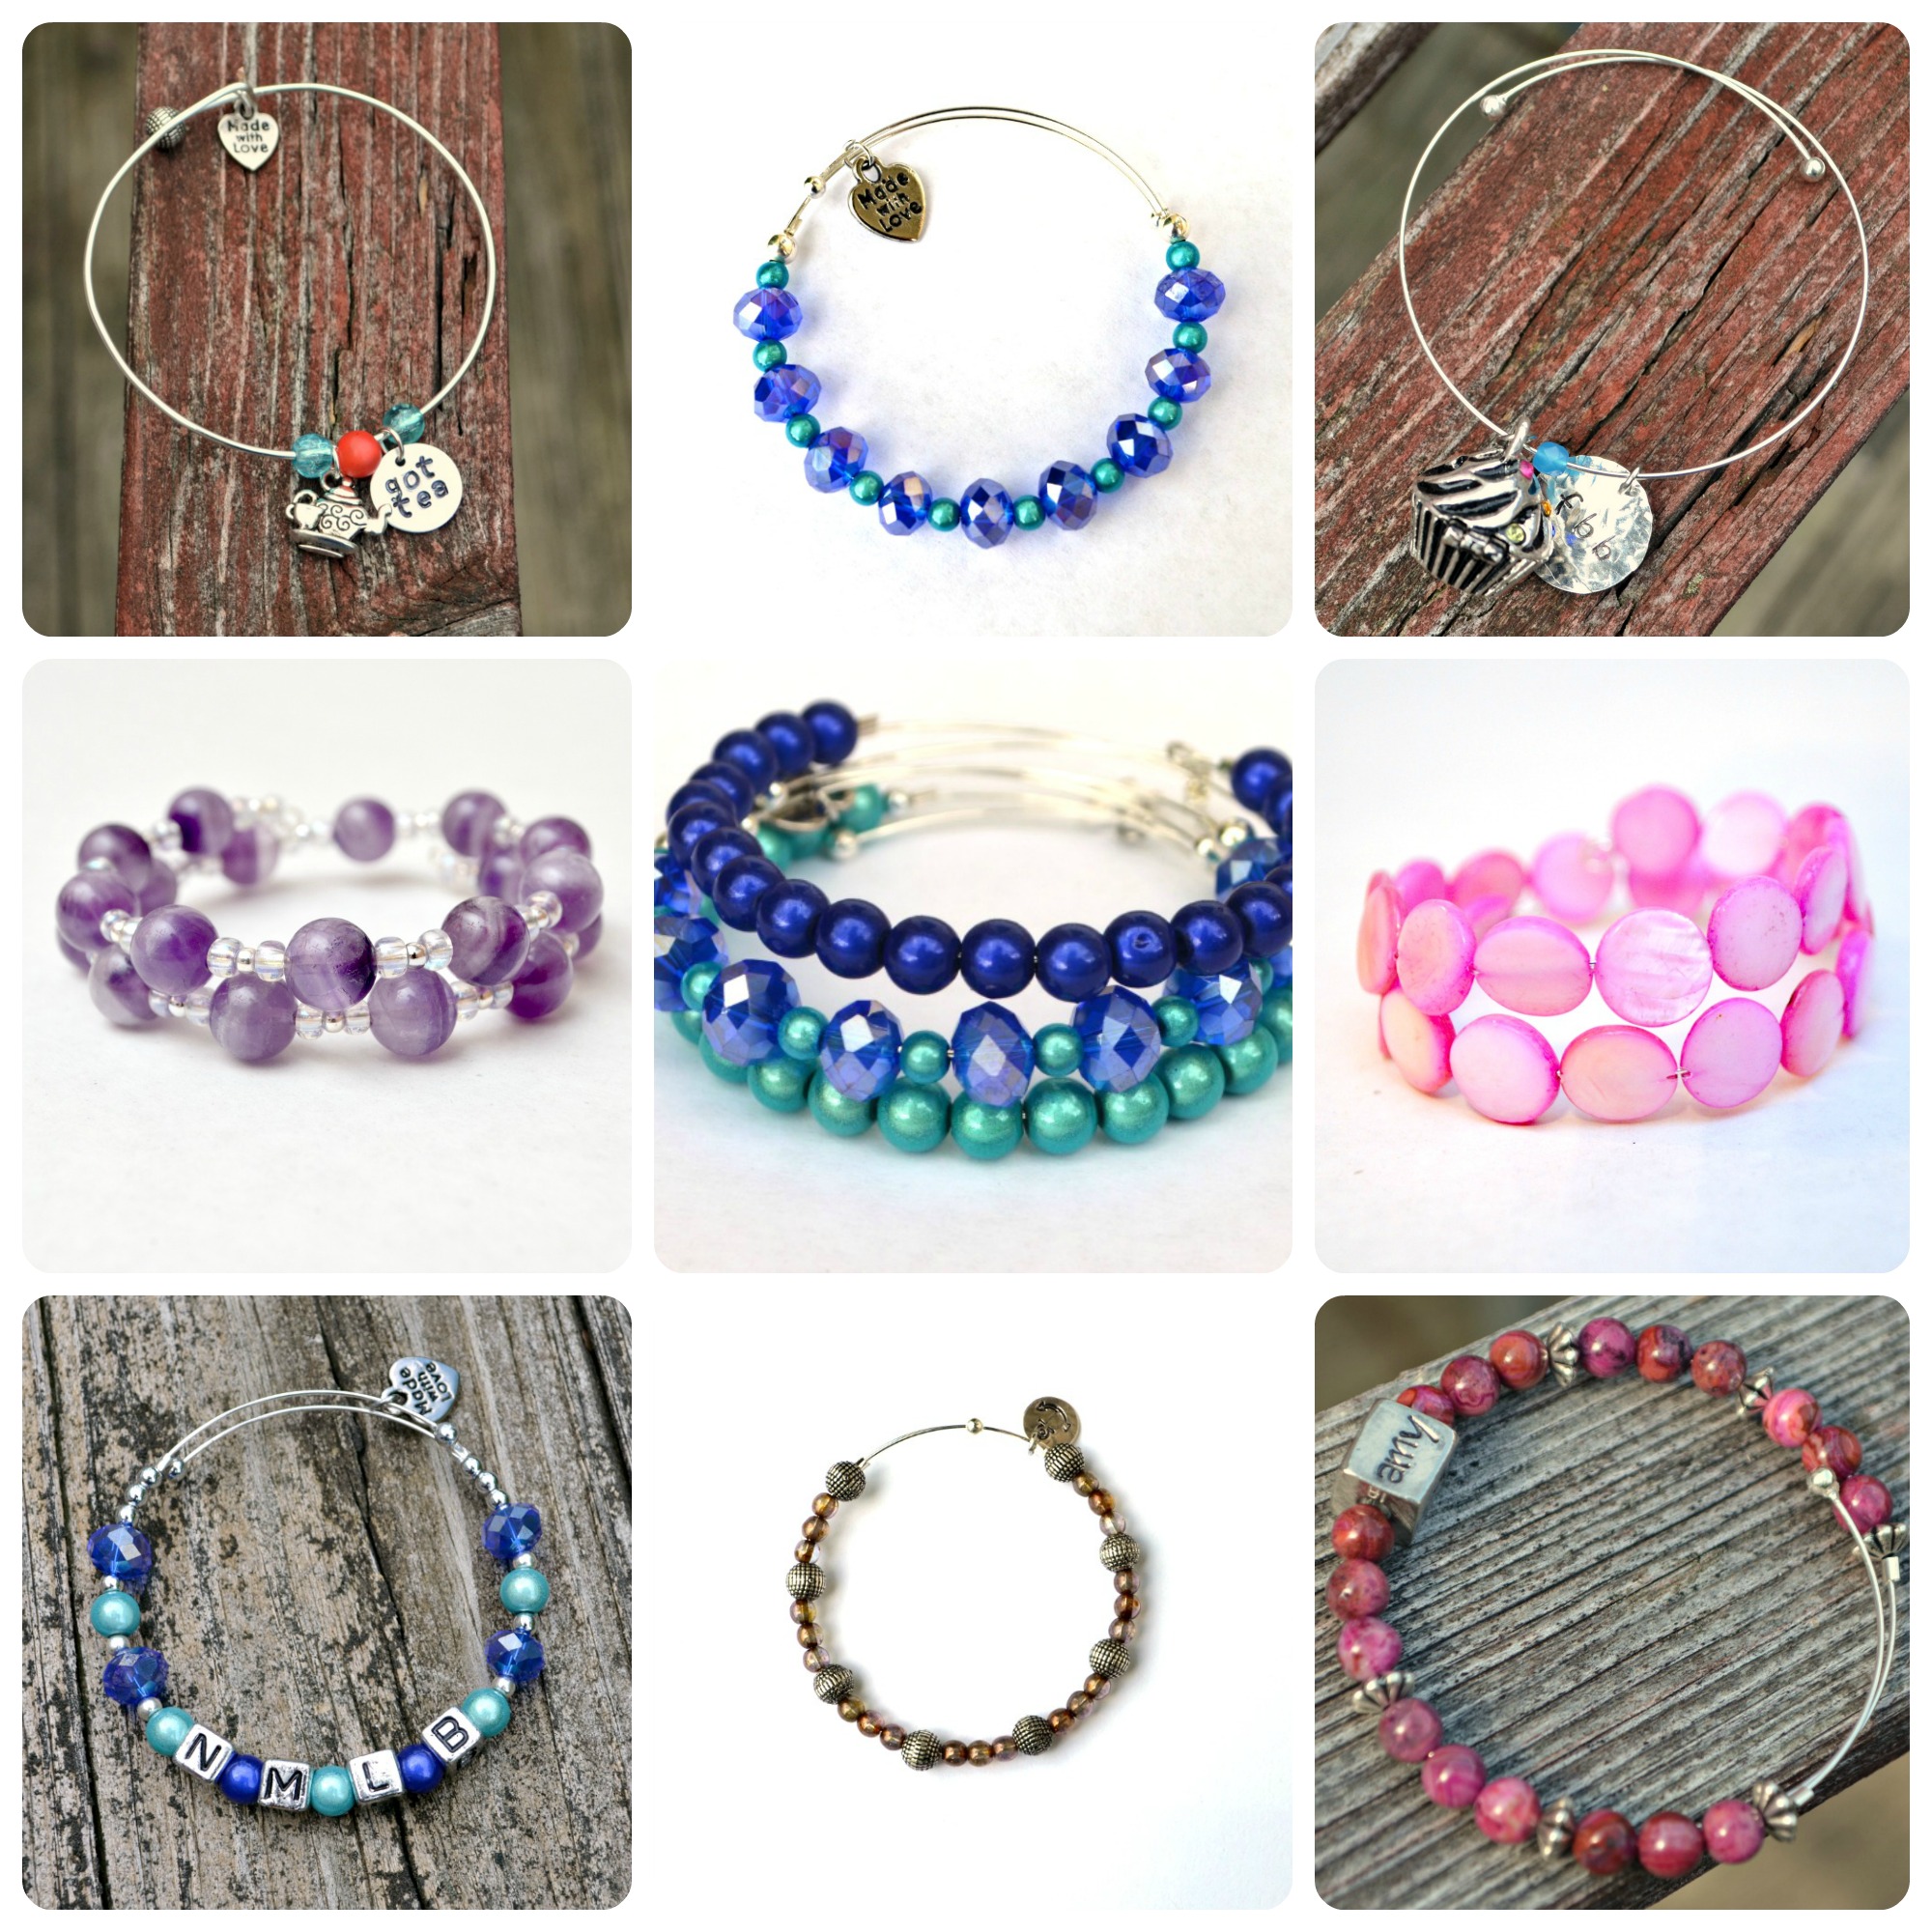
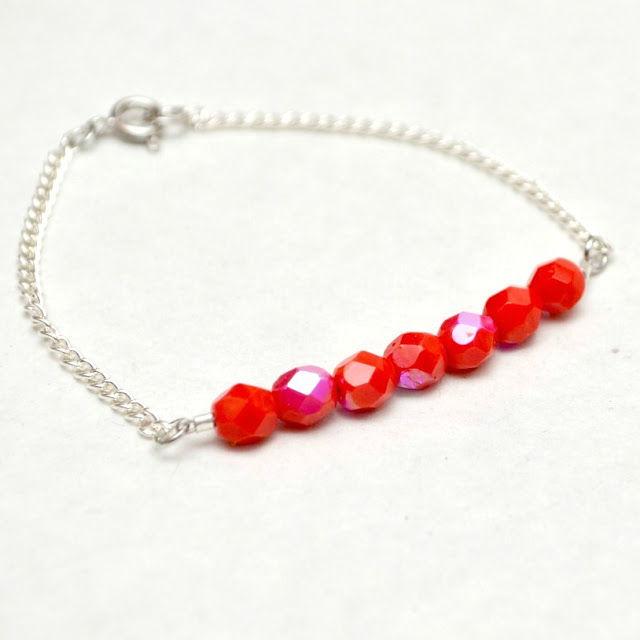
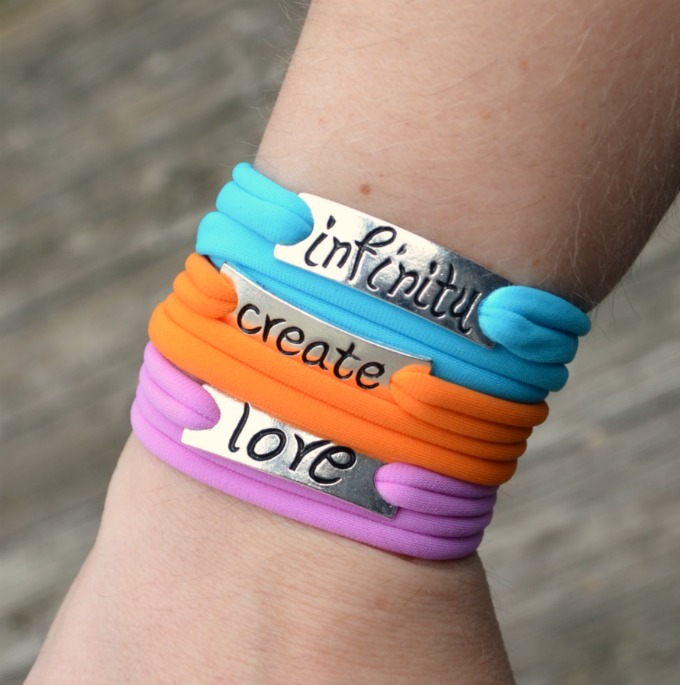
I find memory wire to be a great starting point for making your own jewelry because the possibilities of what you can do are endless. Different colors and shapes of beads as well as a variety of charms make each bracelet a totally unique masterpiece. Plus, not only can you make several coordinating bracelets to stack, you can also cut longer lengths of wire and make wrap bracelets too. Here are just a few examples of other bracelets I’ve made using the same techniques and tools. You can find tutorials for each one on my blog, One Artsy Mama. This style of bracelet is not only hugely popular right now, it’s also a great and inexpensive gift idea. Use beads and charms that mean something to your friends and family members, and it will be a piece they treasure forever!
*The specific beads I used for this bracelet are available on GoodyBeads.com. {Note: These are affiliate links.}
Swarovski® 8mm Round Crystal Beads Purple Velvet
Swarovski® 6mm Round Crystal Light Turquoise
Swarovski® 4mm Bicone Crystal Fuchsia
6mm Antique Silver Sand Metal Bead with Resin Base
You can also find everything else you need, including the end caps, wire, and cutters on the same site.
Next Steps: Make your piece extra-personal by using metal stamping to create your own charm. All you need is a steel stamping block, a hammer, a metal blank, and alphabet or design stamps. My favorite ones are made by ImpressArt and you can find them on GoodyBeads.com. Just place your blank on the steel block, hold the stamp vertically in your non-dominant hand, and use your dominant hand to give a good hard tap with the hammer. This is a great way to add a name, initials, a special phrase, or a design of your choice.


These tips are really very helpful to every man who follows fashion and loves to wear designer bracelets.