
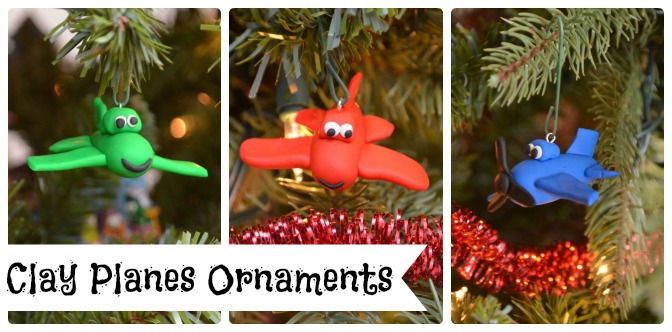
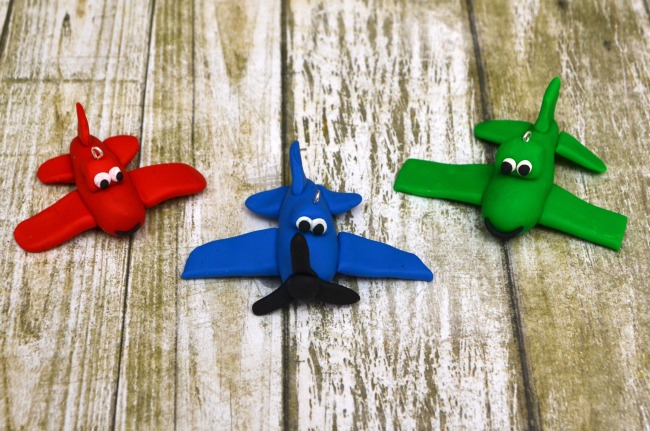
DIY Planes Ornaments
This shop has been compensated by Collective Bias, Inc. and its advertiser. All opinions are mine alone. #PlanesToTheRescue #CollectiveBias
If you’ve been a part of the One Artsy Mama community for awhile now, you already know that we love Disney Planes around here. Ever since the original Planes movie came out, Little Crafter has been a fan of Dusty and his friends in Cropwash Junction, so this summer he was thrilled when the Fire and Rescue movie was in theaters for his birthday. He snuggles and plays with his stuffed Dusty, and likes to act out rescue scenes with his friends from school using his die-cast character toys.
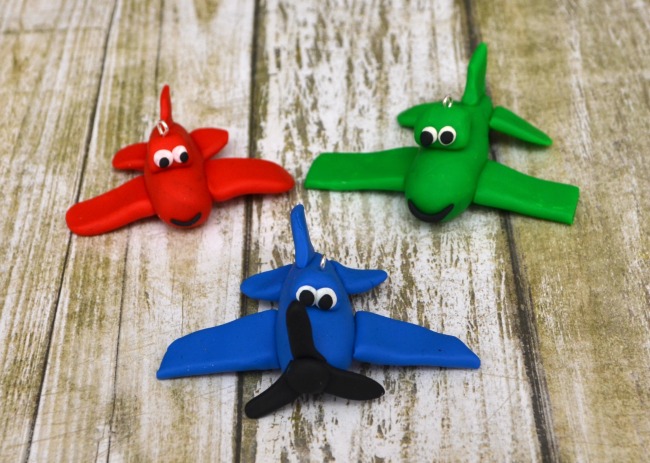
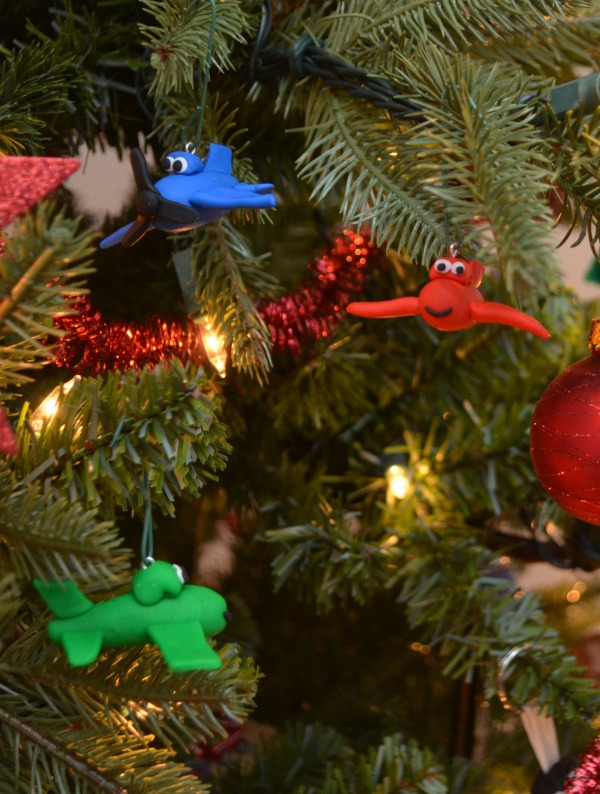
One of our Christmas traditions every year is that each of us gets a new ornament. Usually, we surprise each other {often hubby’s has something to do with football, mine is super glittery…}. This year, though, Little Crafter had a special request. He wanted Dusty. Luckily, I was able to find one. But I thought it would be even more fun if we made some clay ornaments to represent Dusty’s friends too! That way they could all “fly” on the tree together. I mean, if one airplane is fun, how much more fun is a whole group of them, right?! We also thought these clay airplanes would make great gifts for some of LC’s classmates who also love the movies. Here’s how we made them and you can too!
Materials:
– Sculpey Premo Polymer Clay
– Baking Sheet
– Aluminum Foil
– Toothpicks, plastic knife, and/or clay tools
– Eye pins {one per plane}
The tutorial below is for a basic, “generic” plane. If you want it to represent a specific character, feel free to change the locations and shapes of the wings, propellers, etc. to look more like that plane. Steps like adding a face and a propeller are optional too…if you’d rather stay simple, by all means do!
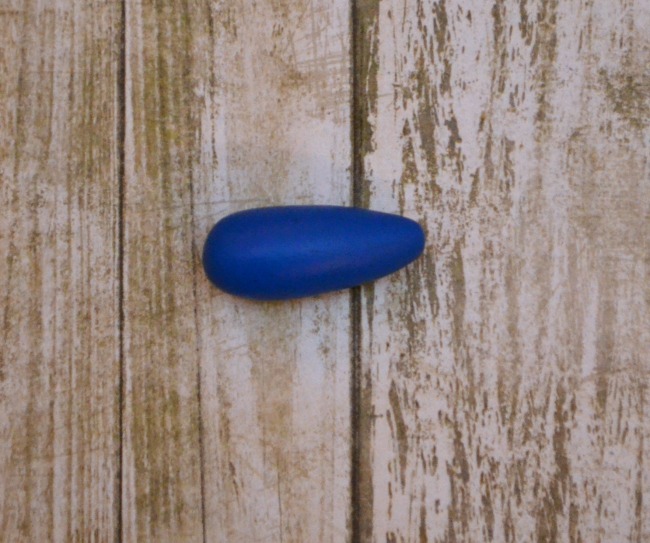
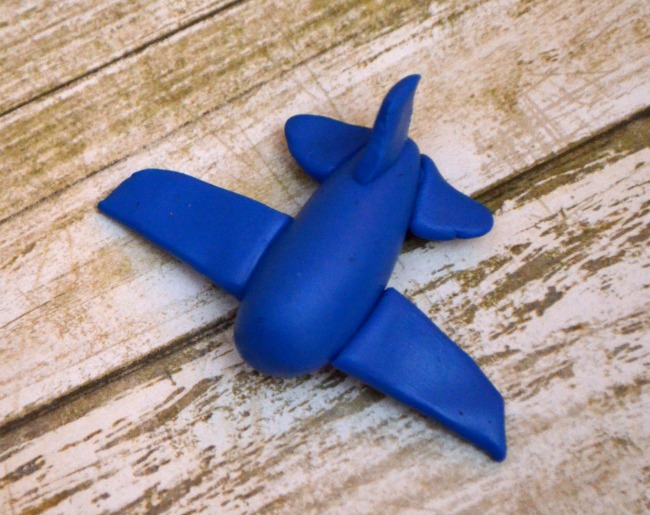
Step 1: Roll a small ball of clay in a “hot dog” shape to become the body of the plane. I shaped mine so that one end was fatter than the other; the thick end will be the front and the smaller end will become the tail.
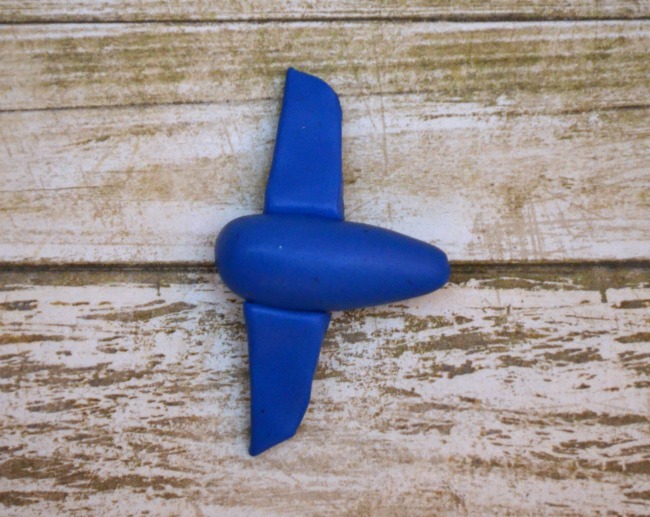
Step 2: Roll two small balls and flatten them into rectangles to become wings. Attach them to the plane’s body. I have a clay tools set that includes a little rolling pin, so I used that to flatten the clay, then cut the wings in the shapes I wanted. For this plane, I curved the edges a bit, but for the green one, I left them totally rectangular. Play around with it and use whatever shape you like best or find honestly do-able!
Step 3: Roll and flatten three more pieces to add to the back of the plane as the tail. First, I rolled out a long thin piece and the ends naturally took a rounded triangle type of shape. I cut the ends off and used them as the side pieces. For the part on the top, I used a plastic clay tool {a plastic knife works too} to cut a rectangle that was slightly skewed from the piece I had left.
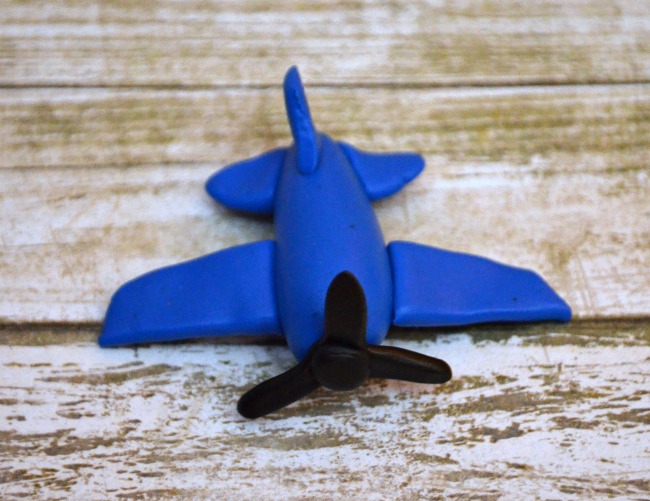
Step 4: Create and add a propeller. To do this, I rolled a long thin piece of black clay and cut it into pieces, which became the propeller blades. I stuck them together and then added a small ball on top. Remember, this step is totally optional; if you like your plane as-is and don’t want to worry with this part, that’s fine! For our red and green planes, we left the propellers off and moved on to step 5.
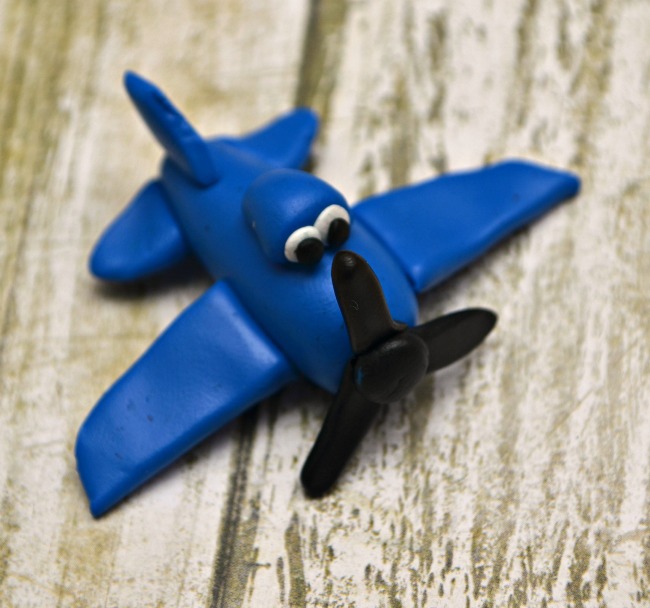
Step 5: Add a face. Again, this step is totally optional. If you want to keep it simple and just have a “normal” plane, you can stop right here and bake it. If you’d like to add a face, here’s what I did. First, I formed a little ball of clay the same color as the plane and flattened it on the bottom to create a “head”. Then, I rolled two tiny white balls and pressed them to one side of the head for eyes. Finally, I rolled two super-tiny black pieces and pressed them onto the white. For the planes without propellers, I rolled a very small, thin piece and shaped it into a smile. If you don’t want to do this part with clay, you can wait until after the plane has been baked and either add google eyes or create a face with paint or markers.
Step 6: Add a small wire loop to attach to the ornament hanger. The easiest thing to do is just use an eye pin {you can find these in the jewelry making section of your local craft store}. The other option is to use pliers and form your own wire loop to poke into the clay.
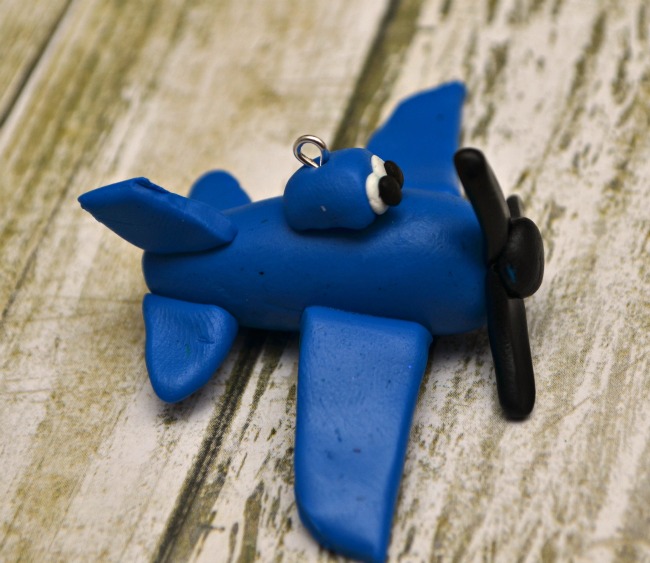
Step 7: Bake on a foil lined sheet according to package instructions on your clay. Once your clay is baked and cooled, it’s ready for display on your tree! Think how cute these would be tied onto packages too!
These little planes are such a fun addition to our holiday decor…and speaking of holidays, I’m also excited that some of the Disney Planes items are on Rollback at Walmart right now, just in time for Christmas! There are 3 packs of Fire & Rescue die-cast figures, Deluxe Talking Vehicles, play sets like the Fight to the Finish Speedway, and more at great prices.
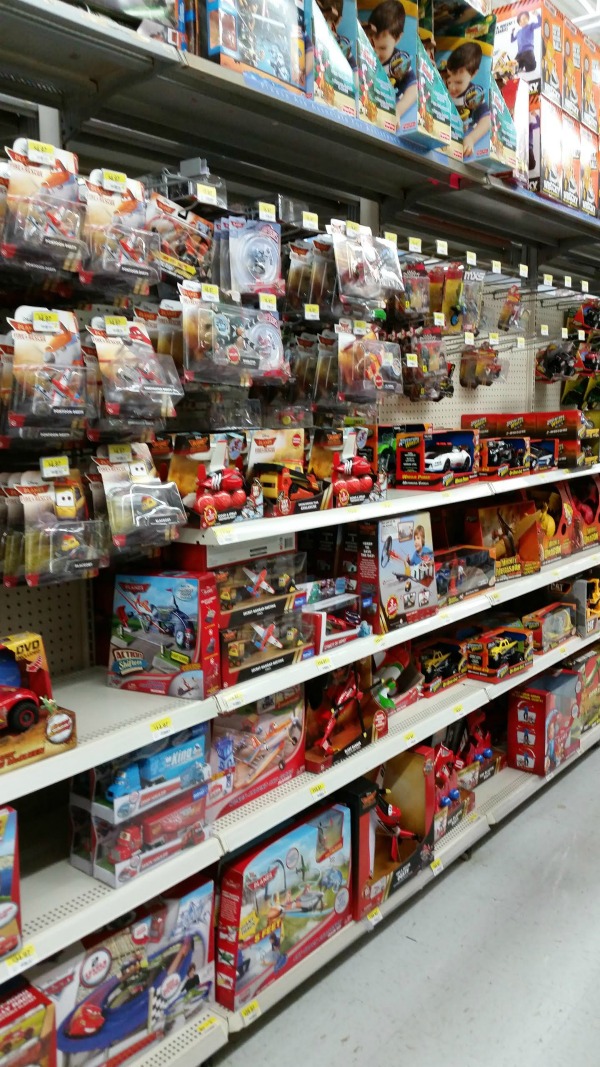
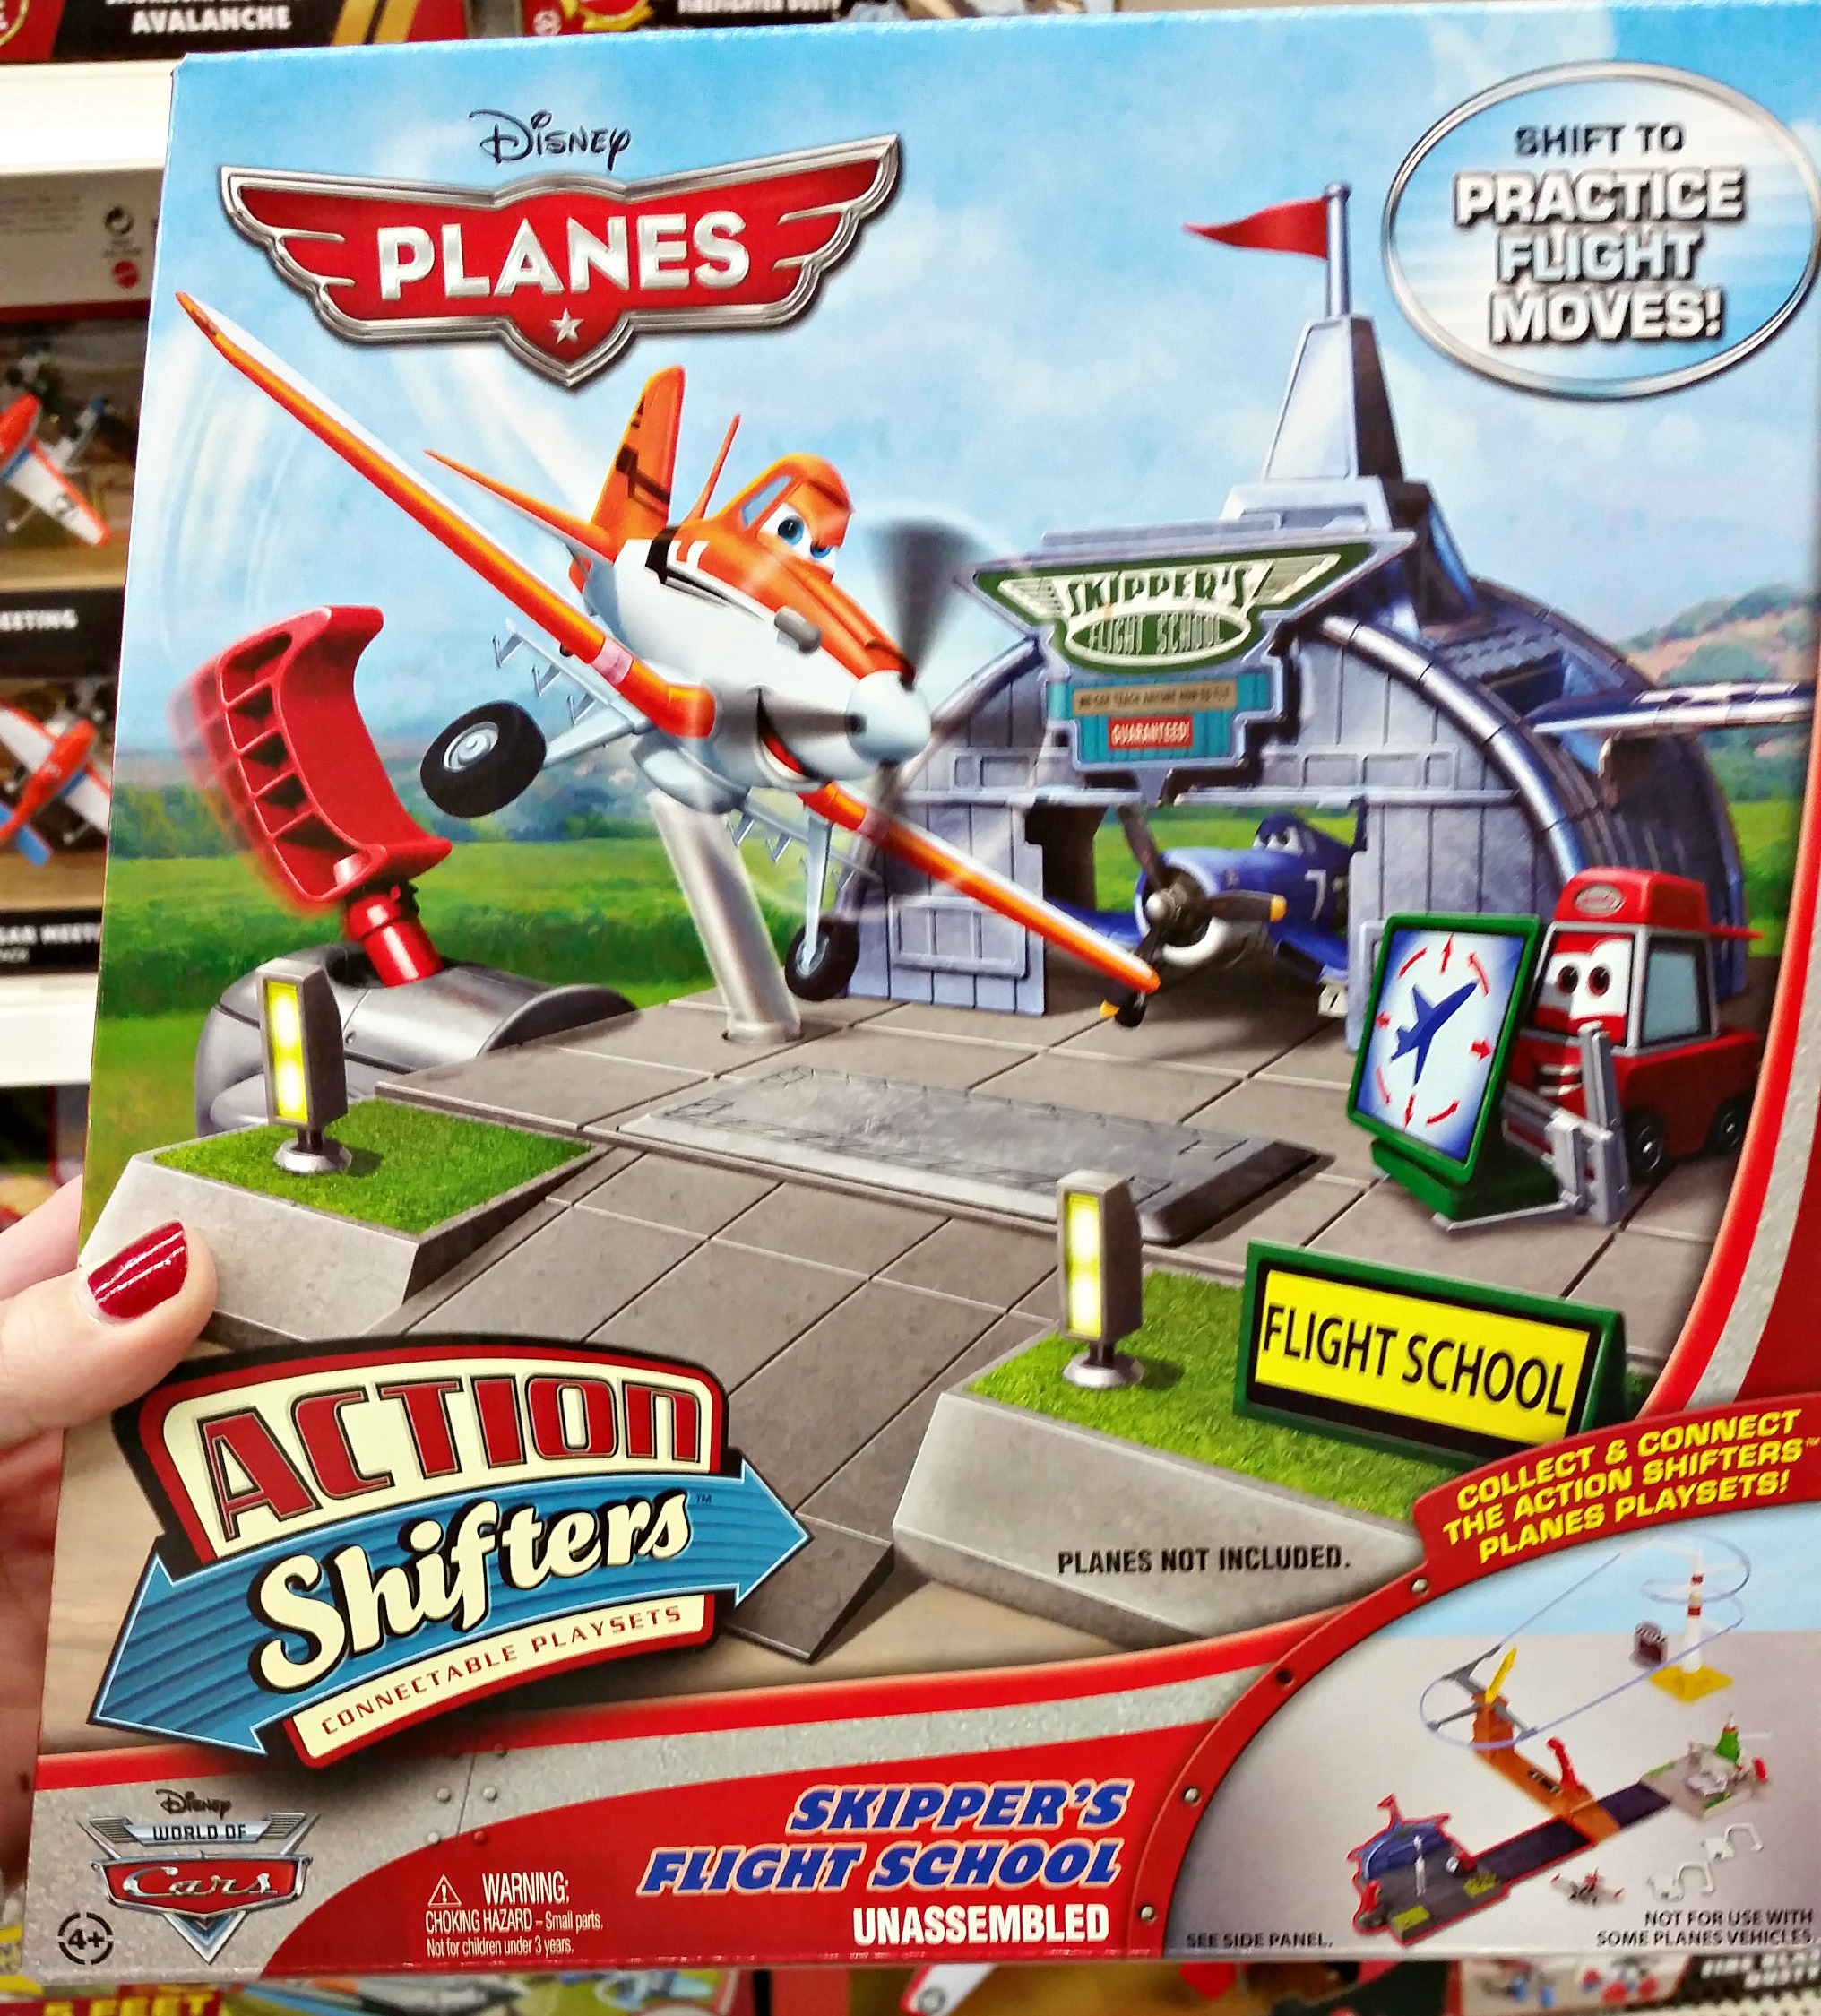
Since Little Crafter is such a fan of the movies, I knew I couldn’t go wrong getting him any of these toys. He already has most of the figurines, but doesn’t own any of the play sets, which would be awesome for when he and his buddies act out scenes from the movie and their imaginations. This Skipper’s Flight School play set looks like so much fun, plus it connects to some of the other sets, so if he gets more later, he can play with them all together.
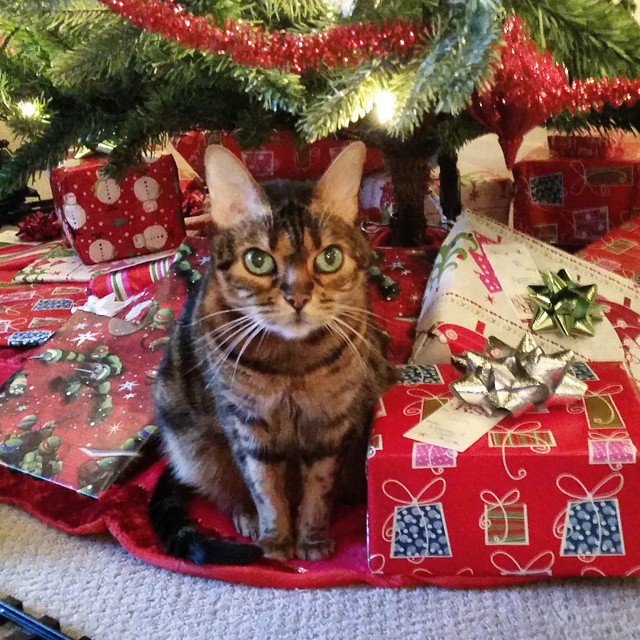
It’s great timing for Planes items to be on Rollback since I’m finishing up my Christmas shopping this week and trying to get some things under the tree, ready to go for Christmas morning. {Fuzzy apparently thinks so too…let’s all have an ‘aww, that’s the cutest cat ever’ moment}.
What about you, friends? Do you have little ones in your life who love Disney Planes like LC does? Check out these great Rollback deals, and try your hand at making some clay airplane ornaments of your own. I’d love to see photos if you give it a go!


Aww! These are so cute!
We collect ornaments too, and these are SO cute! I love polymer clay, but you did such a good job working with it and making it look like actual characters! #client
These are so cute!
These are ridiculously adorable!! Love, love, love them!
Oh my goodness, those turned out so cute!
Adorable! What a fun kids craft for the holidays with favorite Planes! #client
My son Liam would flip for these! So cute – thanks for the inspiration.
These look awesome! Thanks for sharing.
How cute are these? I can hardly stand it!