
Cupcake Charm Bracelet

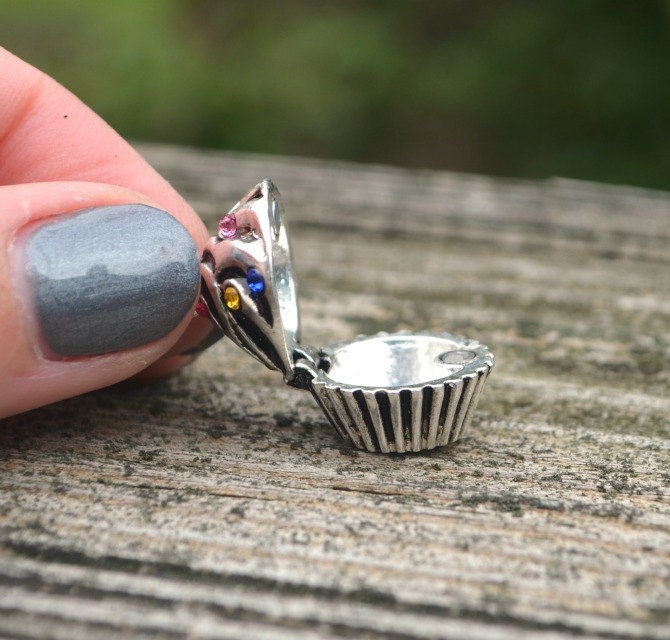
It all started with a cupcake. Several dozen cupcakes, in fact. My friend Danielle got recruited to make gluten-free cupcakes for a family wedding in lieu of a cake, so she turned to our resident “sweet stuff” expert Vanessa for advice. Vanessa happily stepped in and was incredibly helpful, or so I’m told {the only part I played in all of this was to repeatedly volunteer my services as a taste tester}, and as a result, Danielle asked me to make a special thank you gift. She found this adorable cupcake charm…it even opens and closes!!!…online and had it shipped directly to me so I could get to work. Keep on reading to see how I used it and made Vanessa a one of a kind cupcake charm bracelet.
Materials:
– Plaid Cupcake Charm
– Bracelet Memory Wire
– 3mm Silver Memory Wire End Caps
– Small bead
– Jump Rings
– Needle nose pliers
– Memory Wire Cutters
– Super Glue or Jewelry Glue
Optional:
– 1/2″ Circle Stamping Blank
– ImpressArt 3mm lowercase Juniper Alphabet Stamp Set
– Metal Stamping Hammer
– Texture Hammer
– Steel Stamping Block
– Black permanent marker
– Jewelry Polishing Cloth
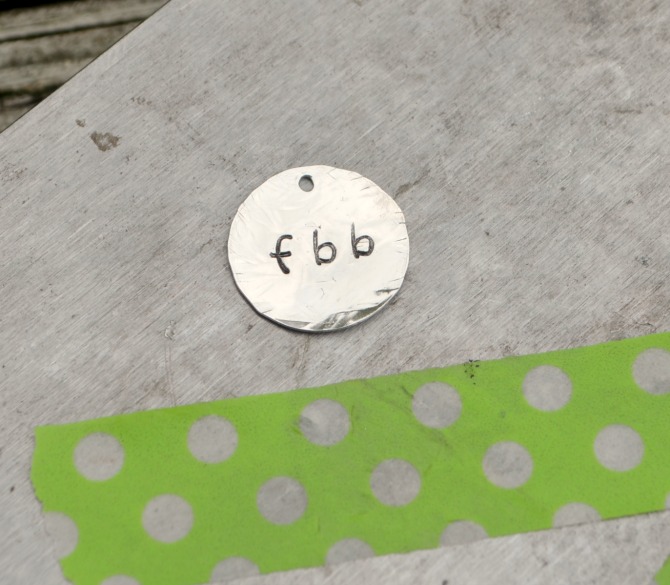
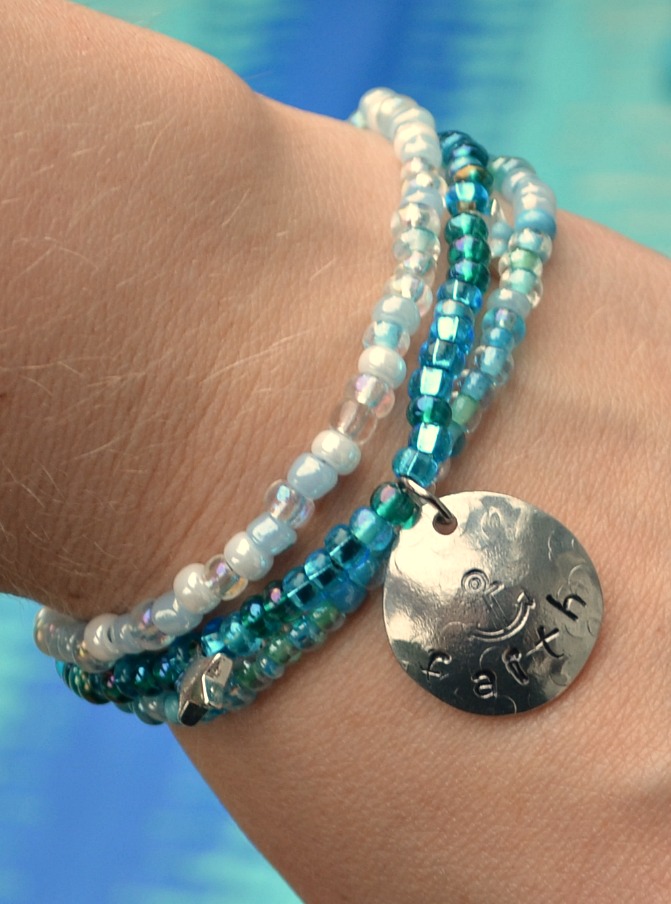
Step 1: Stamp your charm.
I started by using my Juniper font and stamping the letters “fbb,” which apparently stands for the name of a bakery Danielle and Vanessa joked about opening together. Then, I went over the entire circle with my texture hammer. To finish it off, I colored over the letters using a black permanent marker and wiped off the excess with my polishing cloth.
If you’ve never done metal stamping before, you can check out my simple Beginner Stamping Tutorial post for step-by-step instructions and photos for this part. Another option is to omit this step or buy a pre-stamped charm.
Step 2: Attach jump rings to your cupcake charm and your stamped charm.
Remember, when opening and closing your jump rings, twist the sides rather than pulling them apart.
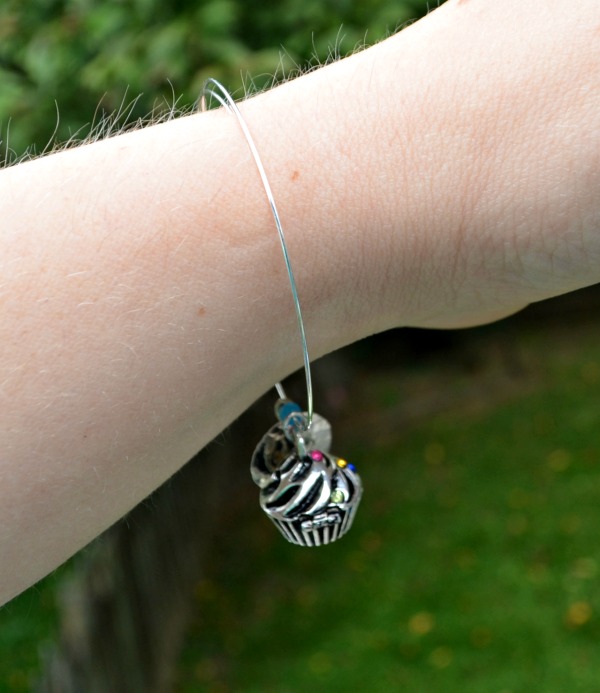
Step 3: Cut a piece of memory wire 2-3″ longer than what you need to comfortably go around the wrist. Thread your charms and bead onto the wire.
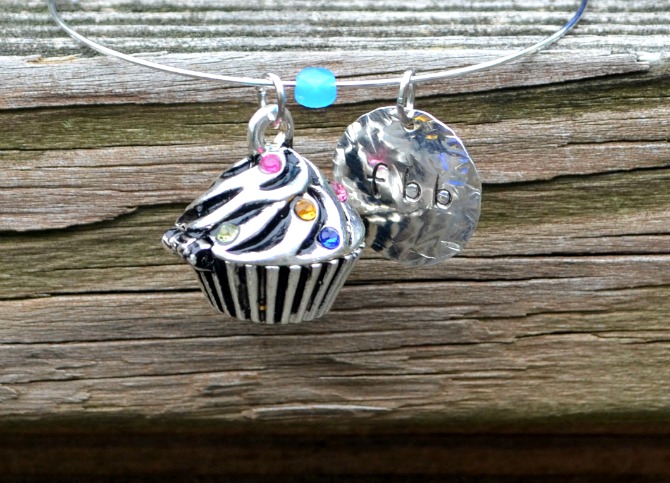
I chose to use a tiny 4mm teal bead just to add a little bit of color and to separate the two dangling charms a little bit. You can add more beads too if you like, or even bead the entire thing.

Step 4: Use super glue or jewelry glue to attach a 3mm end cap to each end of the memory wire.
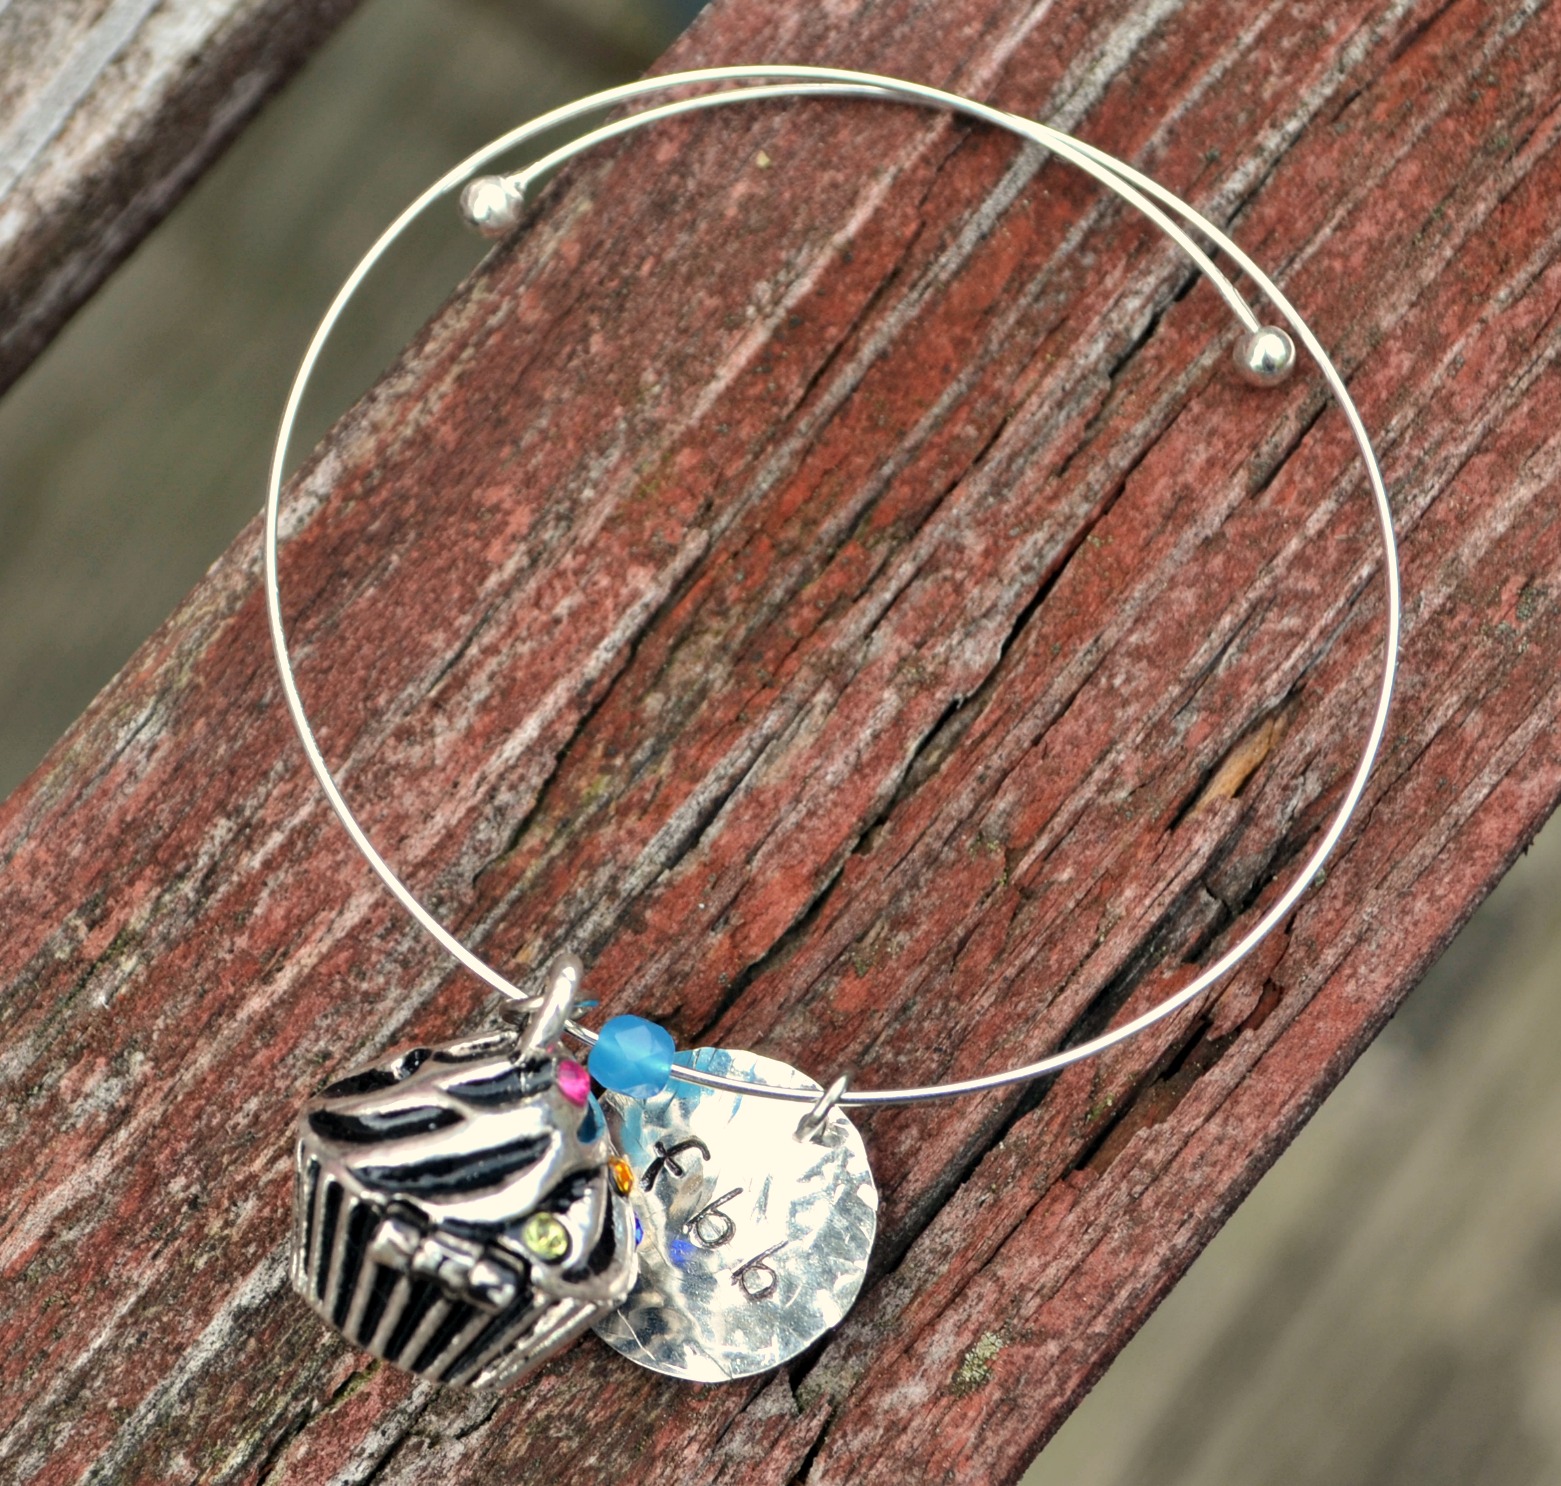
As soon as the glue is dry, the bracelet is ready to wear! Here’s hoping Vanessa loves it!
What type of charm would you put on your bracelet?


So cute! Love that cupcake charm! What fun!! I am also loving that new Juniper font! Thanks for sharing, Amy!
Love the cupcake charm!!
Love it! I especially love the way you finished off the memory wire. 😉