Stamping Starter Kit: Thank You Tags
Hey, friends! As you {hopefully} already know, Silhouette is running a promo on their machines and the Stamping Starter Kit through 9/13! So, as promised, here’s another project I made using my kit to help inspire you and get you started with this fun new product.
Materials:
– Stamping Starter Kit
– Silhouette Cutting Machine
– Silhouette Designer Edition Software
– Silhouette Chipboard
– washi tape
– twine
Step 1: Create your stamp image in Silhouette Studio. I typed “thanks” in my favorite font and sized it to about 2″.
Step 2: Cut your stamp material. For a full tutorial on how to do this, see my Mason Jar post. Leave the design exactly as is in your software so that you can position your tag cut later.
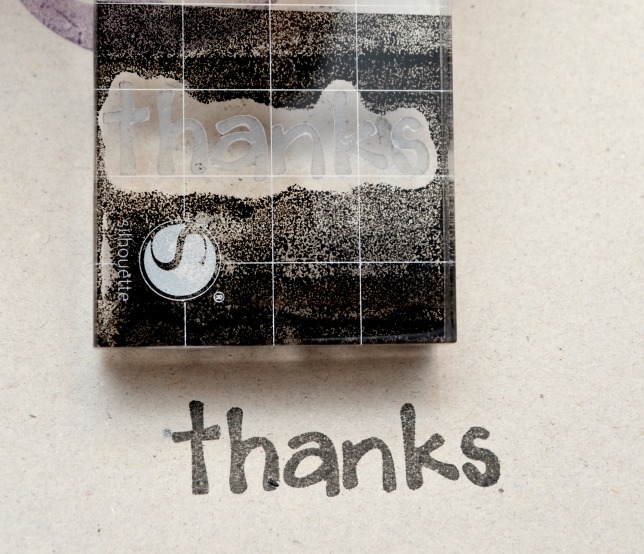
Step 3: Adhere your stamp material to one of the clear blocks. The lines on the block will help you properly align your word. This is even easier if you choose to use a script font and all your letters are connected. However, I didn’t have any trouble lining up my letters so they were straight and well spaced.
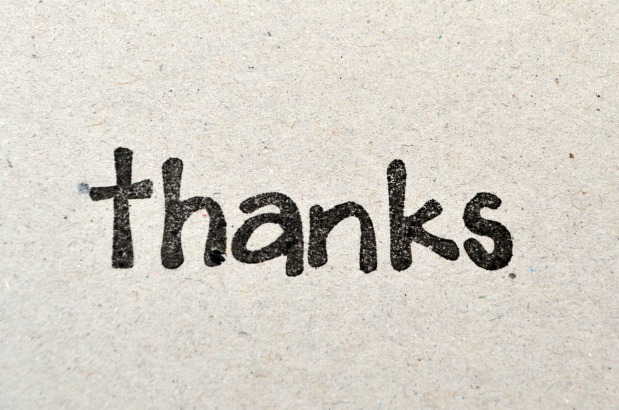
Step 4: Stamp your word onto chipboard or cardstock. At first, when the stamp block got so ink-y, I was afraid I wouldn’t get a clean image, but nope! Clean as a whistle!
Step 5: Cut your cardstock into the shape of a tag. So, this is one of those projects where I have to confess that I wasn’t sure what it was going to be when I started it. I was just playing with the stamp kit and stamping things, then decided what I wanted to actually do with them. So, for this one, I ended up using a regular old paper cutter {cover your ears, Cammie} and trimming it to a tag shape, then putting a hole in it with a hole punch. But if you actually knew ahead of time that you wanted to do this project as-is, I would recommend cutting your cardstock or chipboard into a tag shape with your machine first, and then stamping on it. Much easier.
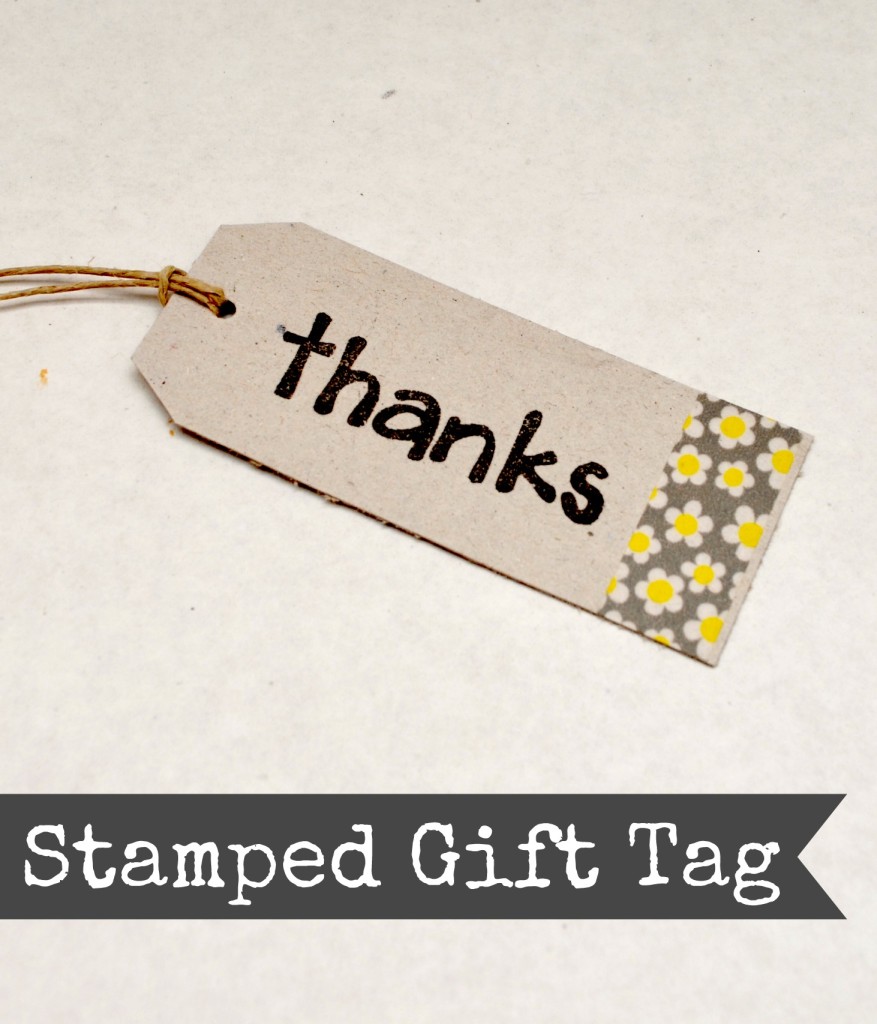
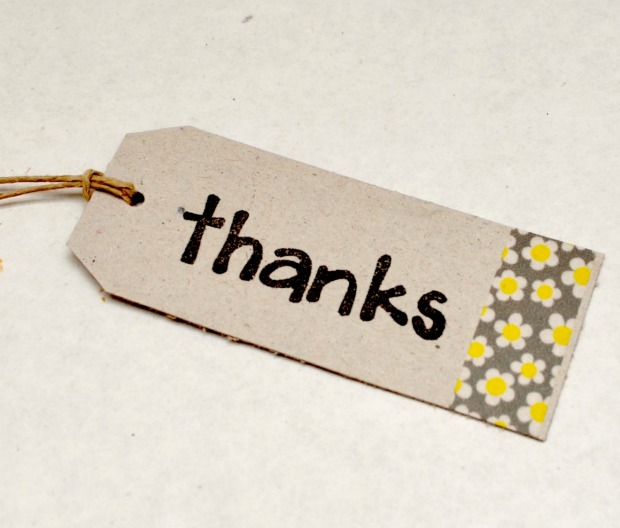
Step 6: Finish off with washi tape and twine. I love that with washi tape you can so easily bring in any colors/patterns you want to cheer up a neutral project and make it match whatever you want!
Cute, huh? And so simple and easy to personalize! Want to play too? The stamping starter kit, which has everything you need to get started with these custom stamps, is 20% off on its own, or part of two great bundles along with the cutting machines. The Portrait is $50 off, plus it’s like getting the stamping stuff free!
So what are you waiting for? Hop on over and get yourself some of these fun new toys today!
Hugs & Glitter,
Disclosure: As an affiliate for Silhouette, I make a small commission on sales made using the code ARTSY.
However, you know that I only promote companies I honestly love.




Oh, these are so cute. And I love that I can use all of my favorite fonts to make stamps. Definitely looking into this 🙂
Thanks, Allison! It’s so fun to be able to stamp whatever you want!