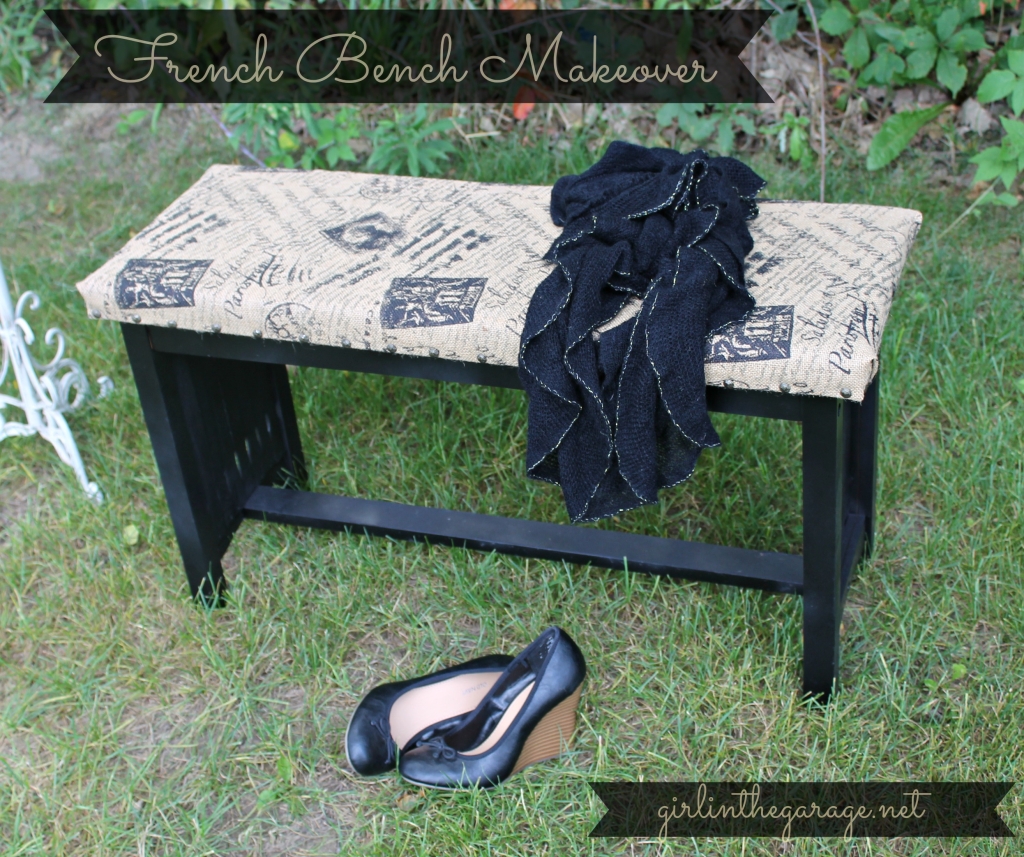
French Bench Makeover
Hi everyone! I’m Jen and I’m so thrilled to be here contributing at One Artsy Mama. I’ll be posting an upcycled furniture project here every month, and of course you can always find me at my blog Girl in the Garage.
Today I’m sharing a fabulous bench makeover with you. I bought this bench, covered in dust and spiderwebs, at a yard sale about a year ago. I knew I wanted to update the look but I just didn’t know how until a couple weeks ago.
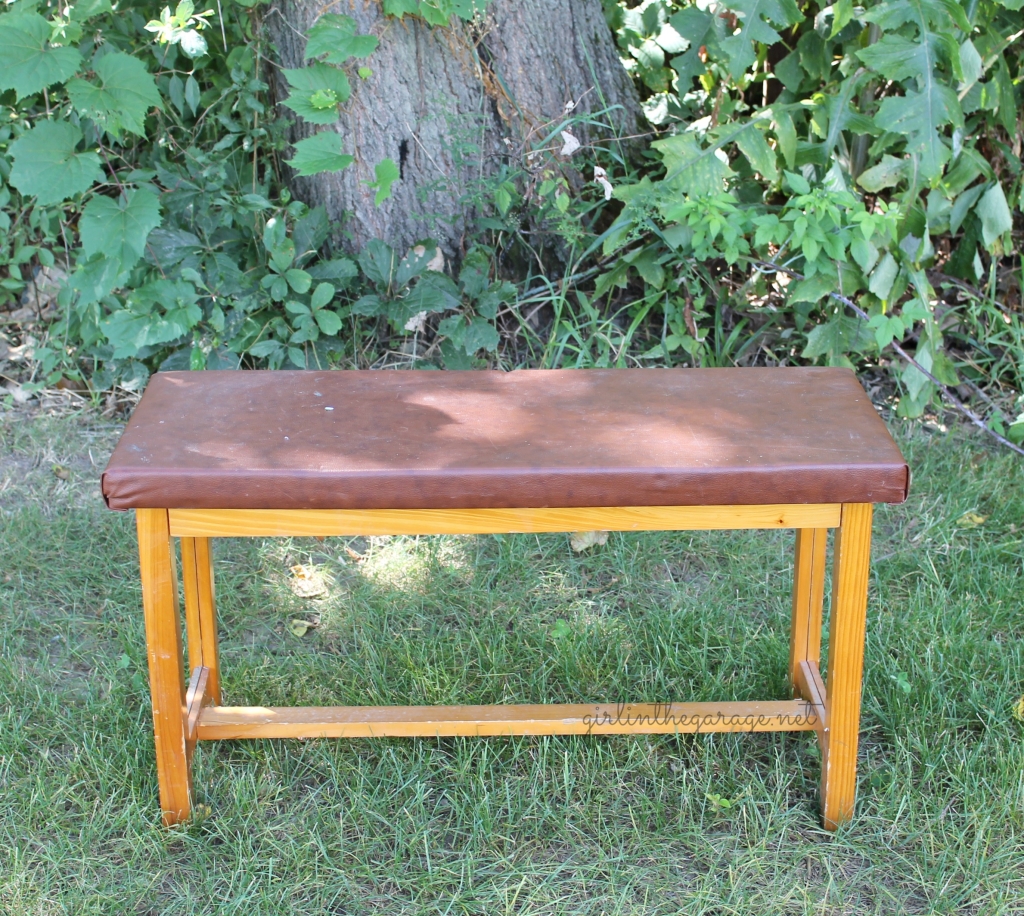
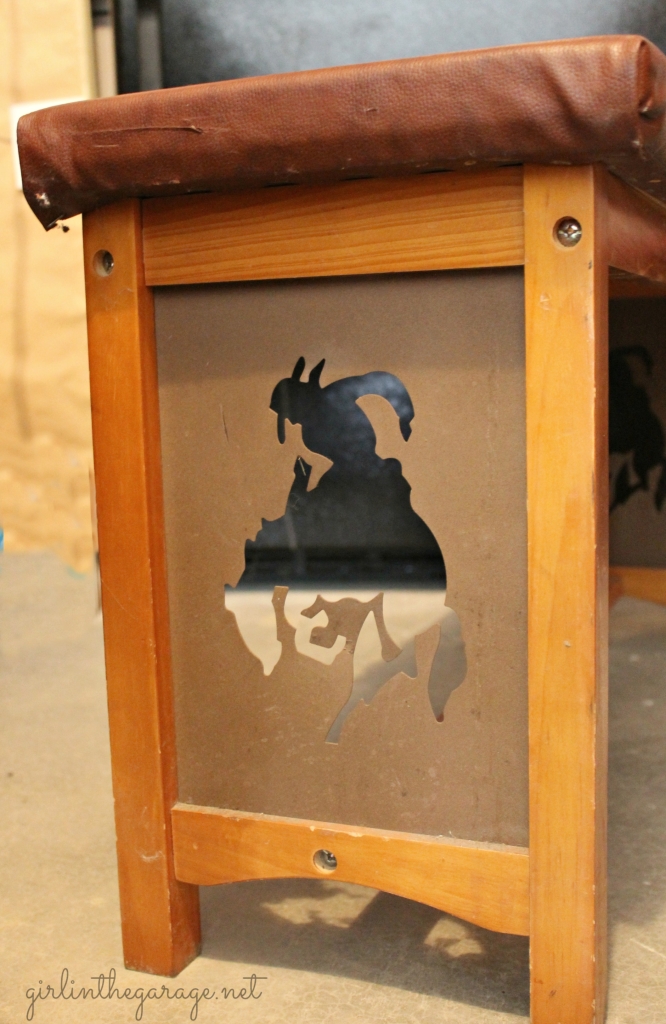
I got excited and started dismantling it before I got a good “before” picture; here are two views and you can tell it was not a pretty sight with the fake leather top, yellow-orange wood, and the metal cowboy cutout panels.
Yee-haw.
First I unscrewed the seat and set it aside to reupholster later. Then I removed the cowboy panels (I saved them though, because part of me thinks I can do something cool with them later).
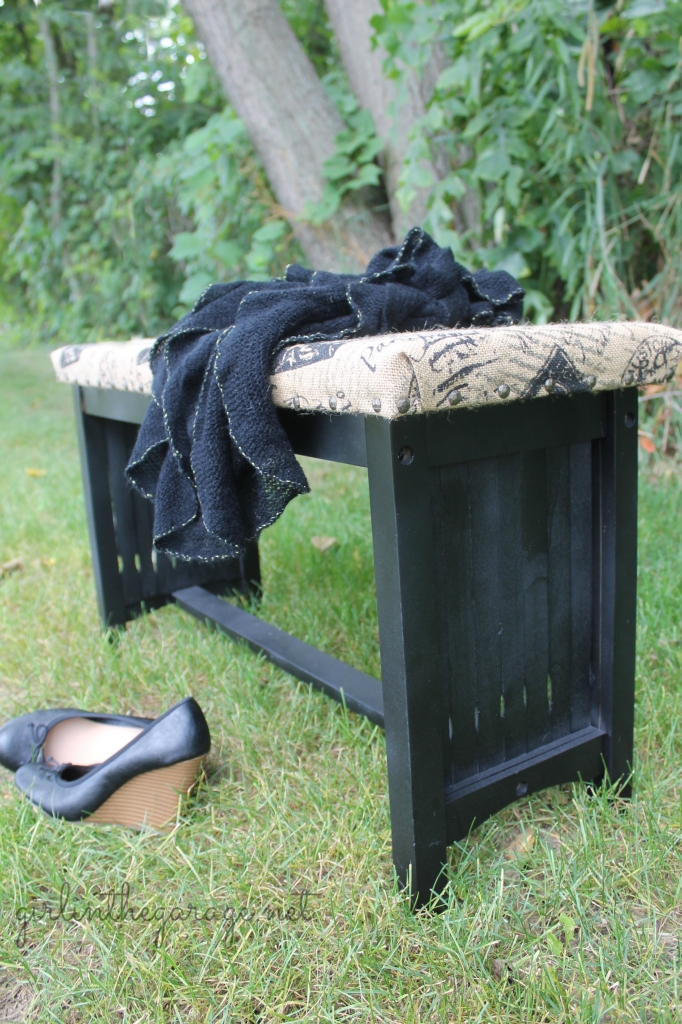
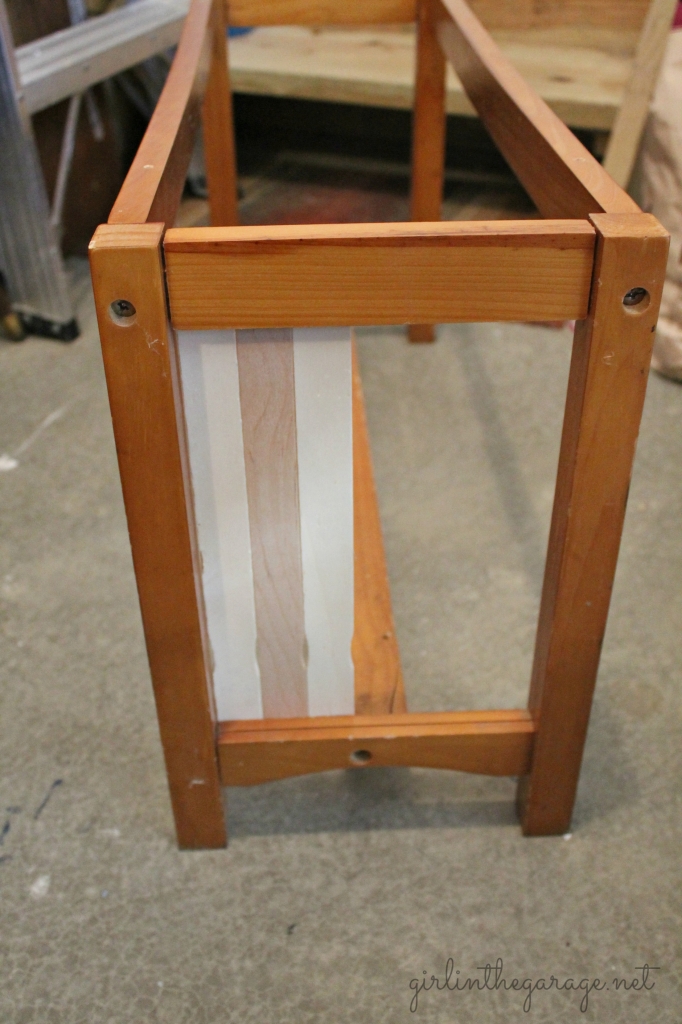
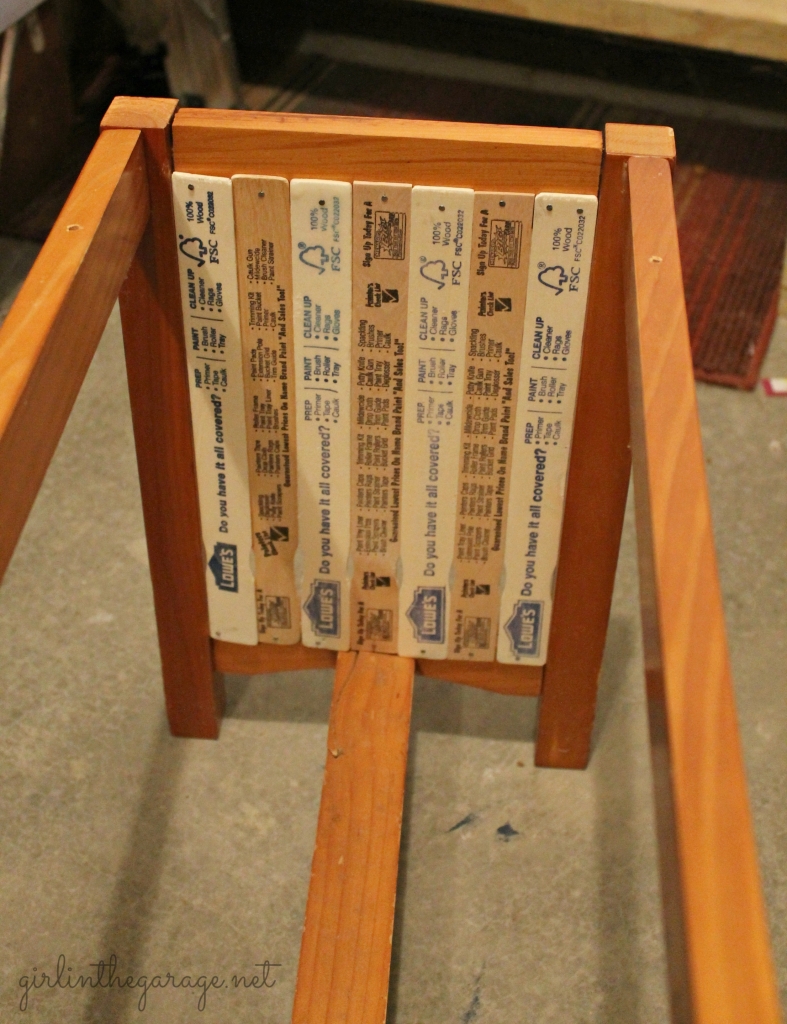
I didn’t want huge open spaces on the sides (for visual interest and for sturdiness) so I had to figure out what to put in there instead… then I remembered the huge collection of unused paint stirrers I had amassed from every single can of paint I had ever bought – perfect!
I had just enough to fill both spaces; 7 stirrers each. I tapped one little nail into each end and kept the little grooves at the bottom. Here’s a peek from the other side:
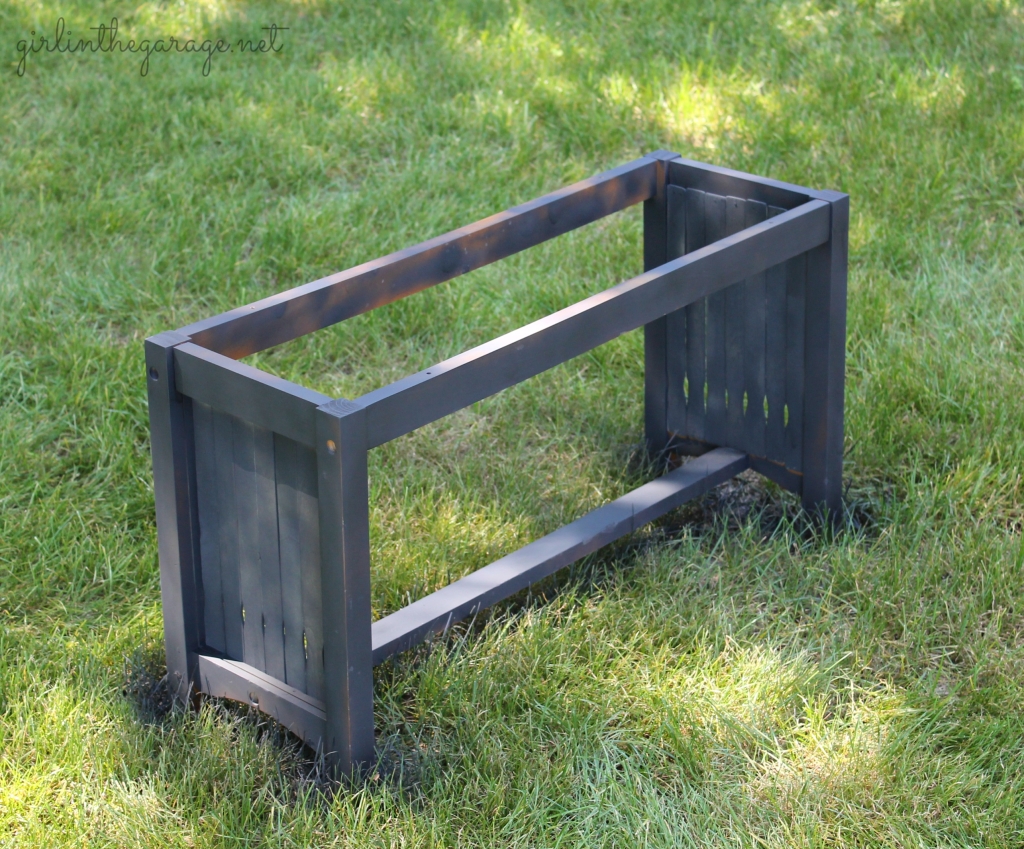
When both ends were finished, I took it outside for some spray painting. Here’s where things didn’t go exactly as planned…
When I bought my seat fabric at the craft store, I wanted to save time so I bought some generic black spray paint there instead of driving to the hardware store. Big mistake. The spray was uneven, the black was more like gray, and I used the entire can and didn’t even spray the whole bench. It actually looked like something that had been in a house fire.
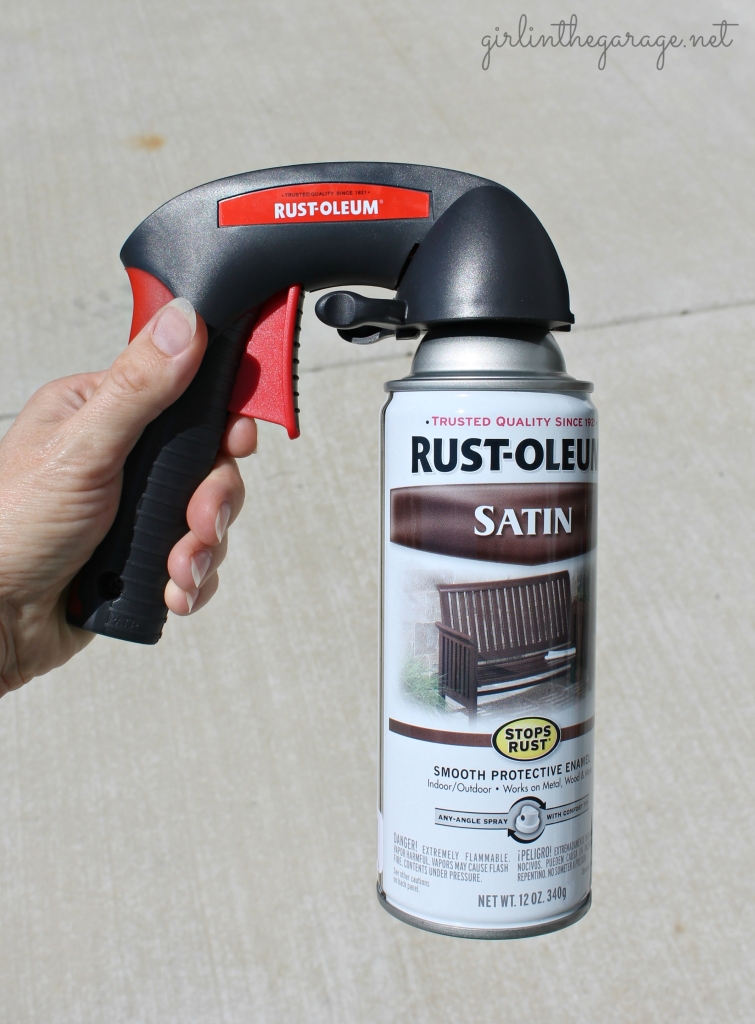
So I learned my lesson and ran over to Lowe’s to buy the good stuff. I also got to test out my new comfort grip that I got at Haven recently.
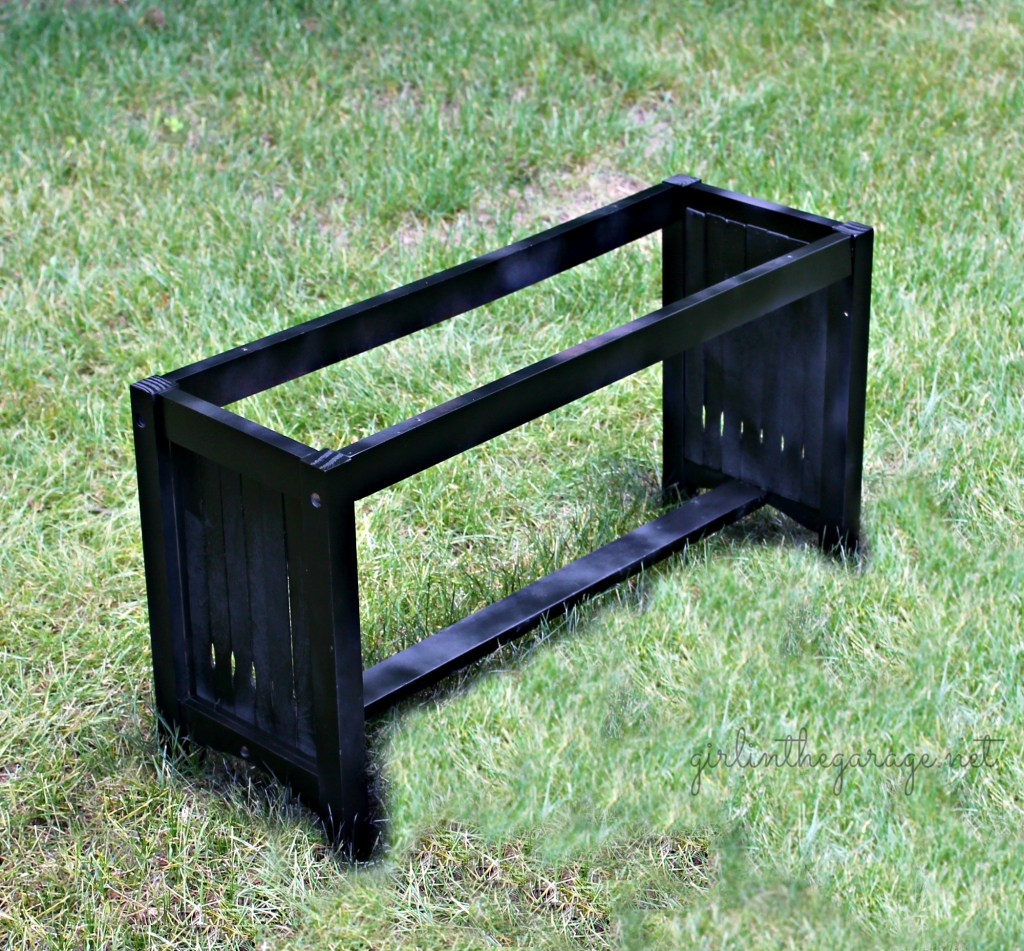
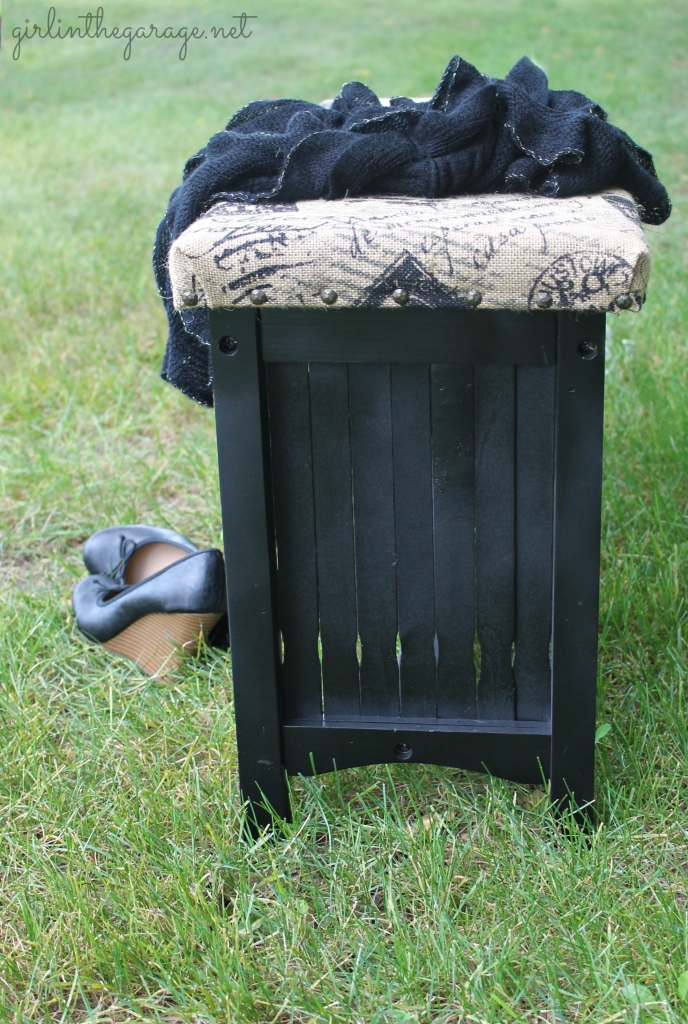
This time went much better and I got a very smooth, black finish. (So did some of my grass!) Then I protected it with Rustoleum Crystal Clear Enamel spray.
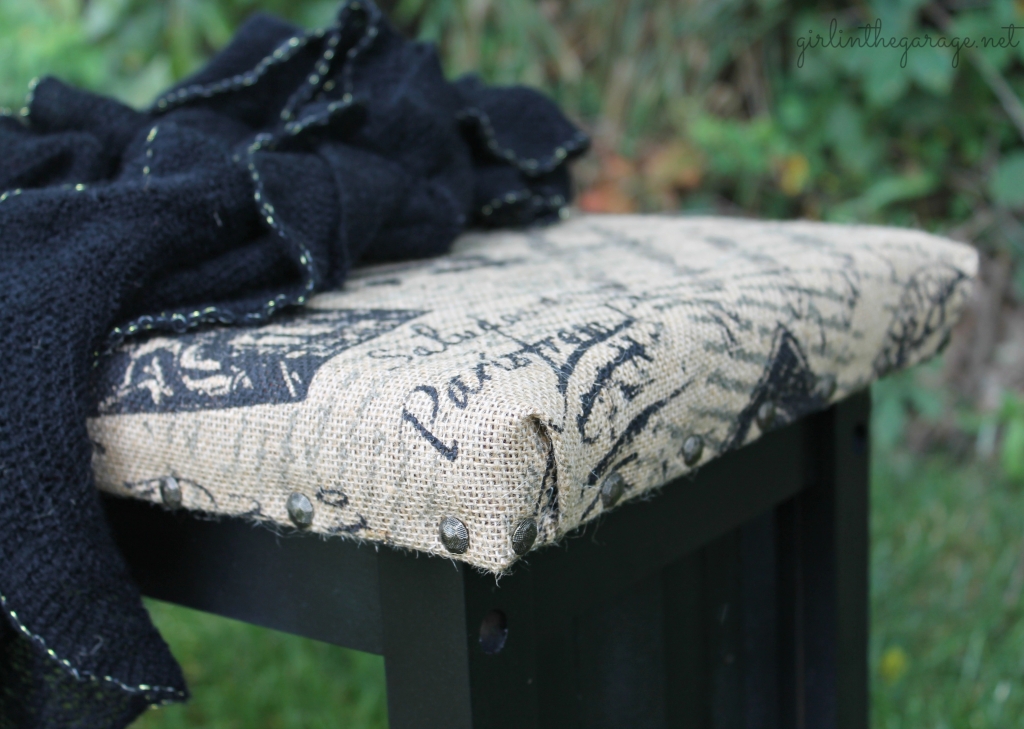
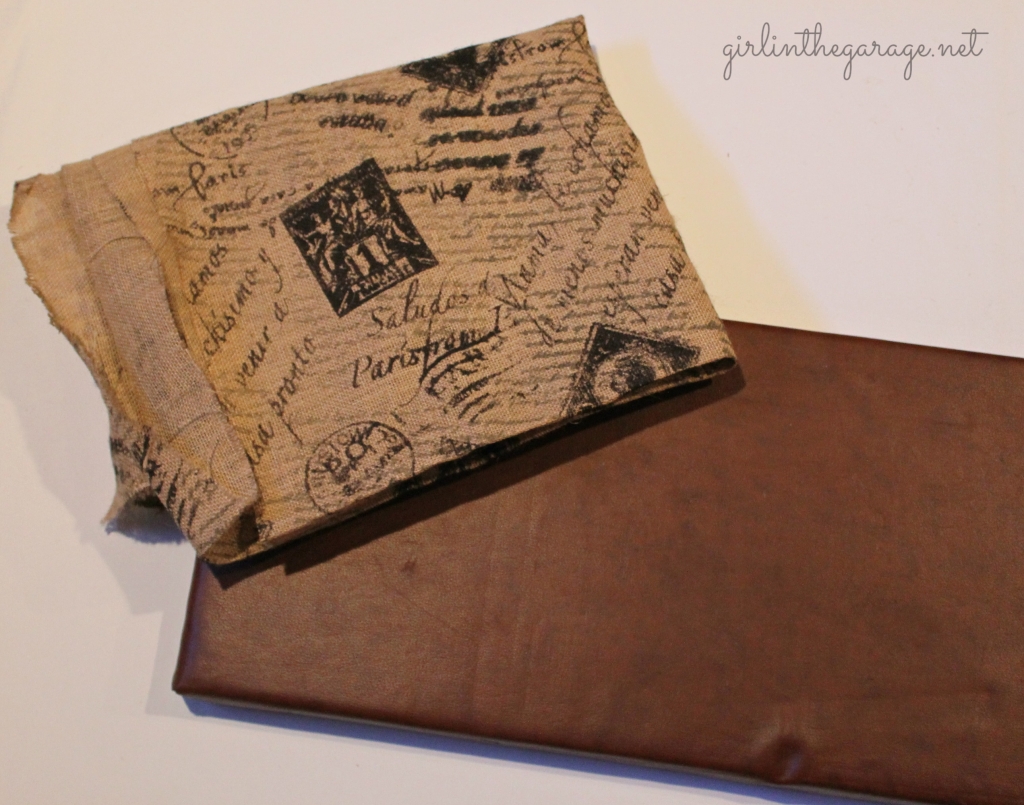
Next up was the seat. I bought some French burlap from Joann’s with a postal theme. I love anything French (and burlap) so it was a win-win for me!
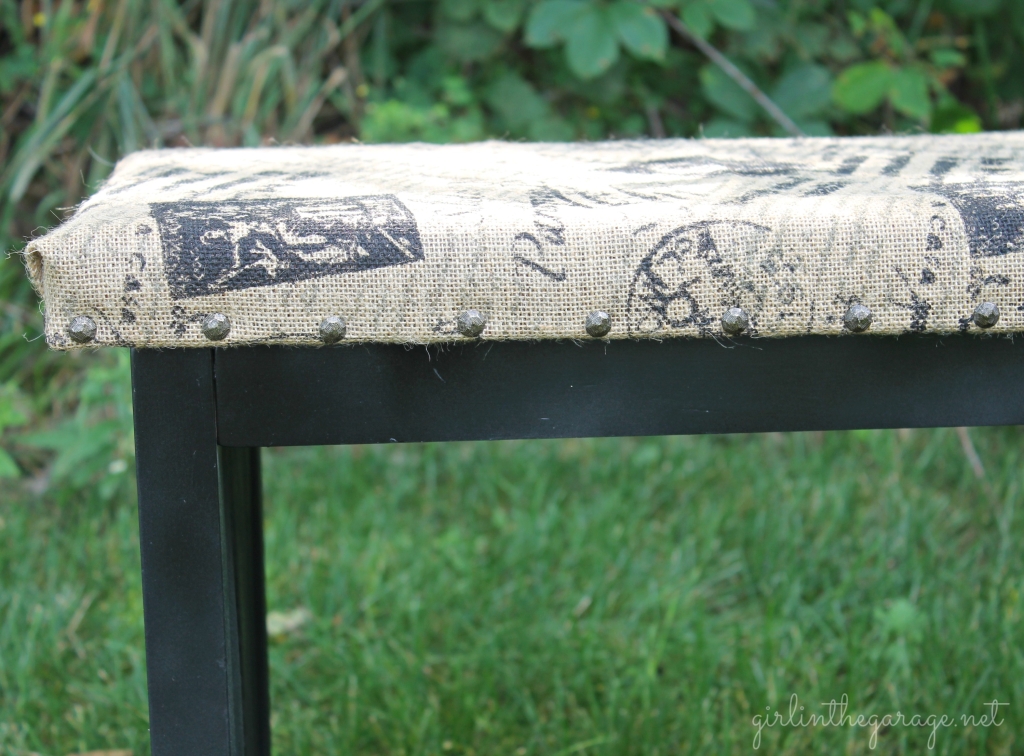
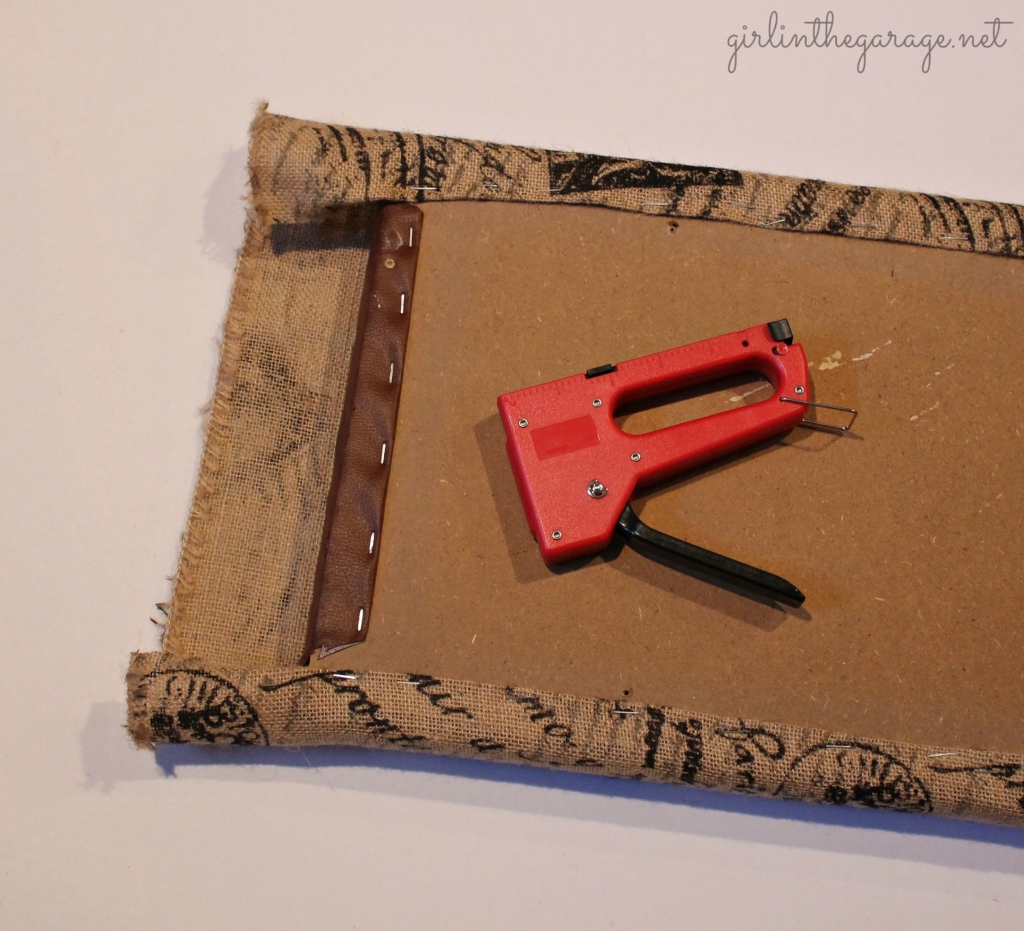
I used my little staple gun from Hobby Lobby to reupholster the seat, making sure to fold the edges to prevent unraveling.
Then I screwed the seat back onto the bench and I could’ve really been finished at that point… but it needed just a little bit more. One decorating item that I love (and use whenever I have the chance) is upholstery tacks. So I hammered a bunch around the bottom of the seat and I think it looks faaaaabulous now.
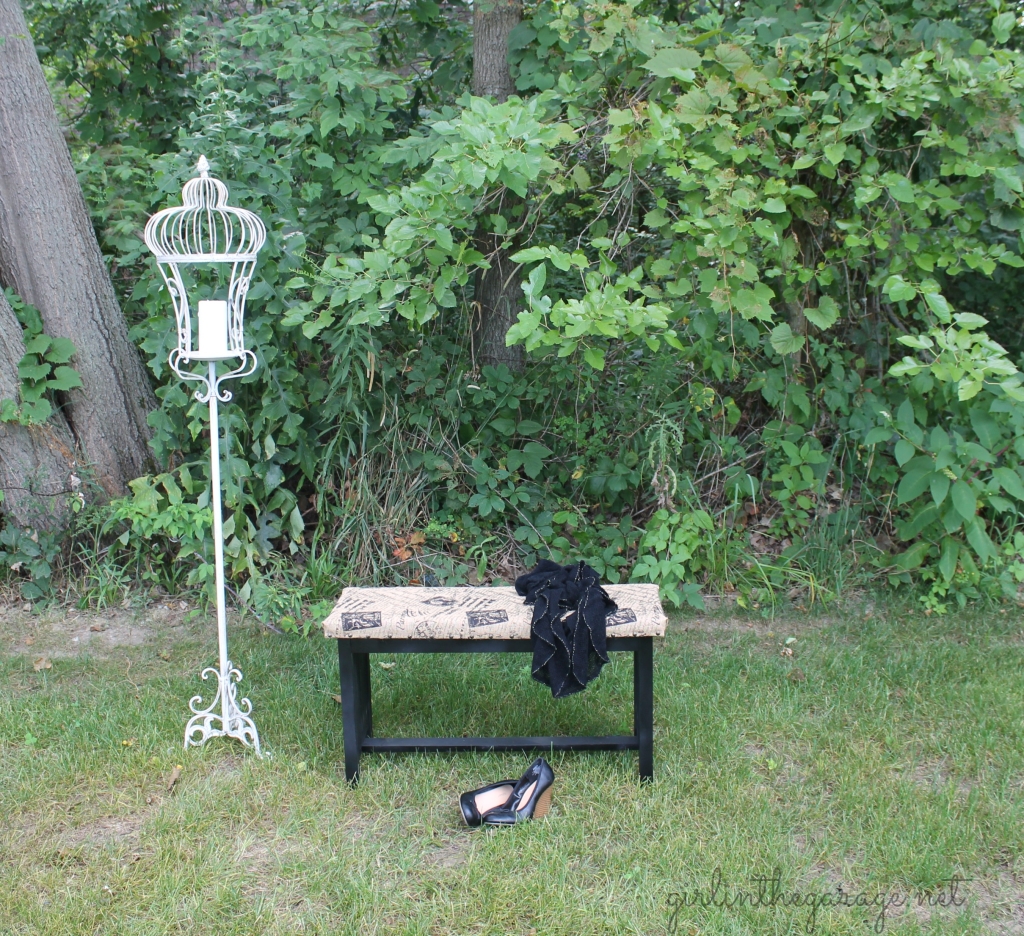
What do you think – do you miss the cowboys? 😉
Until next month,
Jen





This turned out so darling! Love the paint stick idea! So glad you lost the cowboys 😉
Thanks so much, Shanna! The cowboys will be missed, but they just might find a new home on another ranch. 😉
Wow that came out beautiful! Love the use of the paint sticks that was genius!
Thank you Dria! I’m a big fan of using what you already have.
Fantastic job. I love the way the end of the paint stirrers made a pattern. The cowboys would be great in a boys room.
So cute, Jen! I love how you used the paint sticks on the side – genius!