
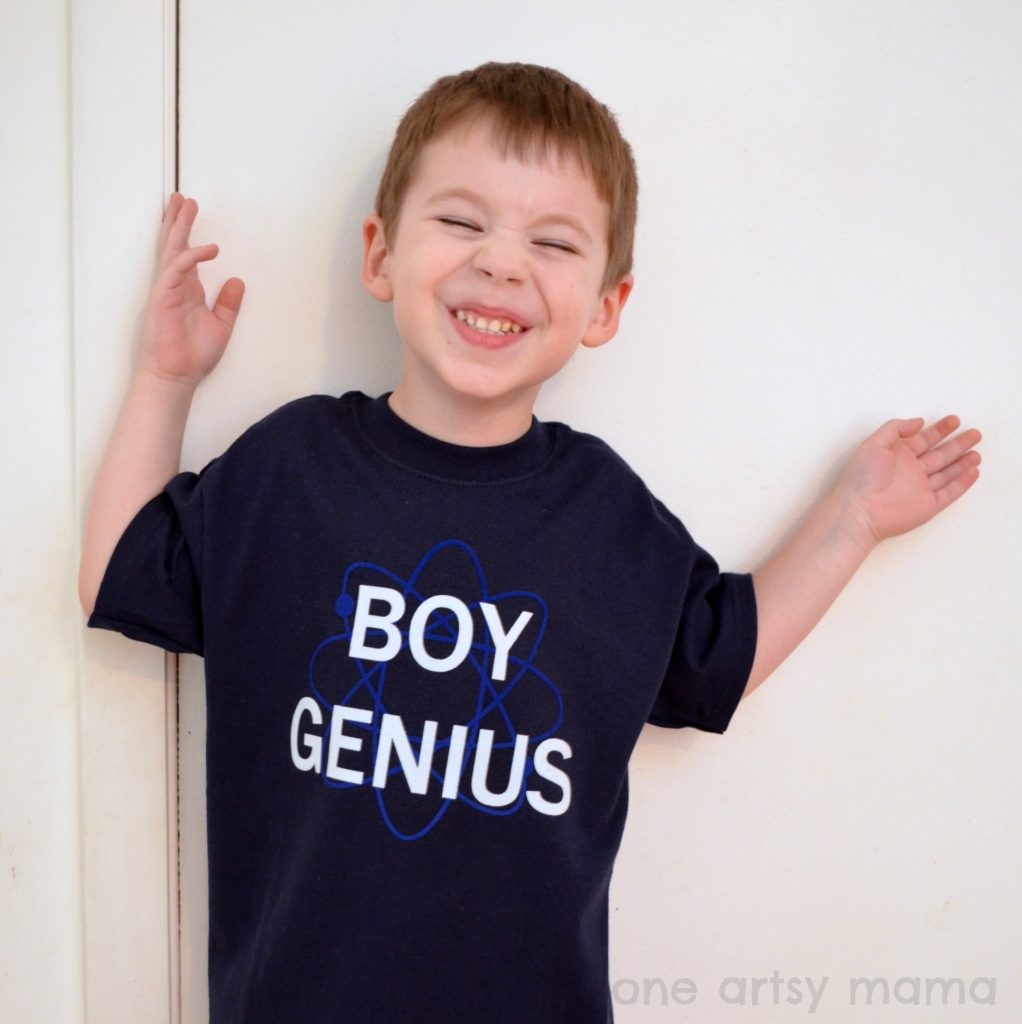
“Boy Genius” Flocked Vinyl T-Shirt
You all know this cutie-pie as “Little Crafter,” but that’s not the only nickname he has! Two years ago, when he was visiting my in-laws for the day, my then two-year-old son put together a puzzle all by himself. My father-in-law was so impressed that he declared, “You’re a BOY GENIUS!” The name stuck. So much so that later that summer, when we were registering for the Summer Reading Program at the library and the librarian asked him his last name, he replied, “Boy Genius.” He absolutely loves the nickname {who wouldn’t?}, and he recently asked me if I would make him a t-shirt so “everyone would know his name.” Well, you know I’m not one to resist a good opportunity to use “Cammie” {my beloved Silhouette Cameo}, so here’s what I came up with!
BOY GENIUS FLOCKED VINYL T-SHIRT
Materials:
– plain t-shirt
– heat transfer vinyl {we used flocked white and blue}
– Silhouette cutting machine
– Silhouette Studio Designer Edition software
– iron
– piece of cloth {I used a pillowcase}
Step 1: Create your design.
I decided that I wanted to get a little fancy this time and do a two-layered design. I wanted to put something fun in the background and then put the words “BOY GENIUS” on top. Recently, I saw that PicMonkey added some spirograph overlays, one of which looked to me like the pictures you see of atoms. I opened a blank document, added the spirograph, and then added two circles to it to represent the electrons. I saved the design and then opened it in my Silhouette Studio Designer Edition software. {This is one of the things that makes Silhouette a step ahead of its competition; you can open your own files and designs and cut them instead of being limited to their designs}.

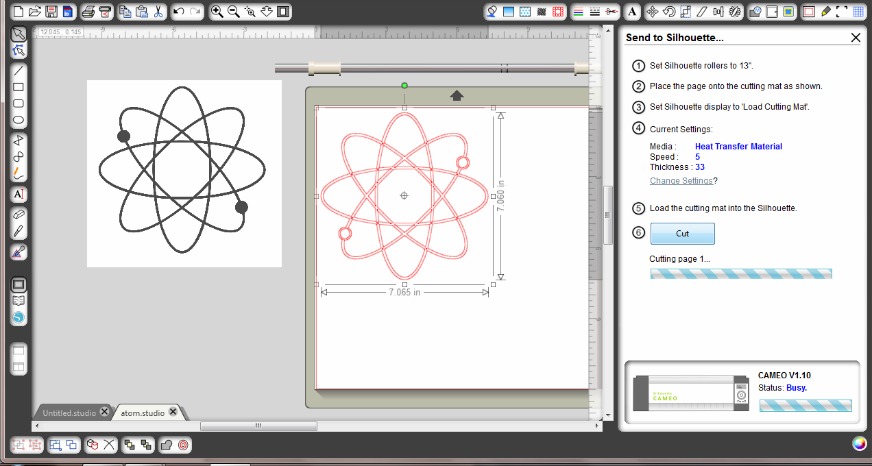
Step 2: Trace and cut your design.
Once I opened my design in the software, I sized it to fit LC’s t-shirt and then selected the Trace feature. I removed the original design, leaving just the trace, and I made sure to flip it horizontally before sending it to the Silhouette. I loaded my flocked blue vinyl into the machine, made sure the settings were correct for Heat Transfer Material, then clicked “Cut.”
Step 3: Peel the extra vinyl from the clear backing.
This will leave you with just your design. Once I got to this step, I repeated Steps 1-3 for the words BOY GENIUS. This time, I just typed the words right in my software, sized them, flipped them to mirror image, and cut them from white flocked heat transfer vinyl.

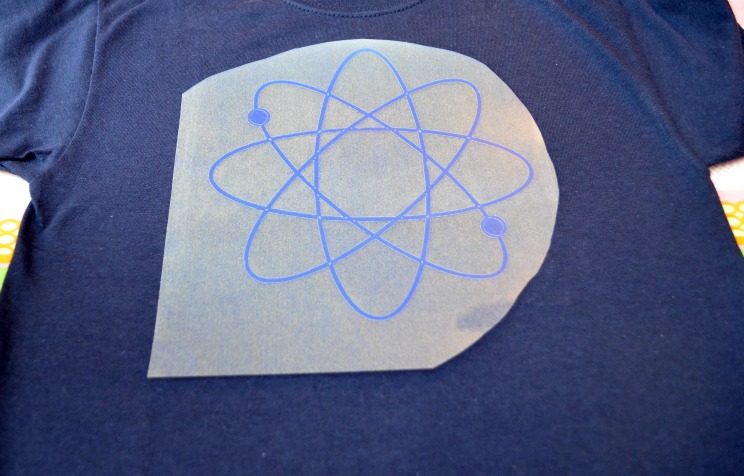
Step 4: Iron on your first design according to package directions.
Place the design on the shirt, making sure to center it. Cover with a pillowcase or other cloth, then iron on cotton setting until design is firmly adhered. Peel off the backing.
Then, repeat step 4 with the second design, layering it on top and you’ll get something that looks like this!
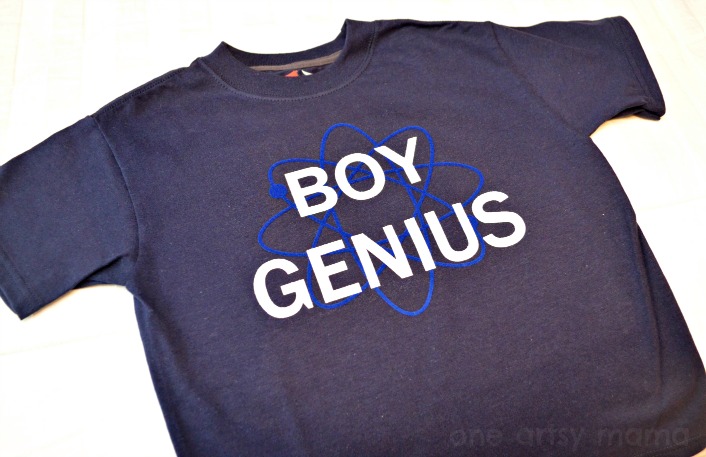
I. love. it. And I’m pretty sure someone else does too…what do you think?

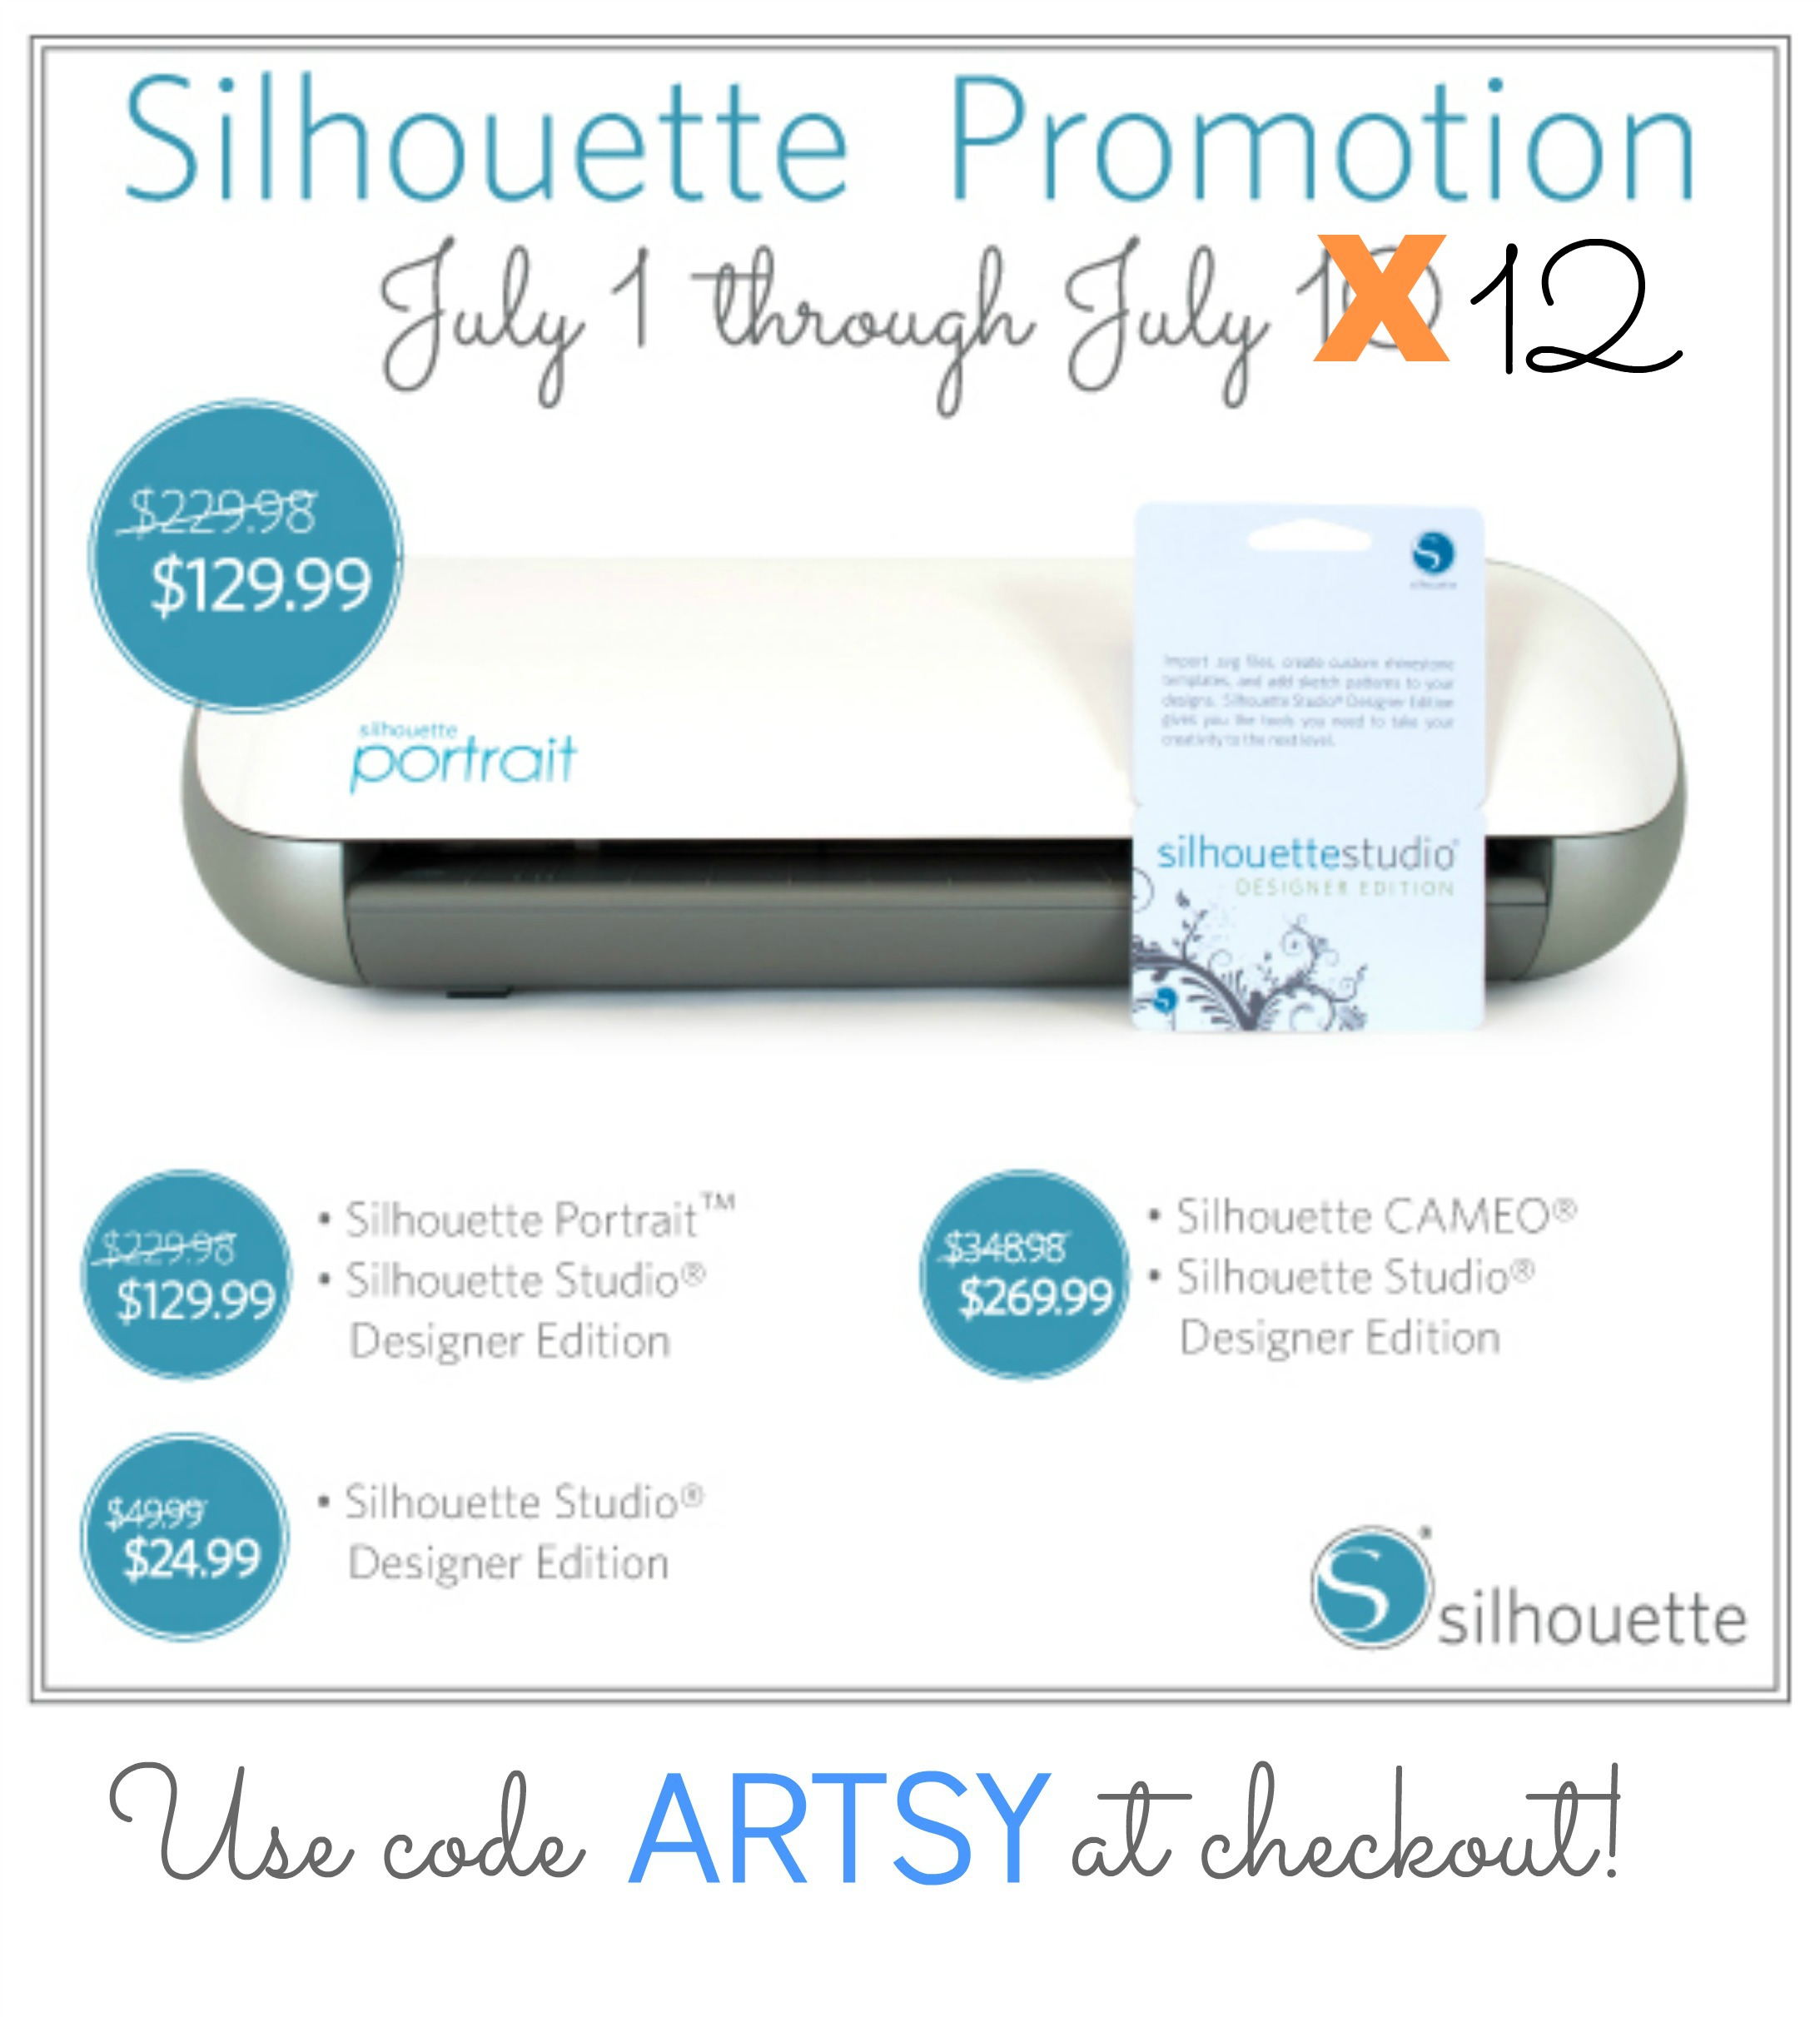
Want to make your own? Don’t forget, if you don’t have a Silhouette {you’re totally missing out on all kinds of crafting possibilities!!!}, they’re on sale right now! The promo has been extended through Friday; get a great discount on either the Portrait or Cameo bundle with the Designer Edition Software included. Or, if you already have your own “Cammie” or “Portia,” you can upgrade your software for 50% off! Just follow the link and use ARTSY at checkout!
Hugs & Glitter,


Love the shirt! It is adorable and LC looks very happy!
So cute! He is a boy genius, and he got his smarts from his momma 😉
Um, obviously…lol.
Love this shirt! It has that whole TBBT vibe to it, and you know how much we love that!
hehe…It reminded me of TBBT too…I think that’s why I love it.
Cute shirt!
What a genius cutie pie (oh, and the shirt, too 🙂
Such a cute shirt!! I love the Spirograph you put on the back!
Wow, what a great match … picmonkey + silhouette = AMAZING!