
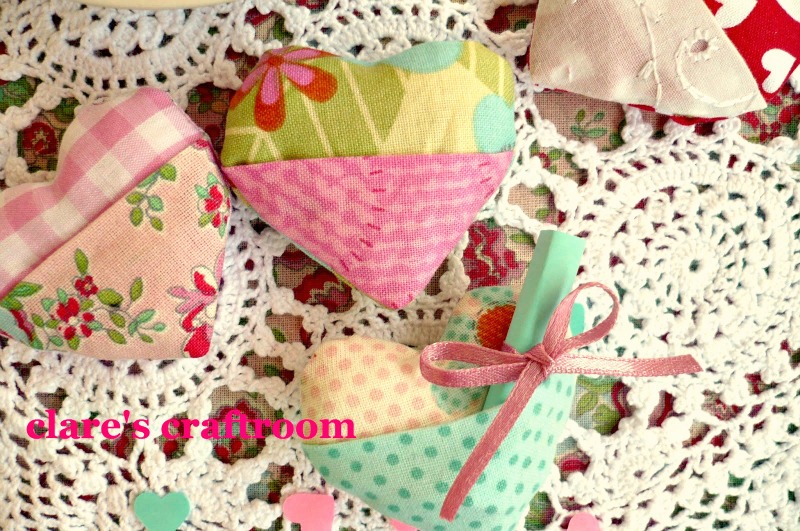
Love Note Pocket Hearts
Hi, friends! Today, I want to introduce you to a guest blogger who’s joining us all the way from Australia. Her name is Clare and she blogs at Clare’s Craftroom. She shared this adorable project with me and I thought you might like to see and make it too…enjoy!
LOVE NOTE POCKET HEARTS

Hello and good morning to you all! I am so happy to be here guest posting at One Artsy Mama .
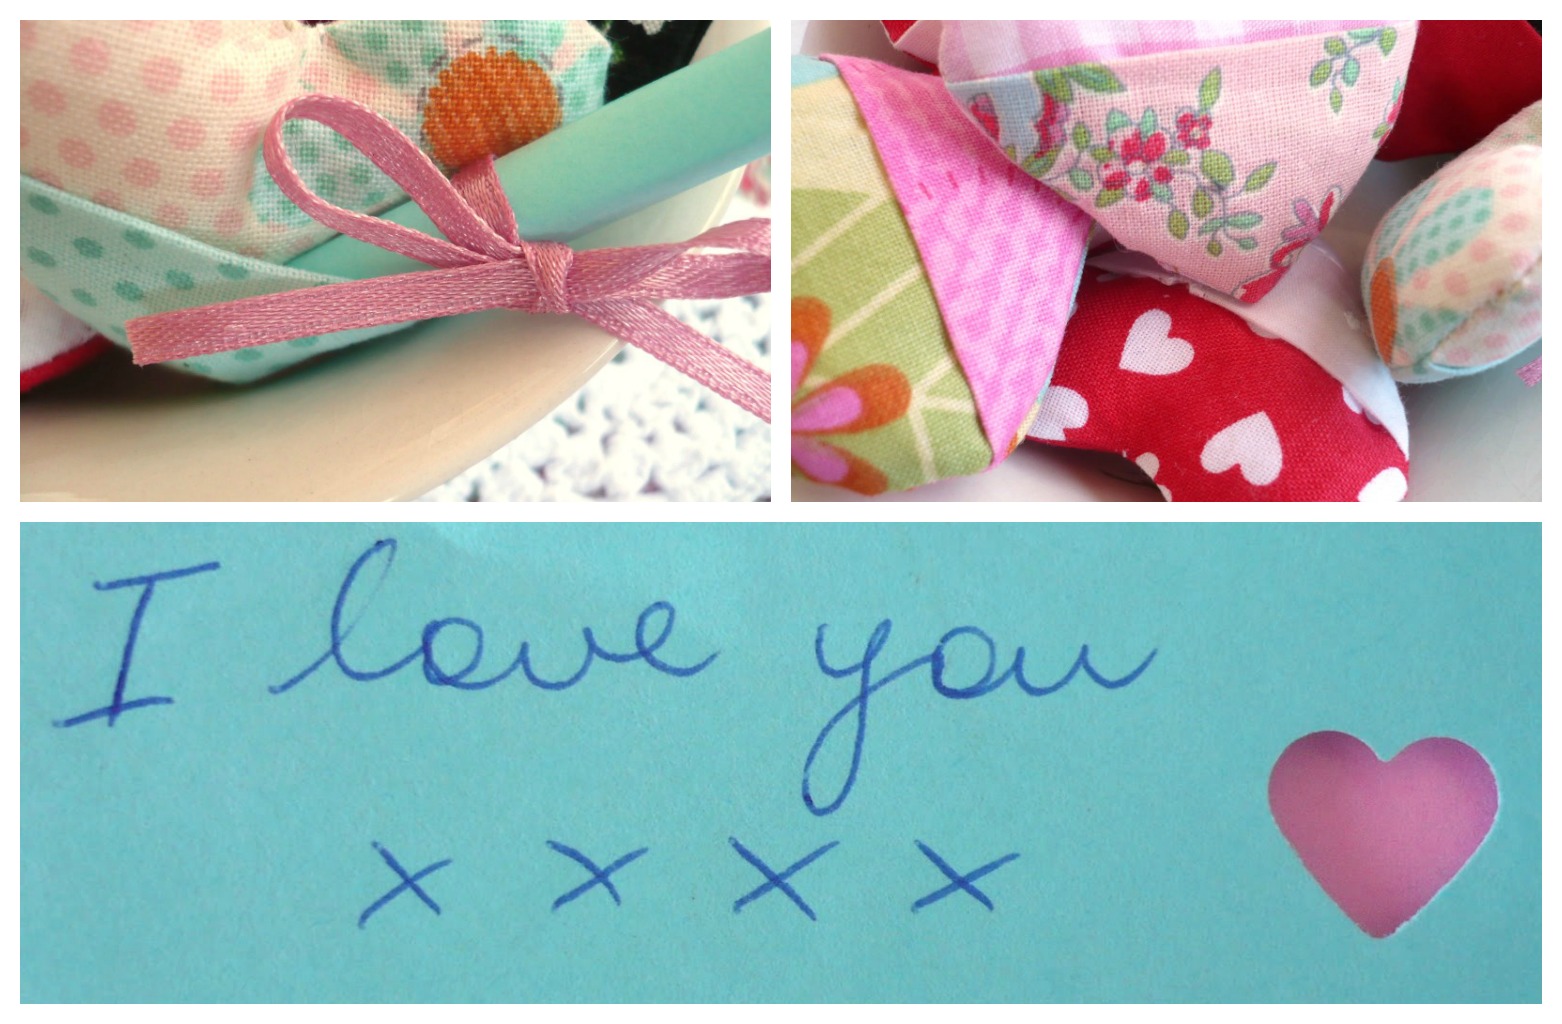
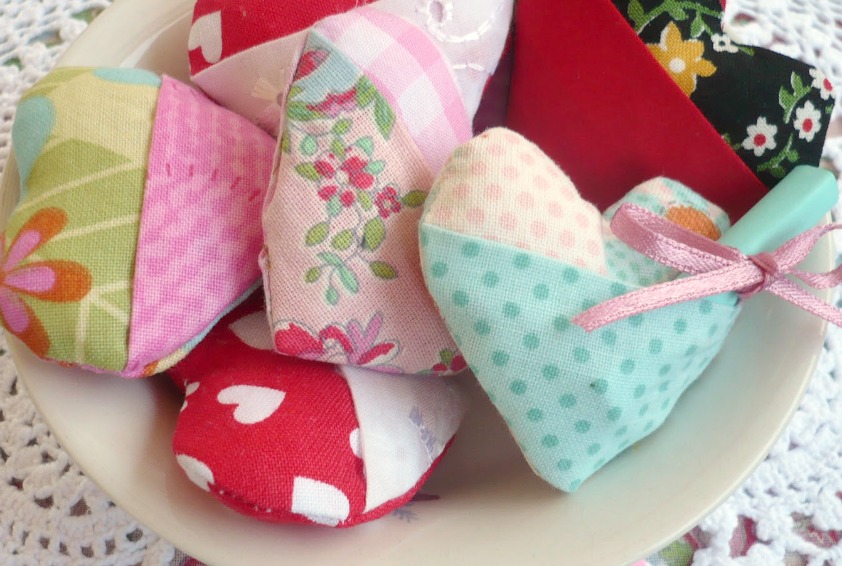
Although we are not big on Valentine’s Day here in Australia I do love hearts! These little ones are so quick and easy to make in any size and they have a little pocket for your love notes so you can send messages any time you like. They also might be cute for popping in your little one’s lunch box with a sweet note from Mum.
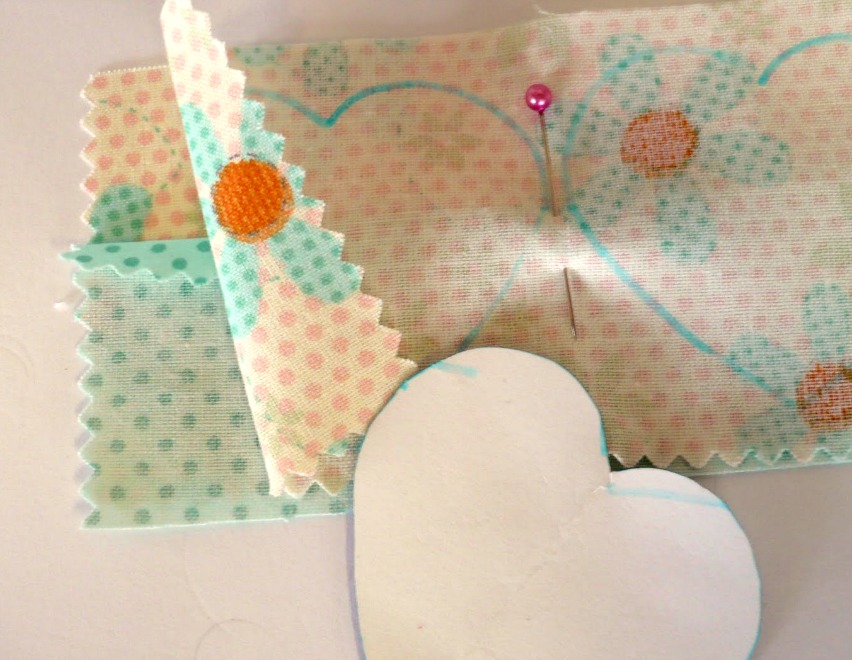
The ones here are only about 2″ but you decide how big you would like yours and trace your heart shape onto cardboard. There are 3 pieces of fabric ~ front , back and pocket. The pocket piece has the top edge pressed down before sandwiching between between the front and back pieces. Trace your heart shape on.
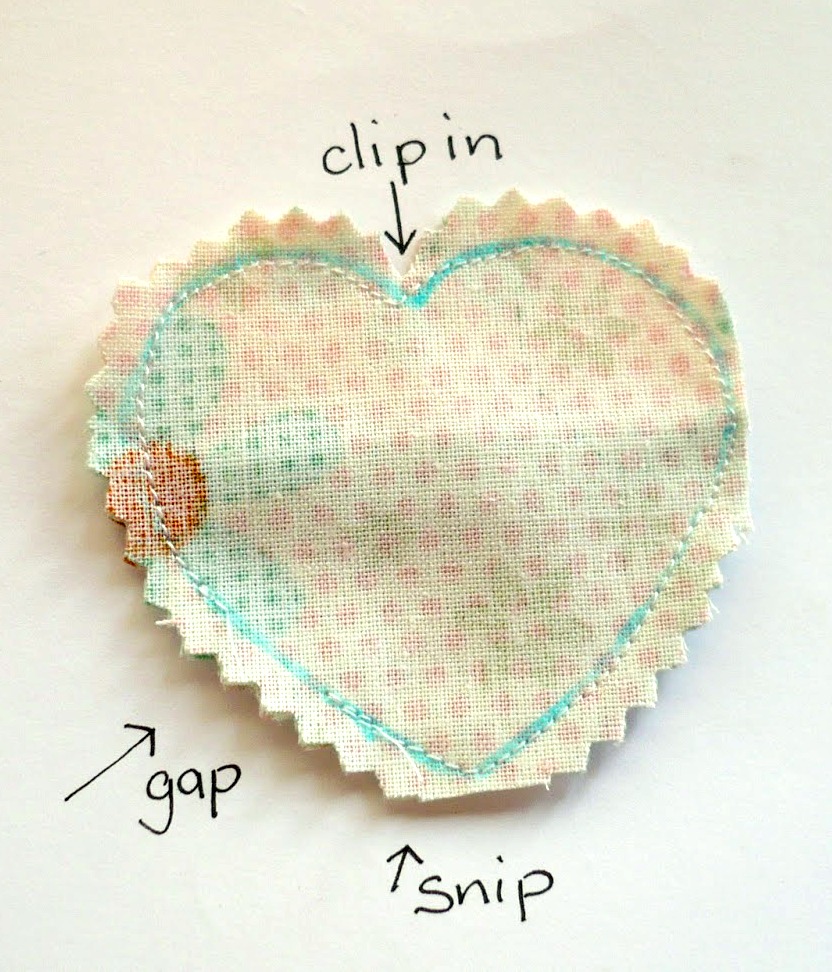
Stitch around leaving a gap for turning.
Cut out heart shape and clip and snip.
Turn right side out and stuff very lightly. Neatly stitch the gap closed.
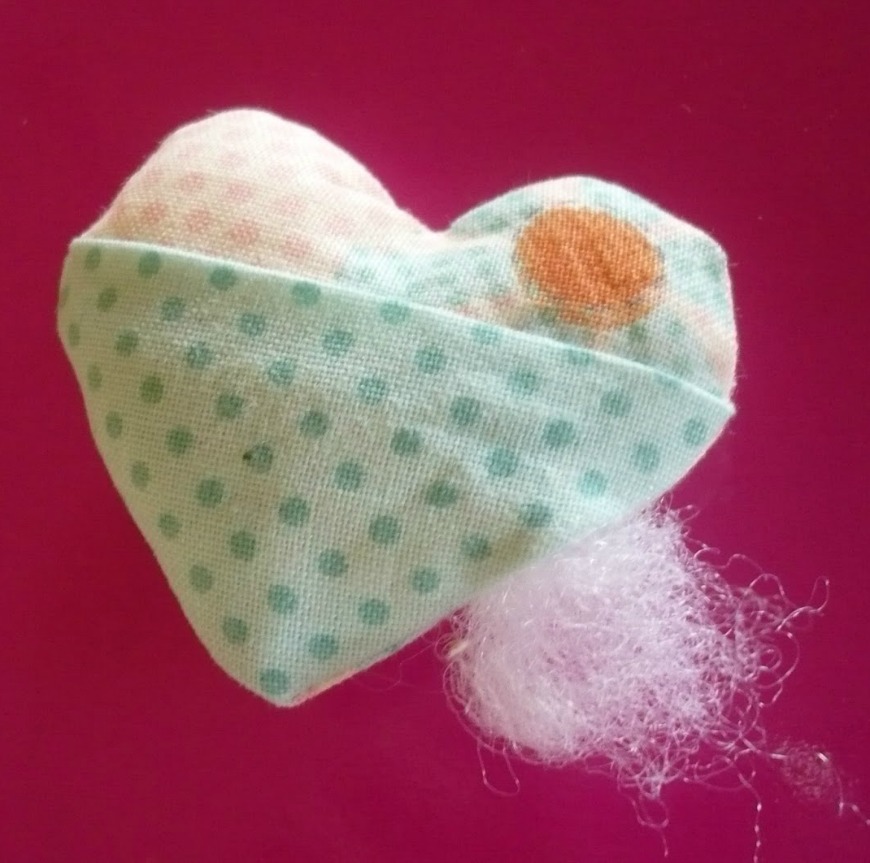
Pop a little note in the pocket.
These should take you 10 minutes to make tops. So you can make a pile of them and everyone will know
you are just lovely !
As I don’t do Valentines, I give a donation each year to the Heart Foundation and this makes my heart feel really good.
**************************************************
Thanks so much, Clare, for sharing your heart project with us today! I have to confess, this project was so cute, I couldn’t resist giving it a try! Here’s how my first attempt turned out! Eep, aren’t they adorable?!

Hugs & Glitter,


Oh my gosh those are the absolute cutest things ever.
Lisa
Creative Raisins
Hi there ! Thanks so much it’s lovely seeing my work on some one else’s blog !
These are so cute and Clare’s work is amazing her softies WOW.
Thanks for sharing Clare xo
Thanks Clare for the lovely tutorial and thanks oneartsymama for sharing it!
Pretty!