Today, Little Crafter and I have another fun project to share with you! And yes, once again, it meets my three favorite crafting requirements…it’s quick to make, it’s cheap {less than $5}, and it’s easy! You know, I was thinking today in retrospect that perhaps I should have used that as the name for my blog or my motto. What do you think?
Quick, Cheap, and Easy
Hmm. Ok, maybe not.
I might get a lot of followers, but probably not the ones I want…lol.
Anyway…here’s the project. Enjoy!
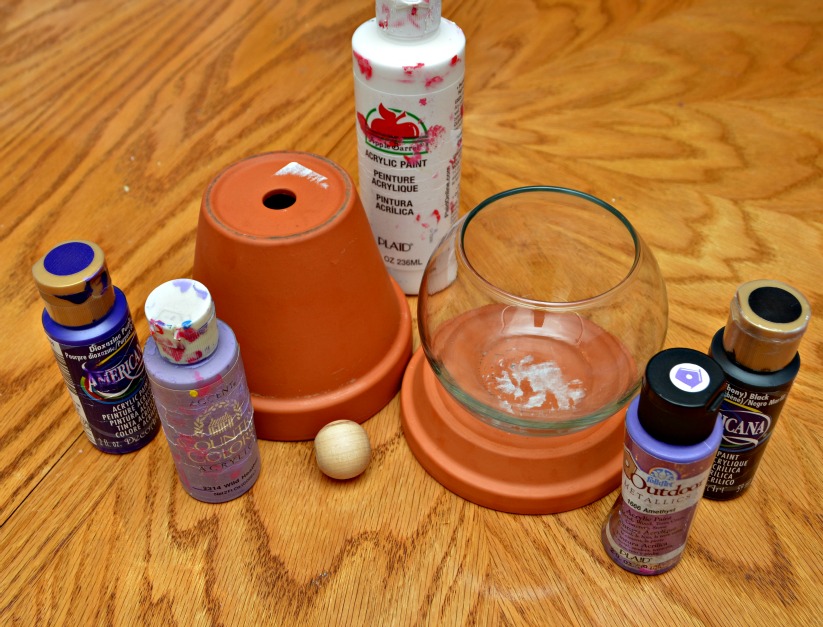
Materials:
– terracotta pot
– terracotta saucer
– acrylic paint
– glass bowl
– wooden bead {ours is 1″}
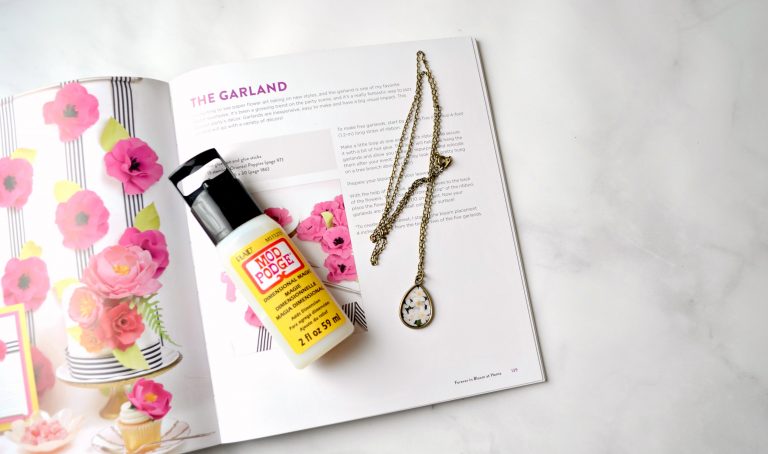
– Mod Podge
– hot glue gun and glue
– adhesive vinyl {mine is chalkboard}
– cutting machine or scissors
– chalk or chalk paint pen
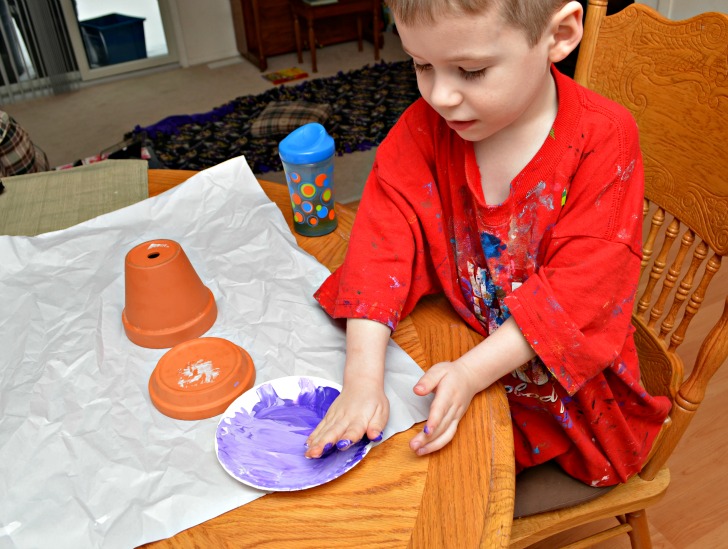
STEP 1: Paint pot and saucer whatever color{s} you like.
Little Crafter chose purple for the Ravens {can I get a woohoo for my boys, Superbowl Champions!?}, and was determined to use his “special new technique” that he came up with all by himself a few days ago on another project. This is what he had to say about it:
“You have to put it on the blog and show everybody how I do it. Then everybody will want to paint like I do. They will want to paint with their hands because it is funner and it is messy. But they cannot do it if they don’t have an art smock.”
So there you have it.
So, here it is…the LC technique. First, we squeeze paint onto a paper plate. We used three shades of purple, plus white. LC mixes them together with his hand. Then, he pats and rubs his hand all over whatever it is he wants to paint.
Truth is, it’s actually pretty fantastic for three reasons.
1. He has an absolute ball and stays focused for the whole project.
2. I don’t have to clean paintbrushes.
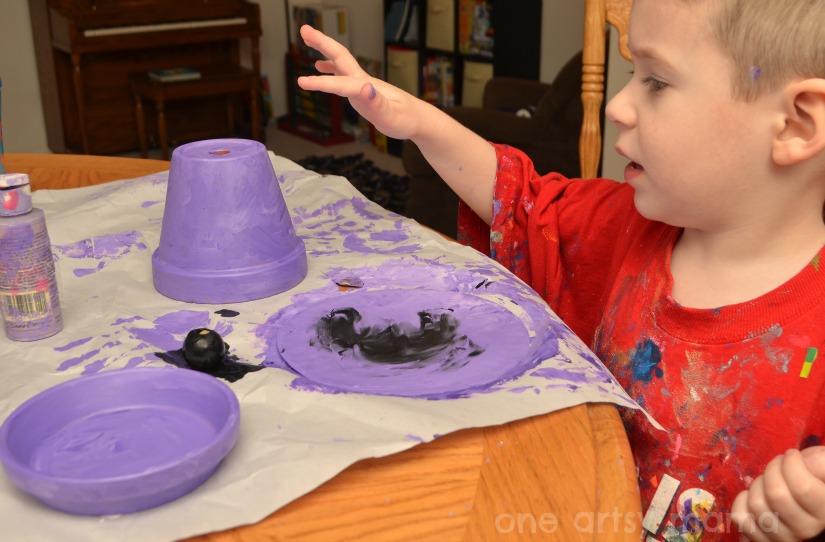
3. It makes a really neat marbleized effect on the project.
Oh, you also have to paint the wooden ball. We made ours black. Let all that dry.
STEP 2: Cover entire painted surface with Mod Podge to seal the paint. We used Super Gloss to make it nice and shiny, but you can use whatever formula you like best.
STEP 3: Glue bowl to the bottom of the pot. Glue bead to the bottom of the saucer.
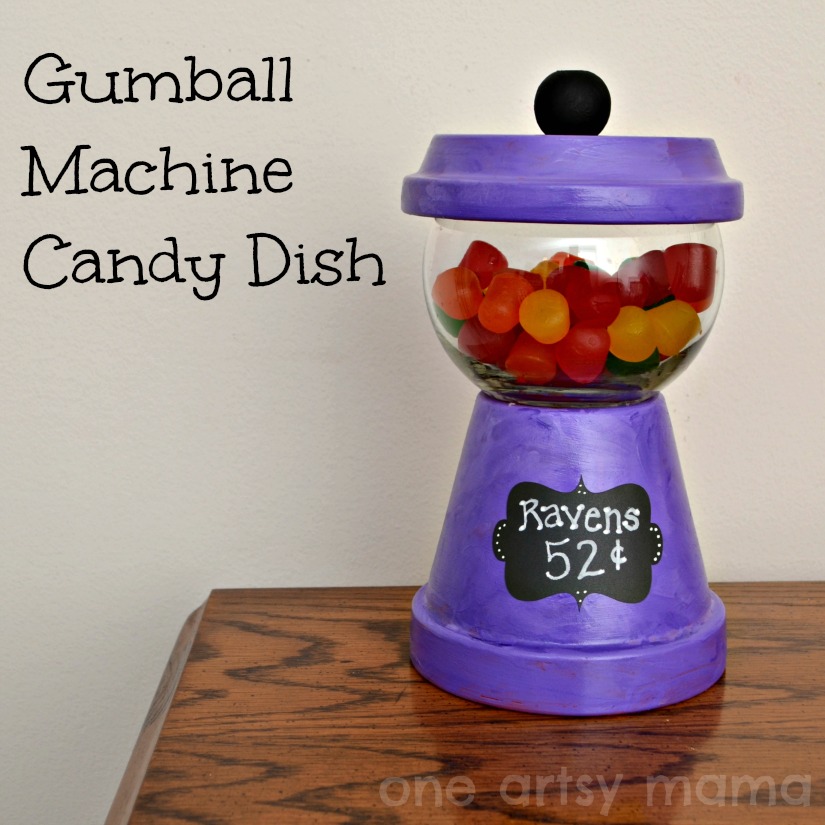
STEP 4: Fill bowl with candy and place saucer on top as a lid.
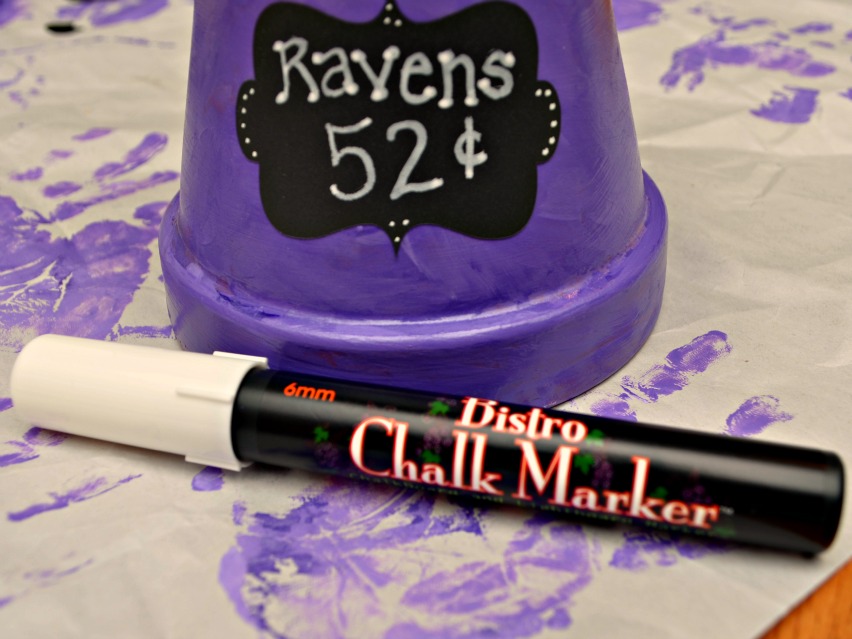
STEP 5: Cut out vinyl label, either by hand or with a cutting machine. Write on it with chalk or use a super-cool marker like this one! I recently ordered this and I’m so entertained by how easily it wipes off with a damp paper towel! Too cool!
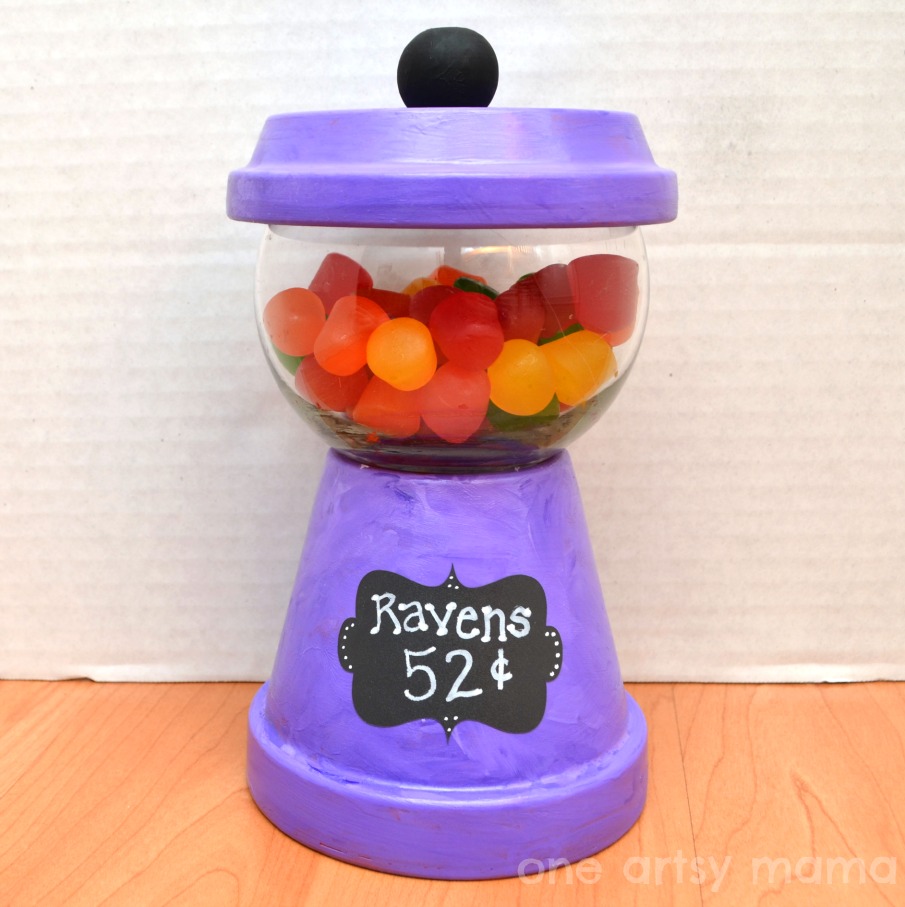
There you have it…a quick, fun, inexpensive project that will add a little whimsy to your home decor. You can make it seasonal, or leave it out year-round. One of the great things about using chalkboard vinyl is that you can change the message whenever you like!
Oh, and if you were wondering, the “52” is a tribute to Ray Lewis, who is retiring after 17 years as a Raven. Thanks for all the great plays, Ray. Baltimore will never be quite the same.
Hugs & Glitter,


ok….this has to be the cutest craft ever!!! I am so inspired! I have a friend that is moving into a new home. What a great little house warming gift for the kiddo’s!!! Going to go get the supplies today. If you’d like I’ll share pics when it’s done! So excited! Blessings~~angela
Amy, I’ve made these before but never by finger painting! I LOVE how LC’s painting technique adds cool dimension to the color and really makes for a gorgeous “machine”! I’ll have to remember to use my fingers next time! 😉
Just shared on my facebook page! 😀
So cute! I love how LC helps out with all your crafts 🙂
Very well done! I have made them too but not with finger painting. It would make a great Christmas gift for the kiddos to make for Grandparents… hummmm wheels turning. ha,ha Thanks for sharing!
I love this idea. Def making these with my grandsons! Thanks LC for showing us how it’s done!
Oh, super cute! I love it!
Super cute, I love it!!
I think I’d need to use a plastic bowl…..my kids would slam the top down and shatter that glass bowl! I will be making two of these!
Guess I’ll have to try making these myself since I have nothing else to do on weekends. This will keep me busy. I don’t like to be unproductive even for a day. Thanks for the idea. The kids will enjoy making these too. 🙂
– Selectivend.com
Such a creative project! I like that it’s cheap, easy, and can be done with kids. Thanks for sharing!
Super cute! Love the lid and the label!
Thanks, Malia!