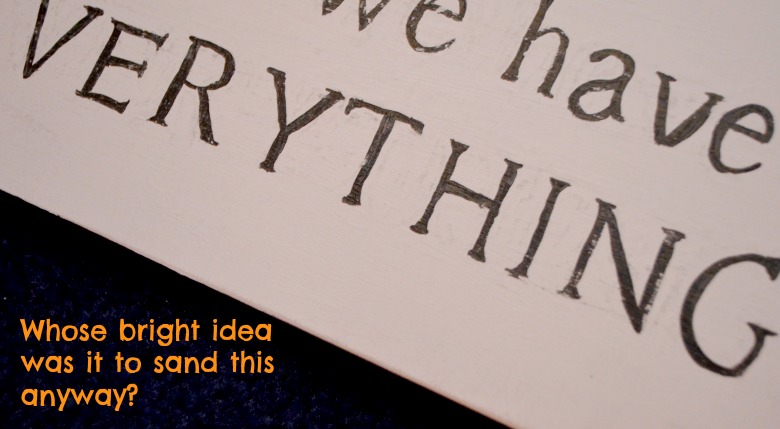
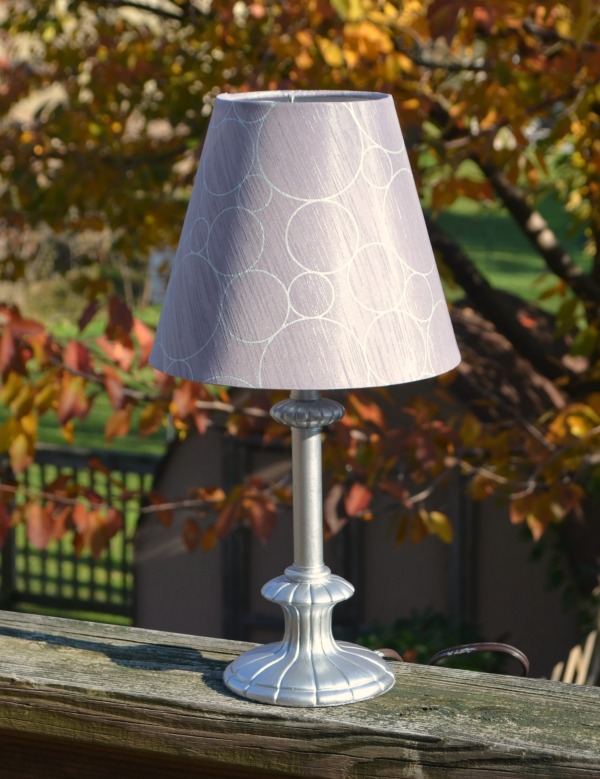
Once upon a time, there was a project. It seemed simple enough, sitting there in all its Pinterest-y glory. And yet it proved to be a challenge for various reasons I’ll explain shortly. Three craft fails later, I found sweet success…Here it is:
NOW WE HAVE EVERYTHING SIGN
I love it, don’t you? I love how the saying captures my feeling that Little Crafter completes our family as well as how blessed we are. As soon as I saw this on Pinterest, I knew I had to have one. Well, make one. More specifically, make one with Cammie’s help. In the past, signs like this one intimidated me because I had to print out the text, then somehow trace or transfer it to the wood, and finally hand paint each letter.
Doable, yes.
Easy, no.
Fun, not so much.
But now that Cammie {my Silhouette Cameo} was around to save the day, this would be a cinch, right?
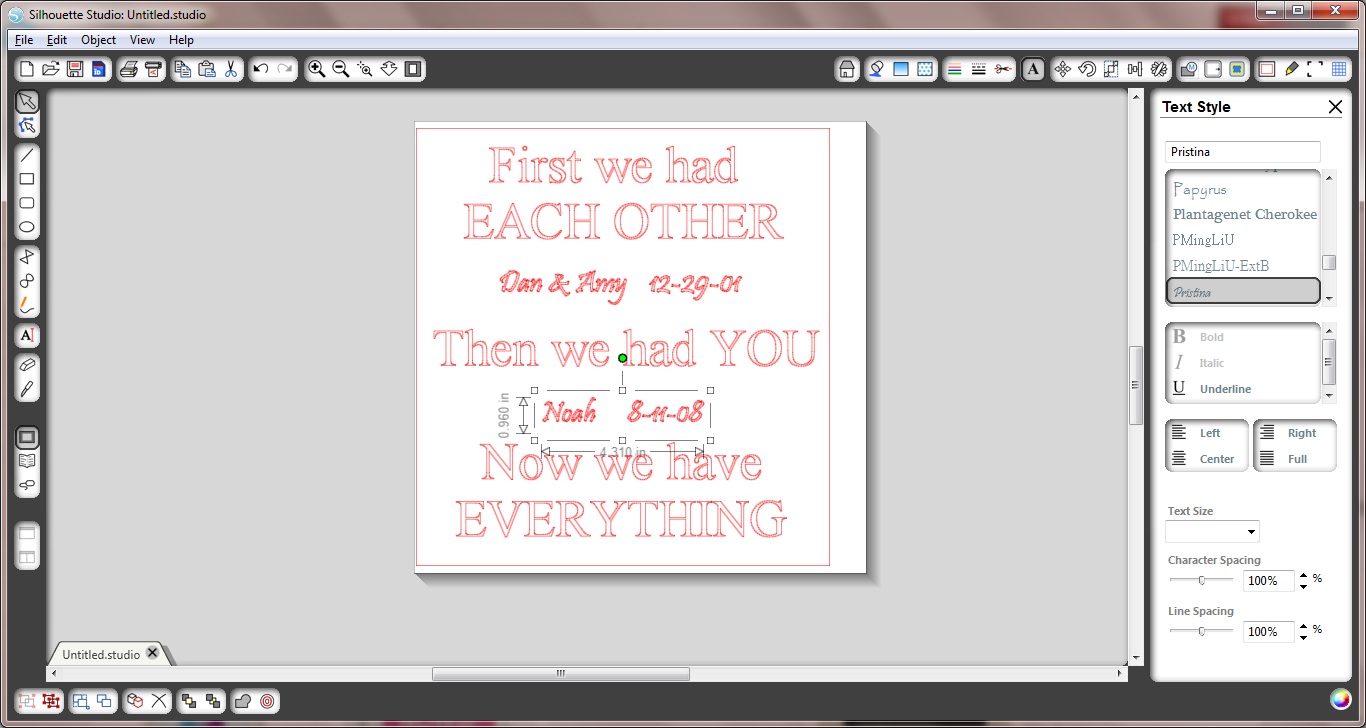
First, I used my Silhouette Studio software to design the text for my 12 x 12 wood.
So far, so good!
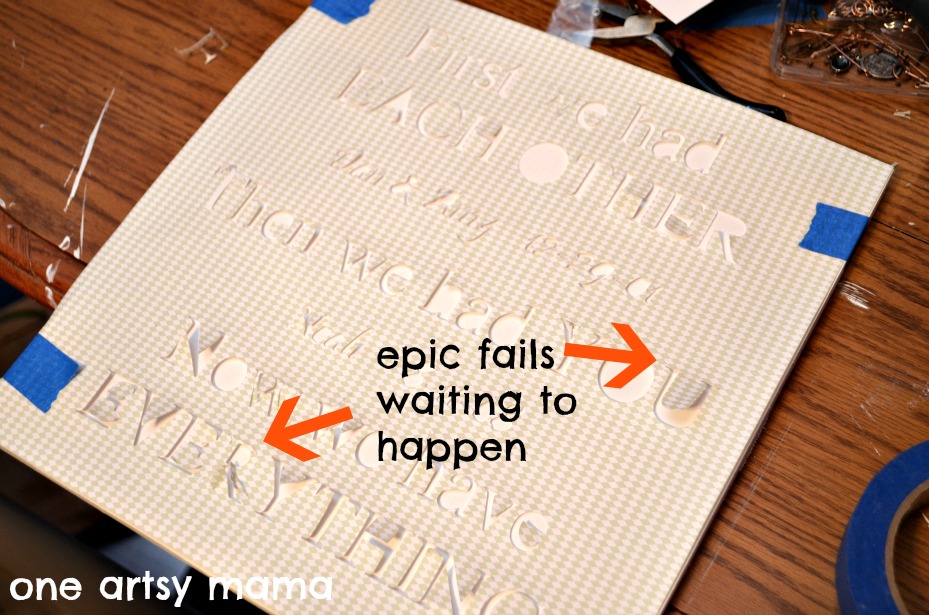
Then, I used Cammie to cut out the design. Rather than putting vinyl letters on this one like I did on the anniversary sign, I wanted a painted look, so my goal was to make a stencil that I’d then use on the wood. Here comes my first mistake, are you ready? I didn’t want to waste my vinyl, so I cut the stencil out of an old piece of 12 x 12 scrapbook paper I didn’t like. Can you spot the problem?
A wise, patient crafter would at this point acknowledge the problem and re-cut the stencil on more appropriate material. Me? I acknowledged it all right, but plowed right ahead anyway. So this happened.
FAIL.
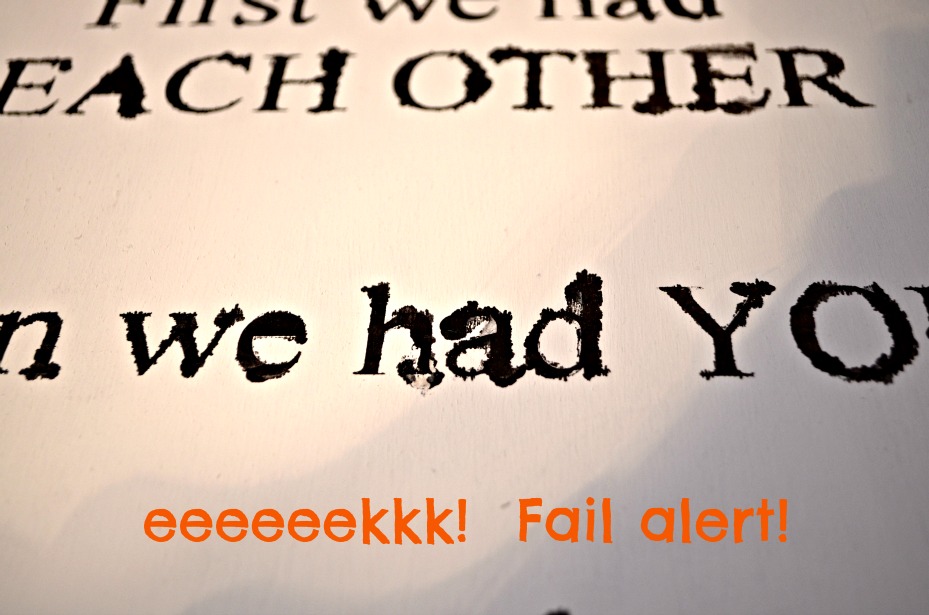
What to do? Well, I figured I’d go back with white paint around the messy letters and it would work like wite-out. Which it kind of did, but it was less than perfect and also built up too thick around each letter because it took so much while paint to cover up the black.
So, on to plan B. I painted over the entire thing, letting just enough of the letters show through that I could use it as a guide to hand paint them. Or so I thought.
Yeah. Can you say ugly crooked mess? Yikes.
FAIL.
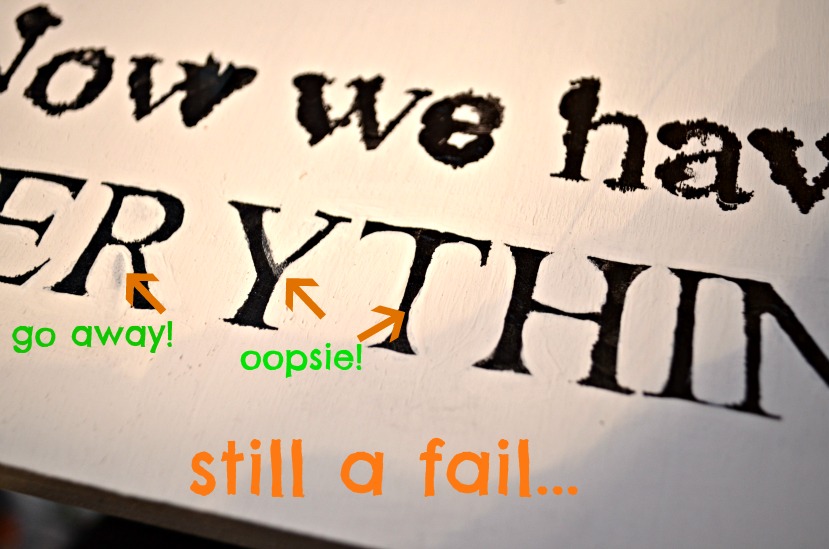
I thought distressing it might help. Wrong again.
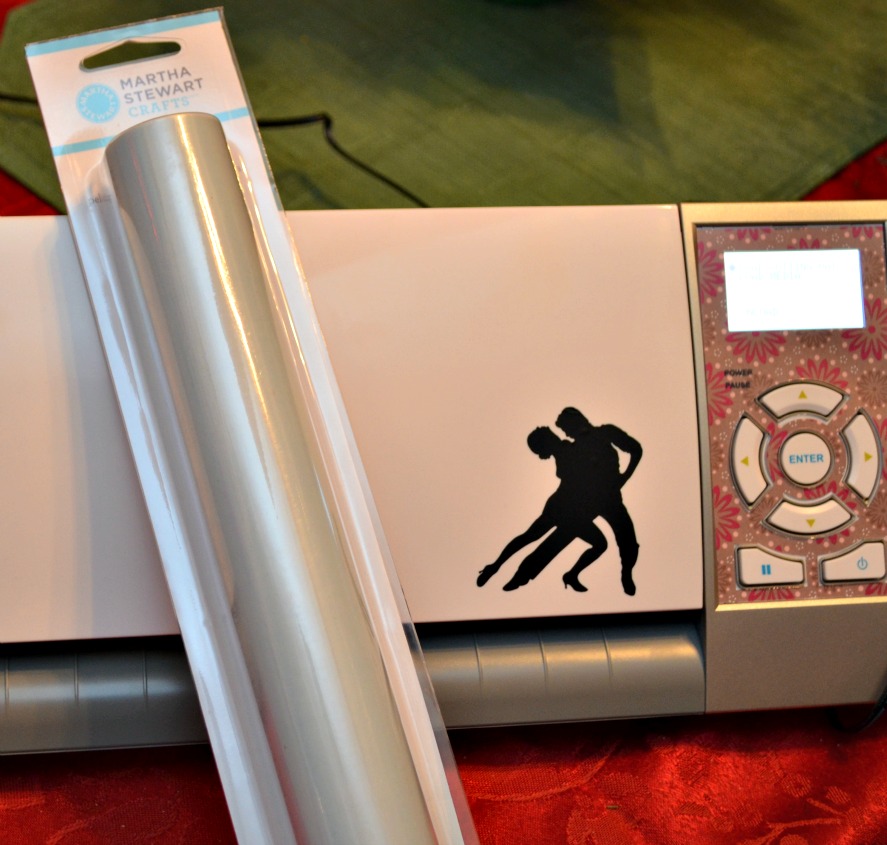
So, alas, on to Plan C, also known as Plan Start- all- over- again. Fun. I went to Michaels where I found just what I needed. I should’ve known Martha would save the day! I bought a roll of adhesive stencil material that’s designed just for projects like this one. Here’s a pic of Cammie and Martha getting acquainted. I think they’re BFFs now…
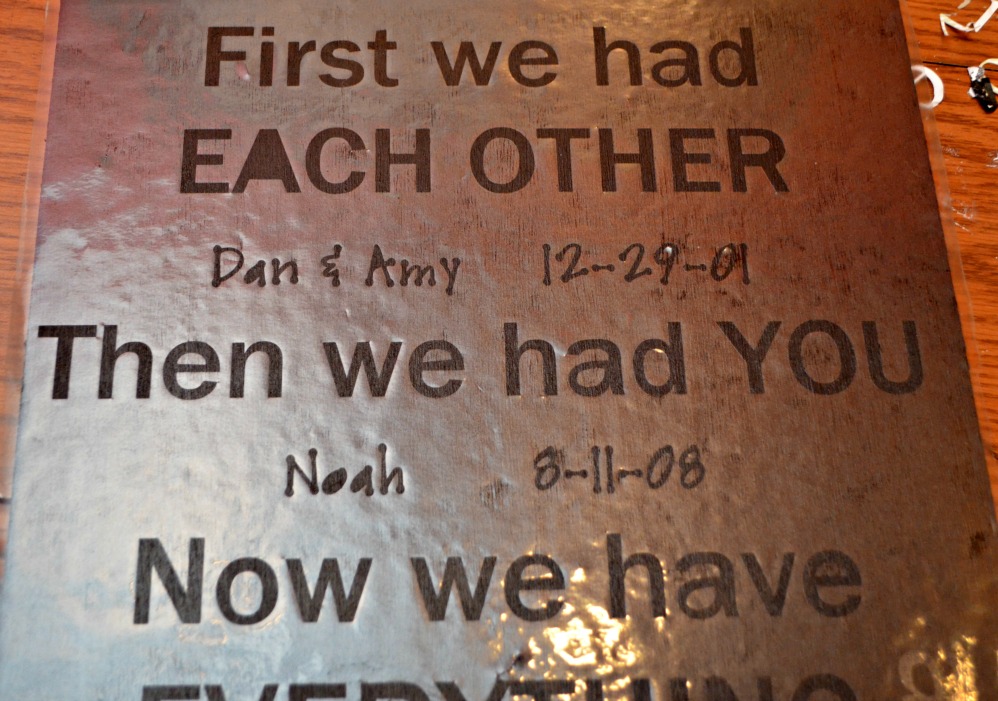
So, long story short, I redid the design I of course neglected to save, and this time used a “block-ier” and thicker font so it would be easier to stencil. Cammie cut it out using the vellum setting and I stuck it to my sign.
This time I also reversed the colors because I didn’t like the look the first time around. I carefully {ha ha} applied paint to the stencil.
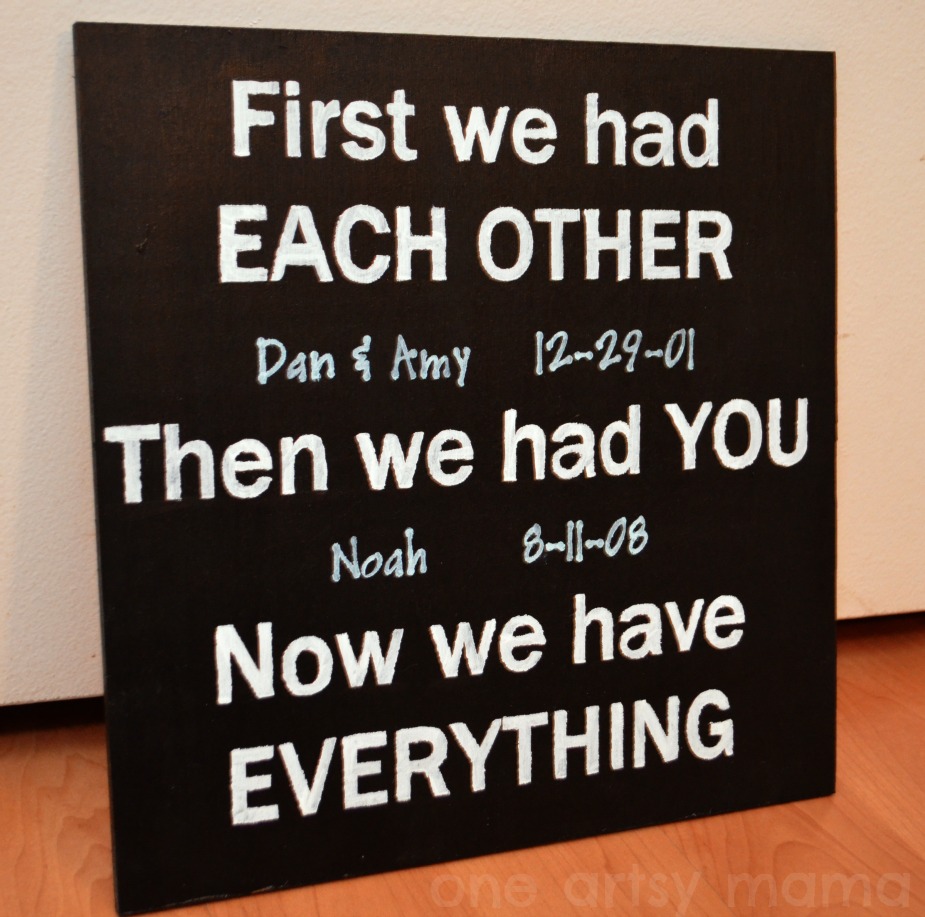
Then, I peeled the stencil off and gave a huge sigh of relief. Ahh!
What do you think? I’m finally satisfied. And just for the record, Cammie, I know this wasn’t your fault. It wasn’t you, it was me. Can we still be friends?
Hugs & Glitter,


I’ve always loved that quote. glad you figured it out in the end – it looks great!
Love it! And I love that you shared your fails. It helps let people like me know that I am not a loser just because I can’t get a craft to work out.
Amy,
I love your sign and also appreciate the honesty you share with us, because so many times things DON’T work out the first time, and it is nice to know we are all in the same boat. I need your help girl, I bought sweet Cammie back in April and HAVE NEVER OPENED THE BOX! Please don’t be angry with me, it intimidates the heck outta me. Can you help me along? Seeing all you’Ve done has really motivated me to want to try using her. Please get in touch when you can.
Thanks,
Maureen
Love it!! It turned out great, thanks for sharing your mistakes that paved the way to your success.
Amy,
I love the pic of Cammie and Martha getting acquainted. That is so you! Project- Major Success!!
Mom
Third time’s a charm, right?? LOL! I think it looks great, Amy! So cute!
It turned out cute- glad you stuck with it!! 🙂
I like the white on black better also. Your fail and fail again process is OH SO familiar. lol But hey, you learned…and you shared. Now maybe the rest of us will go straight to the easy way. 🙂 Thanks for posting!
I love that saying! It ended up so nice glad you stuck to it.:)
I have done the exact same thing! But I was too impatient to start over. Great job! I love how your sign turned out! Happy anniversary!
That’s just adorable!
http://asoftspotfor.blogspot.co.il/
Haha, I did that too on my first stencil, plowed ahead knowing it might not turn out well. And had to do it again, of course. I didn’t have vinyl though, so I just used spray adhesive on cardstock and painted very carefully 🙂 Great job!
I love the way to sign turned out. What I love even more…that you shared the mistakes with us so that we might be able to avoid them in the future! So often, I get ready to use my Cameo to do projects inspired by other things and I get all messed up because I don’t use the right material or something. Thanks for sharing!
I’ve run into the same problems you did and I’ve NEVER heard of adhesive stencil material. But will DEFINITELY be getting this next time I’m doing a wordy stencil. Wow, I bet this seriously saved the day. Thanks for the info!
It turned out really cute, third times the charm, right? :). When you run out of your roll of stencil material, try Contact paper. So cheap for a huge roll. I’ve used for all my painting or etching stencils.