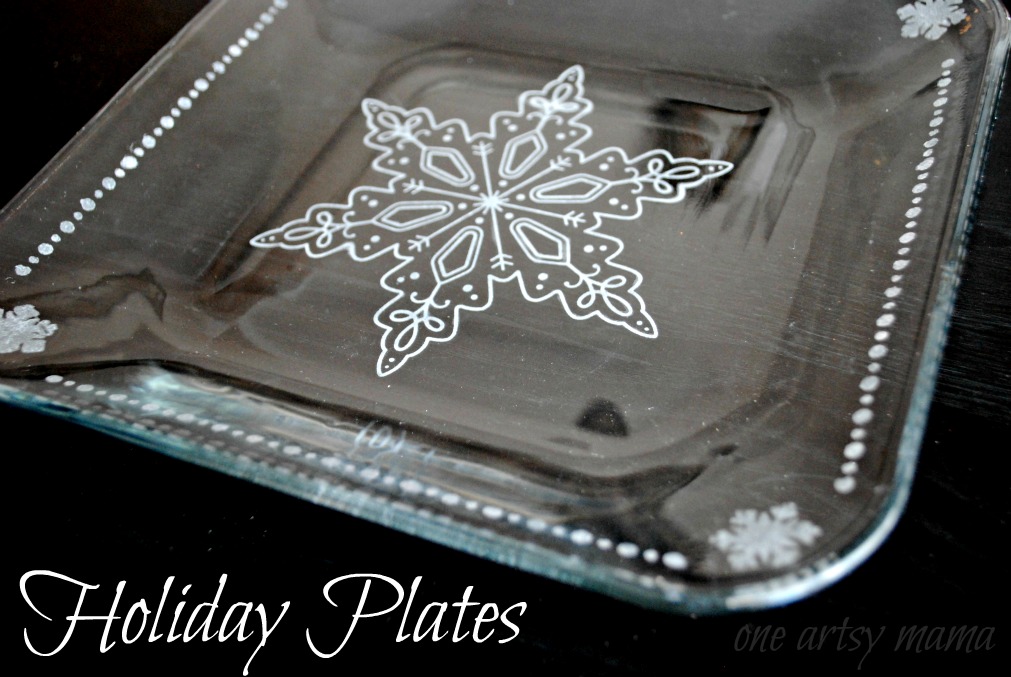
Are you all enjoying the Handmade Holidays series? I wanted to share with you another budget-friendly idea I came up with, and this one can be used all winter long! Here’s how to make your own beautiful and totally cheap holiday dinnerware!
Materials:
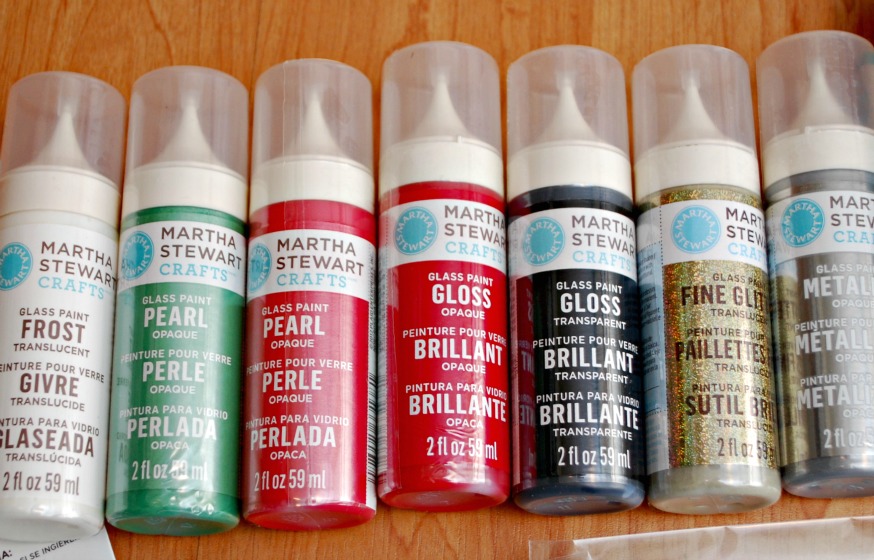
–
Martha Stewart glass paint in your desired color{s} Make sure you get opaque paint rather than translucent if you want it to show up really well. If you want an etched look, I recommend Frost Translucent.
– paintbrushes/squeegies
– glassware
Let me talk for just a second about the glassware…you can find all kinds of things really reasonably priced at Walmart, Target, or the Dollar Store. I found glasses for 50 cents or a dollar a piece, depending on the style, and these square plates for $1 as well. I got salt and pepper shakers for less than a dollar at Walmart, as well as a glass jar and a few other glass items.
I’m going to walk you through how I made the plates first, then show you a few other options.
STEP 1: Clean your glass surface with rubbing alcohol.
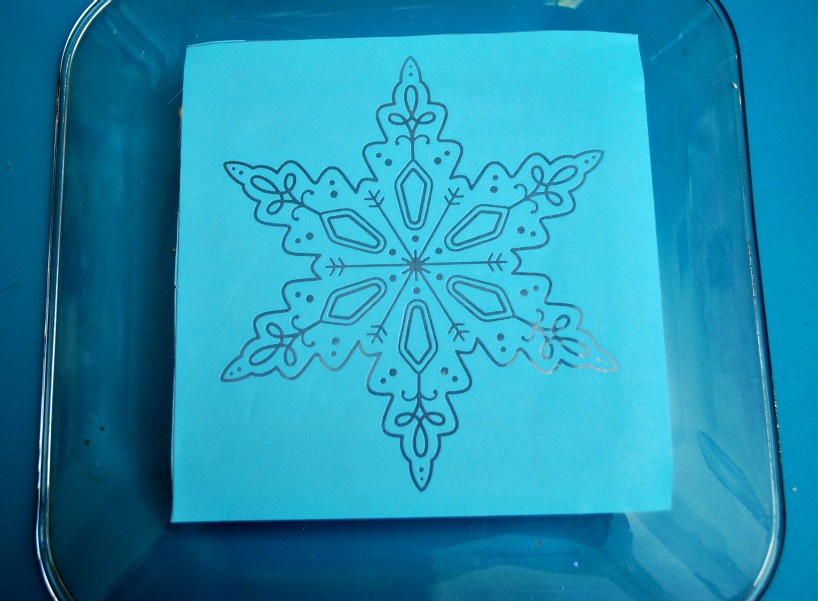
STEP 2: Place your adhesive silkscreen in the center of the plate on the bottom side.
This glass paint is non-toxic, but not officially food safe, so make sure all of your stenciling goes on the bottom of your plates and the outside of your glasses with a 0.8″ space from the rim of the glass to the design.
STEP 3: Use squeegie to apply glass paint to silkscreen. Pull image off while the paint is still wet.
STEP 4: Use adhesive stencils and glass paint to stencil a snowflake in each corner and polkadot/snowball pattern along each edge.
Finished pieces will air-cure in 21 days, or you can bake them in a 350 degree {F} oven for 30 minutes. Don’t preheat the oven, let the glassware heat gradually and then let it cool in the oven too so it doesn’t crack.
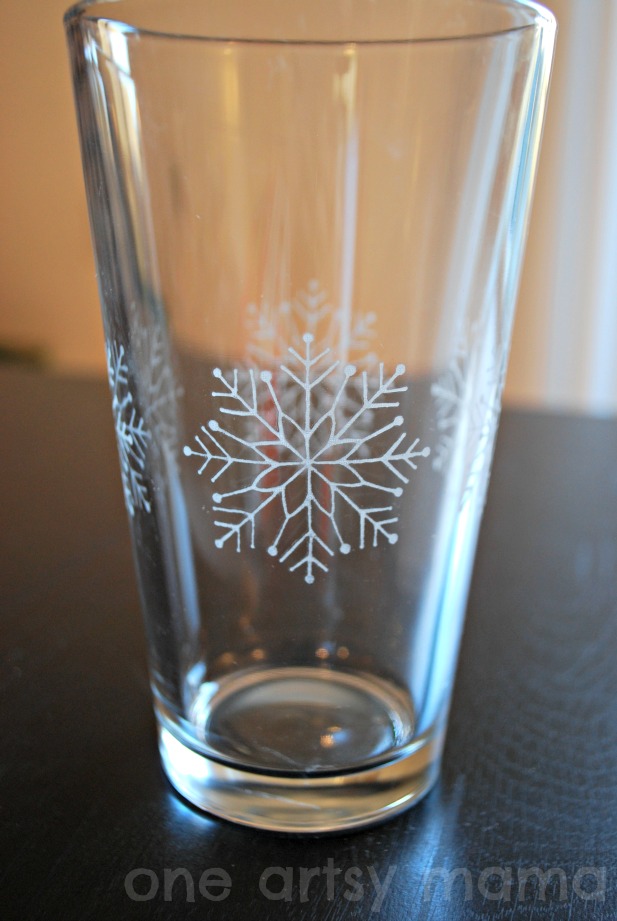
Here’s a look at a coordinating glass. To make these, I used a smaller silkscreen from the same pack as the larger one and stenciled it four times around the glass. You could also just do a single snowflake, or snowflakes all over!
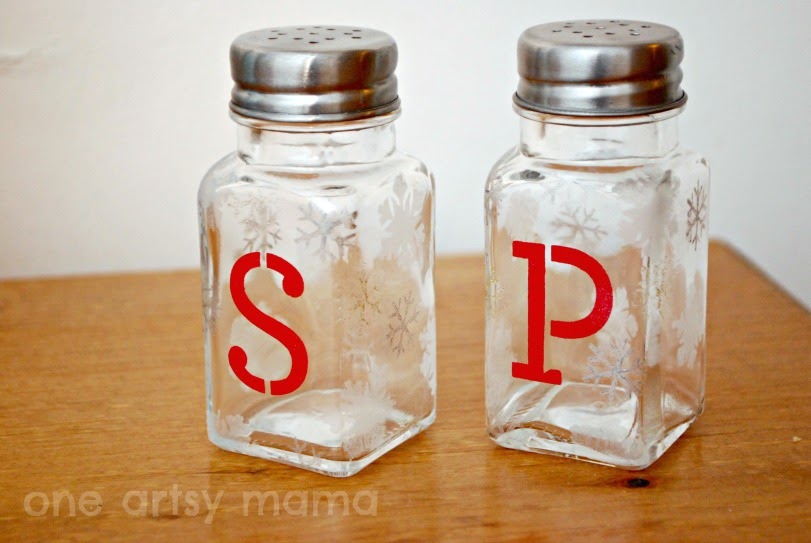
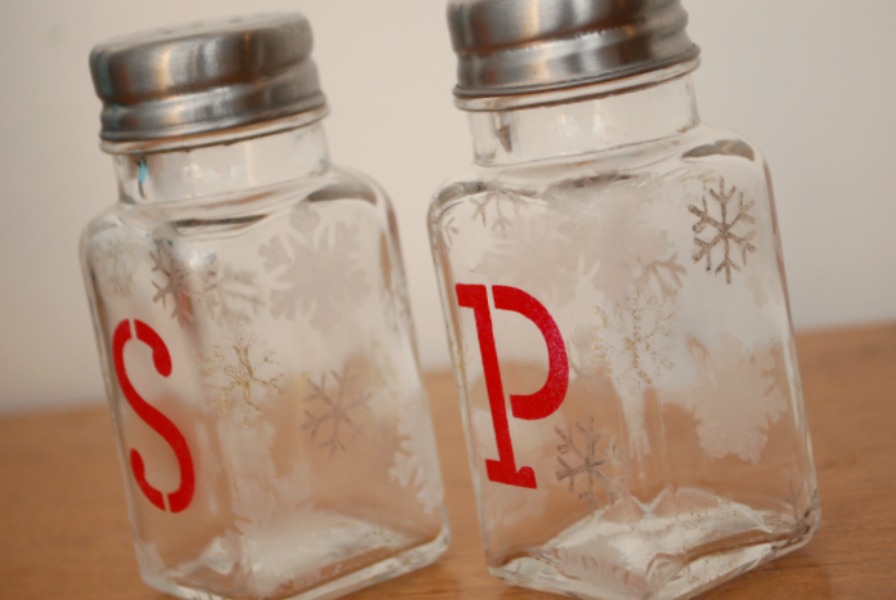
And here are my bargain salt and pepper shakers! I stenciled the S and P first, then used small snowflake stencils in translucent frost, metallic gold, and silver paint all over the rest of the surface.
They look so festive on the table, and I can keep them out until winter weather {finally} goes away in March!
All three of these projects were super-easy to make and didn’t really take much time at all. The glassware, since it was just plain and clear, was really affordable, so I found this to be a much cheaper way to get some new holiday tableware. Plus, it’s exactly what I want since I designed it myself! I love things that are elegant and wintery looking this time of year! What kind of holiday tableware do you like best?
Love and Glitter,
PS: Just four more days until my BIG BIRTHDAY BASH with THREE huge giveaway packages!


Beautiful! Thanks for sharing!
Love it!!! Thanks for sharing!!
Great idea, my mom would love this!
I LOOOVE this plate!!
Beautiful!
Absolutely beautiful!!
Beautiful. I especially love the glasses!