
Picture This
One of my favorite things about getting my feet wet in the world of craft blogging is all the wonderful inspiration out there! As I post about the things Little Crafter and I are making, I also look at all kinds of new, fresh ideas on other ladies’ sites that just make me want to create even more! The fabric letter I made for LC’s room last week was inspired by Kate at The Gaines Gang (yes, I finally found her blog again when she left a sweet comment on yesterday’s post!). And over the weekend, I tackled another project inspired by a fellow blogger, Trina, whose blog A Love to Create is filled with beautiful ideas for everything from wall plaques and decorative plates to jewelry and kids’ party themes. As I was looking at Trina’s projects, one in particular took my breath away. She calls it her “I Can Do Hard Things” Plaque; it’s a gorgeous gift for her friends to remind them that they can do anything with the help of the Heavenly Father. I loved the way she took a photo and made it into a personal, handmade gift. Of course, I wanted to try it right away myself, and I knew I had just the photo to use.
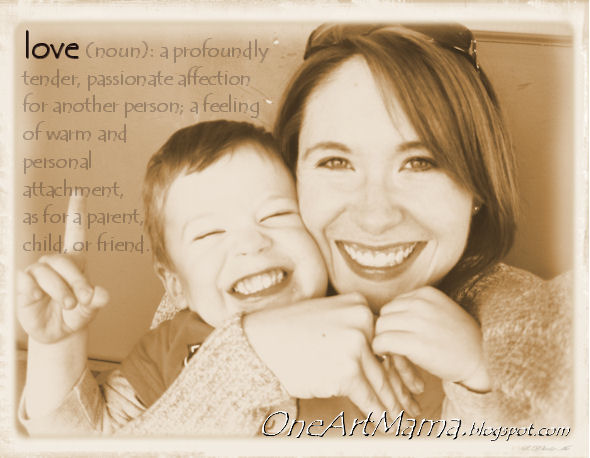

It was just begging to be enhanced, so I used my photo editor, Corel Paint Shop Pro X2, to fancy it up a little. The empty upper corner was a perfect spot for some text…LC’s even pointing to it, for goodness sake! So I added the definition of love that I found at dictionary.com. Then I applied the time machine effect because I didn’t like the mix of colors; Little Crafter’s orange shirt against that wall. I loved the finished photo but hadn’t bothered to do anything with it yet because I didn’t know what to do other than print it until I saw Trina’s plaque.
STEP 2: Brush Mod Podge in the center of dry plaque and place your photo on top. Then, brush Mod Podge over the entire surface. If you’ve printed your own photo, make sure it isn’t fresh off the printer or the ink may smear (yes, I learned that the hard way). Trina used a roller rather than a paint brush for this step, which gives the finished product a different look; think paint on a canvas vs. paint on the wall. I like the look of the roller a lot, but I was too impatient to go to Home Depot and get one…
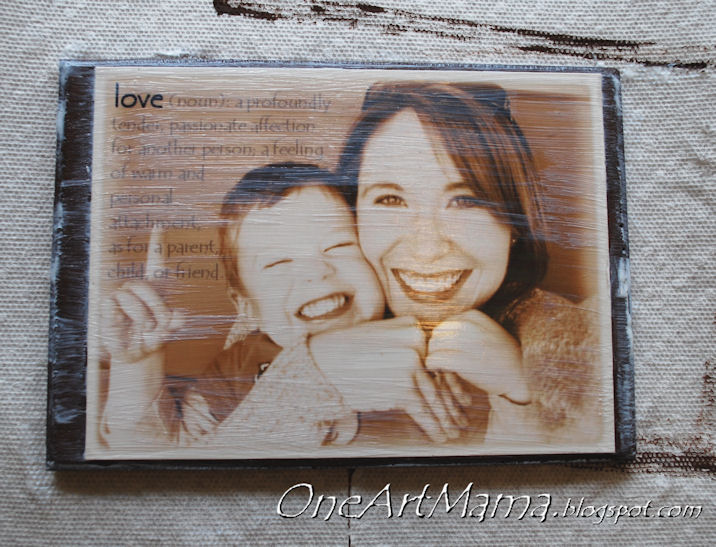

Ta-da! Here’s the finished product, which is currently on my dresser making me smile every time I see it. This project would work with any size wood, any color paint, any photo, and any ribbon. You can customize it to match your room; I was thinking of doing a black and white photo with an orange or blue painted background and polka dot ribbon to go LC’s room. Even a color photo would be really cute preserved this way. It’s a simple, cheap, but gorgeous way to make your favorite photos a cherished handmade keepsake either for yourself or as a gift for someone you love. Thanks again, Trina, for the inspiration. You’re making the world a more beautiful place.
Check out her work here.

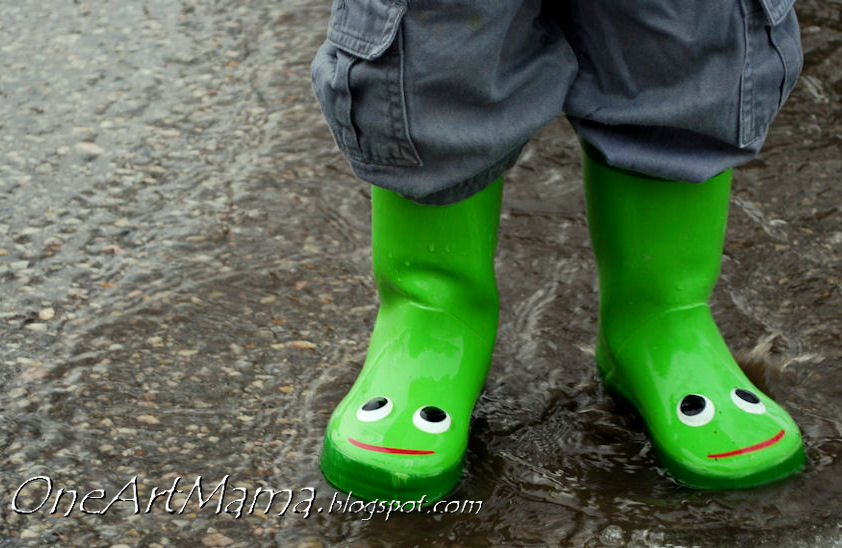 Oh, and PS – While we’re talking about pictures, I decided to enter the froggy boots photo in the contest I blogged about on Saturday. Thanks for all your input! I was so torn between this one and the one with the purple flowers, but the majority of you picked this one and I agree that it best fits the contest description. So, here goes!


Love it! I did this with a little plaque for Owen and Ella’s kitchen last year, and loved how it looked – I’ll have to try it with a picture now!
What a great idea! I’m off to find a neat photo to use!!
Laura@ComeTogetherKids
I absolutely adore this!
This little photo block is darling (and easy)! I’m your newest follower. Thanks for creating such an inspirational blog for all of us to enjoy!
Thanks so much, I’m glad you all like it! 🙂
Oh my gosh, that is amazing. I could never ever do anything like that, but it looked pretty awesome. Worth the effort!
How creative! thanks for linking this up to our Wicked awesome wed party!
Hey Amy, Just got your comment on my cobbler recipe.. and I have to just tell you that it is the best cobbler ever! I think it is even better then my grandma’s which is saying a lot! Anyway, I popped over to check out your blog and I am really enjoying it. I really love the plaque, I often give mini scrapbooks as gifts but this is a great idea. Have a great day.
This is a lovely idea Amy. I have a dear friend that just got married, I am going to do this for them with one (or some) of the photo’s I took of them as a “because I love you” gift! Thank you so much for the idea, I was trying to think of how I could creativly give them some photo’s that I (non pro) took of them at thier wedding, this is it!!!! I am off to get my tools and pictures!
Maybe a silly question? Was the picture you used printed on regular paper, or was it special photo paper meant for pictures? Does it matter?
Thanks.
I used photo paper. Make sure the ink is 100% dry before you try adding the Mod Podge, though! I’m sure you could use printer paper too, but the image quality won’t be as clear.