
"Initial" Inspirations
Last Mother’s Day, my husband and son gave me a really sweet gift. It’s a frame containing side by side images: one of Noah’s original fingerpaintings, and one of my favorite photos with my little man. Awwww!

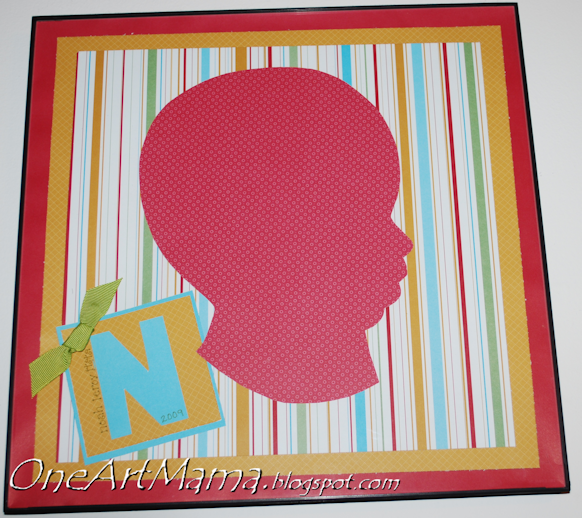
After giving it to me, my husband sheepishly admitted that in the process of preparing the gift, the white mat on the original frame he bought got a mark on it. He tried to fix it with white paint, but that just made it worse. So, he went back to Wal-Mart and got a second frame to complete the project. He told me that the other frame was in the craft room and I could use it for whatever I wanted. Yipee! The only problem was the odd size of the frame itself. Once the damaged mat was removed, the opening measured 9×13. I don’t have any 9×13 photos, and while I’ve been known to frame some scrapbooky-type projects in the past, like this cool silhouette of Noah, the biggest decorative paper I had was 12×12.
I know I could have pieced together multiple papers or done any number of things, but I was just stuck. I felt uninspired and couldn’t think of a “wow” project. So, I set the frame aside. Over the past almost-year, I’ve shoved it in a closet, pulled it back out, tripped over it, grumbled at it, measured it again, and returned it to the closet. Until today. You see, yesterday, as I was surfing around looking at crafty blogs, the answer fell in my lap! I saw a post where a lady named Kate had bought one of those odd size frames on purpose (!), used fabric as a mat, and printed out an image on white paper to center on the fabric. Genius! Here’s a link to her blog, The Gaines Gang, where you can see the original. In any case, that brings me to today’s featured project, which I adapted a bit.
FRAMED INITIAL
Materials:
– picture frame: I think any size would work, really, you just have to trim your inserts to accomodate it
– fabric scrap
– white cardstock
– colored cardstock to coordinate with fabric
– computer paper
– computer, printer
– scissors, pencil, adhesive
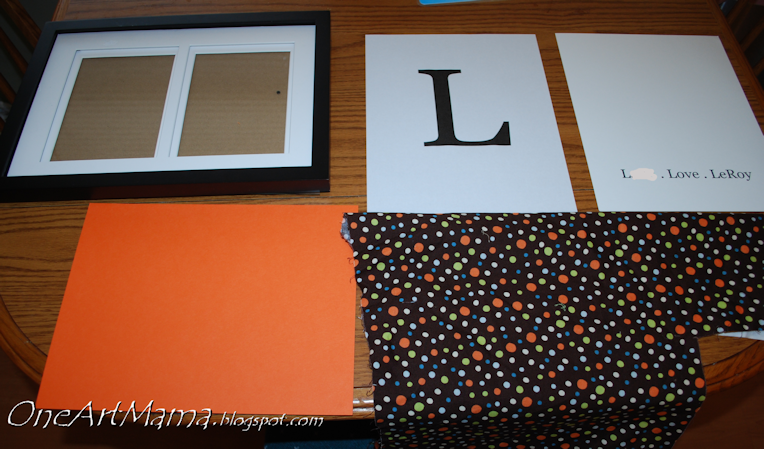
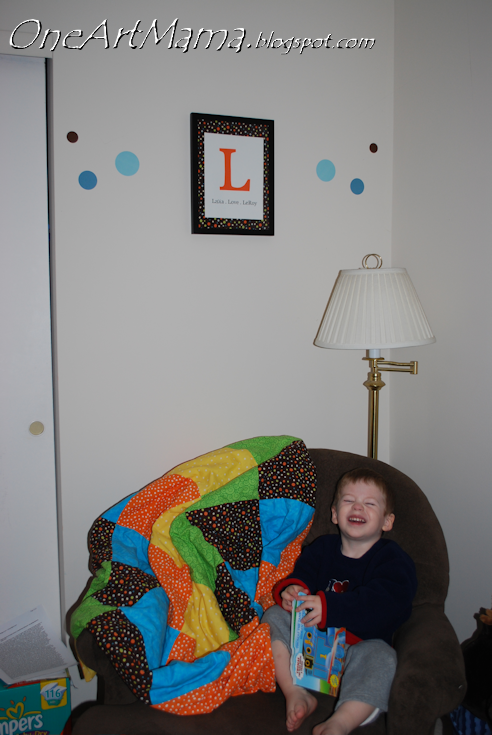
STEP 1: Choose your fabric. Noah saw me drag out my bin of scraps, and he immediately pulled out this brown piece left over from when I made his pillowcase and patchwork blanket. I thought it was a great choice since I intended for the finished product to go in his room…this way it coordinates with his bedding!
STEP 2: Iron fabric. Trace frame backing onto fabric and cut out so that fabric is the size of your frame opening…in this case, 9×13. Set aside.
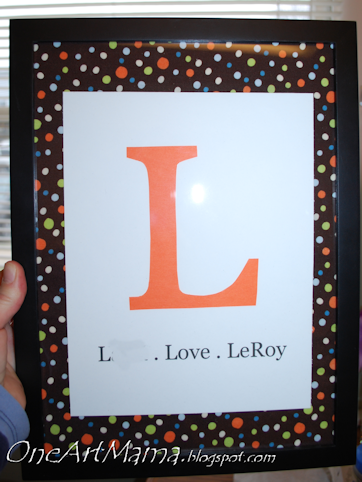
STEP 3: Choose an initial and one or more words you’d like to feature. I chose the letter “L” because it stands for our last name, Noah’s middle name: LeRoy, and the word love. In a Word document, scroll down about 3/4 of the way on a blank page and type the words, separated by dots. Don’t type the initial yet. I used Georgia font, size 48. Print on white cardstock and set aside.
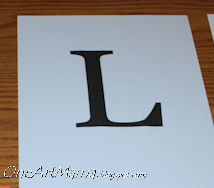
STEP 5: In a new Word document, type the initial as large as you want it to be and print on plain computer paper.
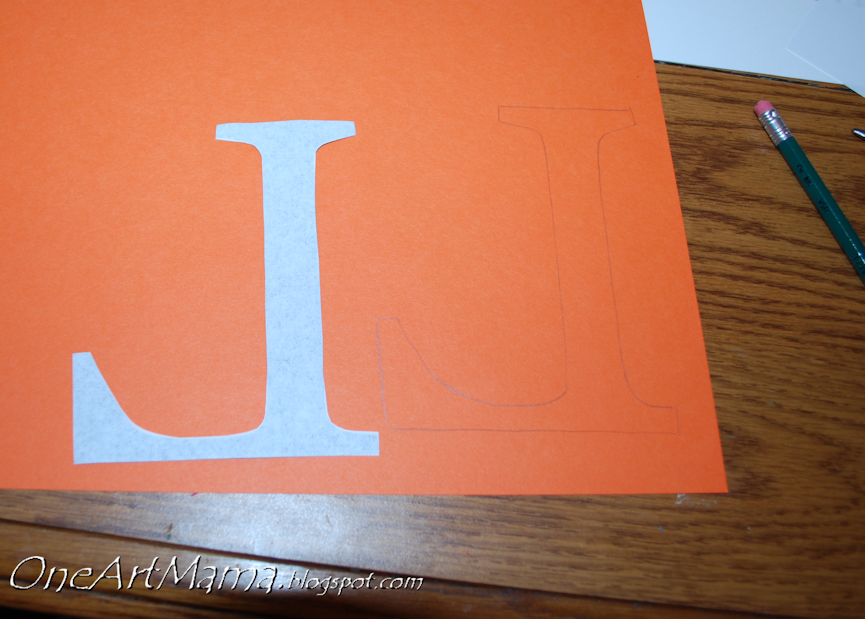
STEP 6: Cut out letter. Place upside down on colored cardstock, trace, and cut out. This part was my idea…the sample I saw just had the letter printed in black above the smaller words.
STEP 7: Adhere colored letter to white cardstock just above your small words. Trim cardstock if desired…I took about 1/4″ off of each side so more fabric would be visible around it.
STEP 8: Layer pieces on frame backing. (I took out our full last name in the pic for privacy reasons, but you get the idea).

STEP 9: Place in frame and hang as desired!
Noah was really excited about this, no doubt because he’s obsessed with the alphabet these days. He was running around saying, “da letter L, da letter L…” He really liked that it matched his blanket too.
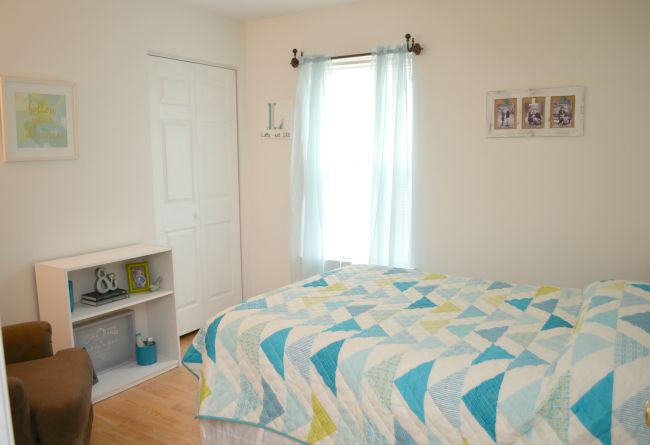
This was really quick and easy…so much so that I was able to do the whole thing while Noah was awake. I think it took about fifteen minutes, and some of that was due to printer issues (grrr!). It could easily be done with any fabric, any size, and for any letter or even combination of letters. The example I saw initially (pun intended) was three side by side frames spelling out “NYC.” I think it would make a neat wedding gift, using the couple’s last name for the initial, or a great baby shower gift if you know what the baby’s first name is going to be. Hint, hint, Matt and Jess, you better tell me…


Very nice…Great idea…
Goes well with his blanket and pillow…