Lettering, quilting, and crafting a beautiful life one project at a time
Browse by type:


Get the latest in your inbox!
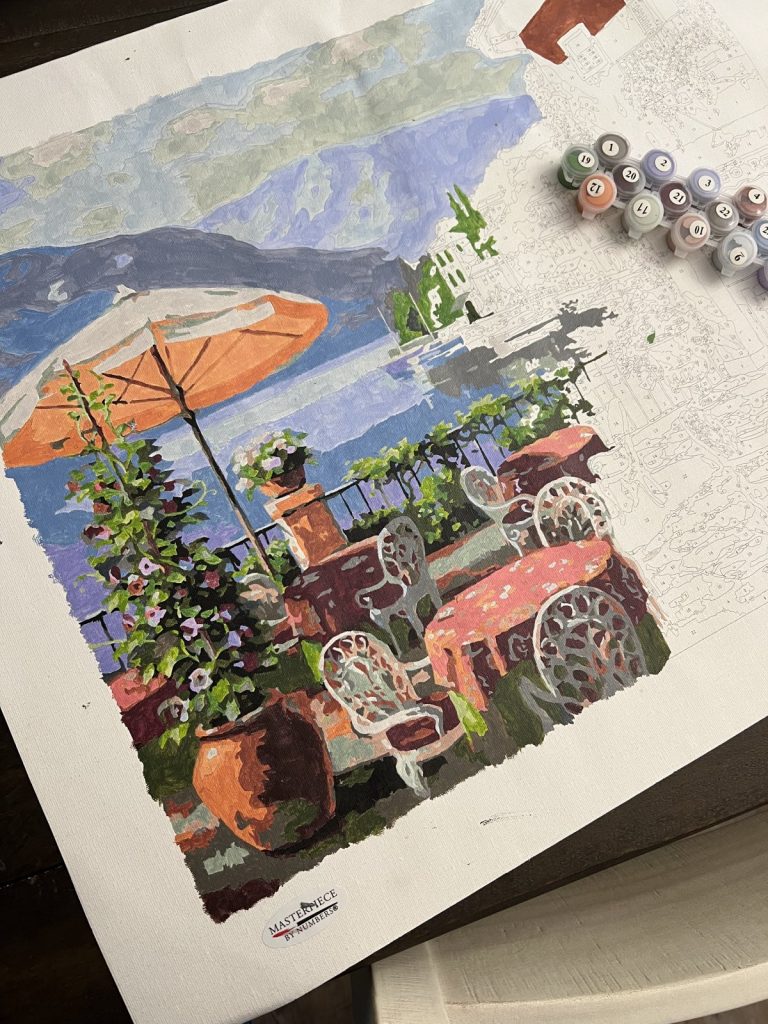
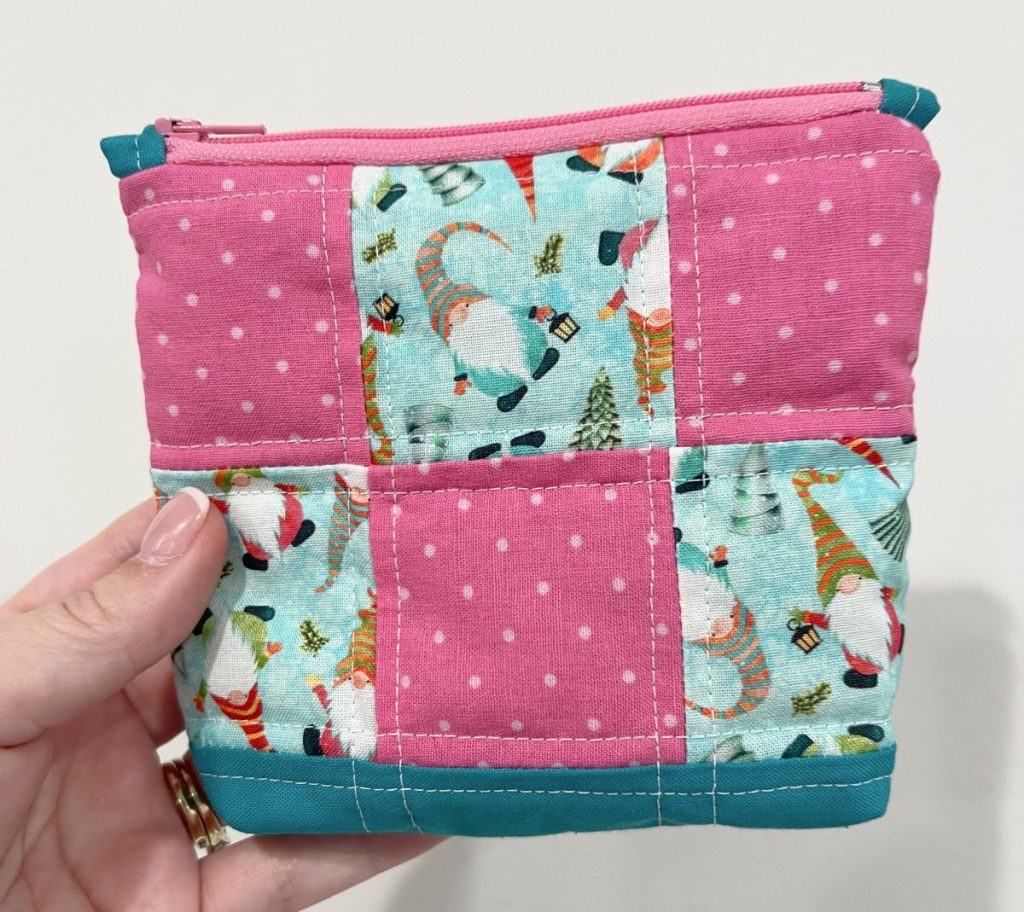
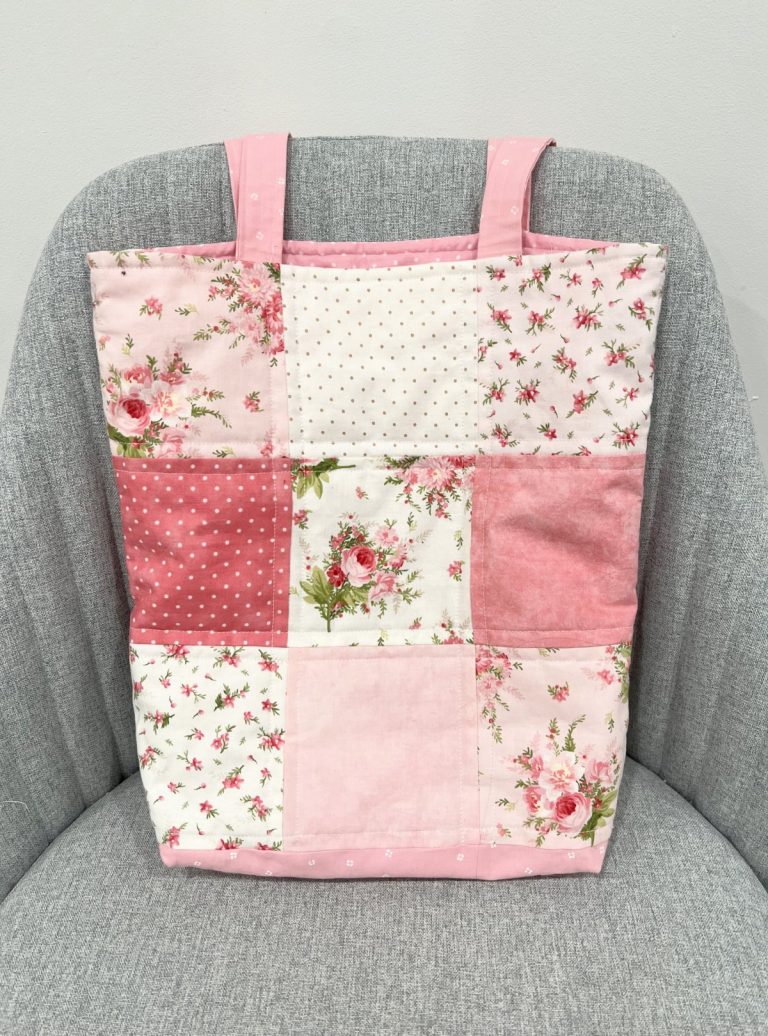
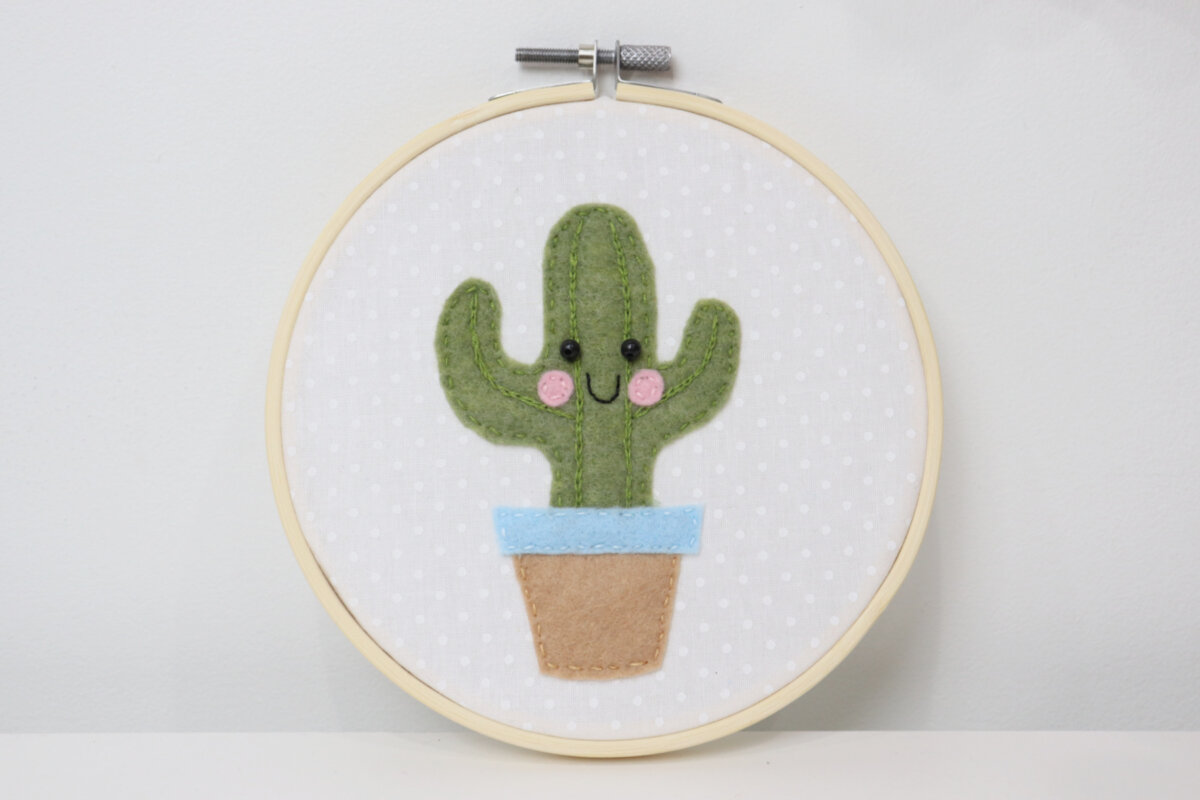
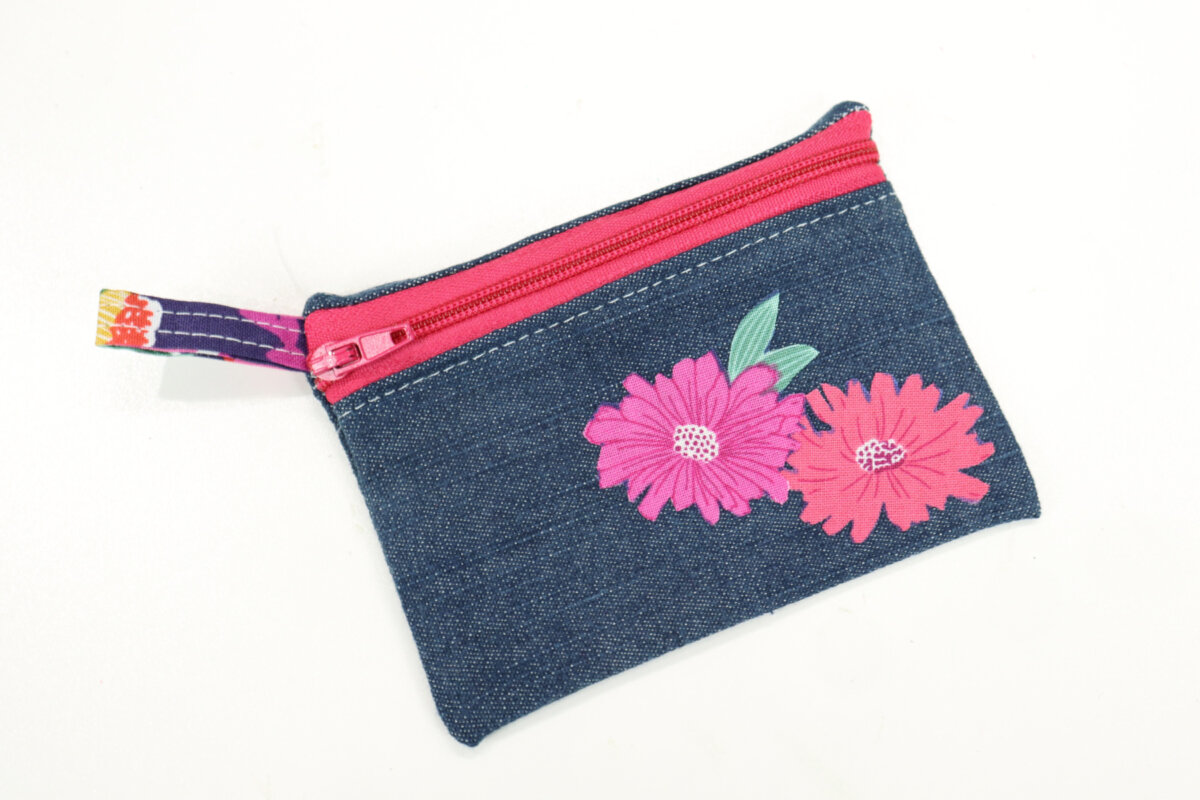
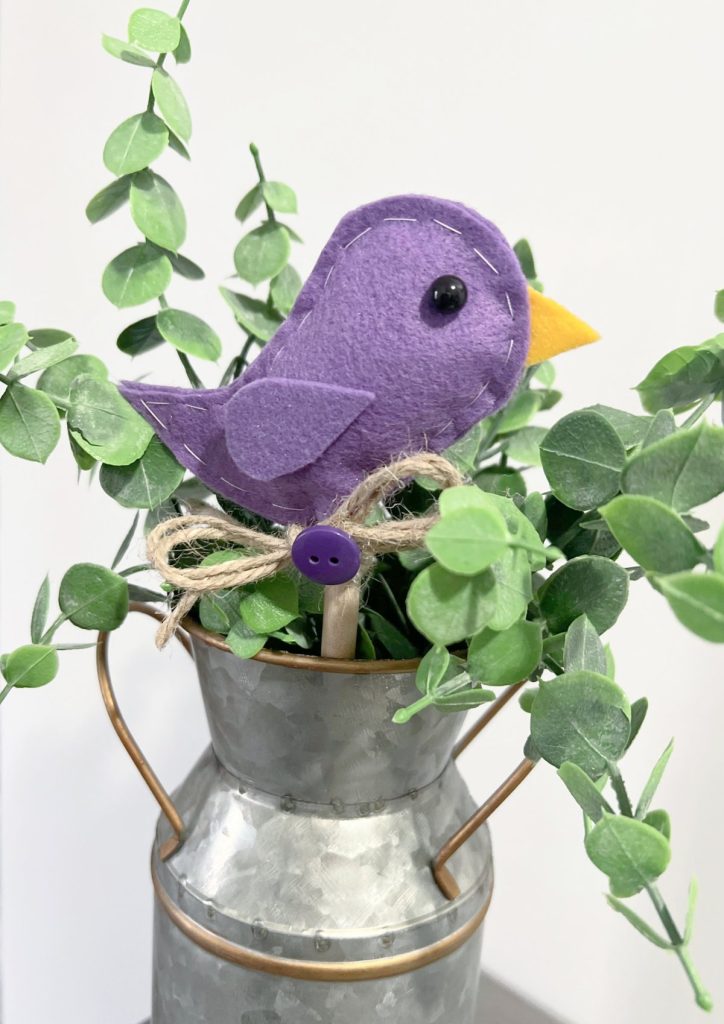
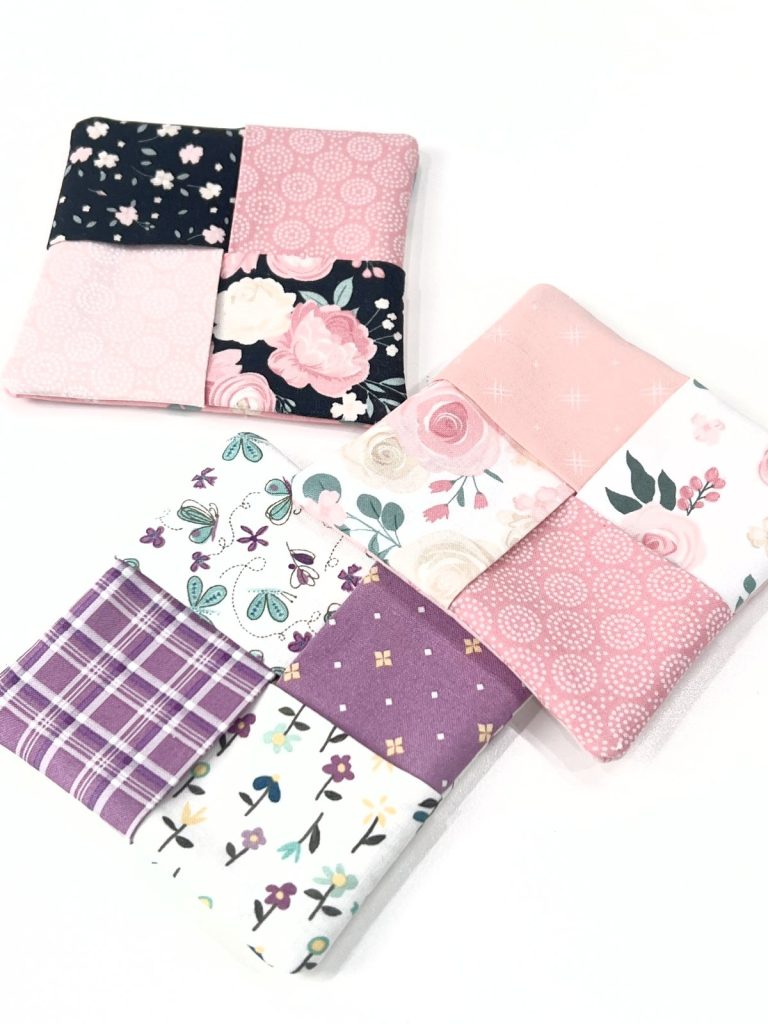
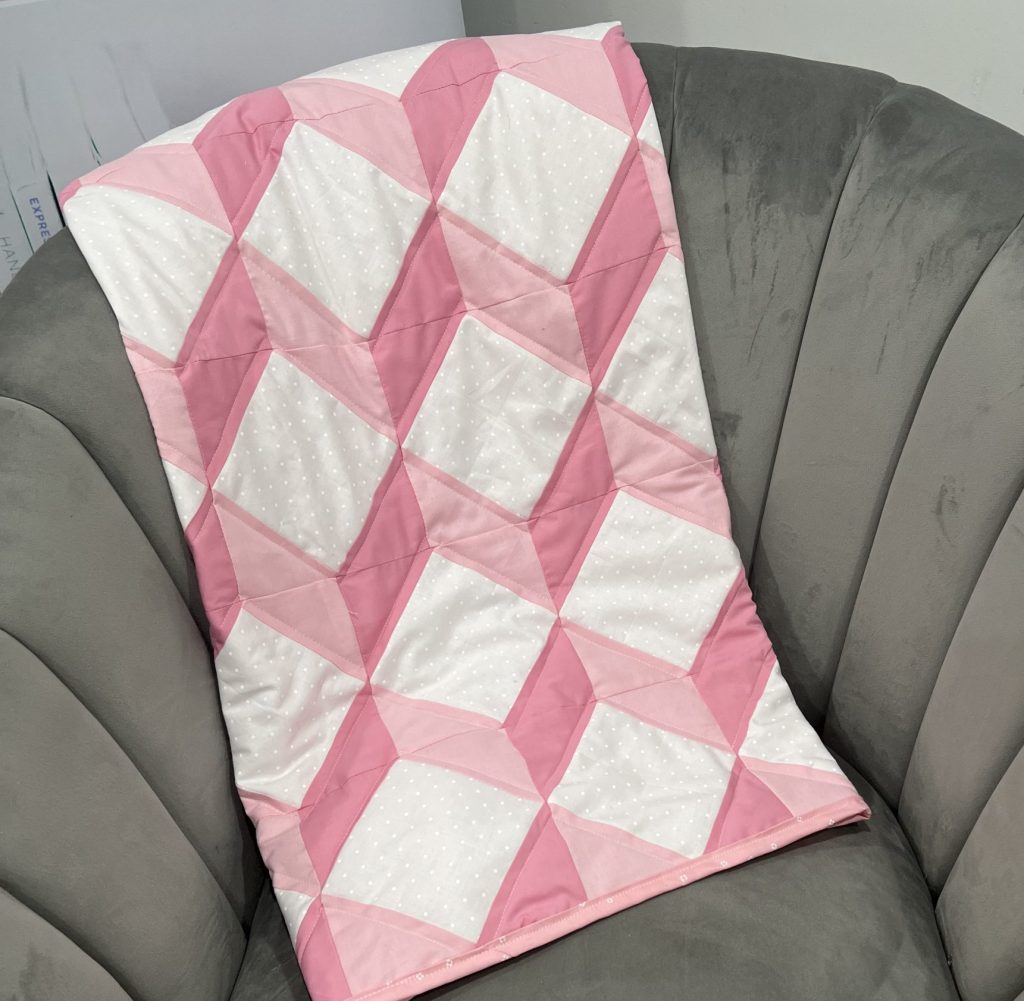
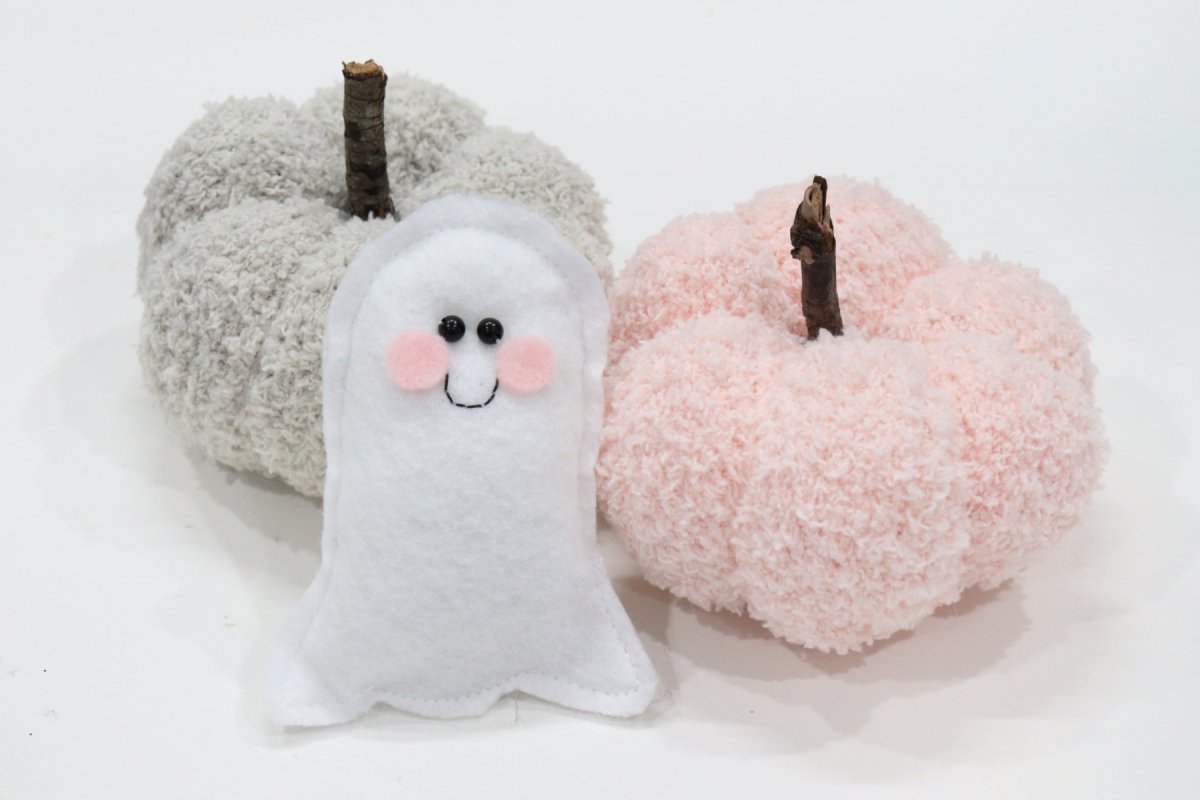
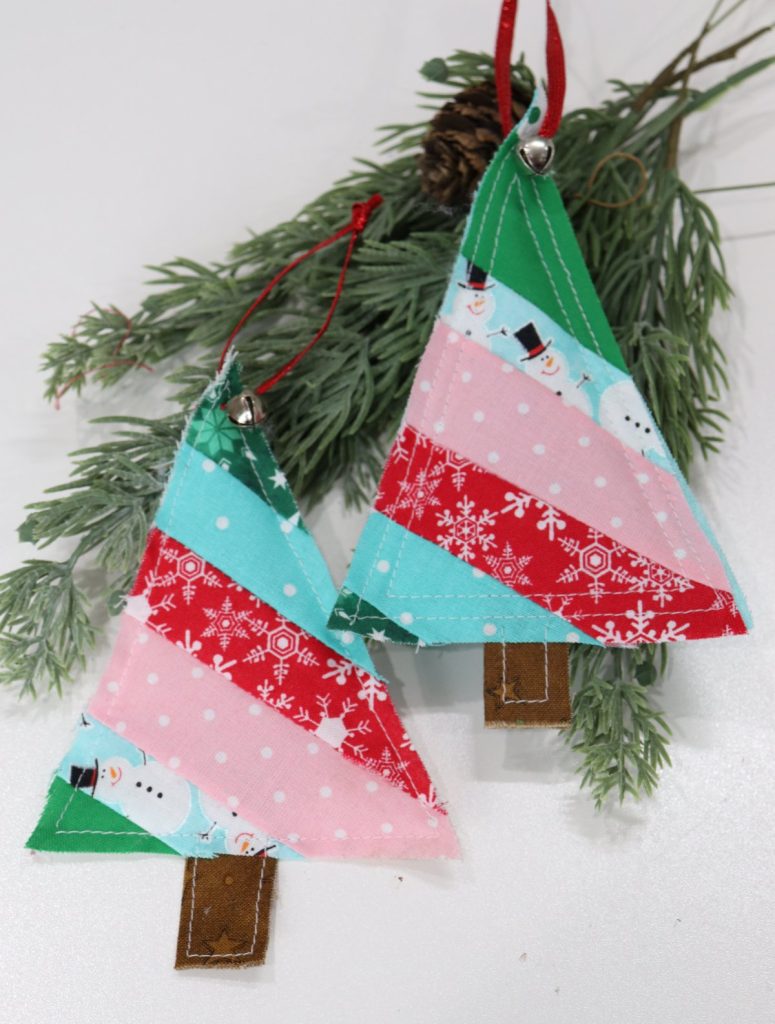
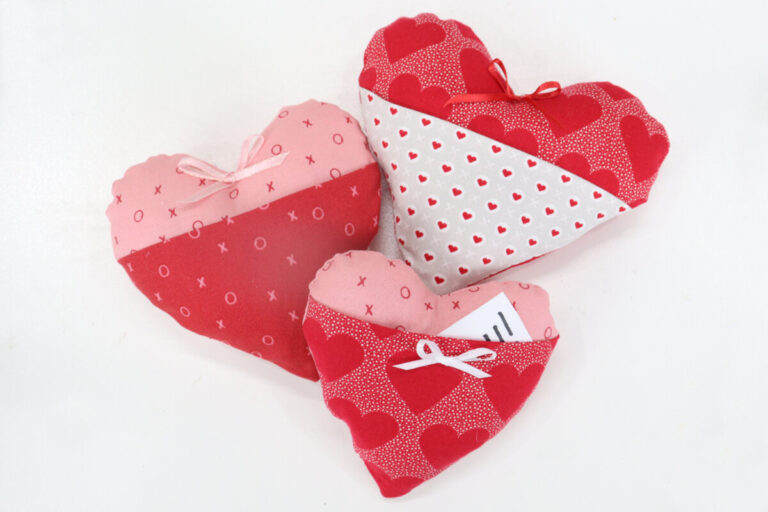
Poly-Fil with Joy Challenge
Are you ready to create projects that bring JOY? Let’s start with the reason why you’re probably here – the two patterns featured on the backs of your Poly-Fil bags!
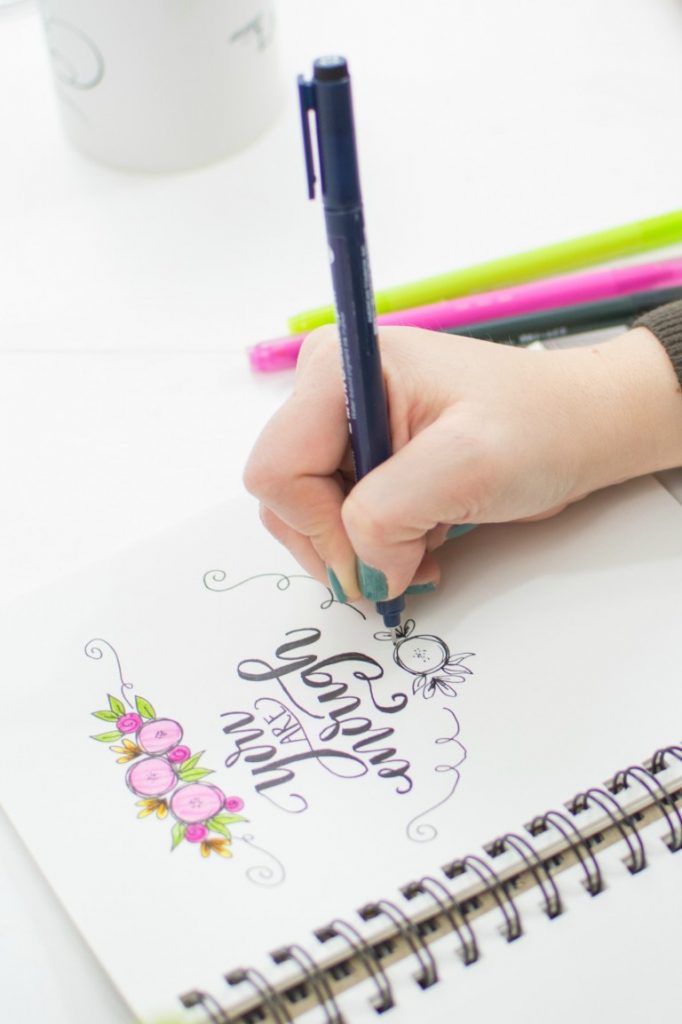
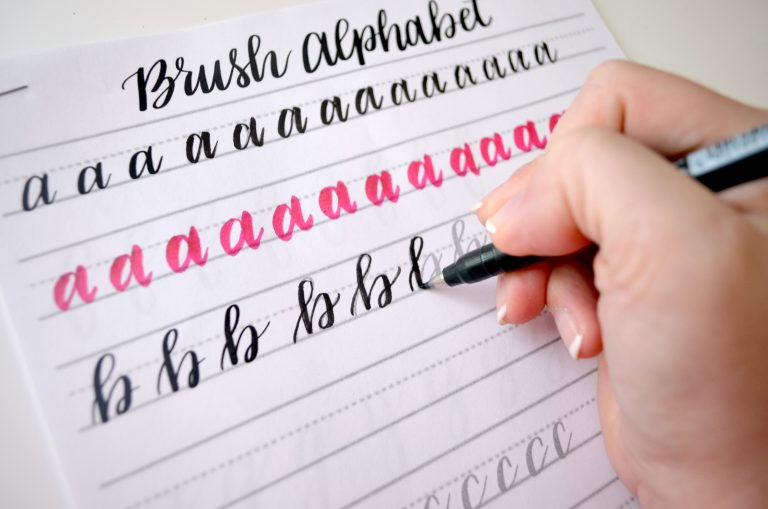
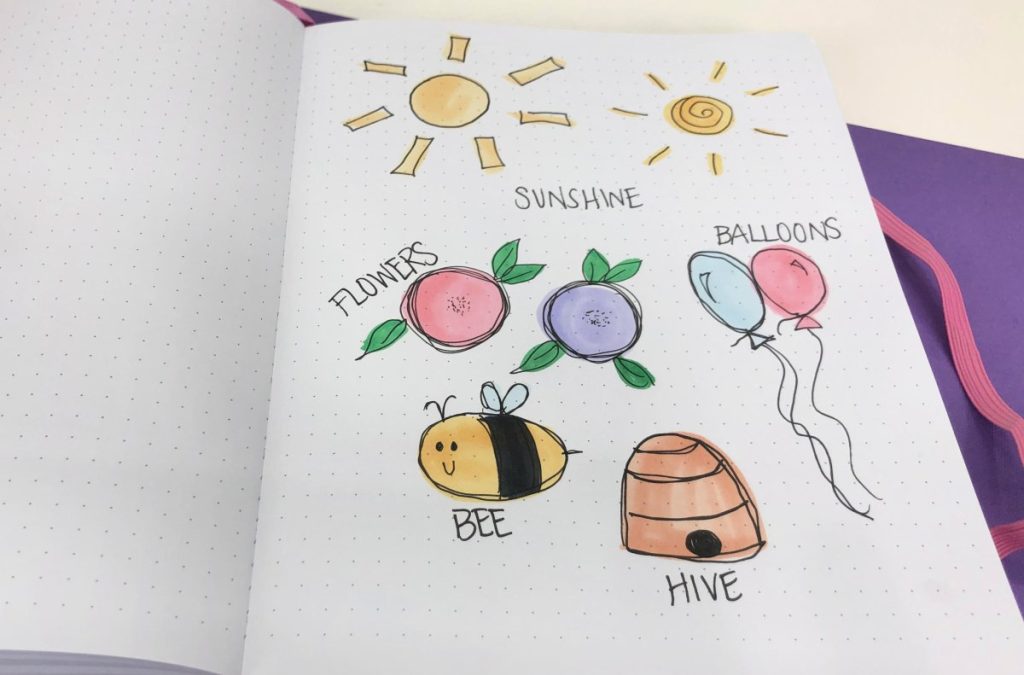
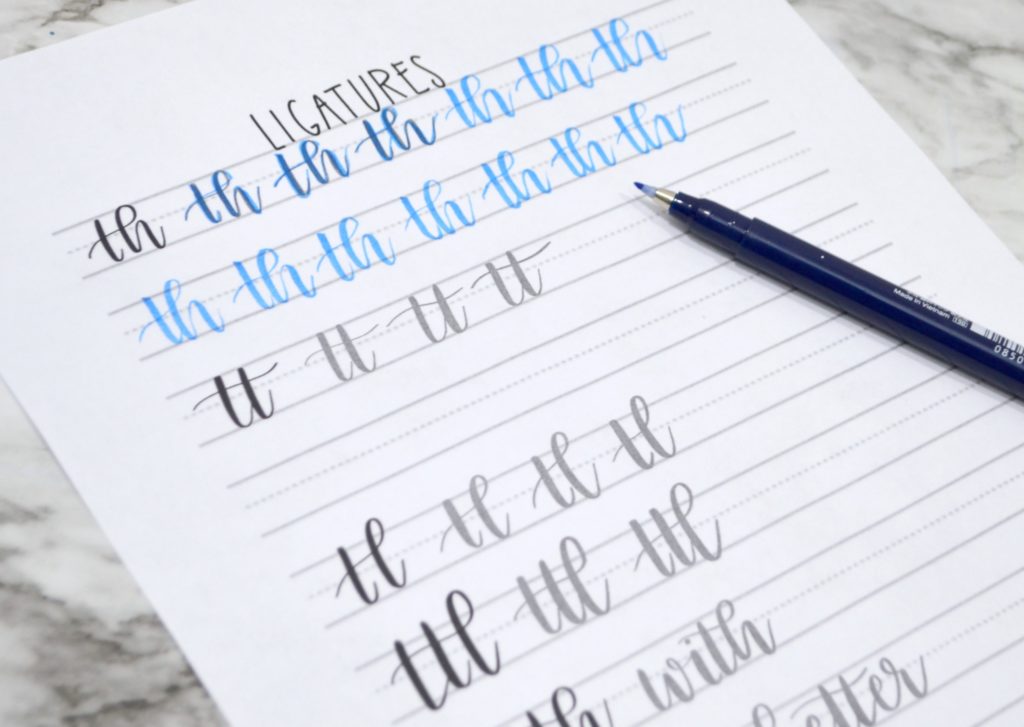
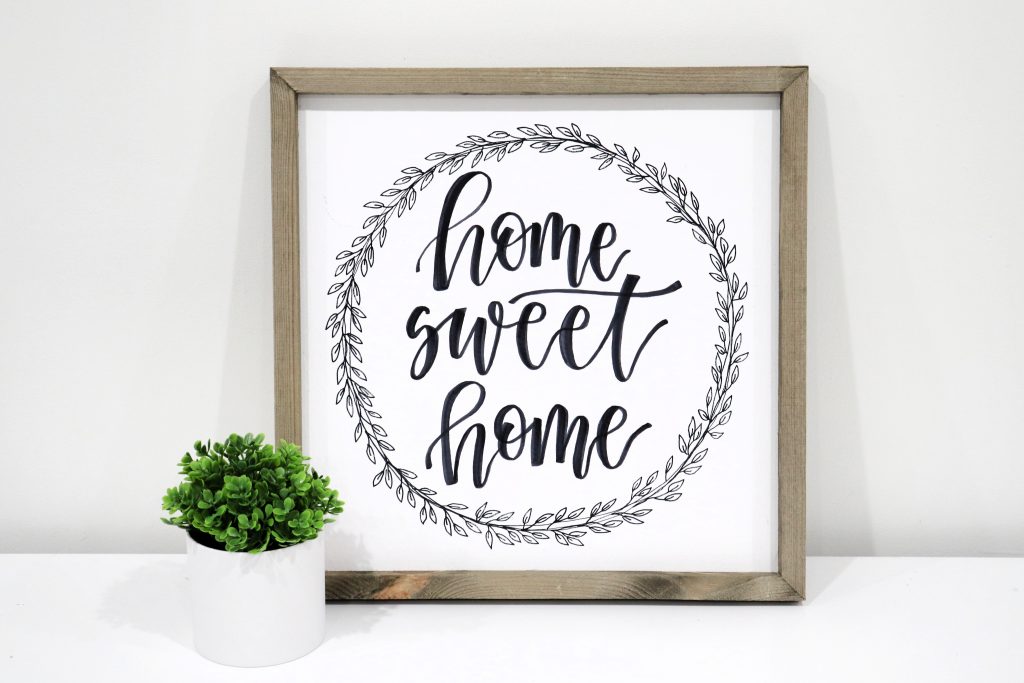
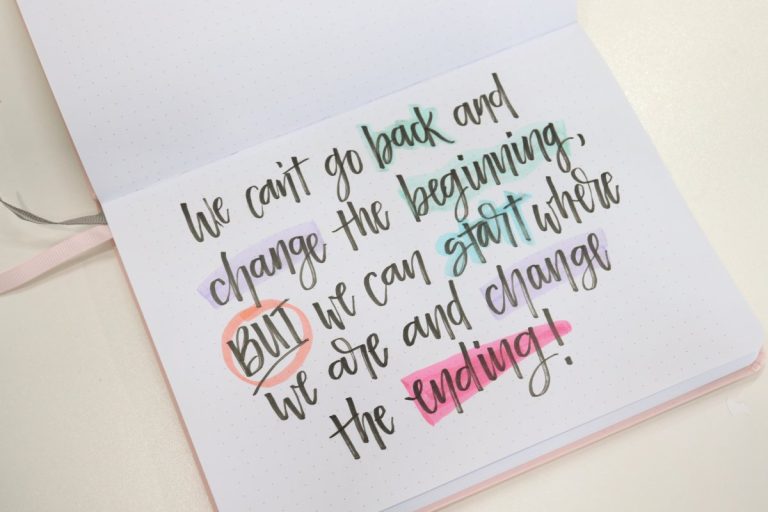
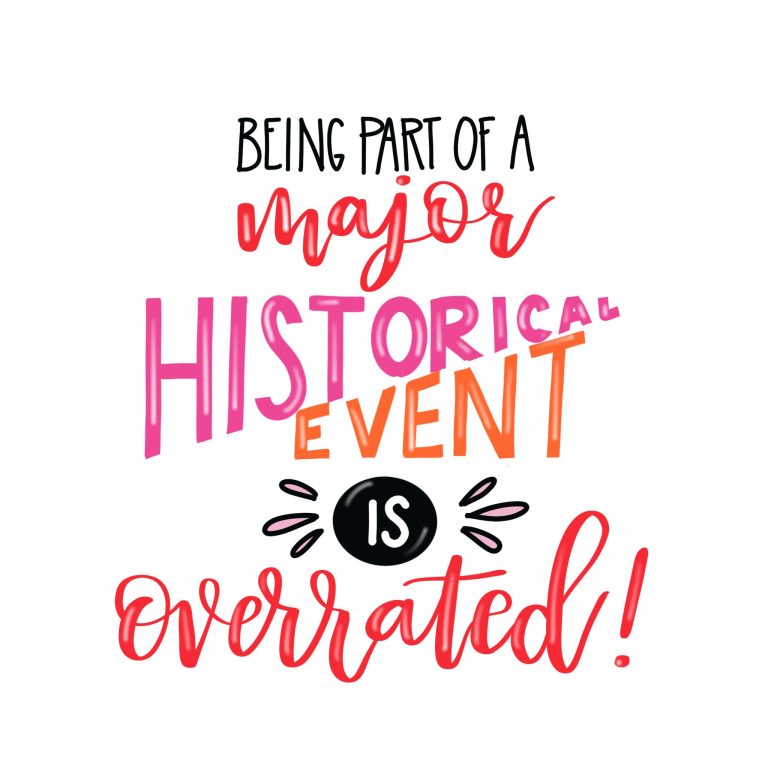
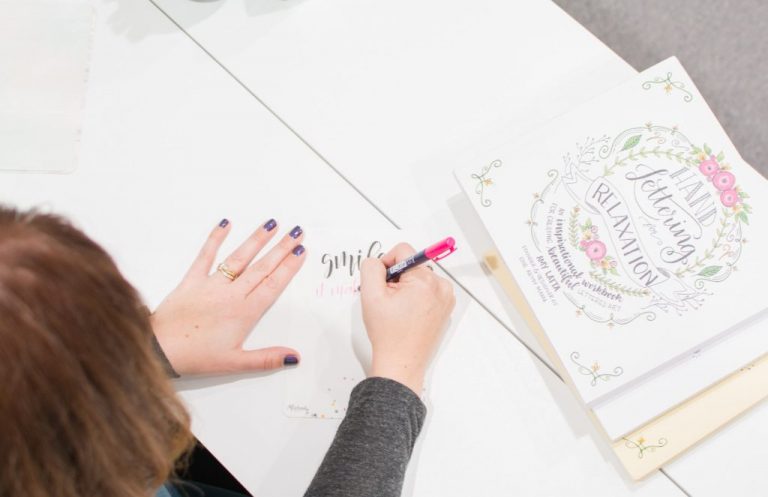
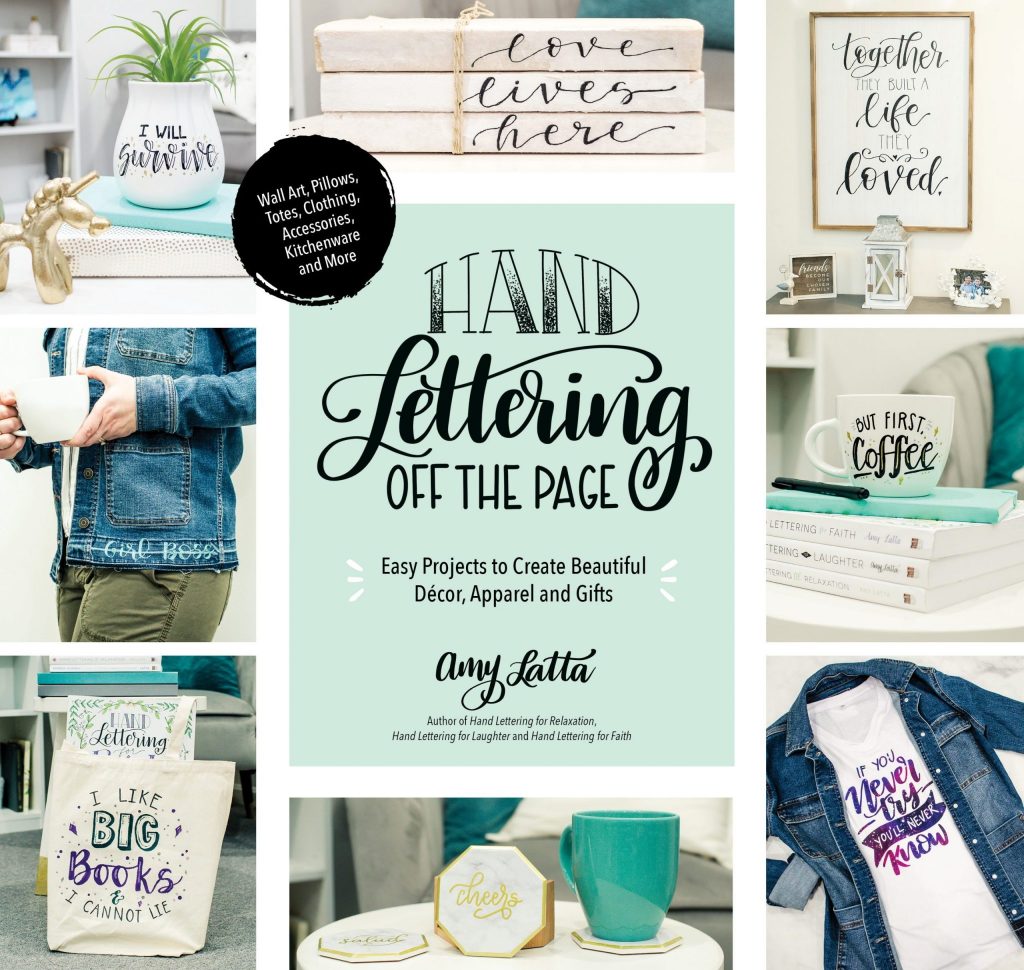
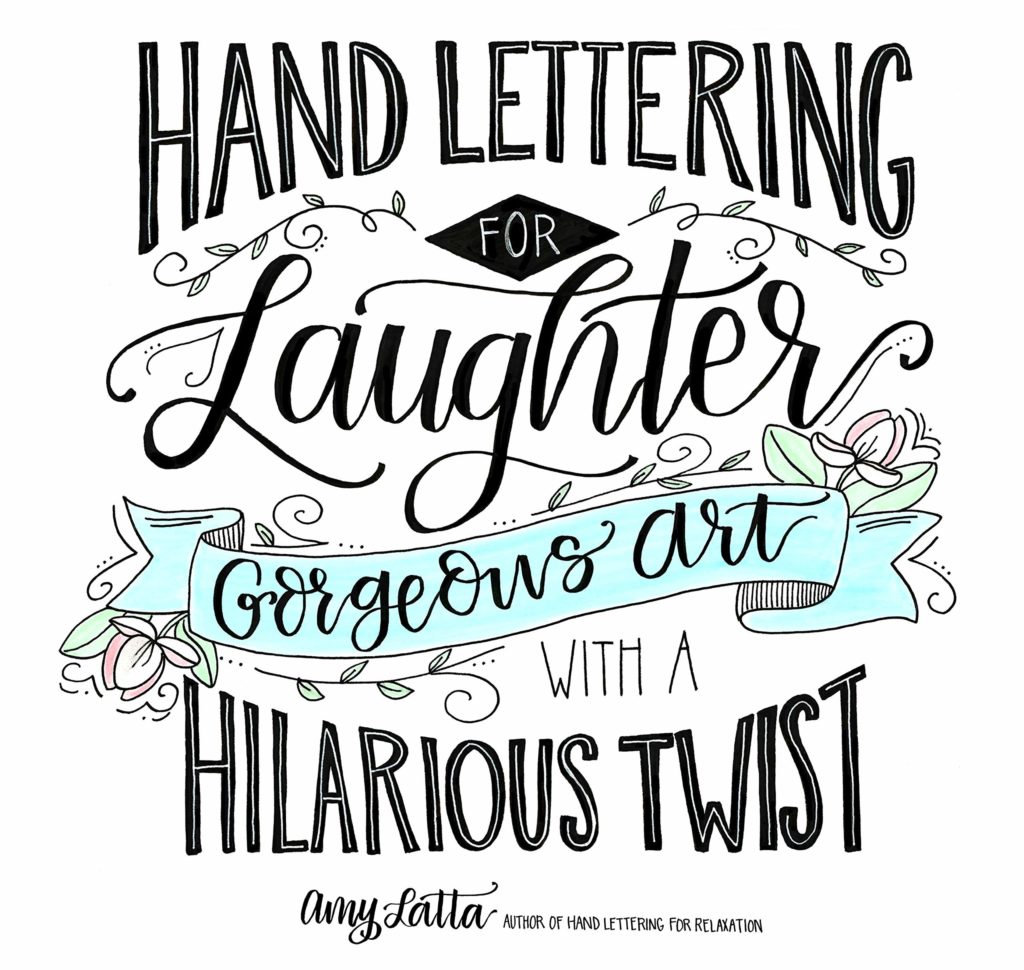
Hand Lettering Practice and Tutorials
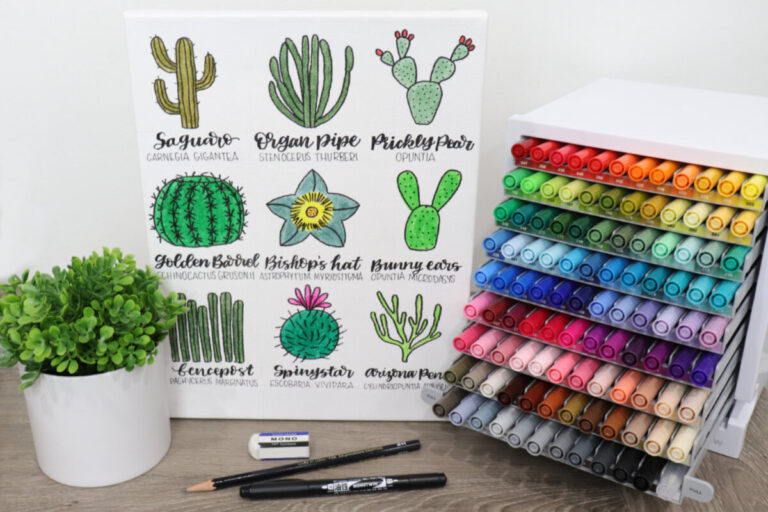
Ready to start your lettering journey or looking to add some new techniques to your repertoire? Here’s a collection of hand lettering tutorials to help you reach your goals!


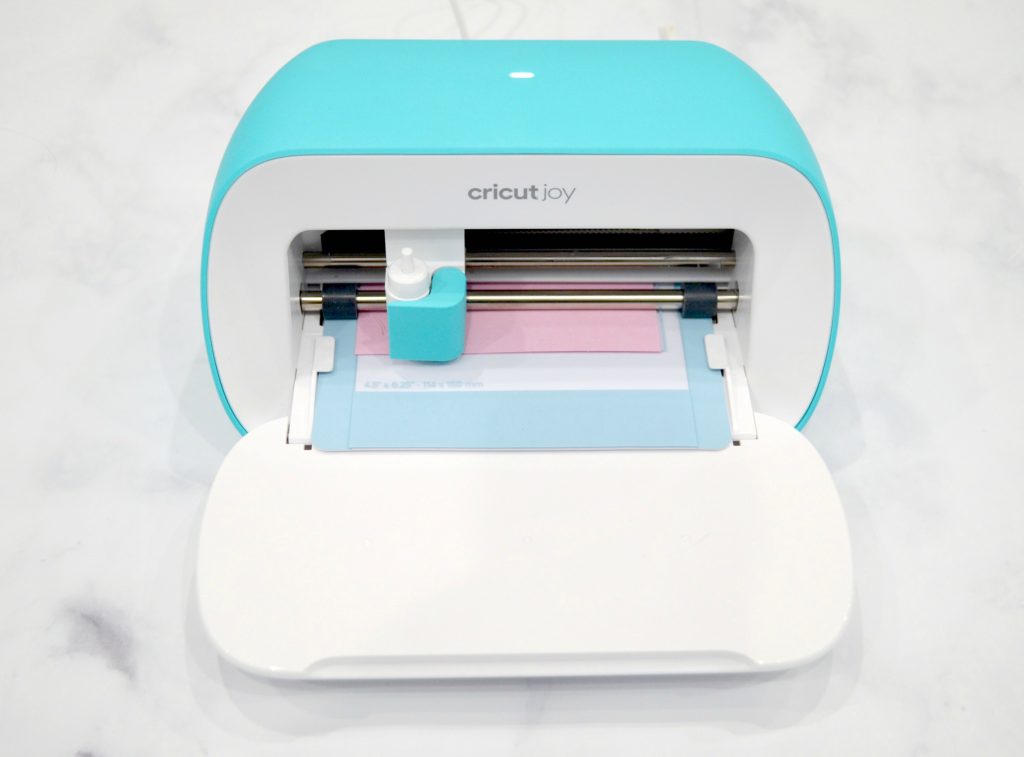
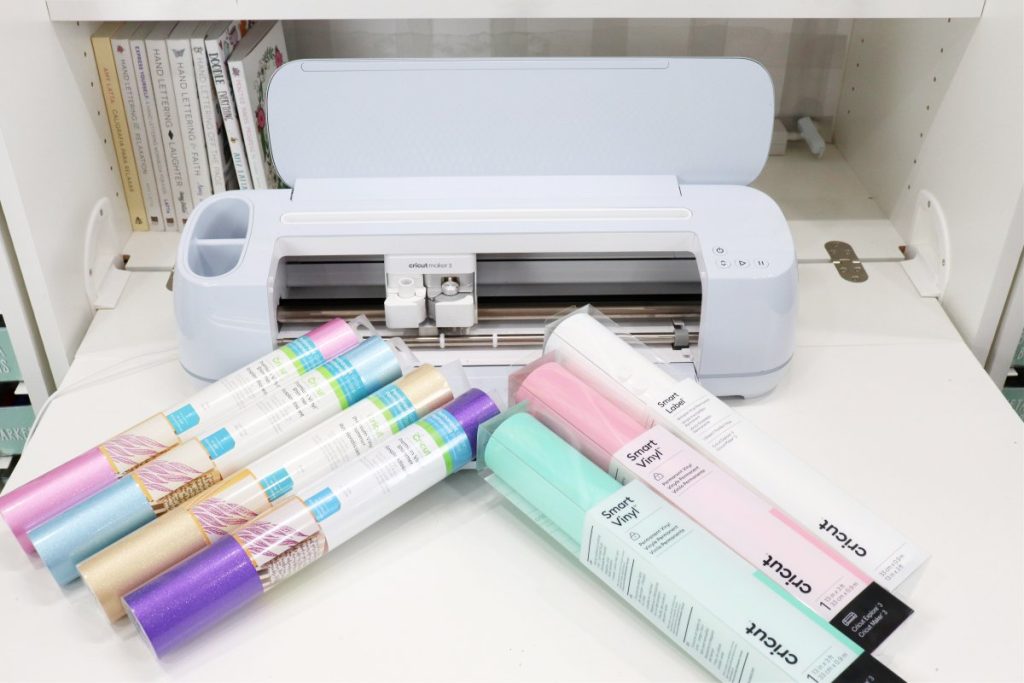
Just getting started with your new Cricut? Learn how to use it with an easy tutorial!
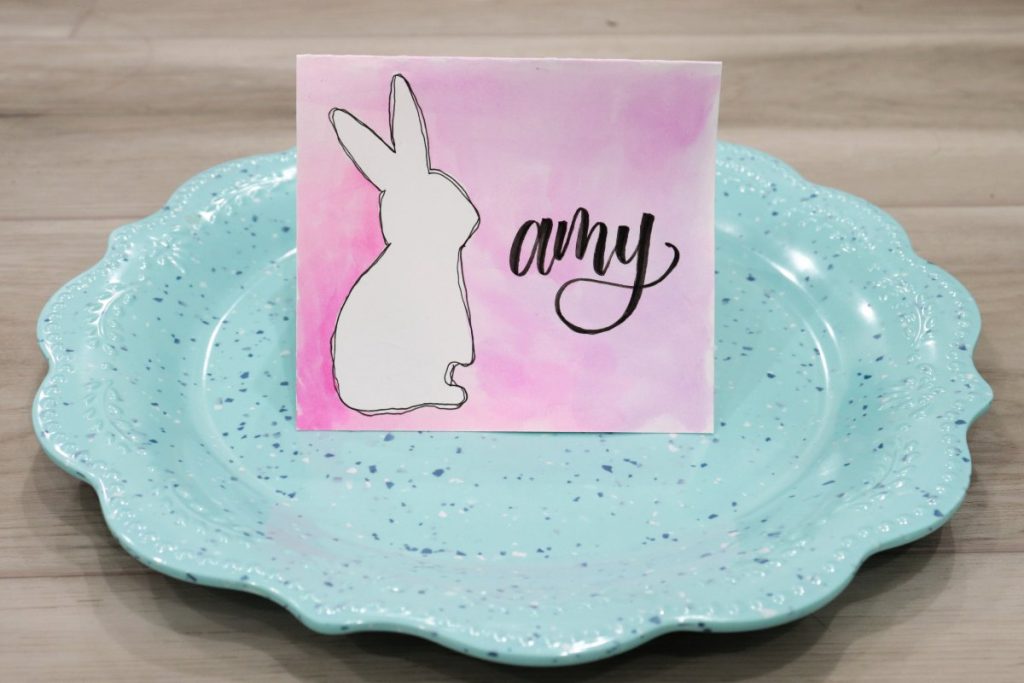
Easy Homemade Cards with Cricut Joy. Creating a homemade card is easier than ever before with the brand new Cricut Joy Insert Cards! Each pack comes with 10-12 pre-cut, pre-folded cards, along with the same number of inserts and envelopes to make card-making a breeze. Here’s what you need to get started.
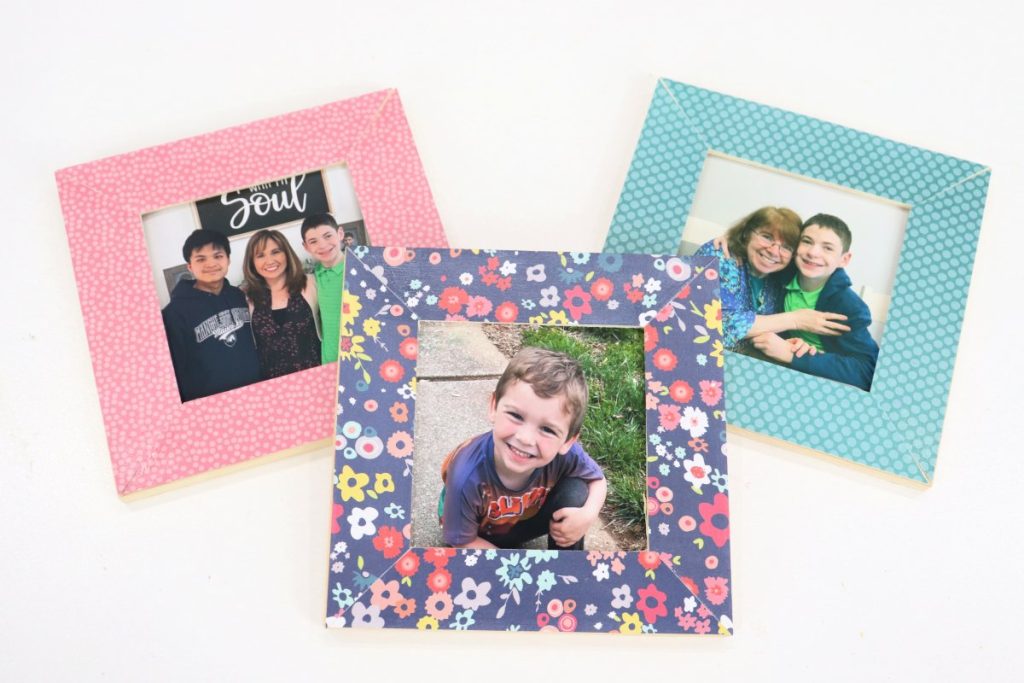
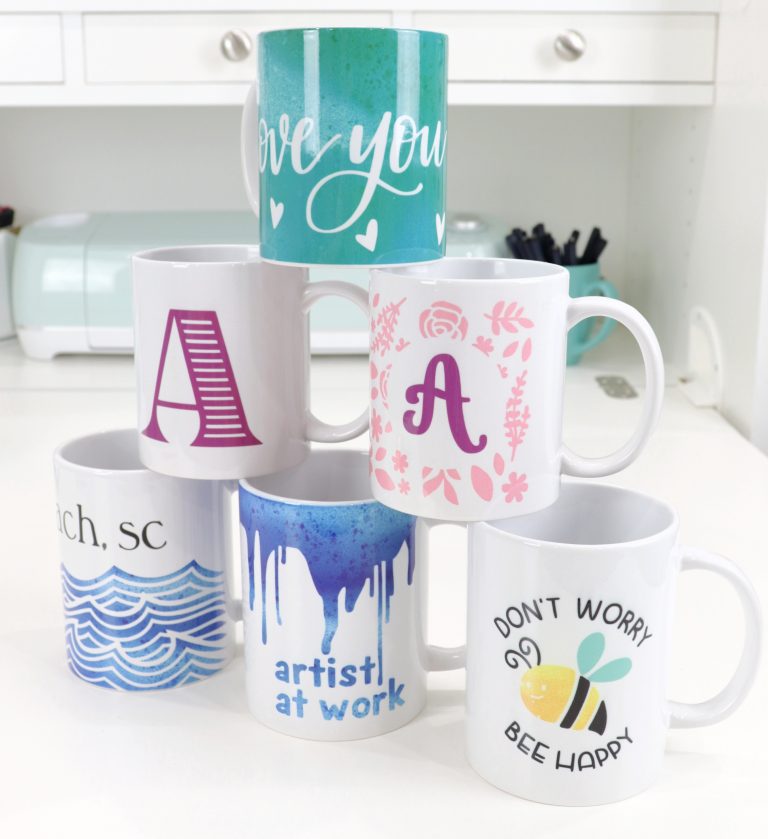
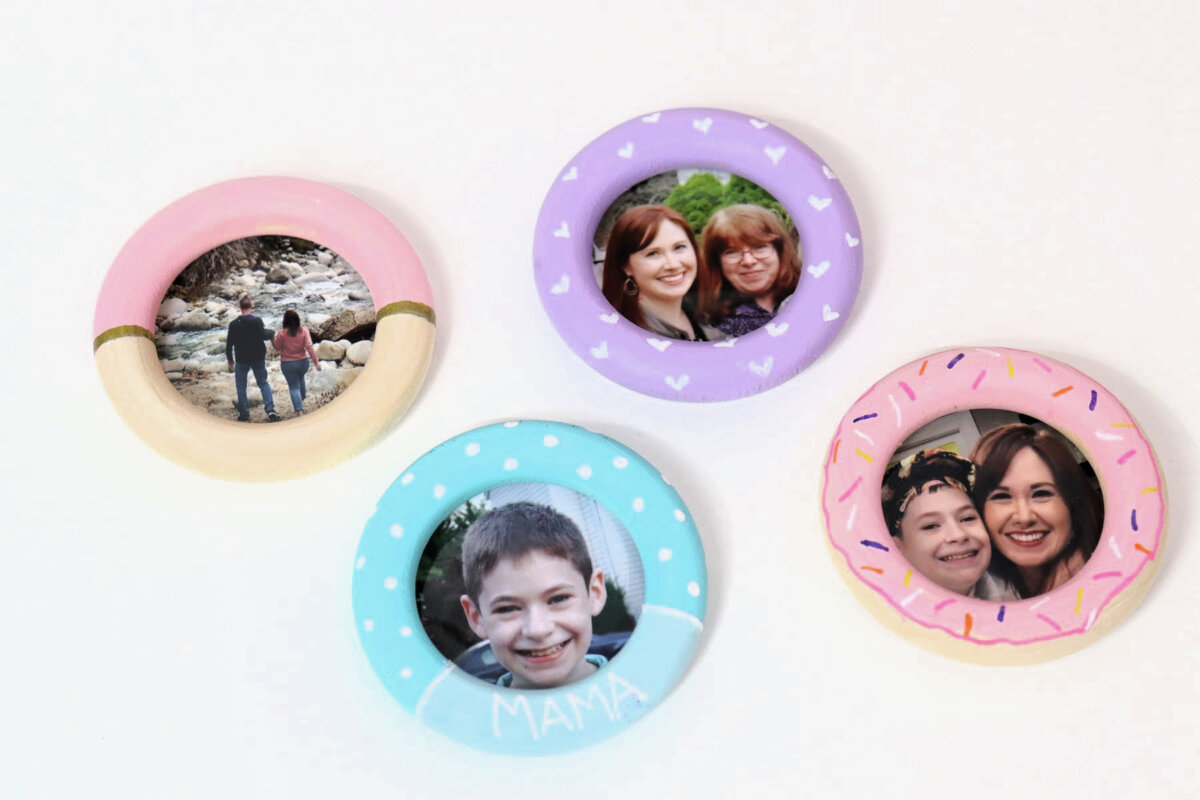
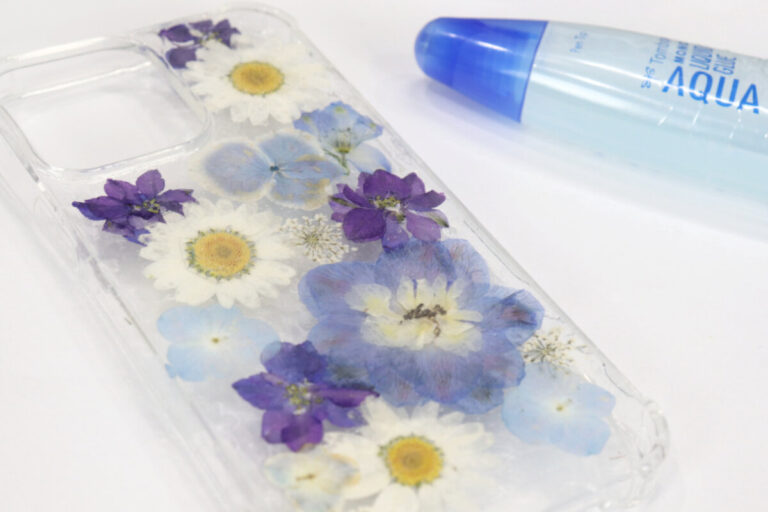
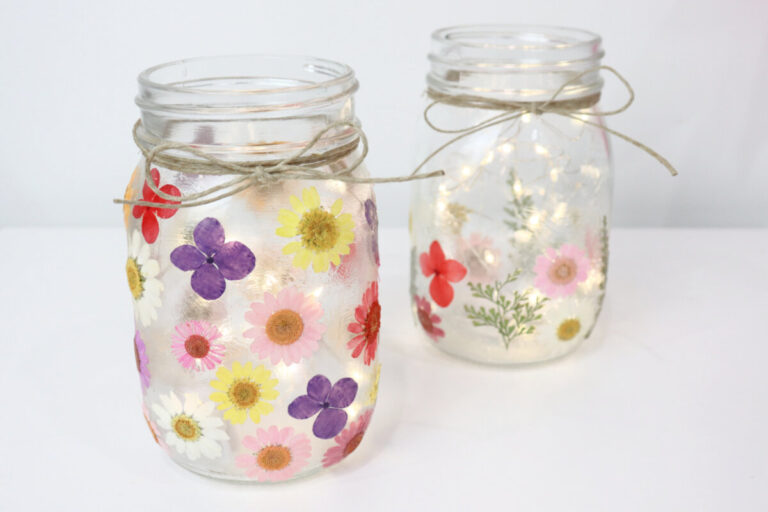
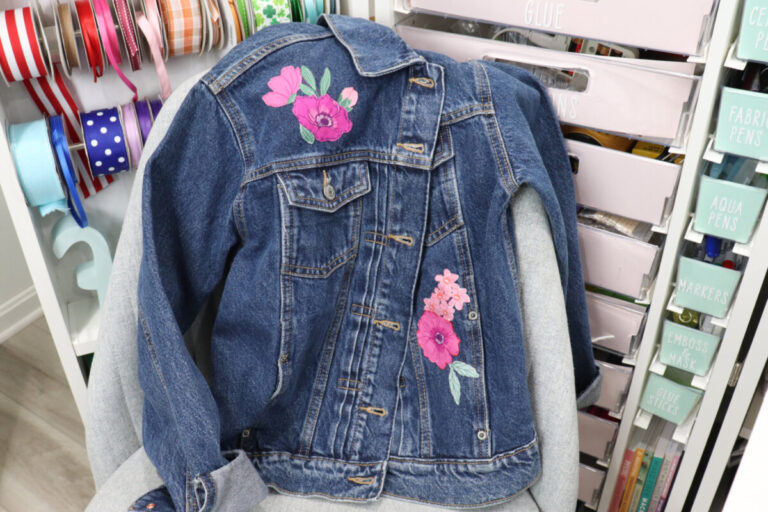
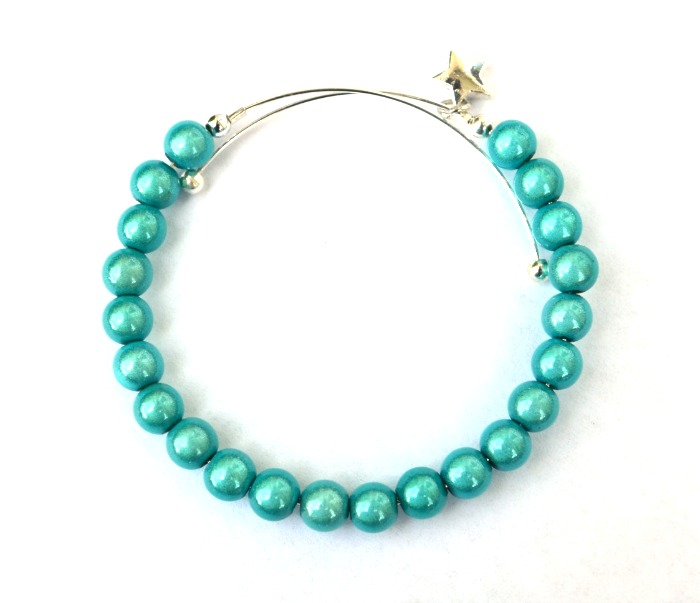
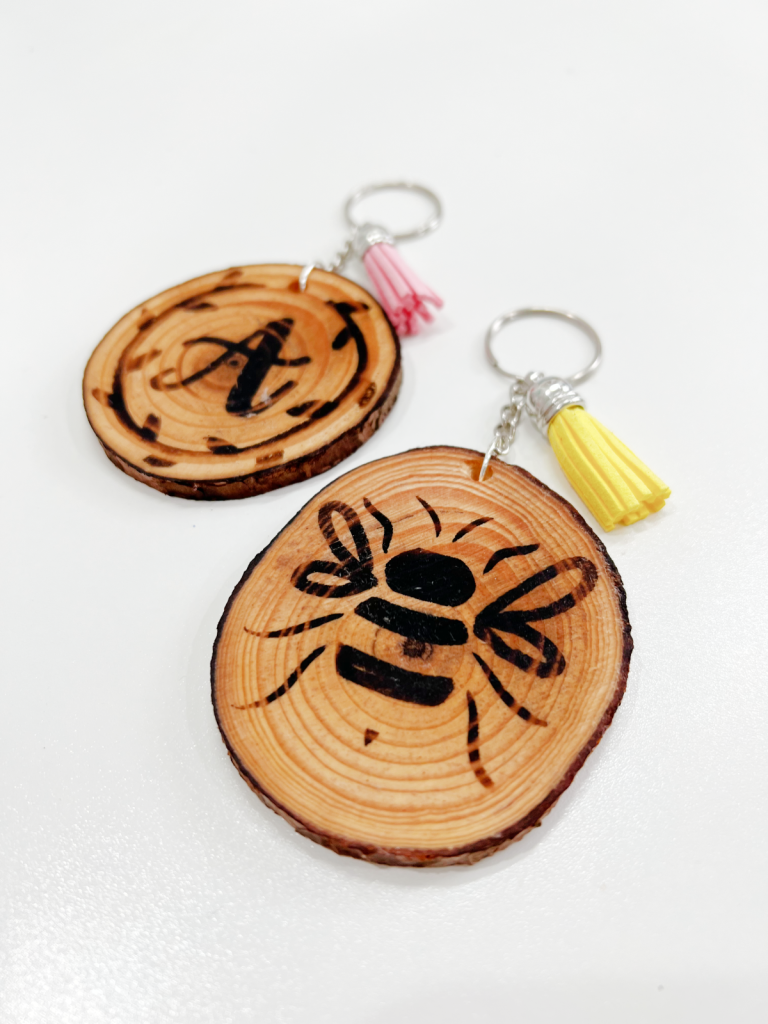
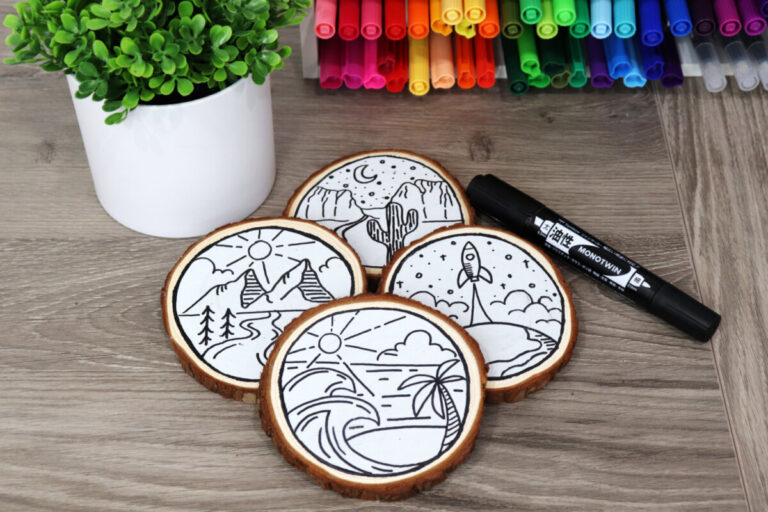
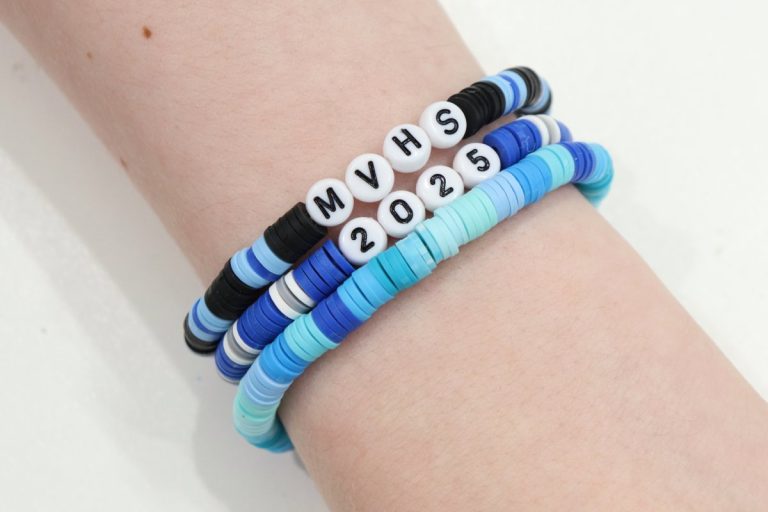
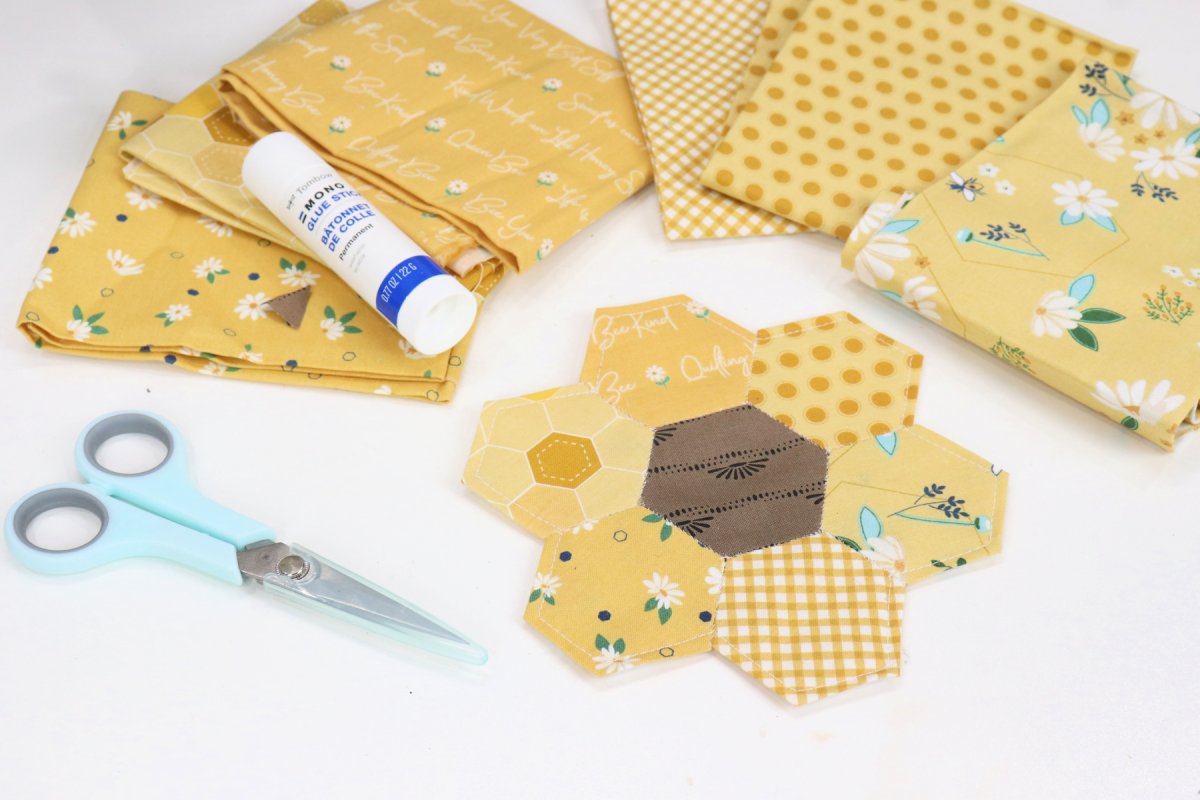
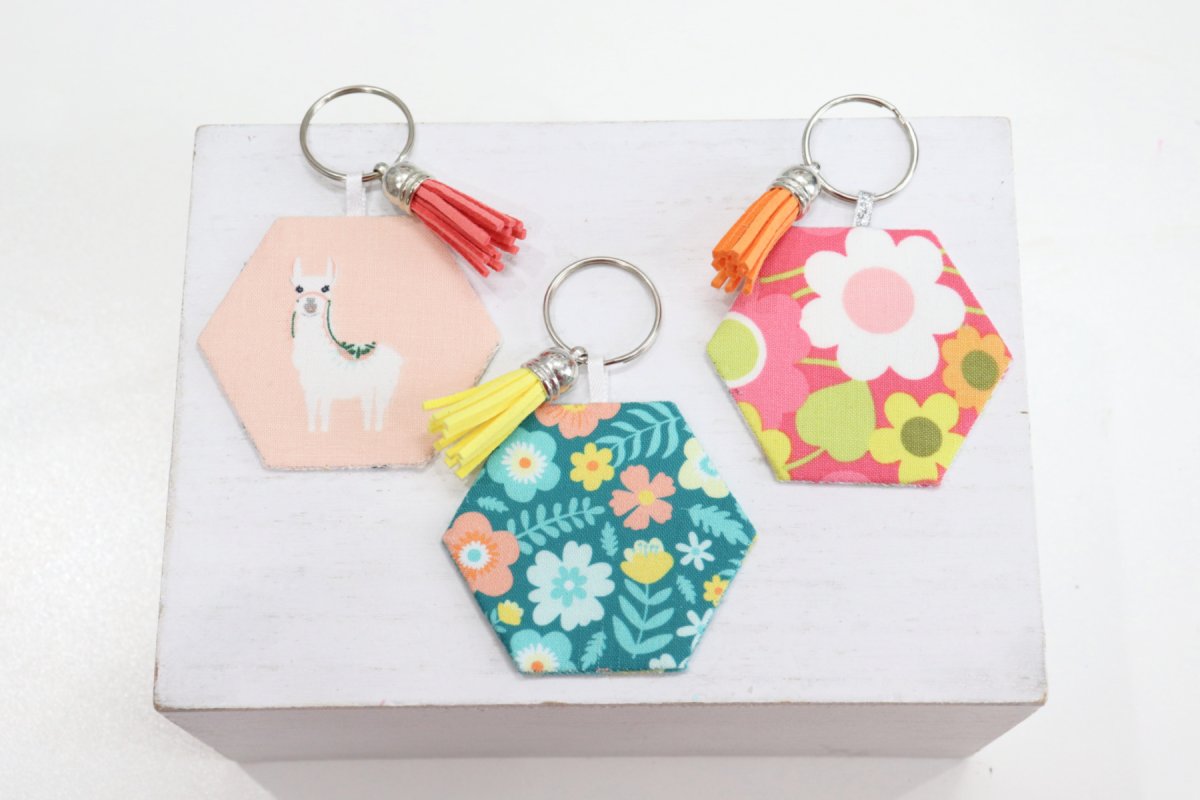
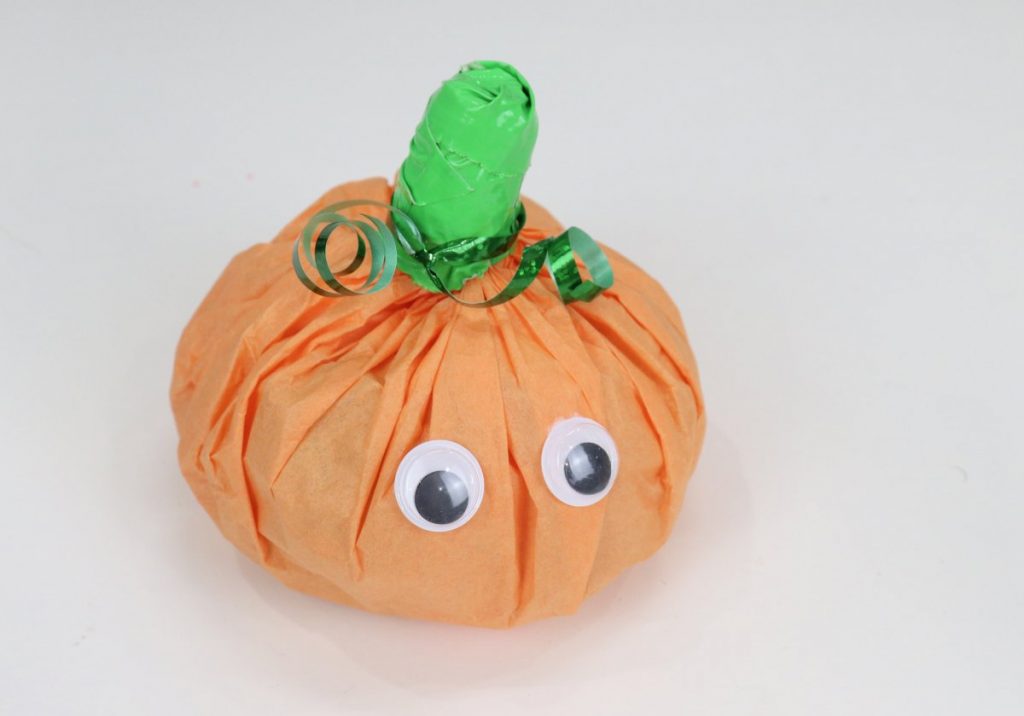
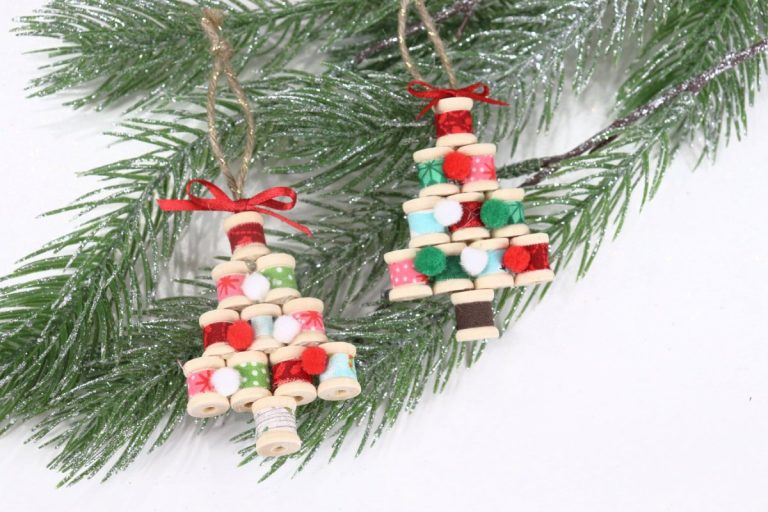
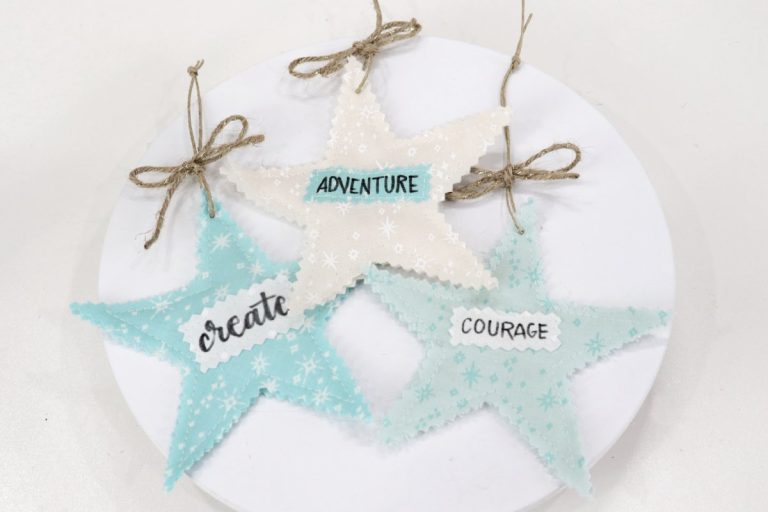
Fun & Easy Craft Projects for the Whole Family
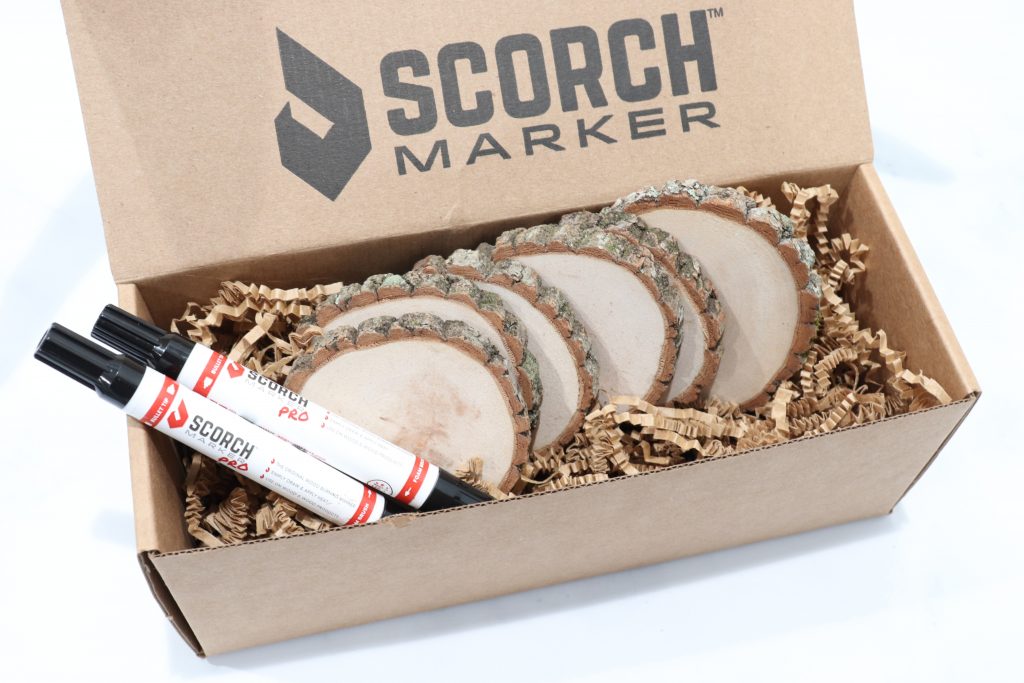
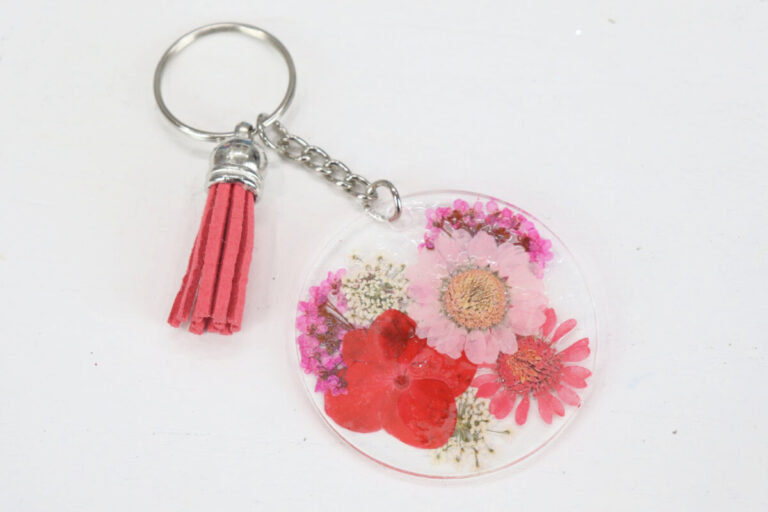
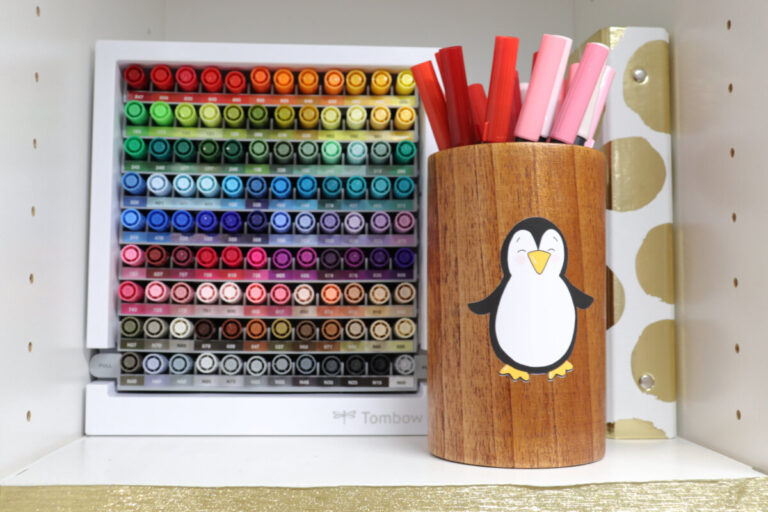
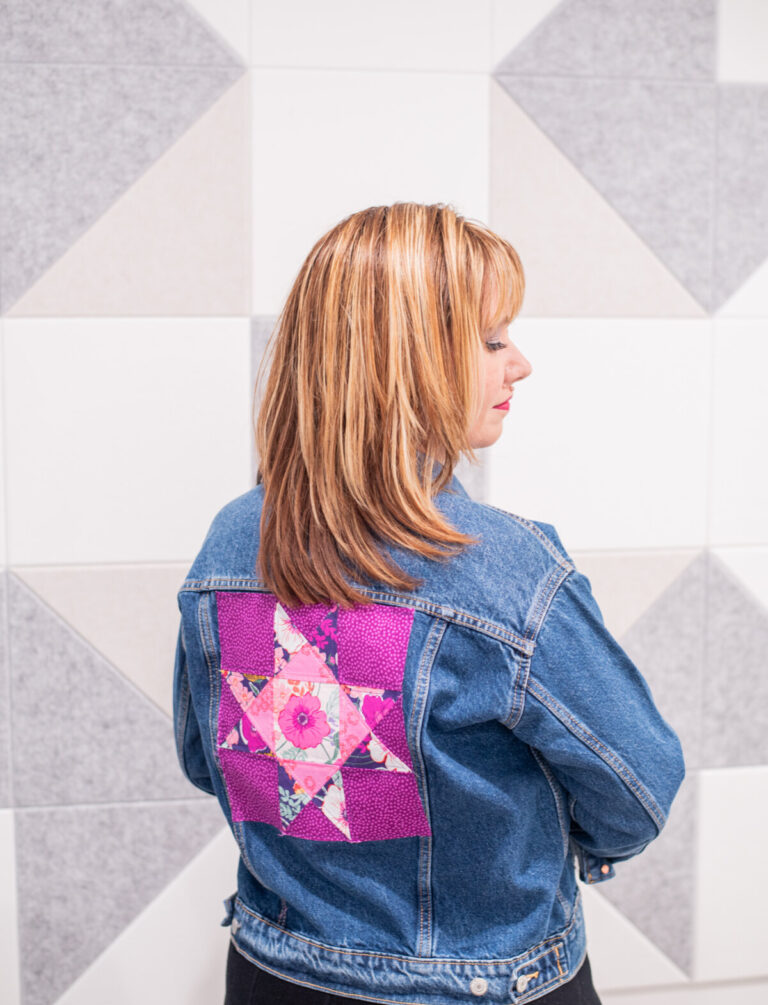
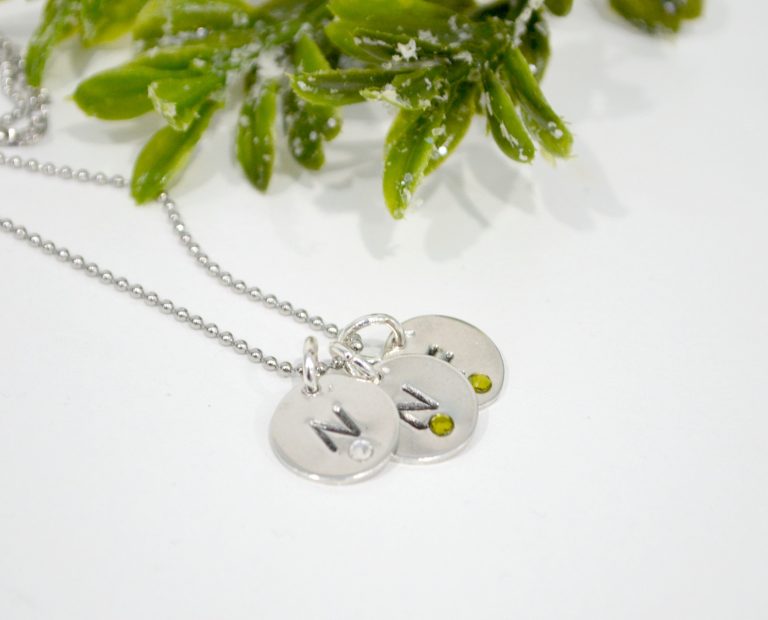
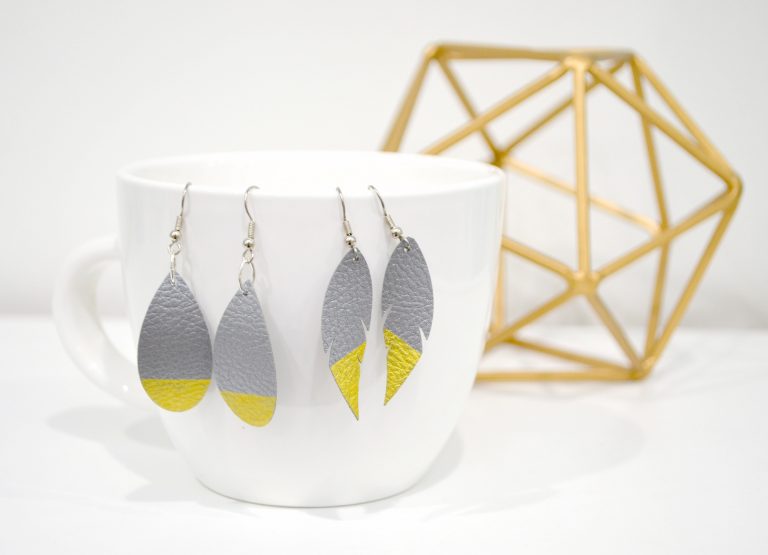
No matter what craft supplies you enjoy working with, here are project ideas for creators of all ages! Learn to make your own jewelry, use the Cricut for personalized decor and gifts, work with wood, and more.
Meet the author
Welcome! I'm Amy!
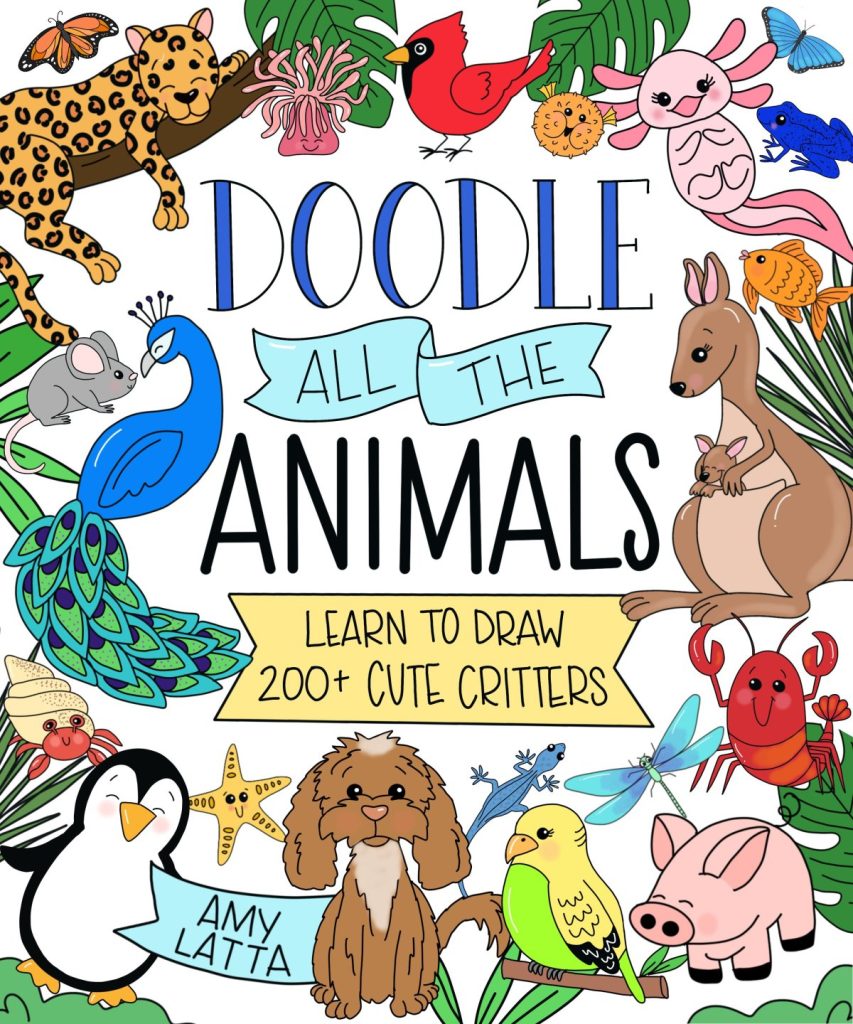
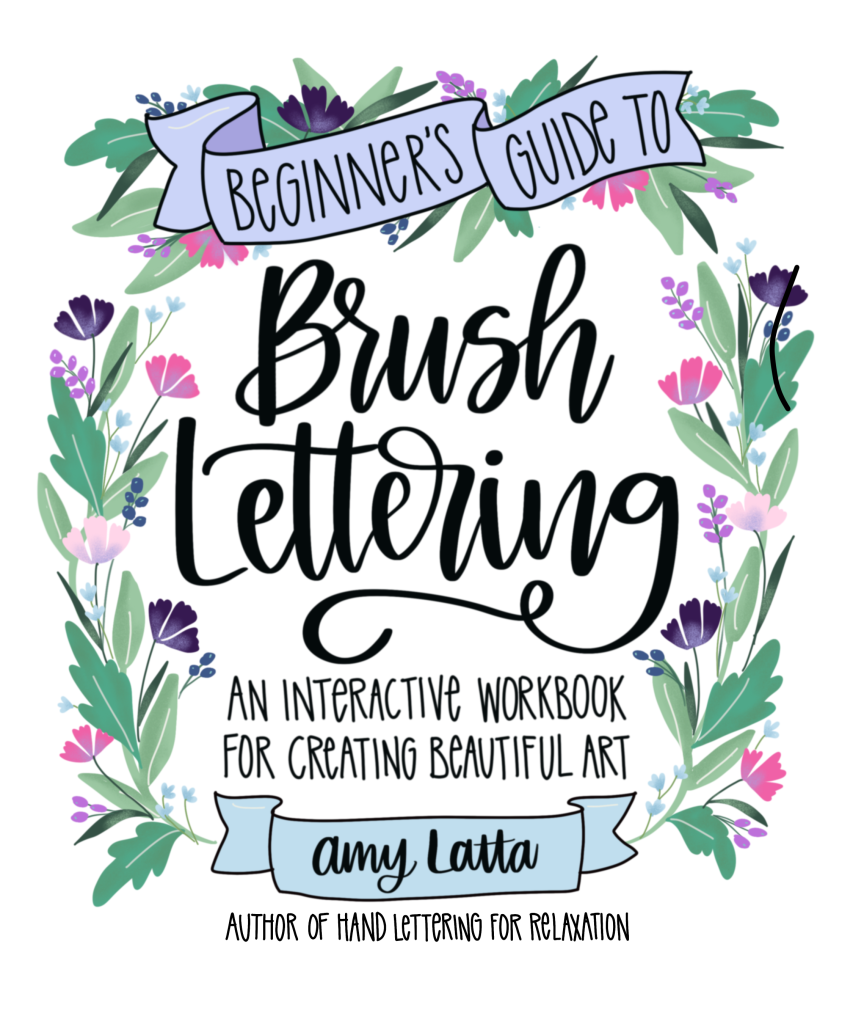
Lover of all things creative. Passionate about Jesus and my family. Married to my best friend, mama of two teenage boys. Craft expert for a variety of lifestyle shows nationwide. Author of nine books on hand lettering, creativity, and doodles. Addicted to iced coffee. I’m so glad you’re here.
As seen in:


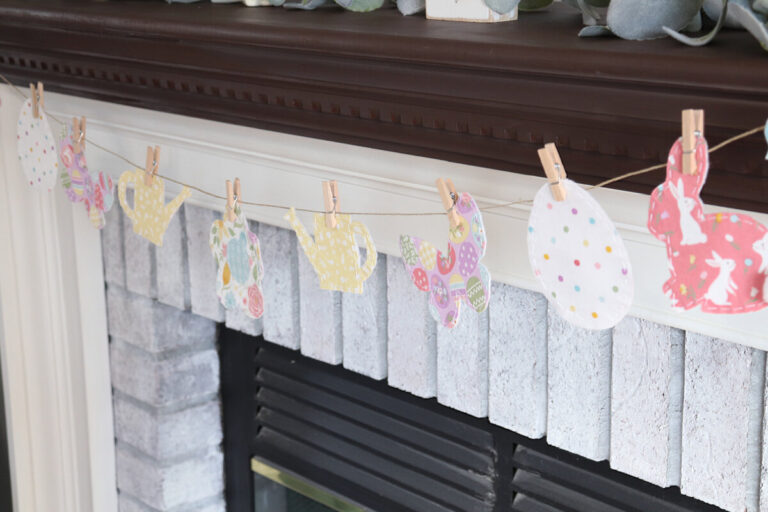
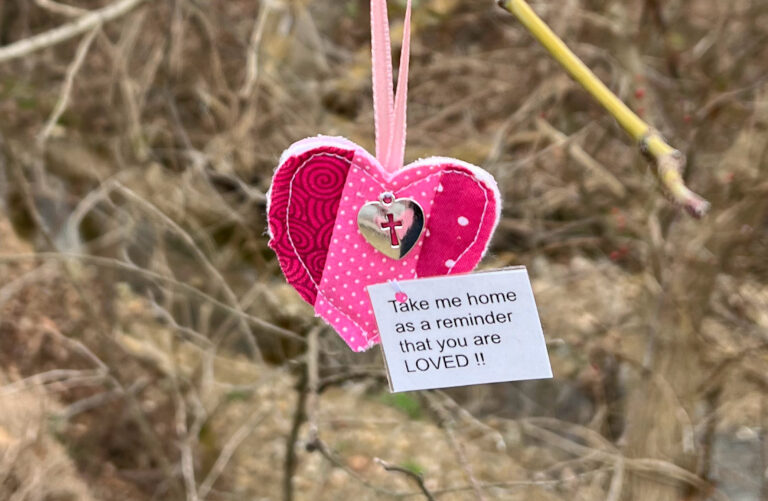
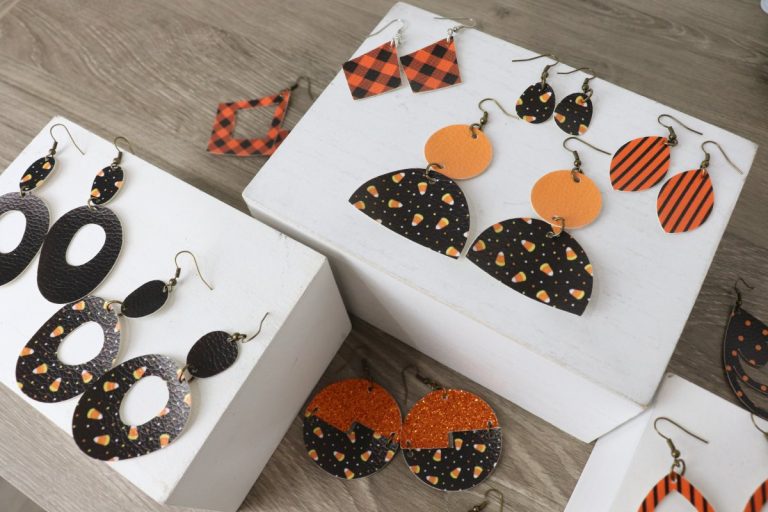
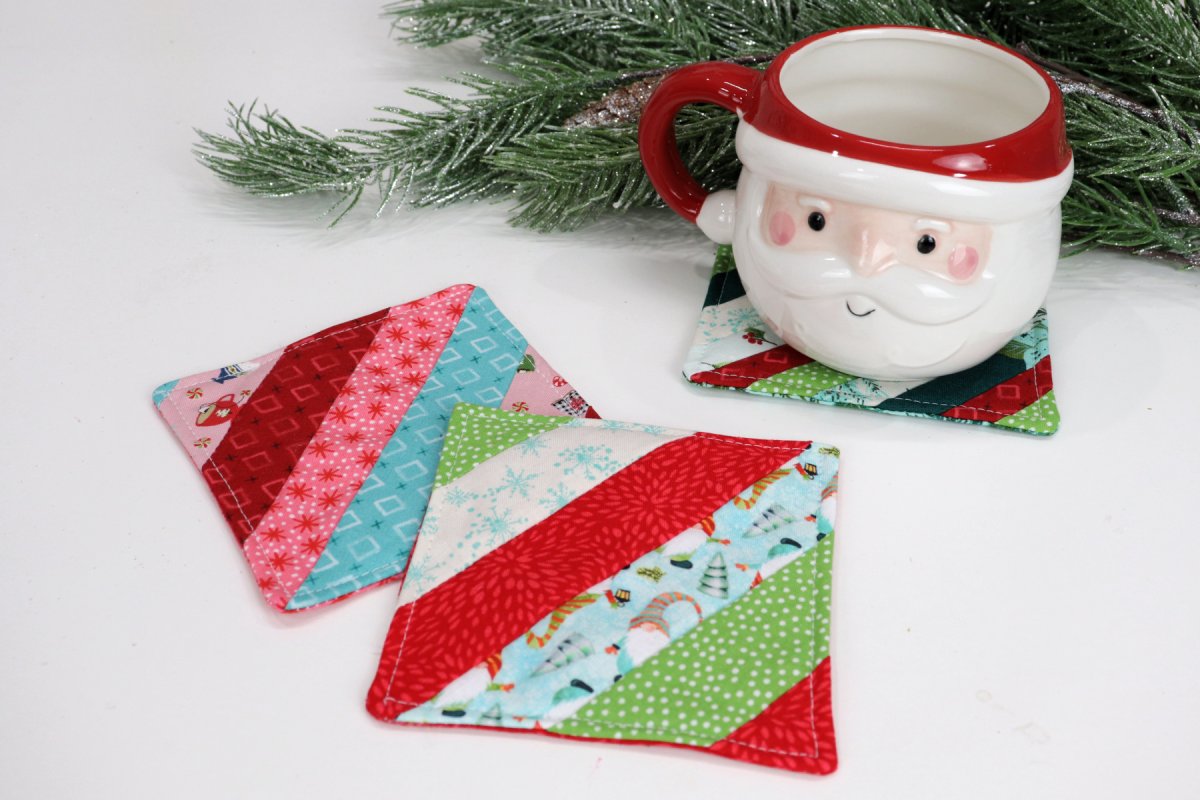
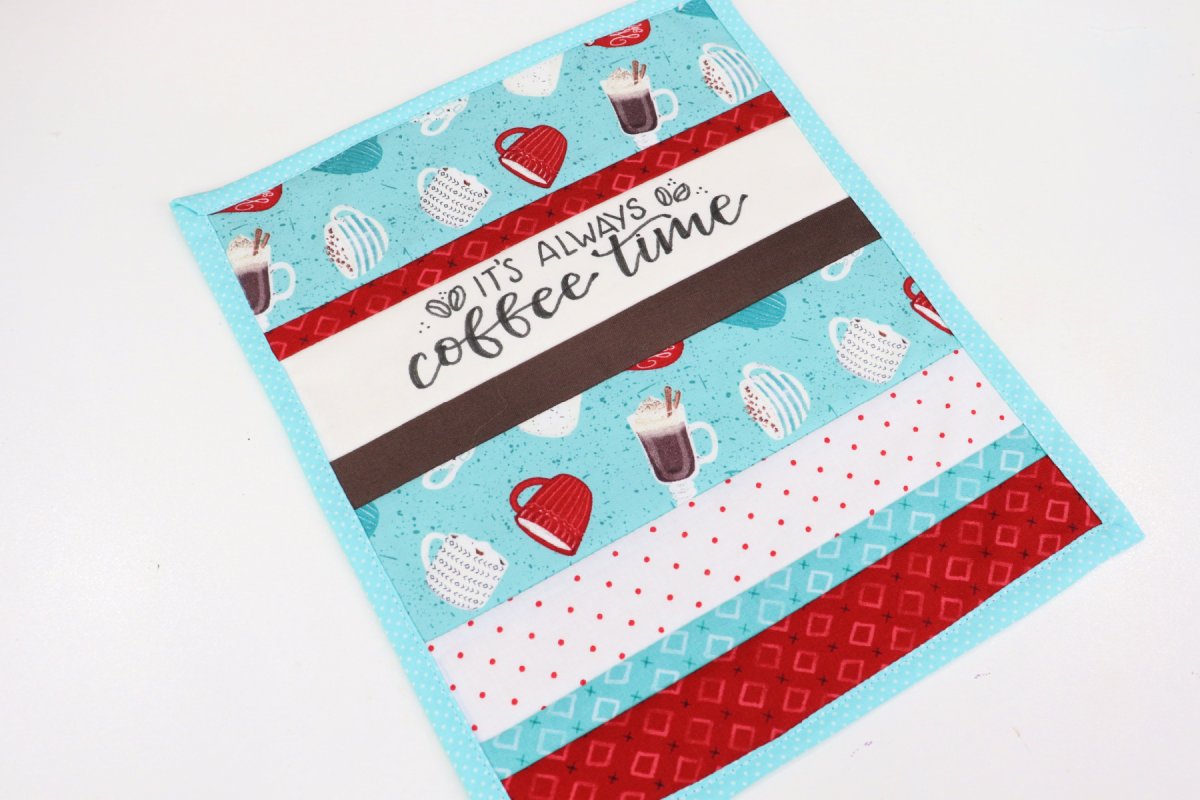
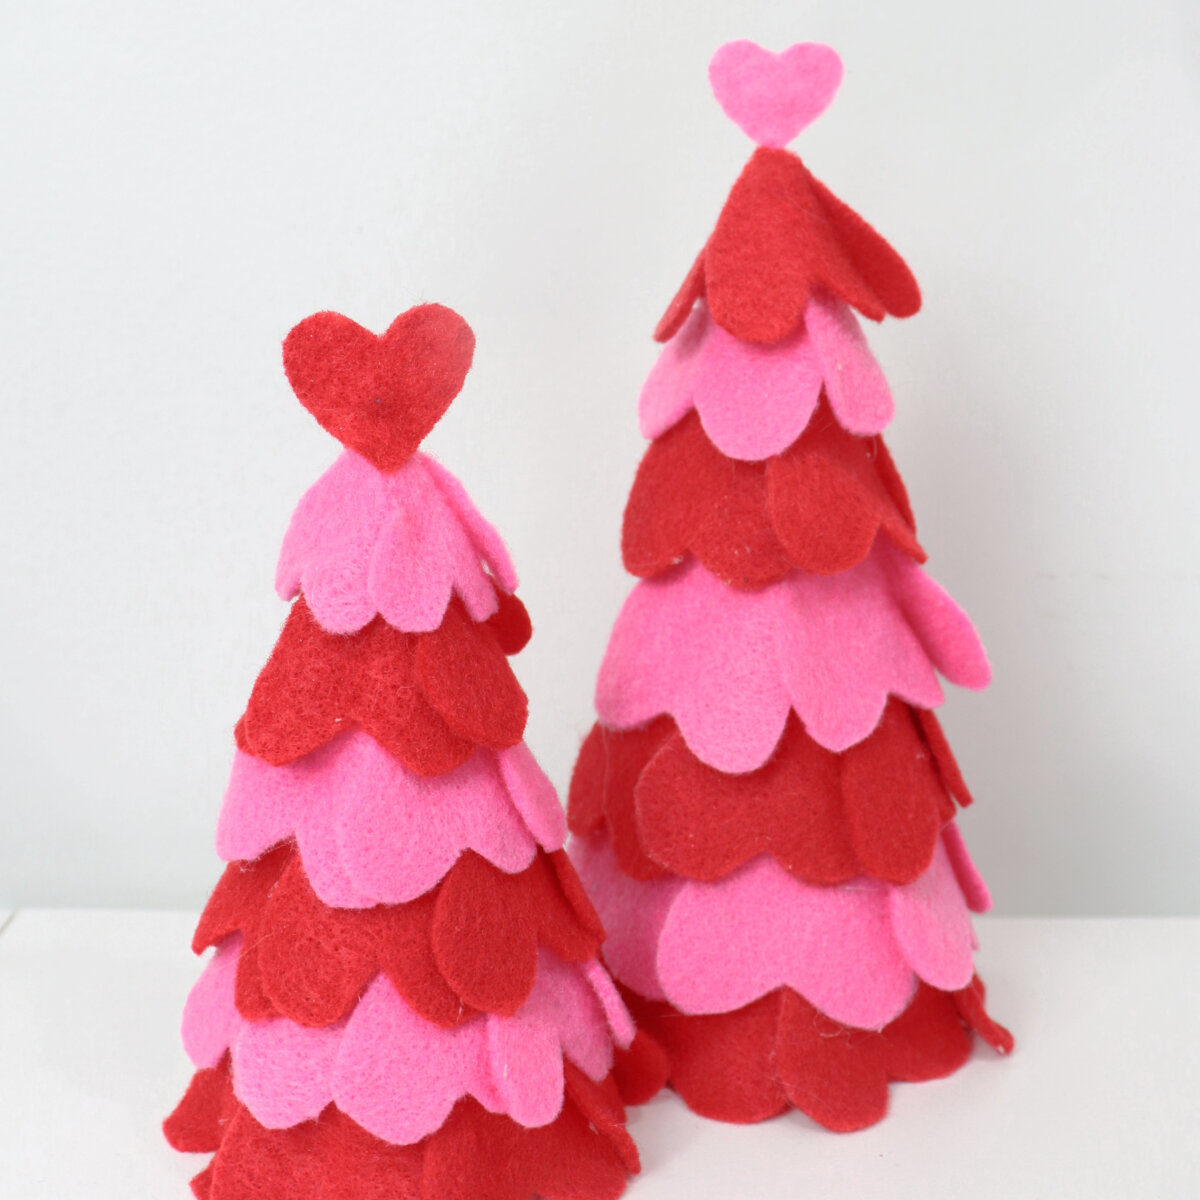
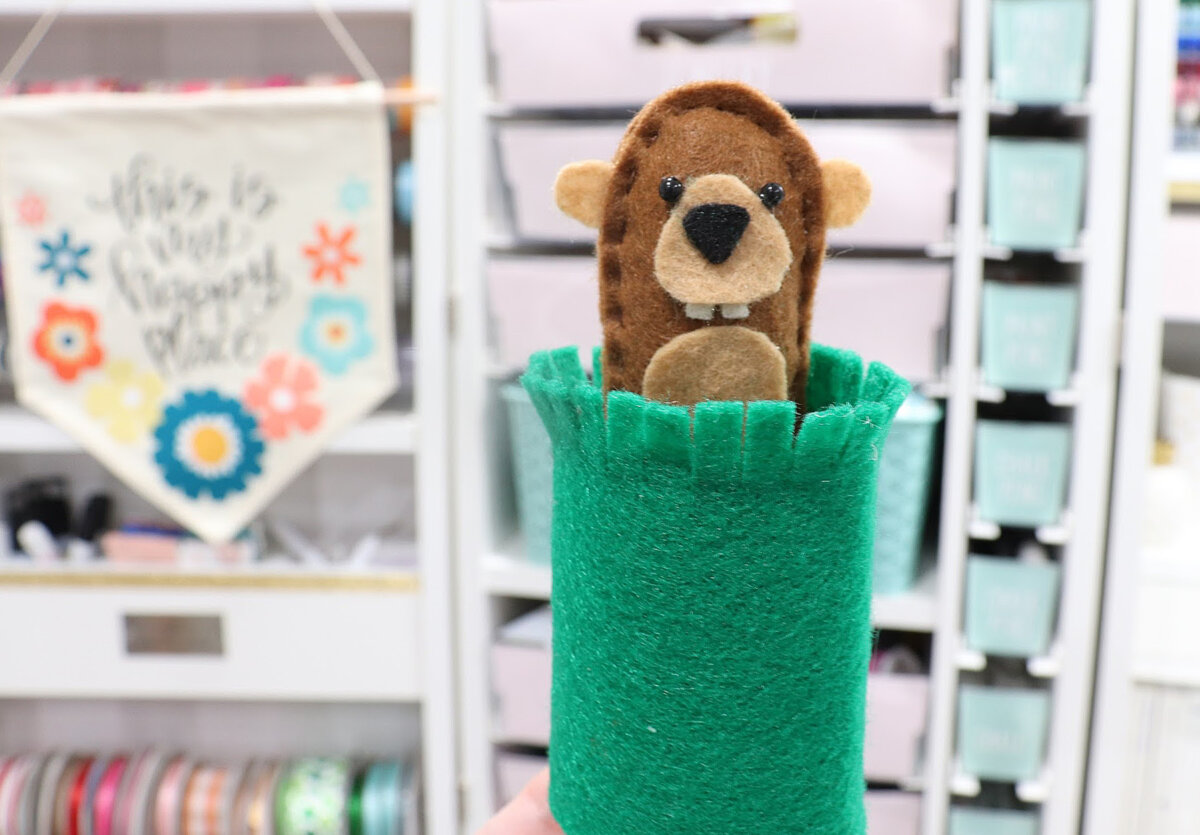
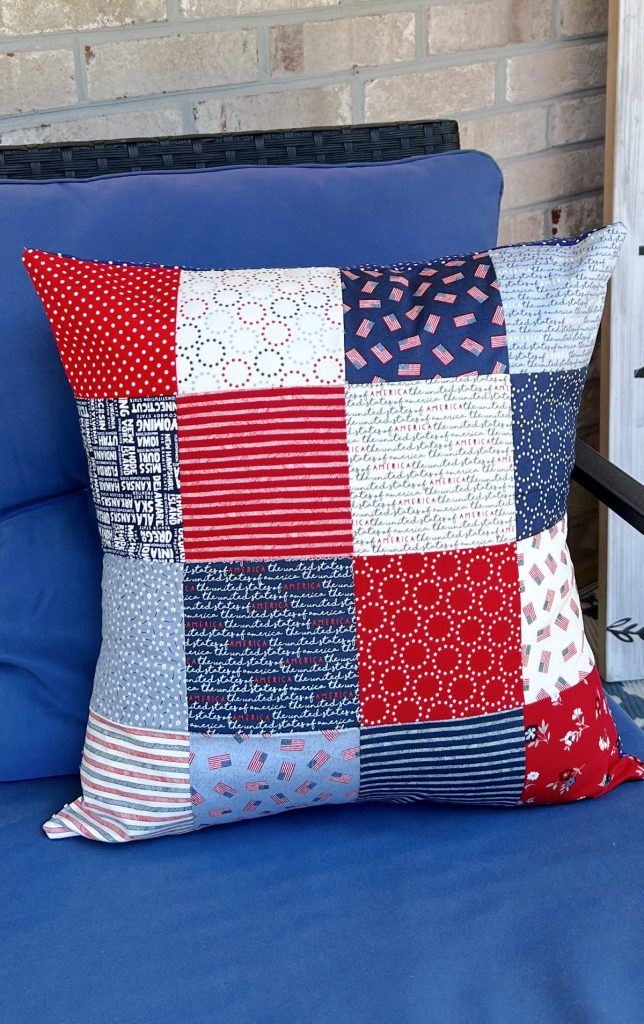
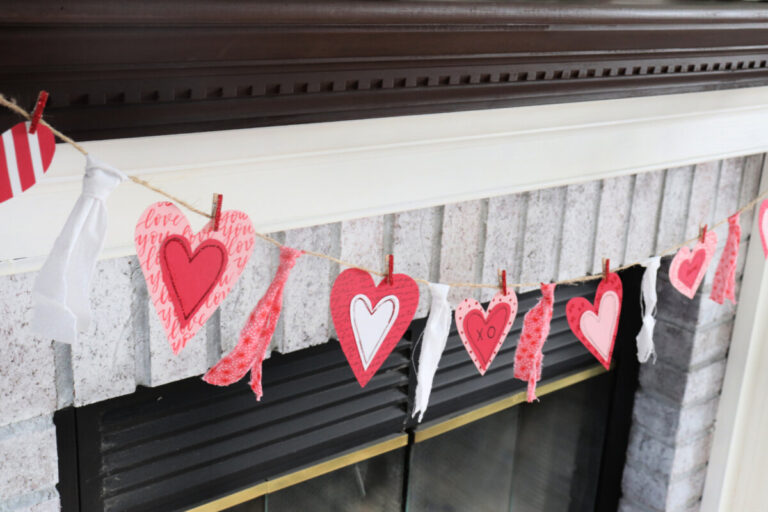
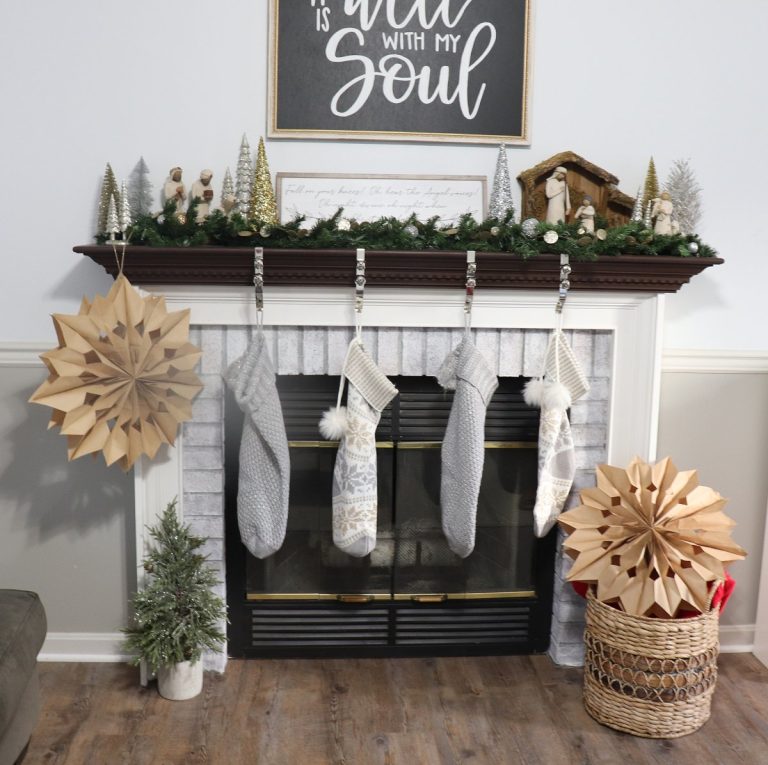
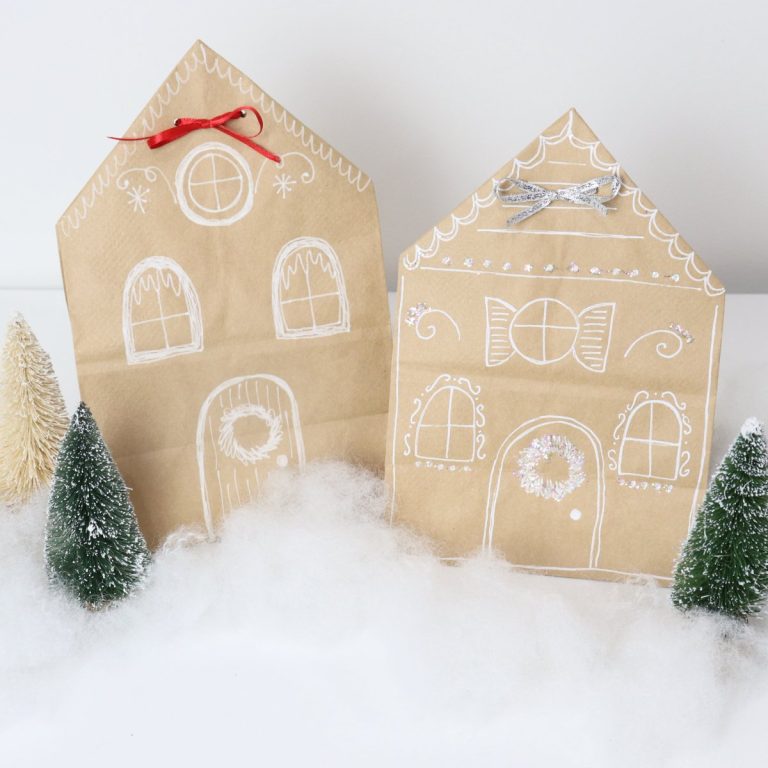
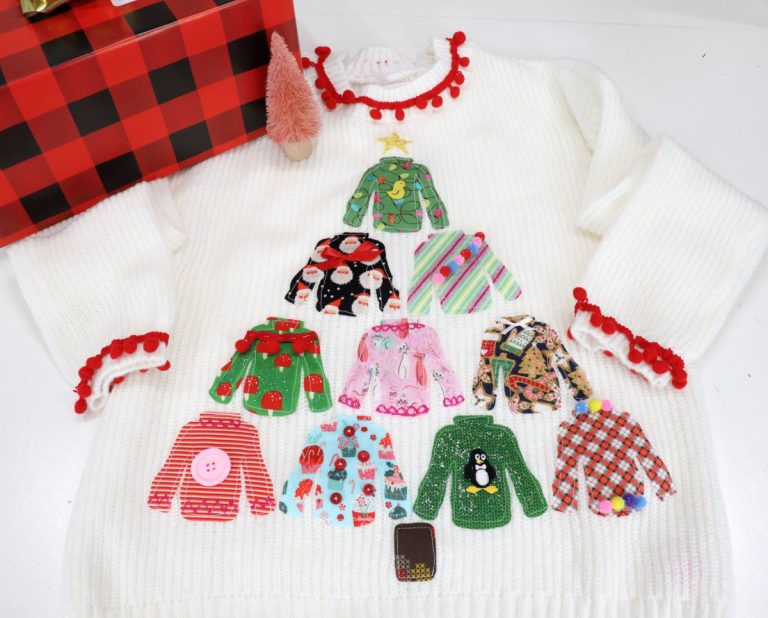
Something for Every Holiday
Celebrate your favorite holidays with handmade projects! Learn to create cards, gifts, and home decor for every special occasion.
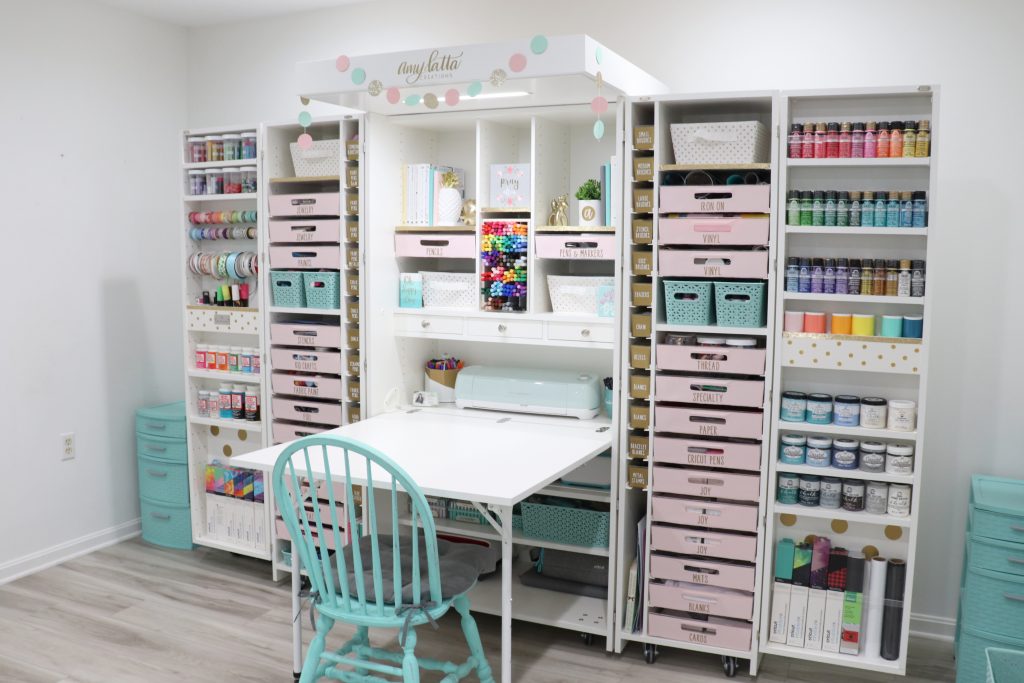
My DreamBox Come True
Looking for a way to keep your craft room organized and inspiring all at the same time? Let me introduce you to something amazing from my partners at CreateRoom: the DreamBox. (affiliate link) For me, it literally is a dream come true, a fabulous piece of furniture that not only holds my art and craft supplies, but also doubles as a workspace and photography/videography set.

Coupon Corner
Special deals, just for my friends!